Step 1:
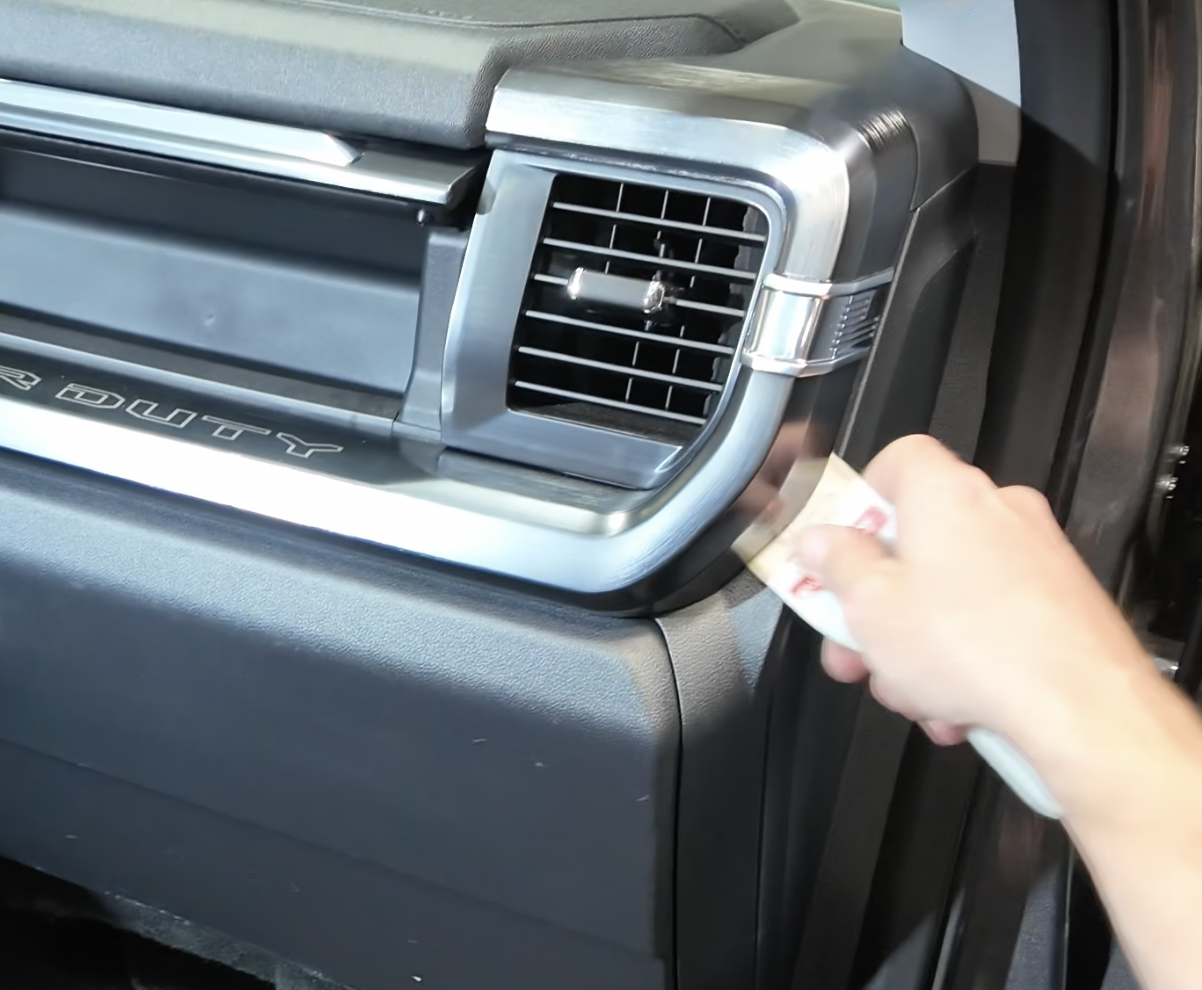
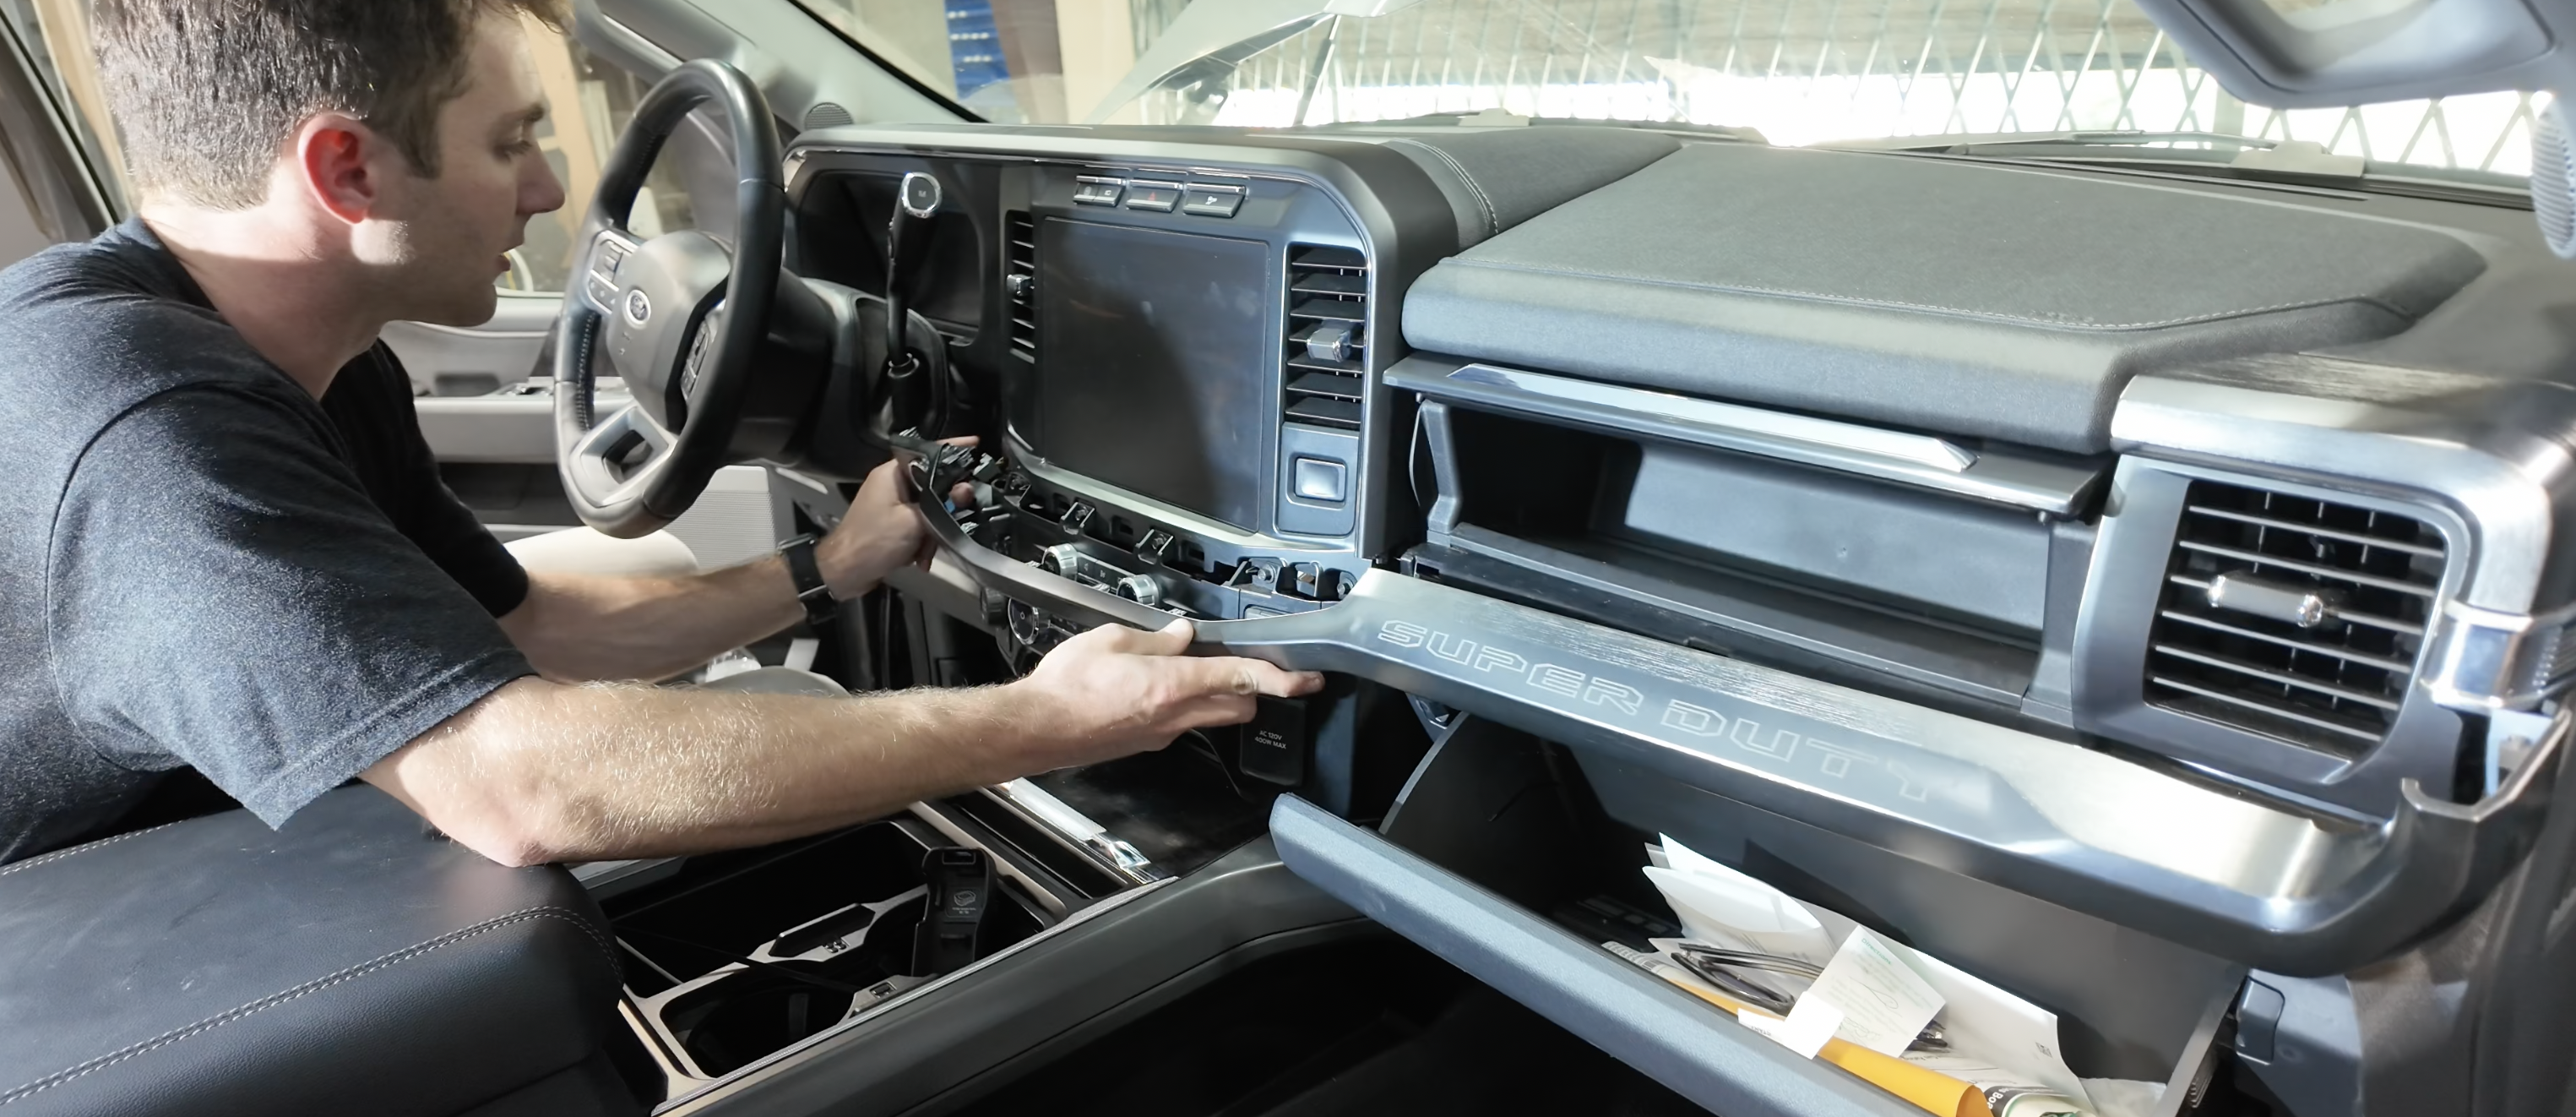
Using a plastic panel removal tool, pop out the trim located just below the front dash. This will all be one piece and stretches all the way to the "Push to Start" button.
Please read the entire product guide before proceeding.
- Ensure all parts are present.
- If you are missing any of the components, need help with the installation or have a question, call our customer support at (909) 947-0015.
- Do not work on your vehicle while the engine is hot.
- Make sure the engine is turned off and the vehicle is in Park or the Parking Brake is set.
-7mm Socket
-Impact Drill
-Body Panel Clip Romoval Tool
-Interior Trim Removal tool
-Zip Ties
-Wire Cutters
Using a plastic panel removal tool, pop out the trim located just below the front dash. This will all be one piece and stretches all the way to the "Push to Start" button.
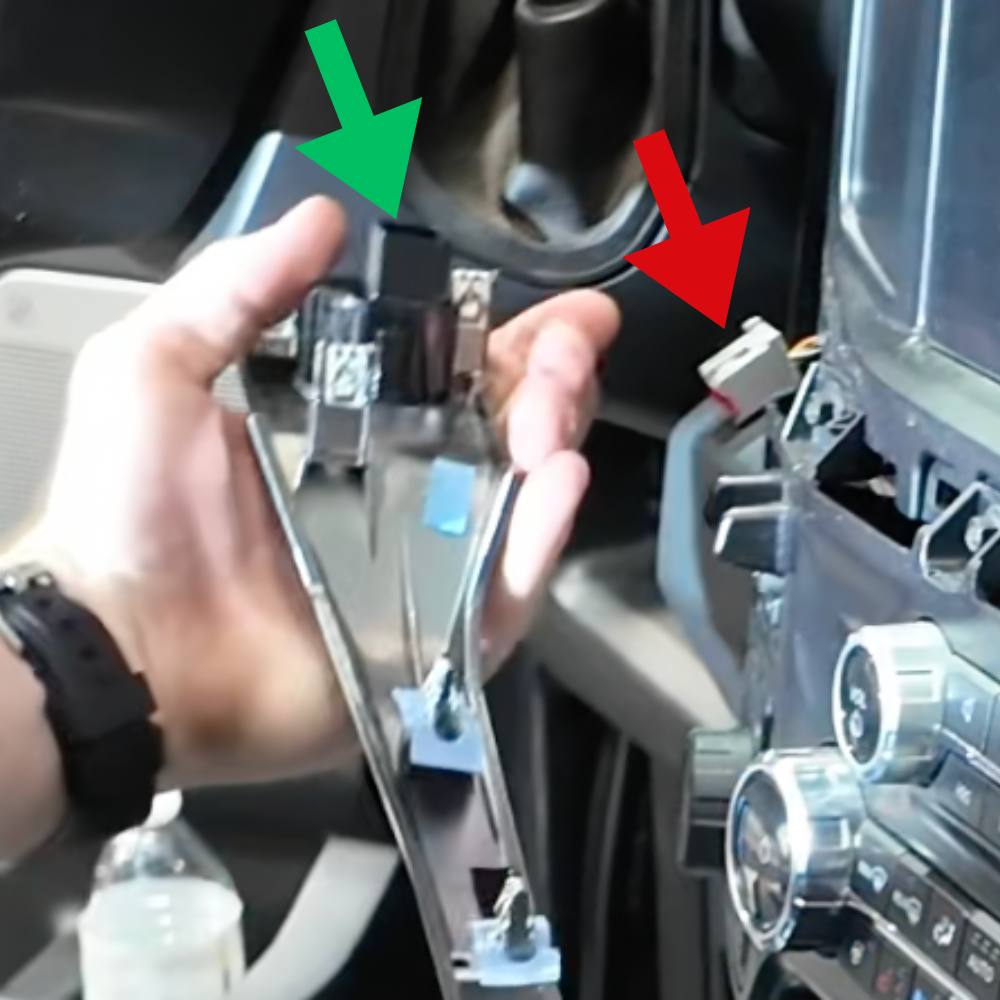
Now, go ahead and disconnect the connector (red arrow) for the "Push to Start" port (green arrow).
Unclip the right side of the bolster panel located just below the steering column.
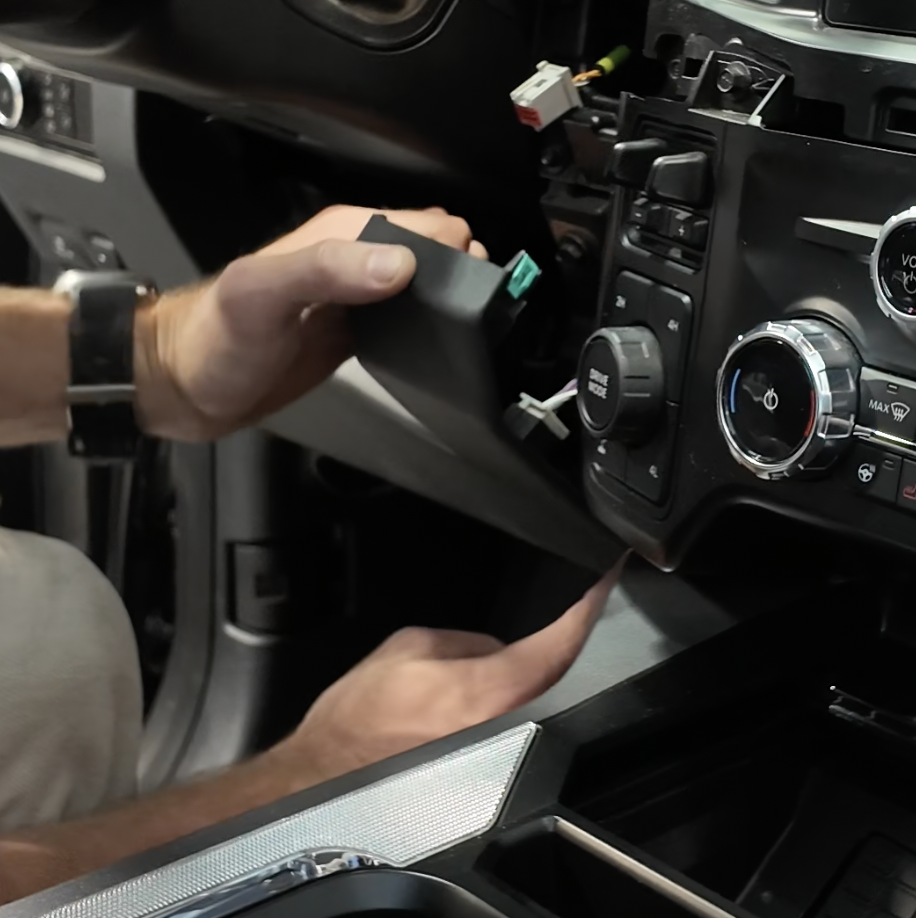
Next, using a 7mm Socket and impact, go ahead and remove the (4) bolts holding the Radio/AC Control panel.
.png?v=1763165691667)
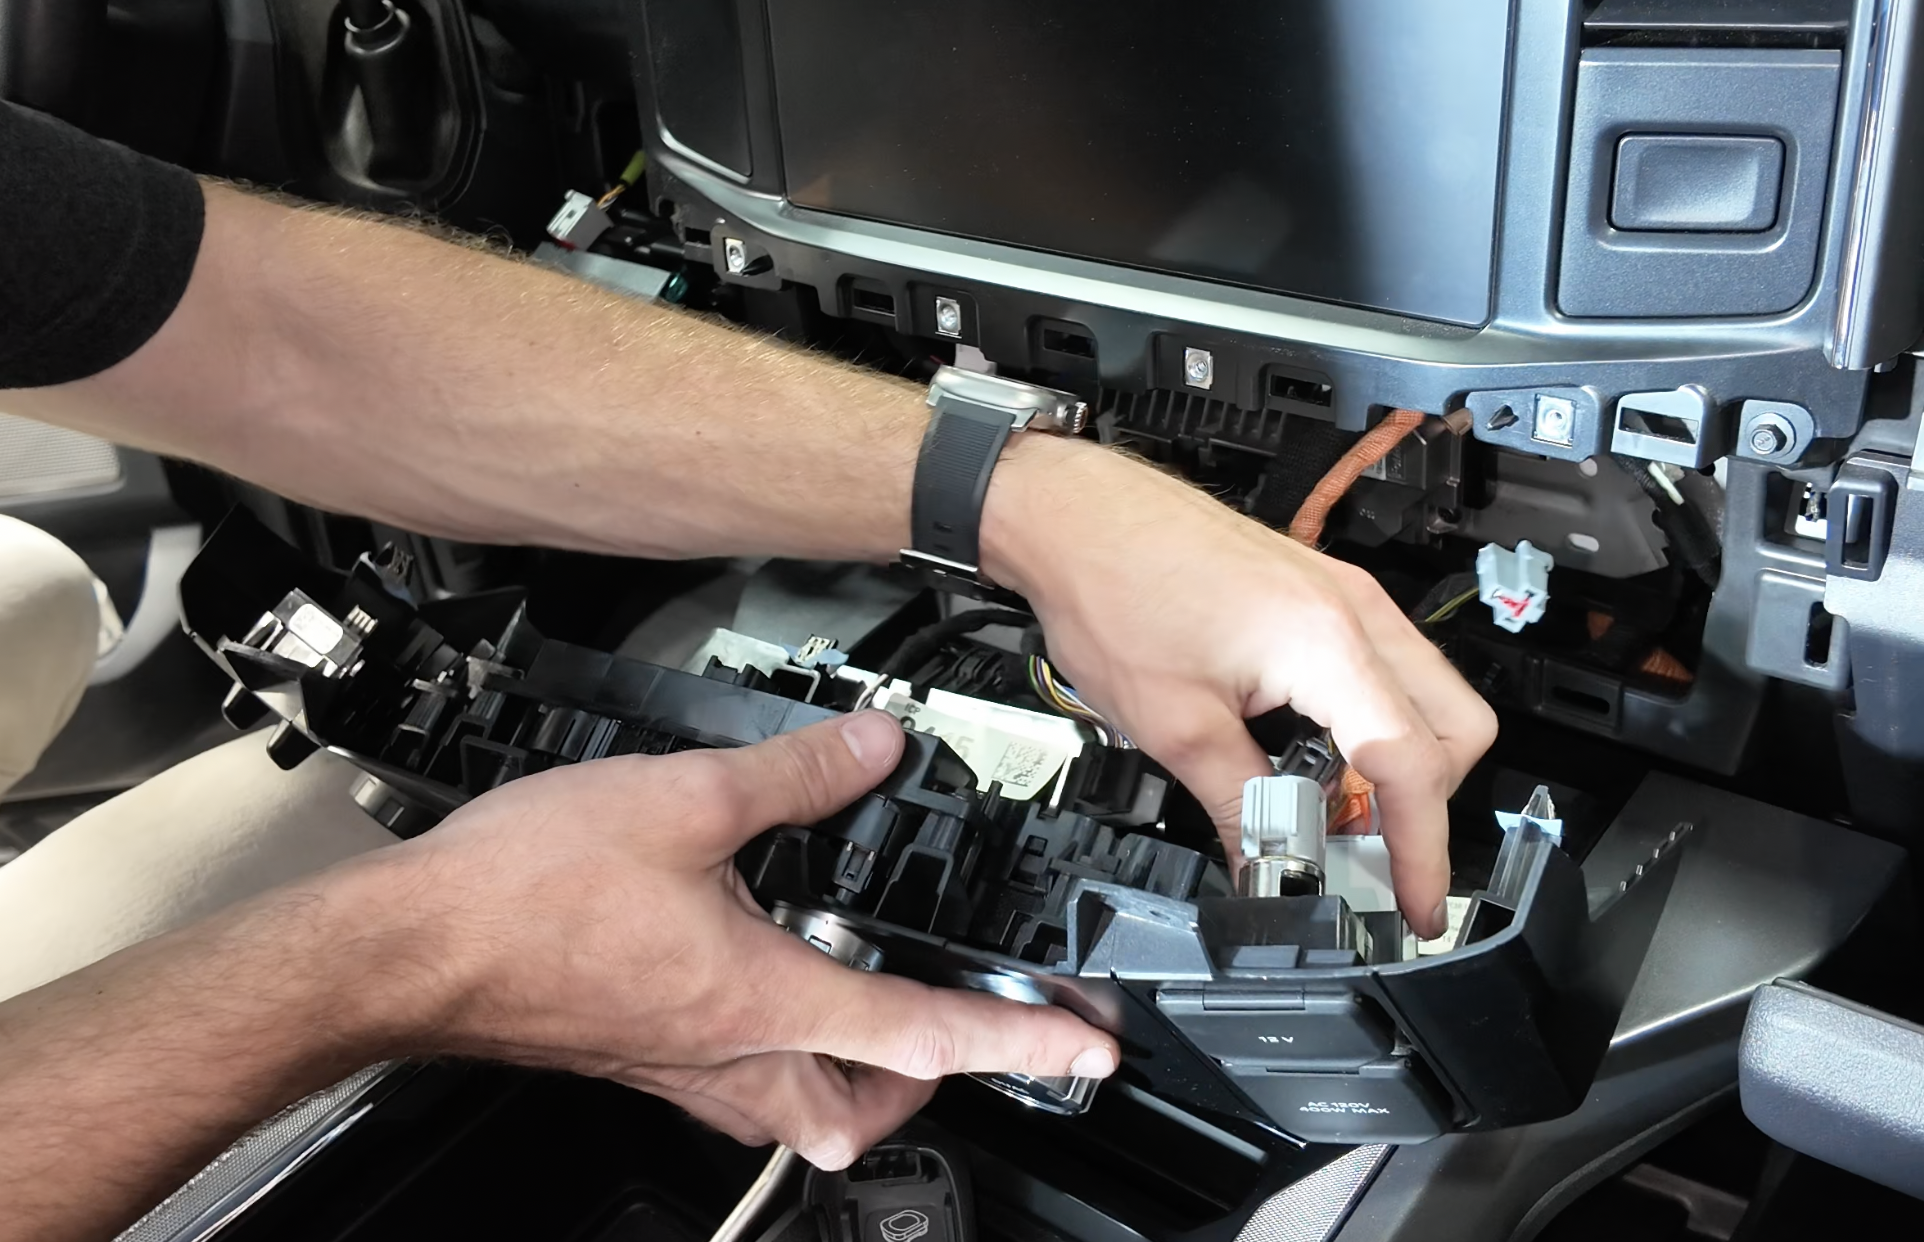
Once all 4 bolts are removed, there will be one tab on each side of the AC/Radio Control panel. Go ahead and remove the panel from the dash.
Tip: Be careful when removing the panel from the dash as there are many wires connected to it from behind.

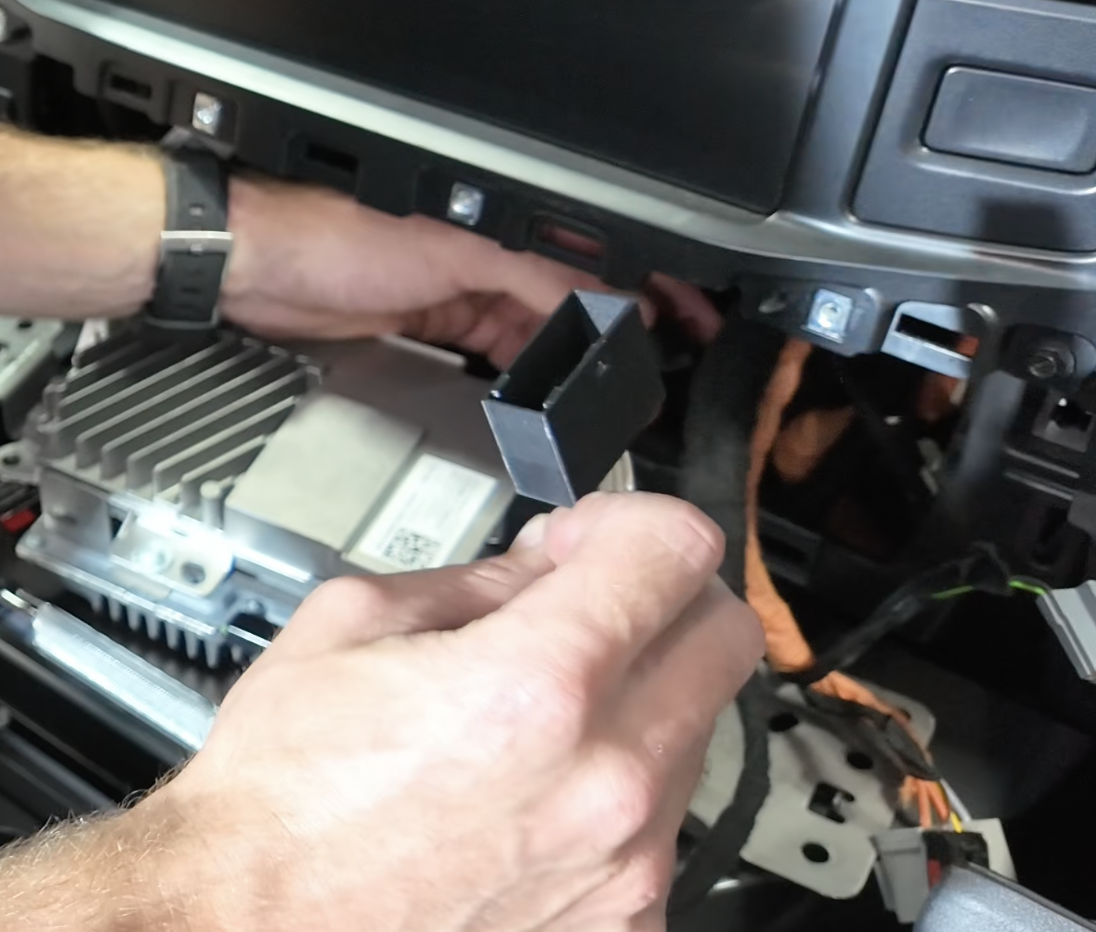
Now it's time to disconnect all the connectors behind the Radio/AC Control Panel. Majority of these connectors have a tab that needs to be pushed down on prior to removal.
*We highly recommend taking a photo of all the connectors plugged in as you will need this at a later step.
Once all connectors are disconnected, go ahead and place the panel out of the way.
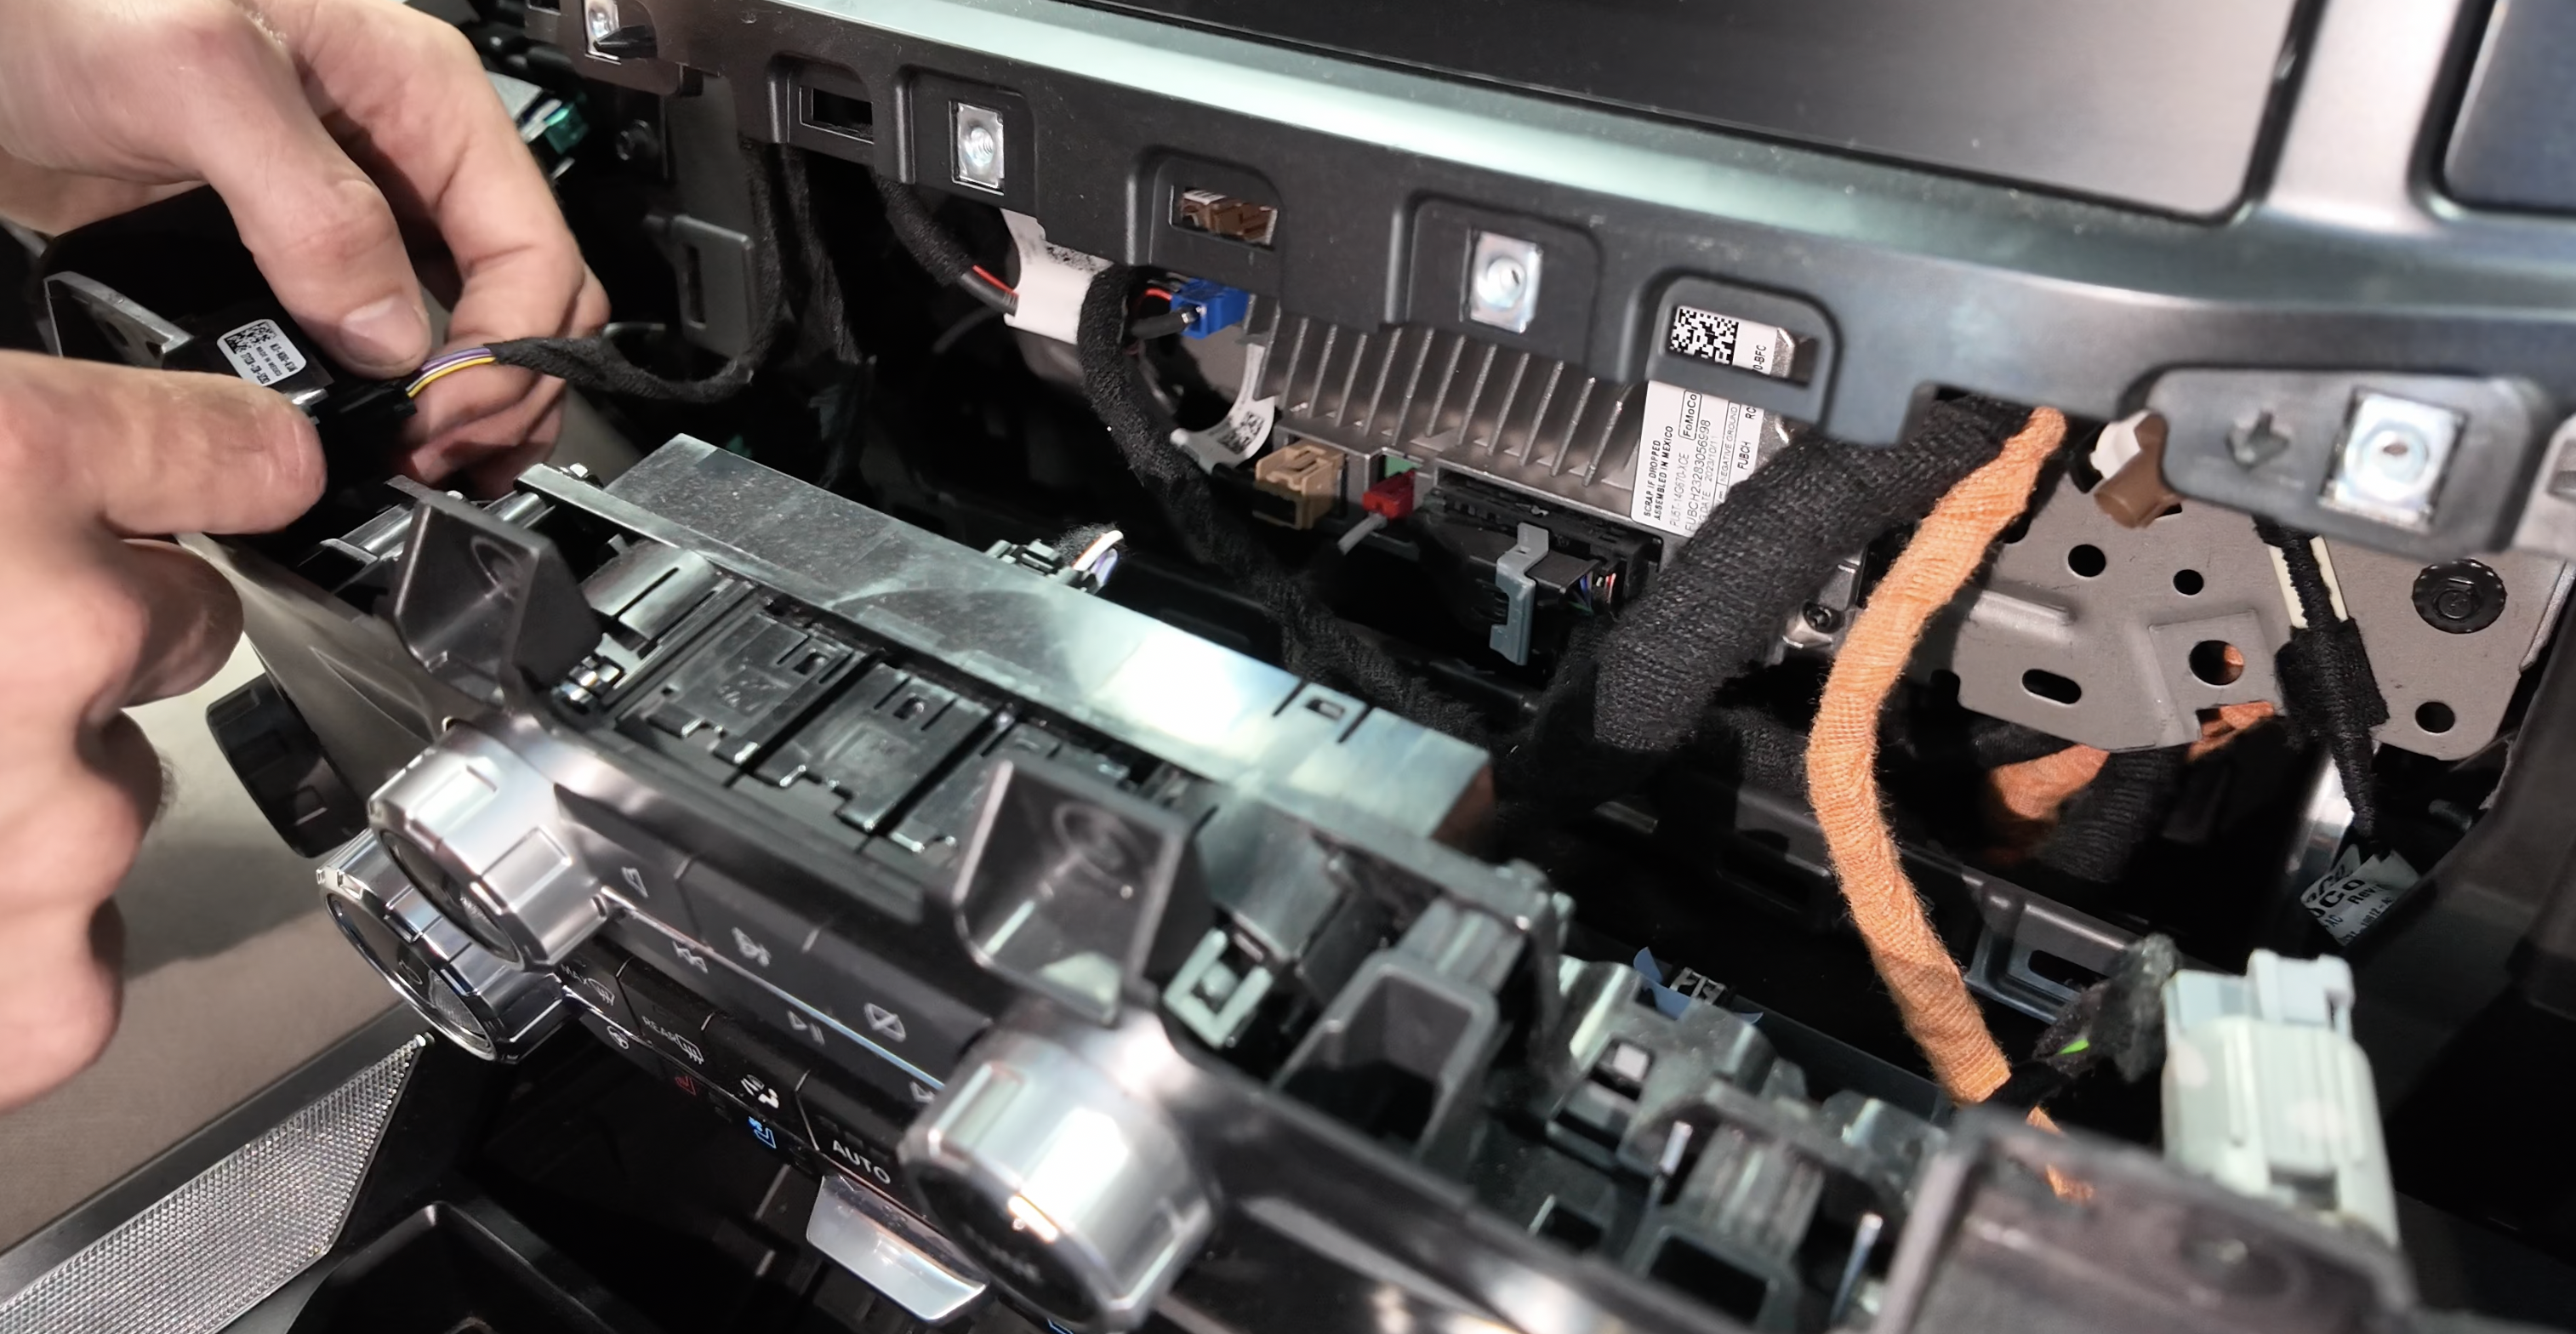
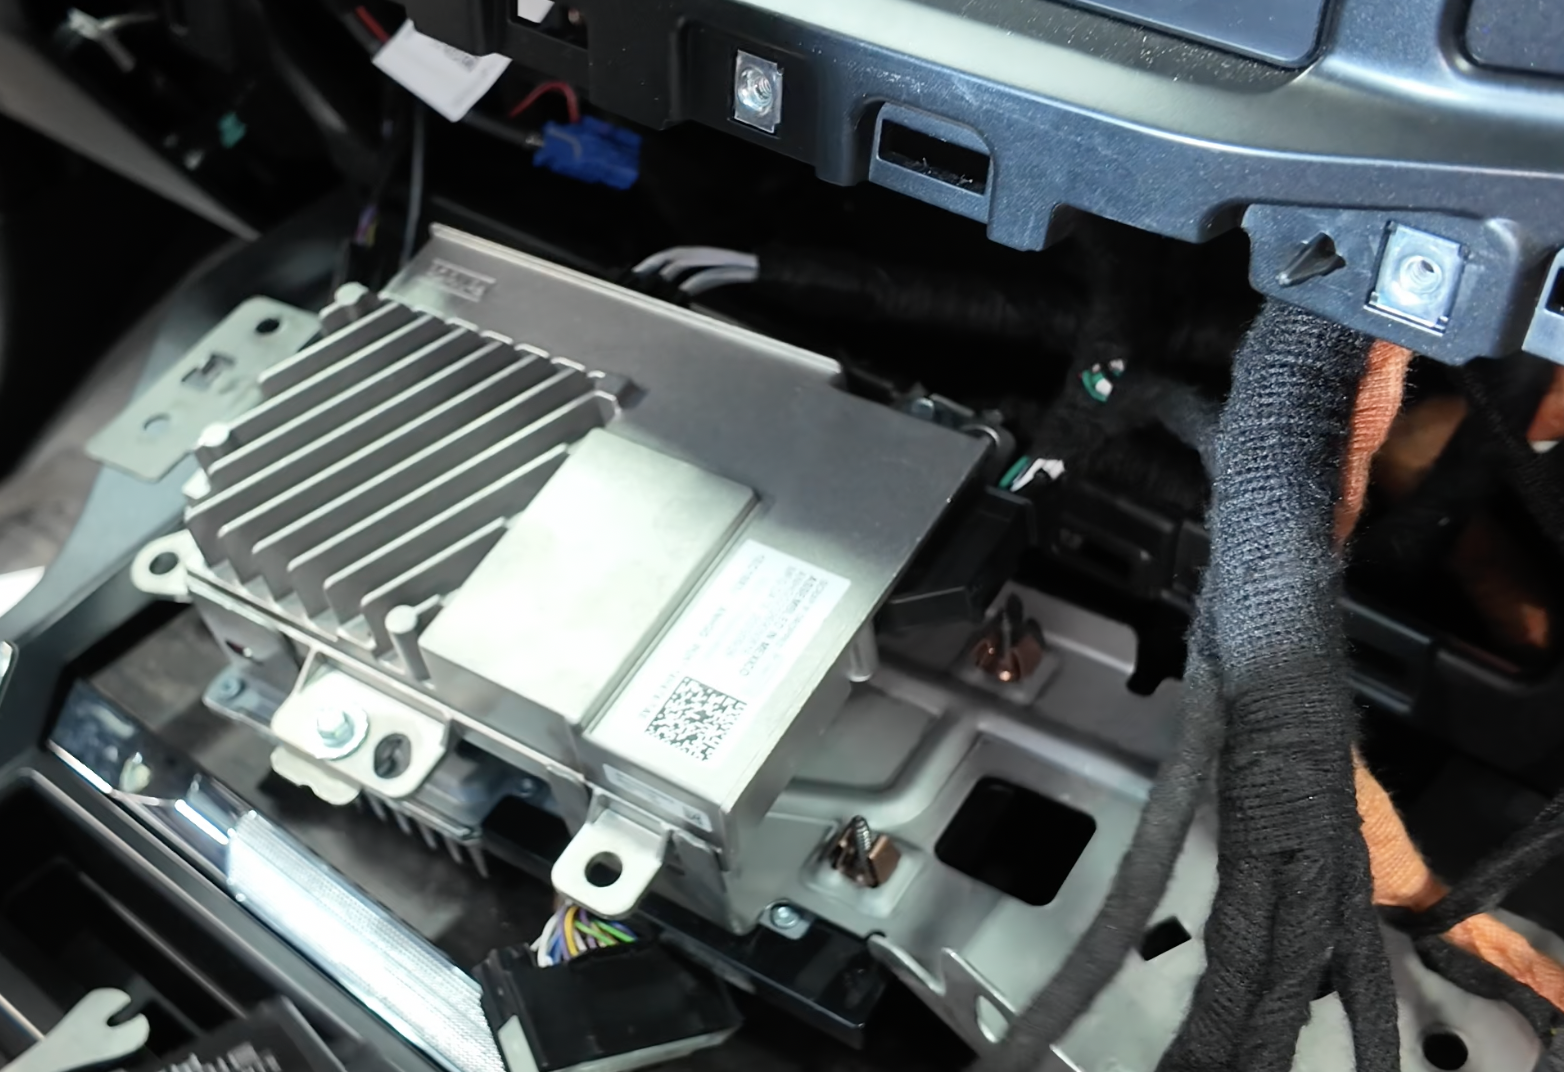
Unclip all the plugs from the gateway module located behind the Radio/AC Controls.
*We highly recommend taking a photo of all the connectors plugged in as you will need this at a later step.
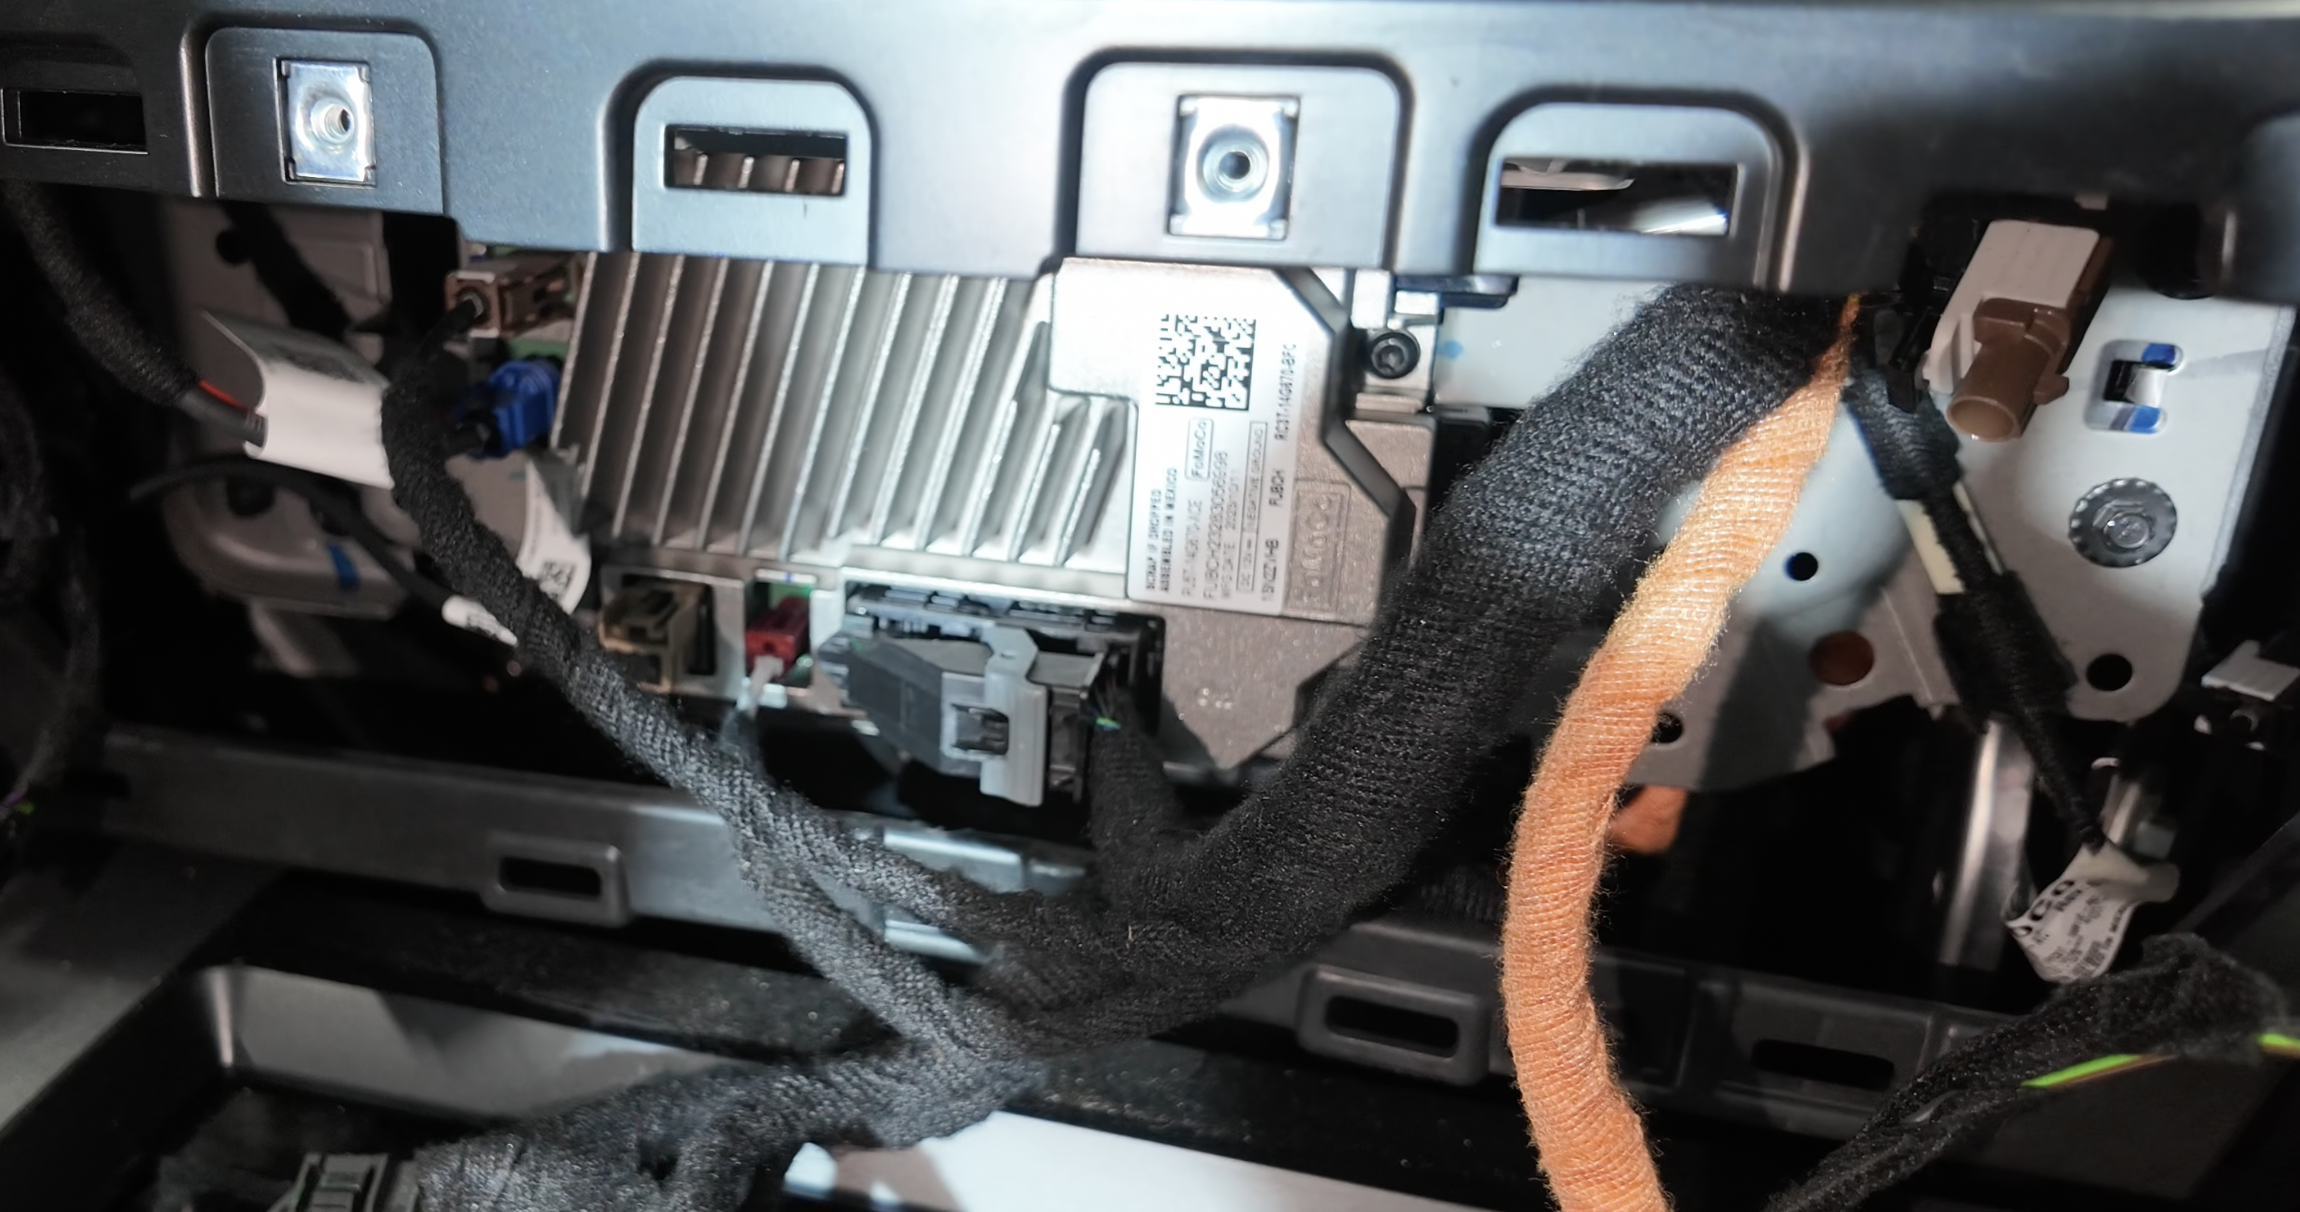
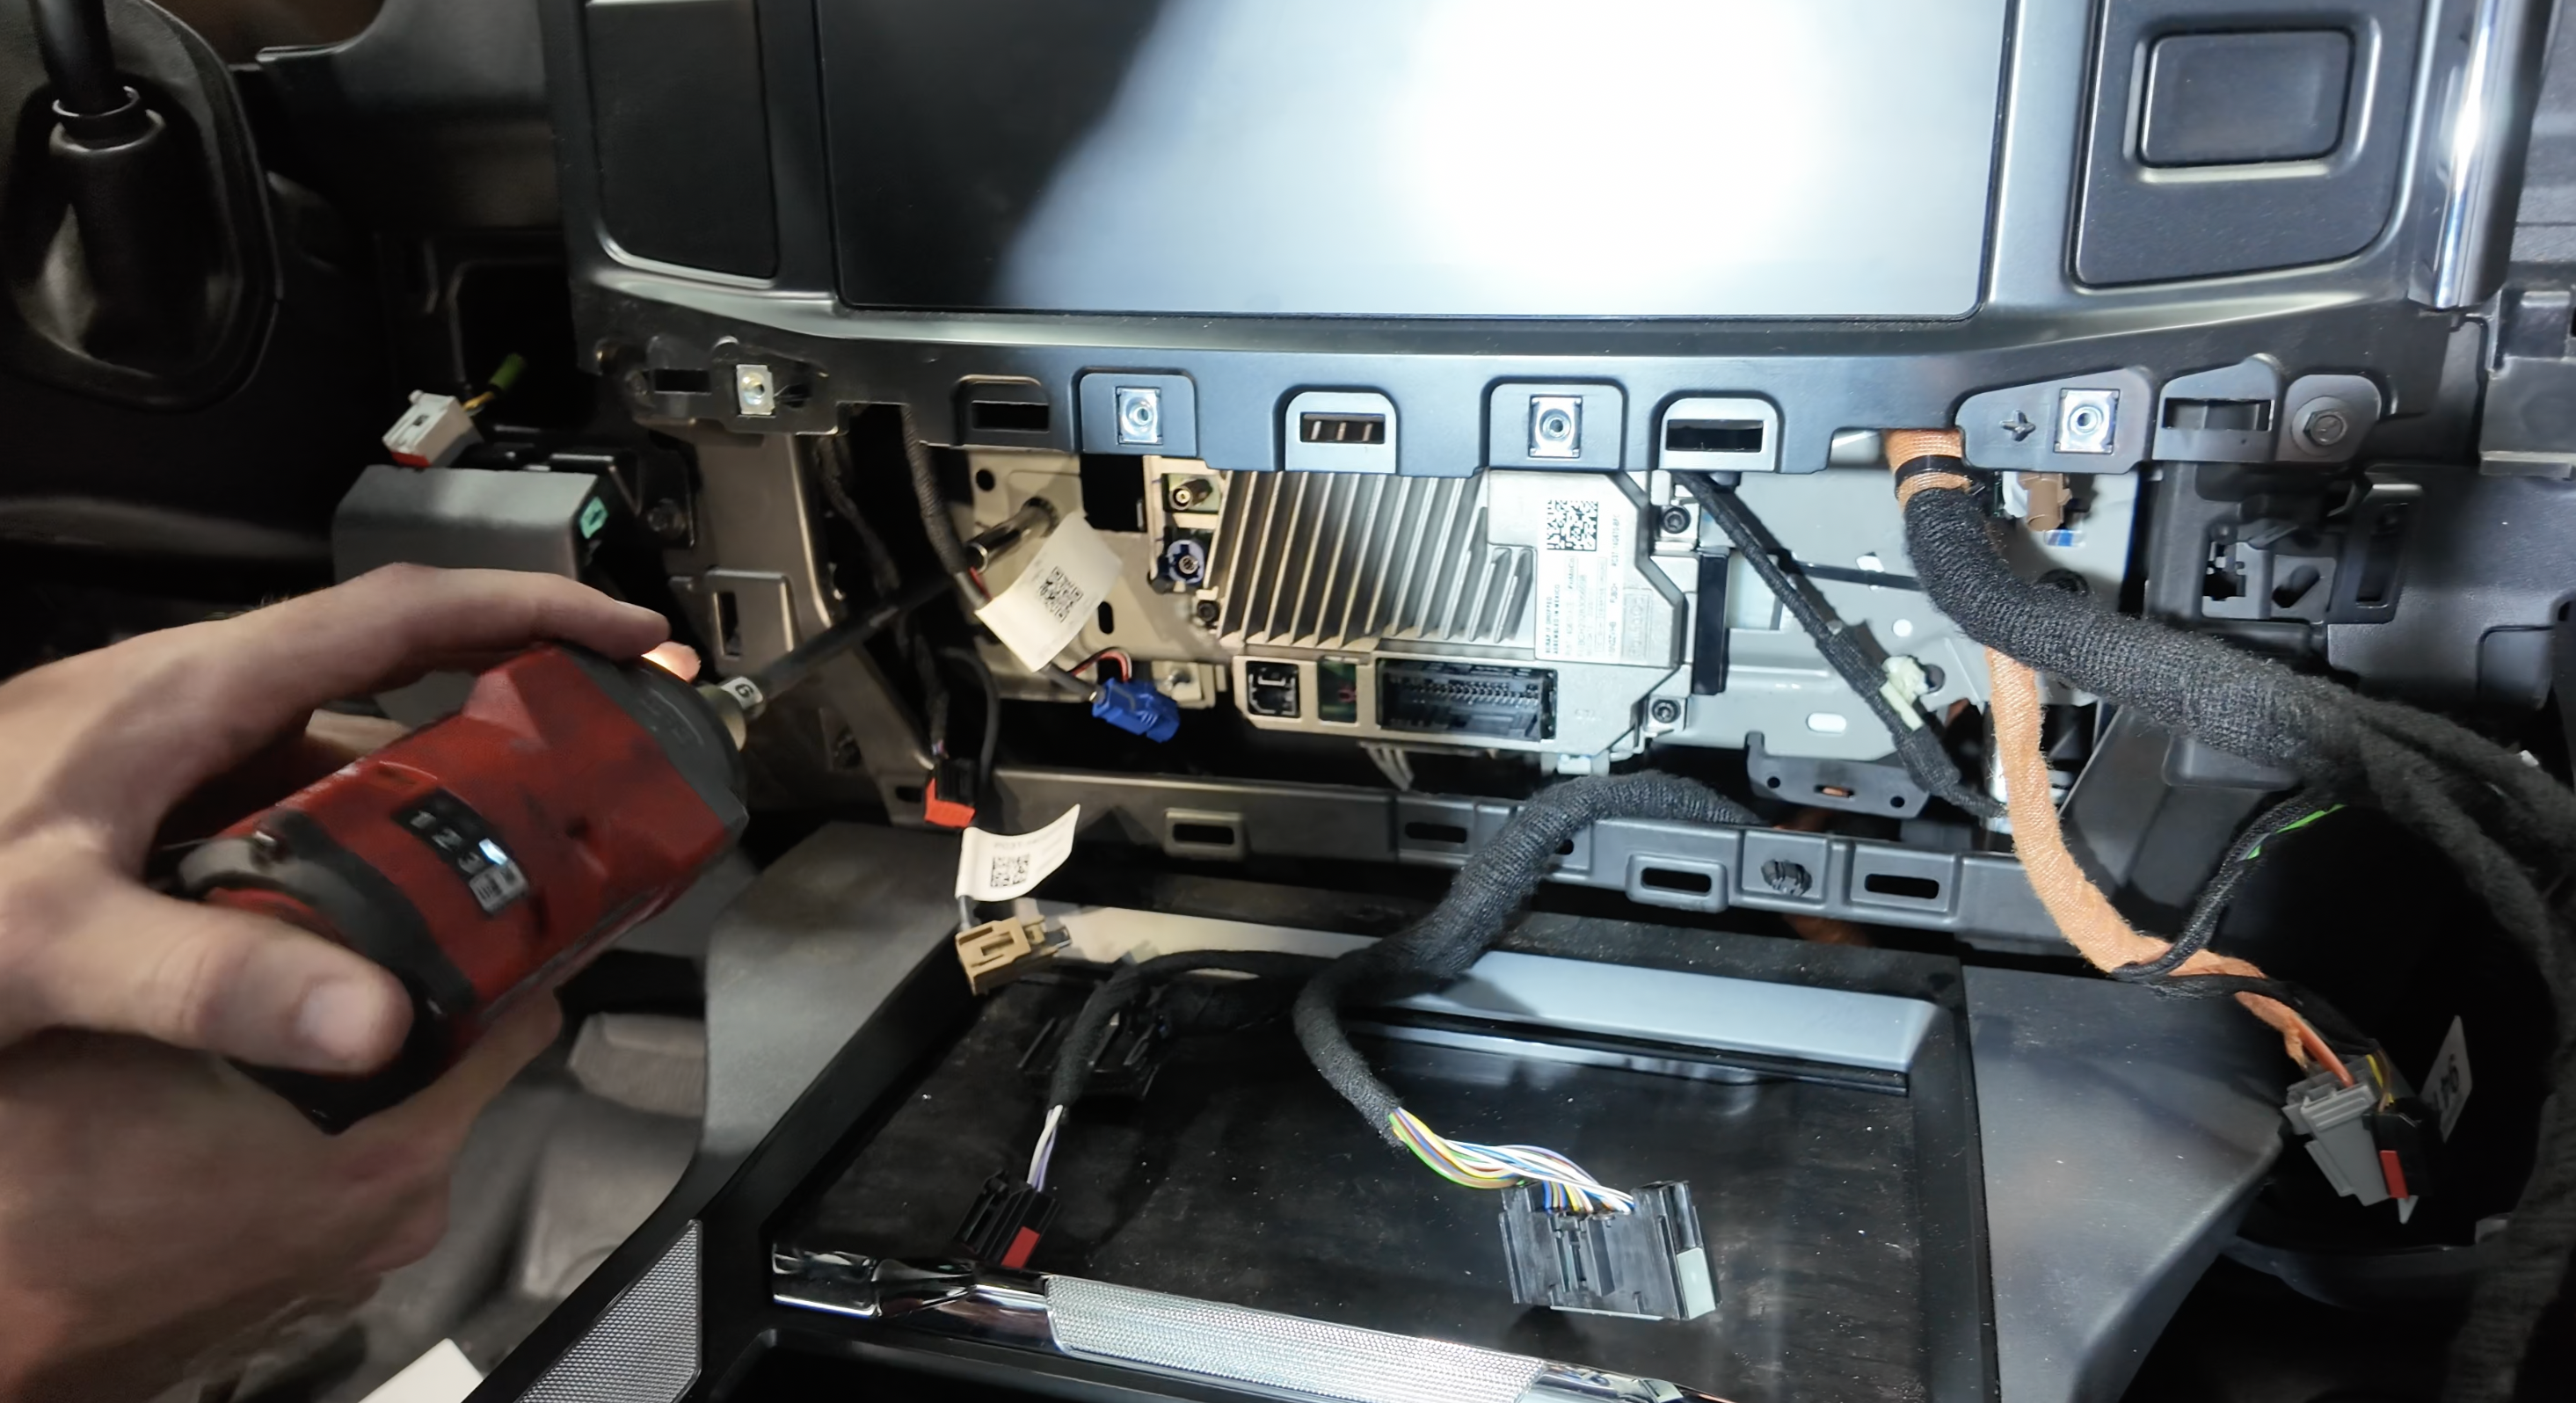
Using a 7mm Socket/Ratchet, go ahead and remove all (4) of the 7mm bolts holding the gateway and radio control module.
Next, using a body panel removal tool, go ahead and pop out the "Christmas Tree" push rivet holding in a wire harness located on the right side of the modules.
.png?v=1763404492648)
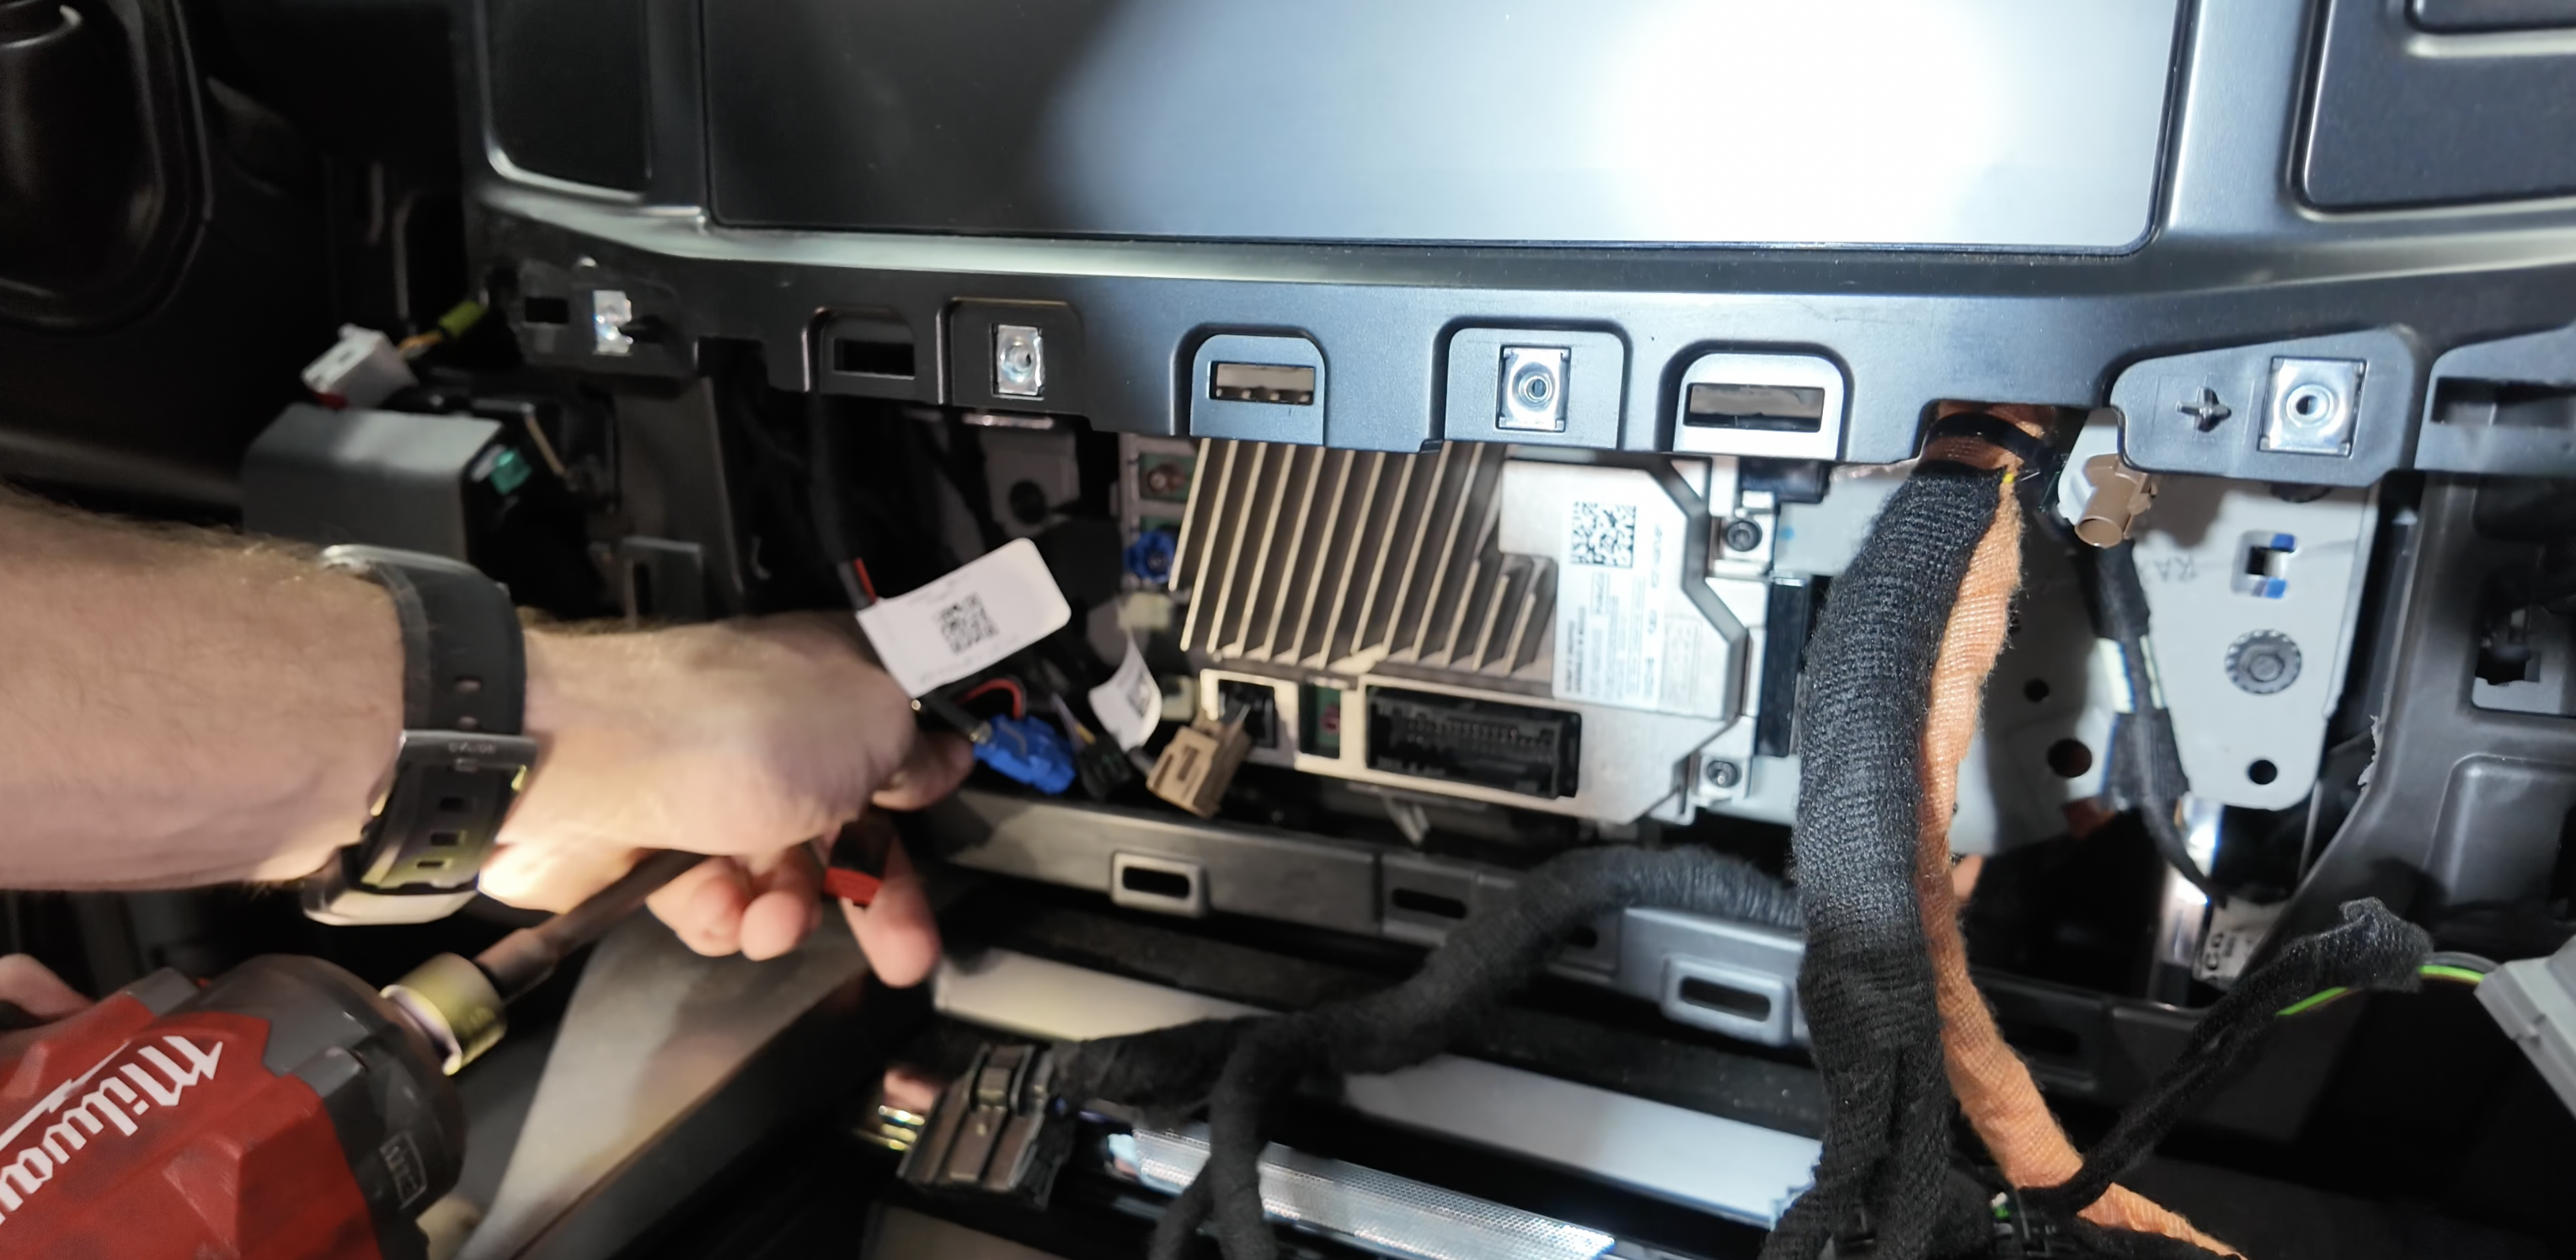
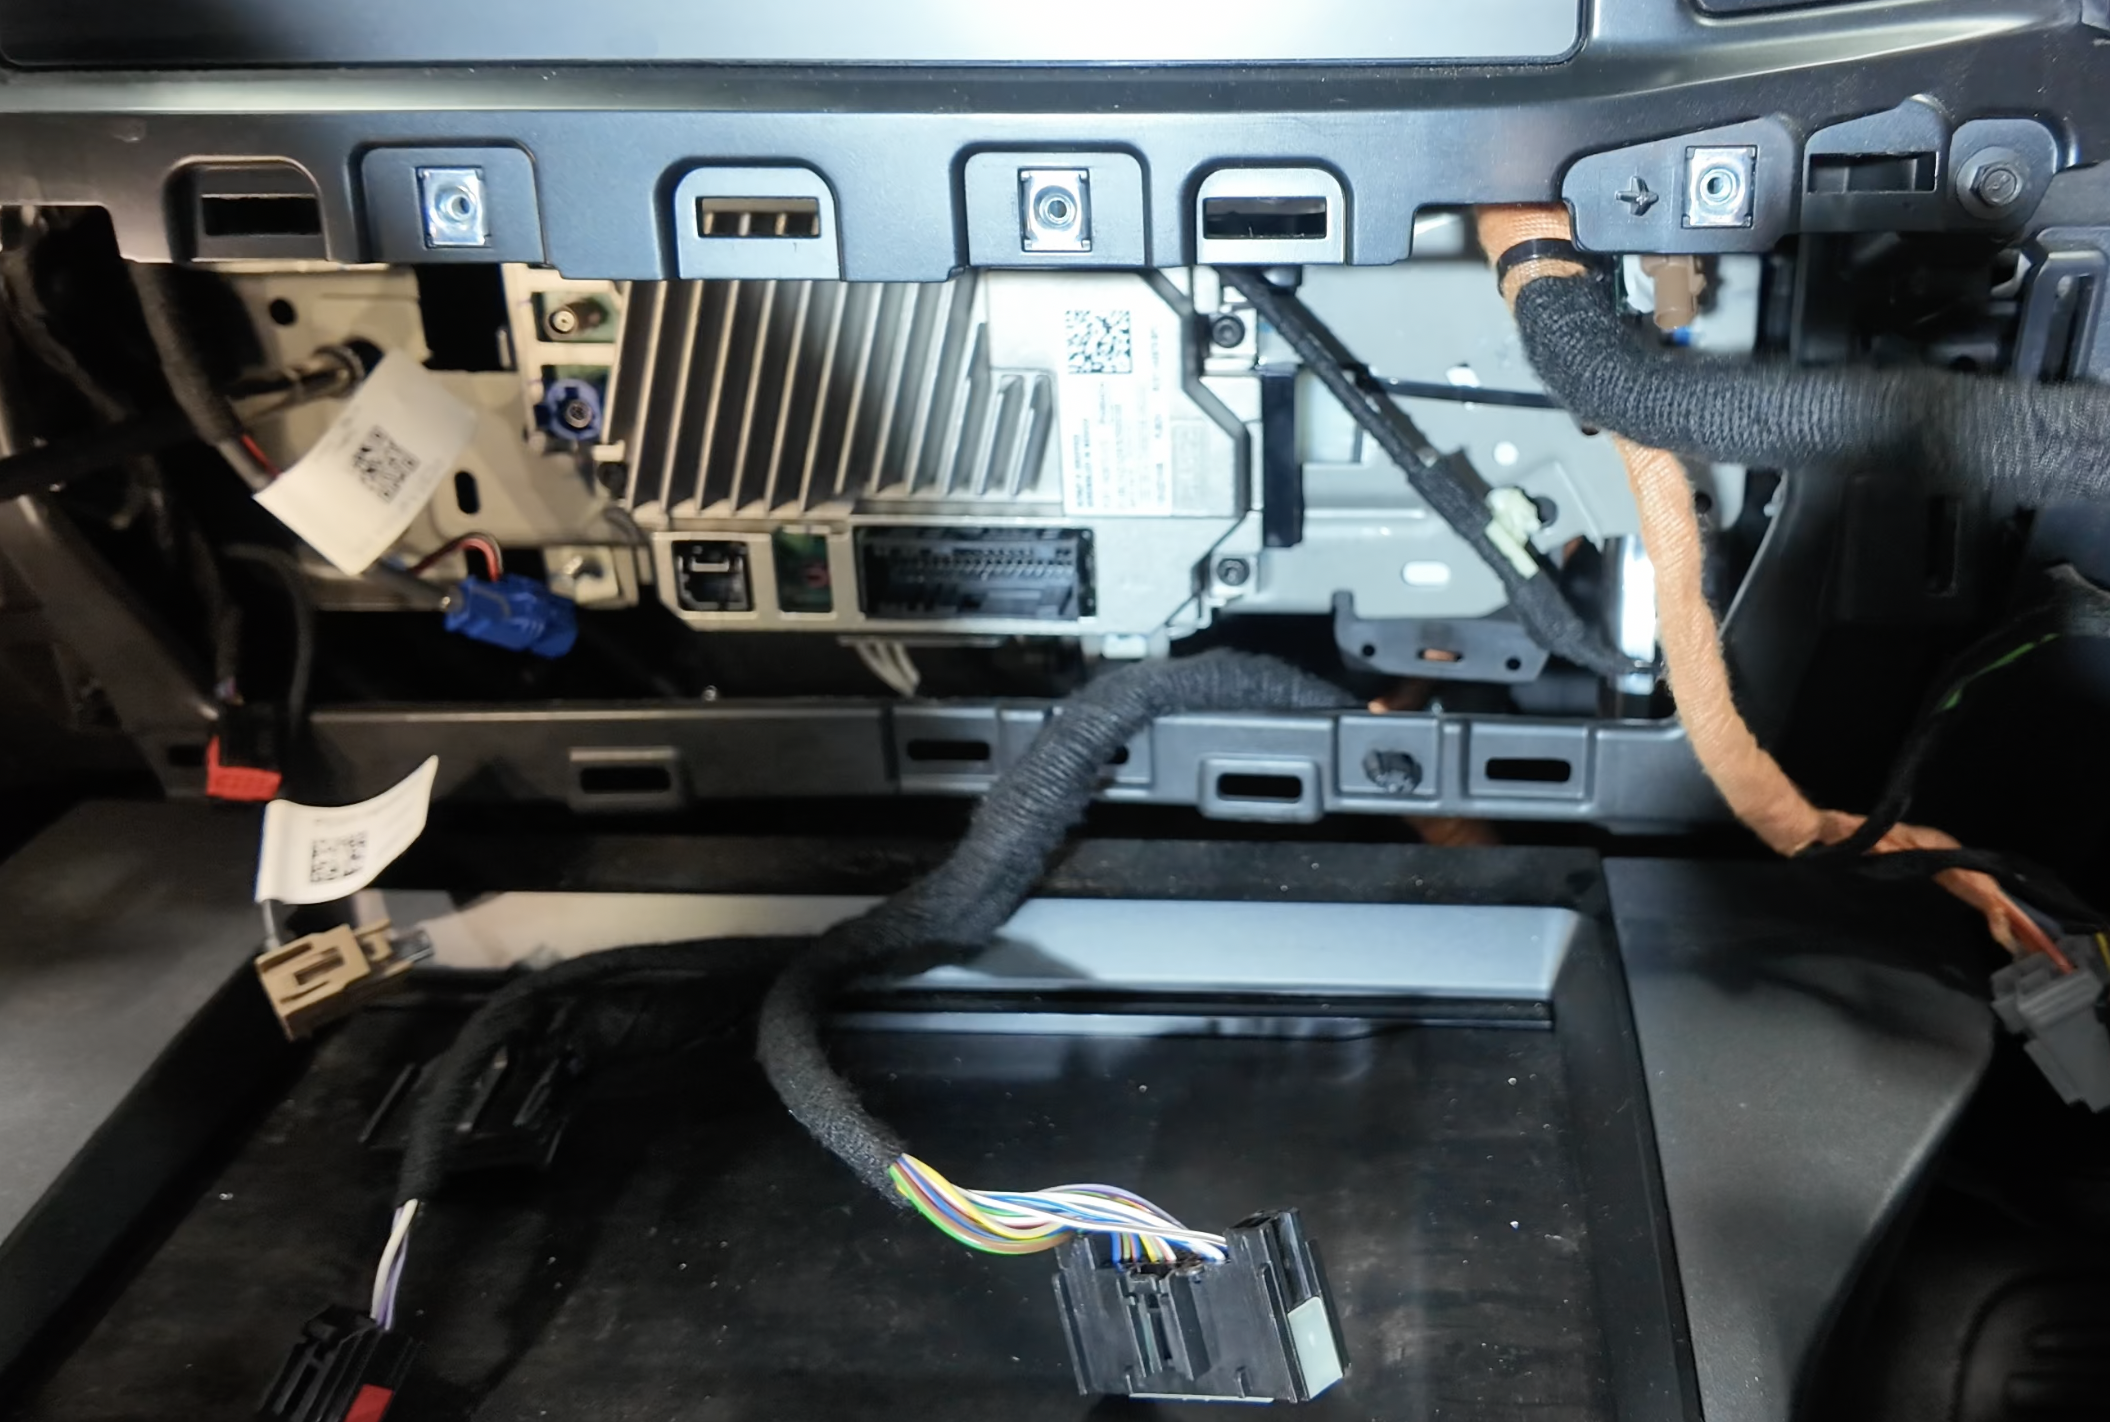
Pull out the gateway modules in order to easily access it.
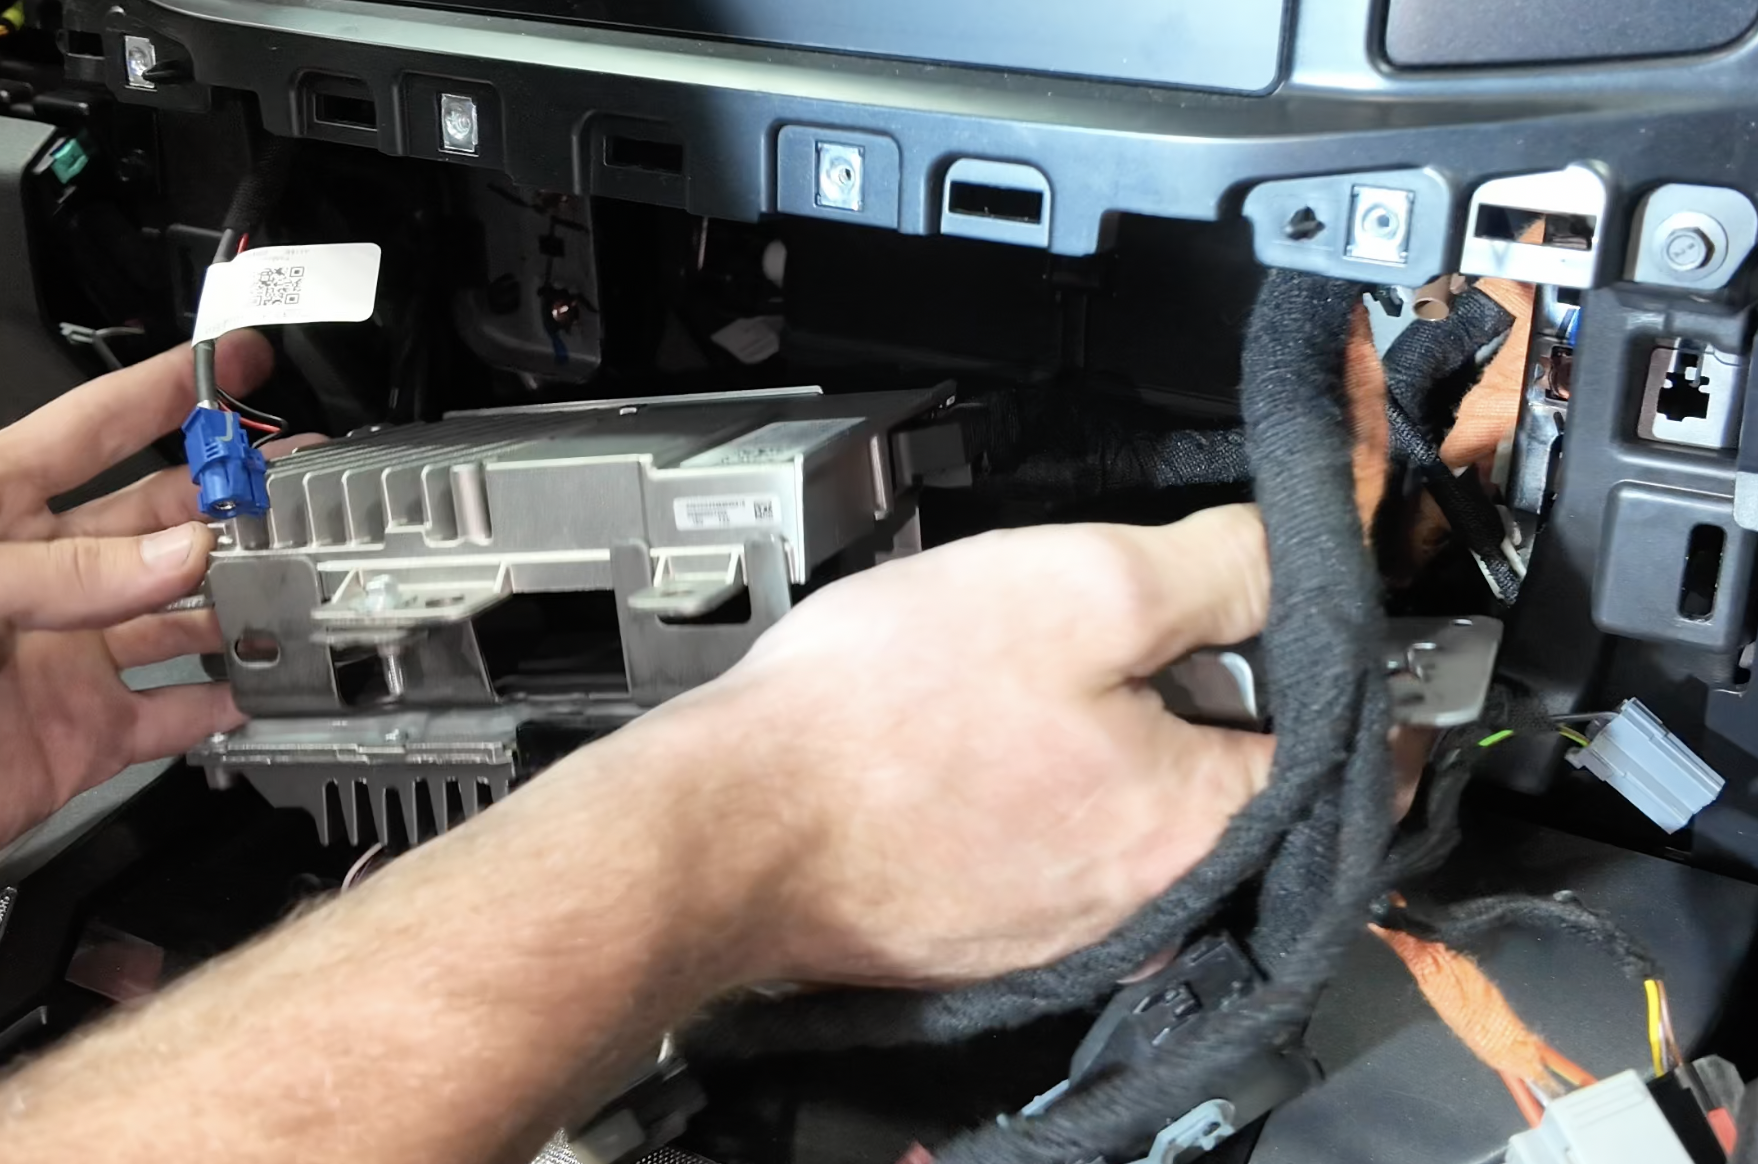
Unplug the connector (Red Arrow) from the side of this module.
.png?v=1763405318349)
Now, take the provided T-Harness included in this kit, and plug in the male connector (that was plugged into the module in the previous step) into the Female Connector of the provided T-Harness.
Then plug the Male Side of the T-Harness into the gateway modules Female port (the same port from Step 11).
Next, go ahead and place the DTE Recalibration Module into the Gateway Module mounting plate and zip-tie it down into place.
.png?v=1763406866110)
Now, using a 7mm Socket/Ratchet go ahead and tighten the (4) bolts back into place.
Now it's time to plug all the connectors back into the Radio/AC Control Module. We recommend using the picture you took during Step 7.
Now, go ahead and plug in the connectors from the Radio/AC Module to the Radio/AC Control Panel.
*We recommend using the photo from Step 6 to ensure all connectors are plugged into the correct ports.
Now, go ahead and install the Radio/AC Control Panel. Ensure the clip on either side pops into place. Once done, go ahead and bolt in the (4) bolts using a 7mm Socket/Ratchet.
.png?v=1763408510693)
Plug the Push to Start ignition connector back into place. Then, go ahead and re-install the center trim piece back into place.
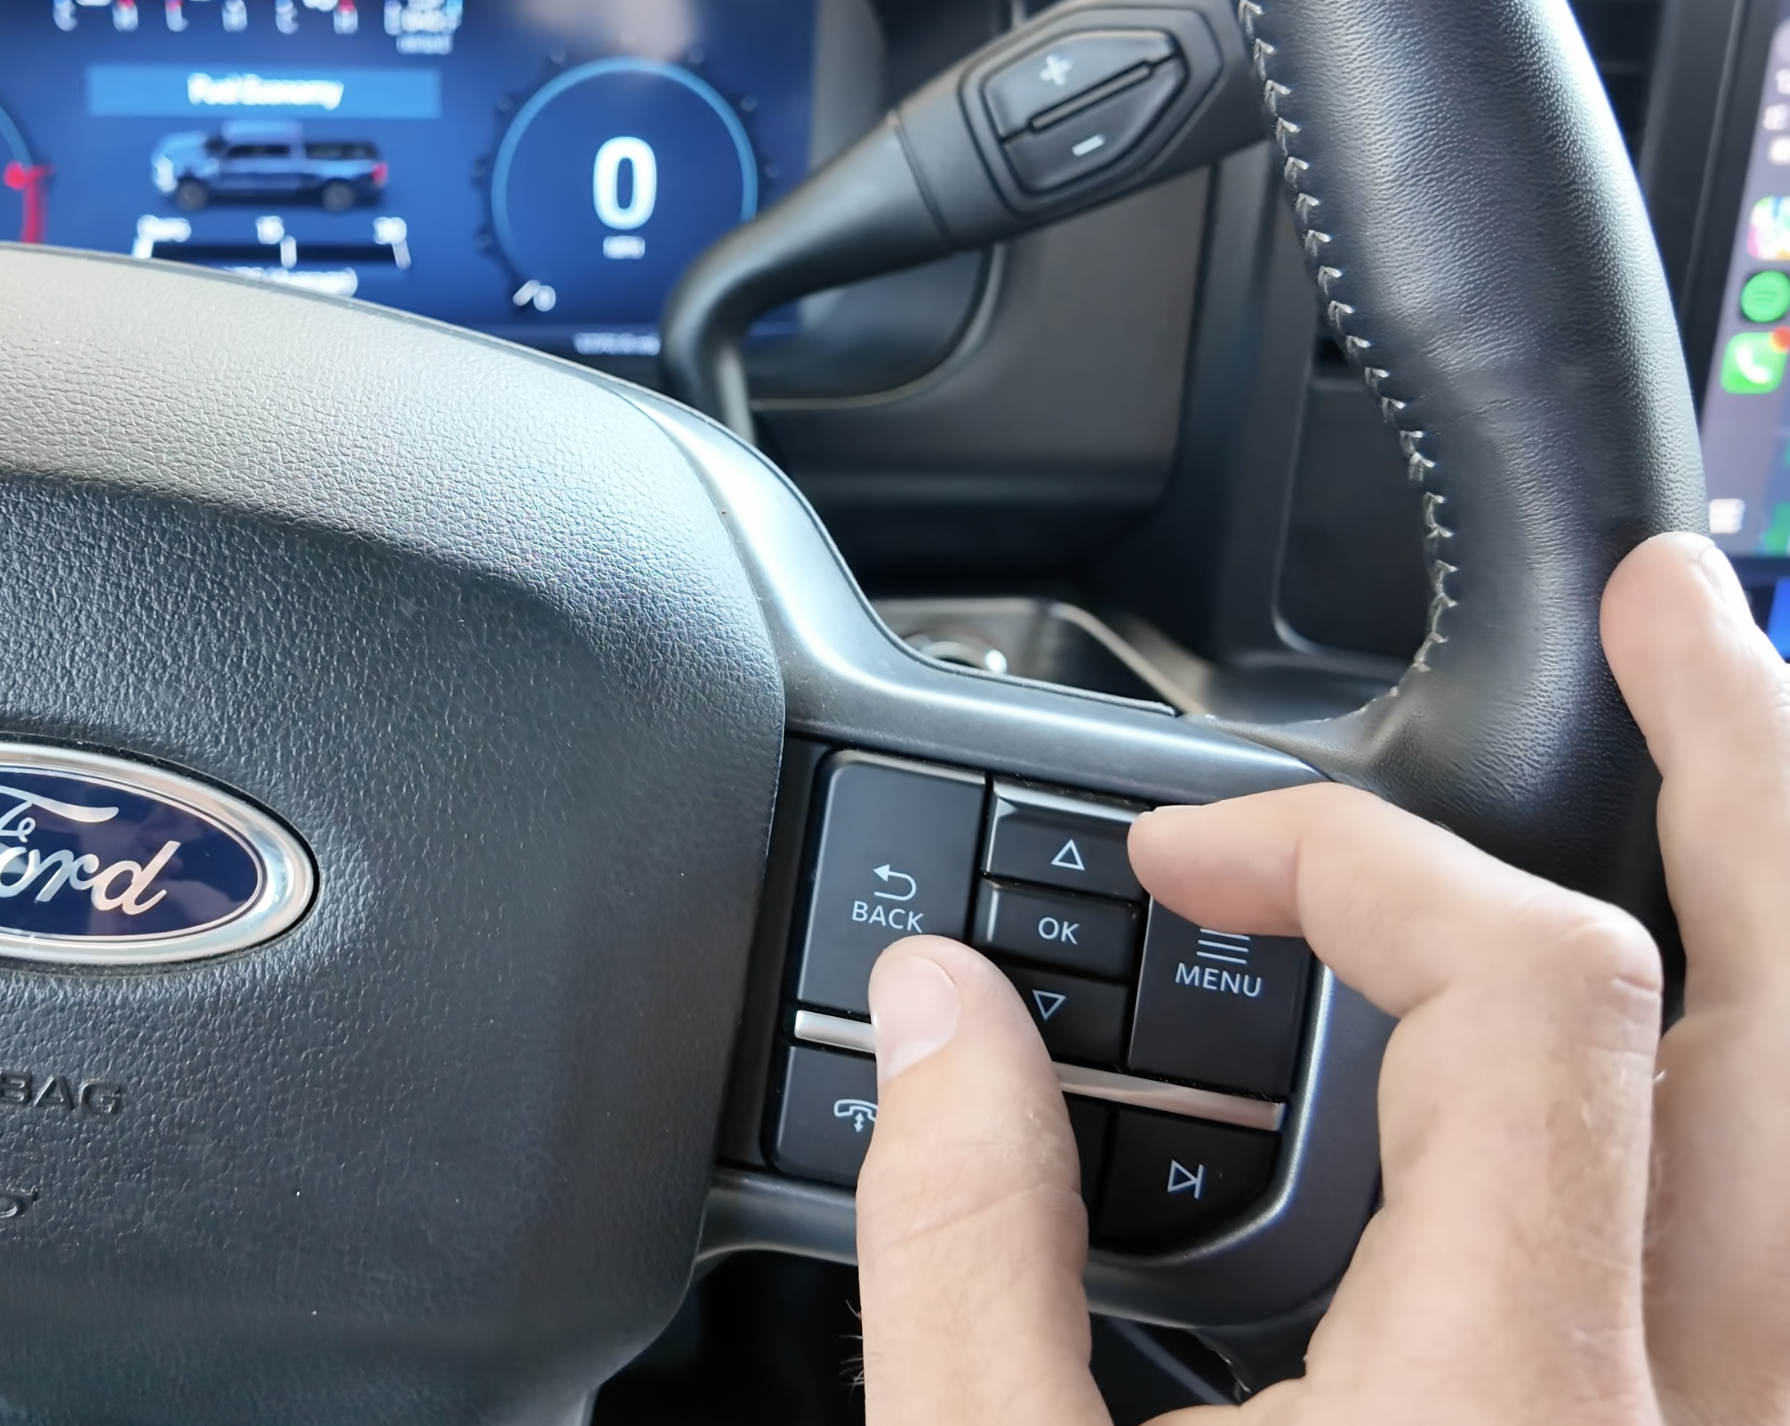
For 2023+ Long Bed models,
Push and hold the "Back" button, then press the "Up" button.
For 2023+ Crew Cab Short Bed models, your DTE would have already defaulted to the adjusted value.