Step 1
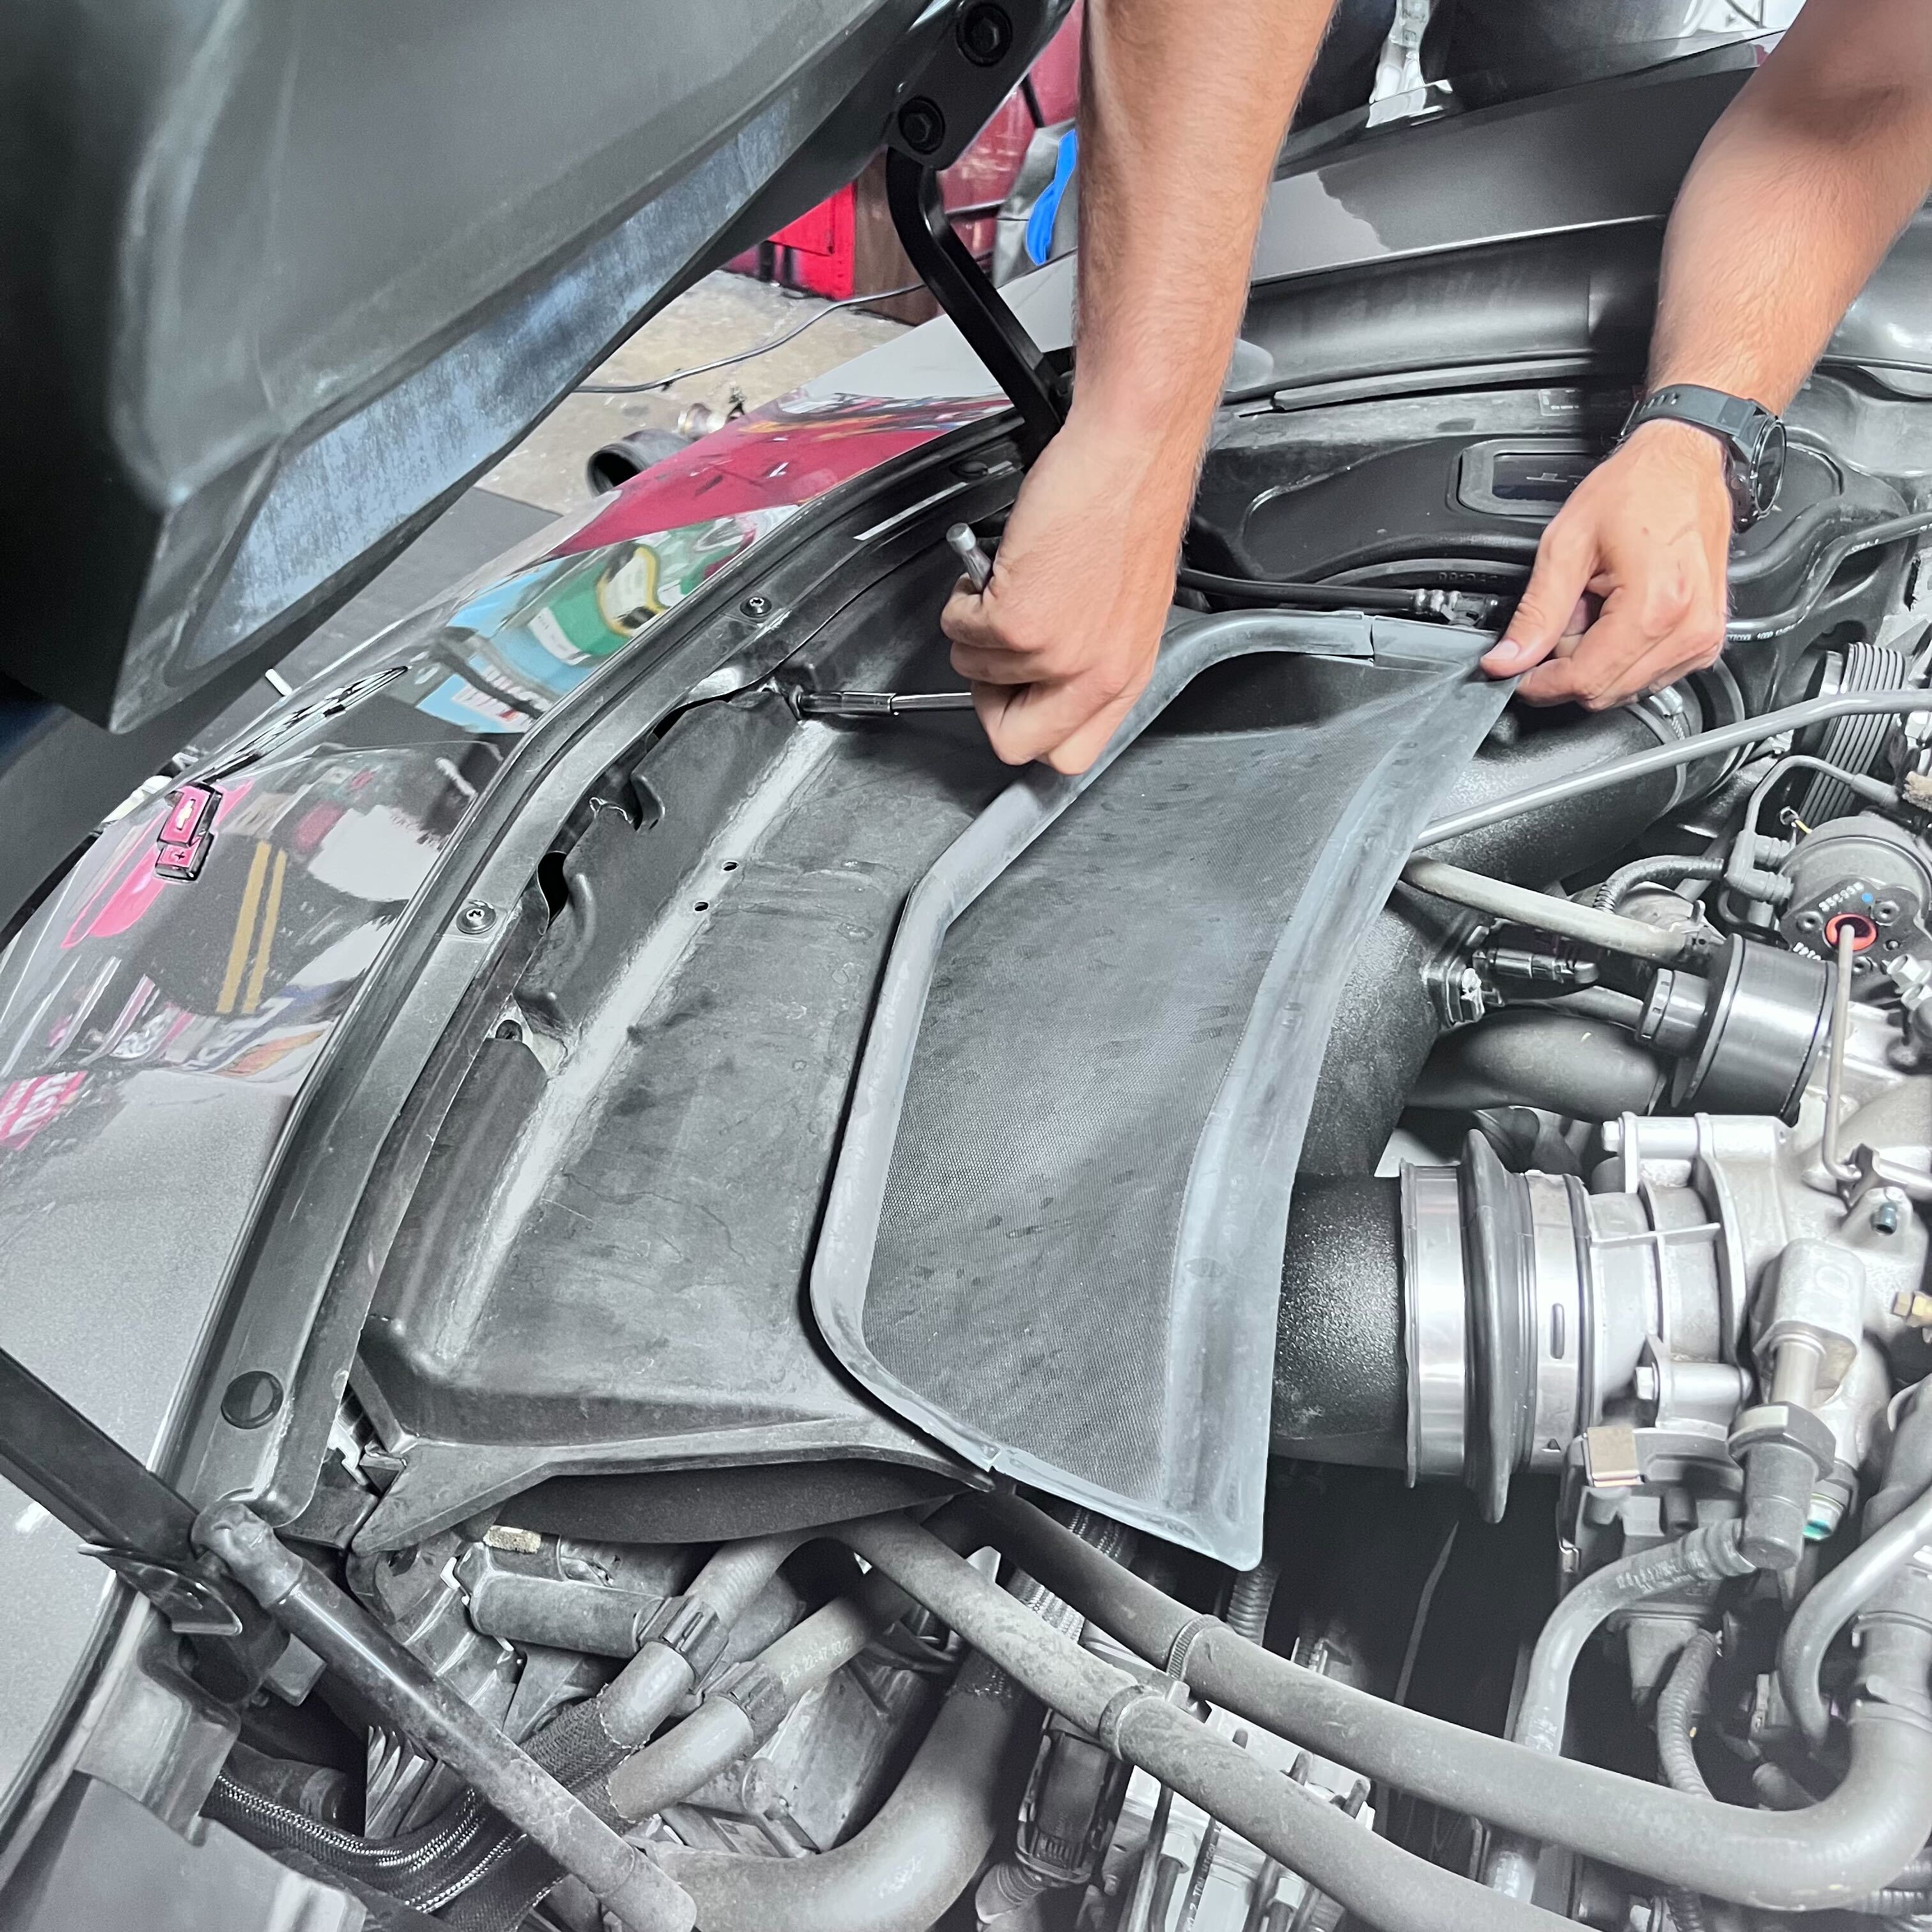
Remove the 4 screws holding the vent tube assembly to the car.
Tip: You will need a 7mm socket for this.
Note: This intake kit may not fit with the following Aftermarket Parts installed:
- Body Lift or Lowering Kit
- Custom Hood
- Throttle Body Spacer / Upgrade
Please read the entire product guide before proceeding.
- Ensure all parts are present.
- If you are missing any of the components, call our customer support at (909) 947-0015.
- Do not work on your vehicle while the engine is hot.
- Make sure the engine is turned off and the vehicle is in Park or the Parking Brake is set.
- 7mm, 5/16 or 8mm, 10mm socket/nut driver
- Flat head screw driver
-X-Acto knife
- Phillips Head screw driver
Remove the 4 screws holding the vent tube assembly to the car.
Tip: You will need a 7mm socket for this.

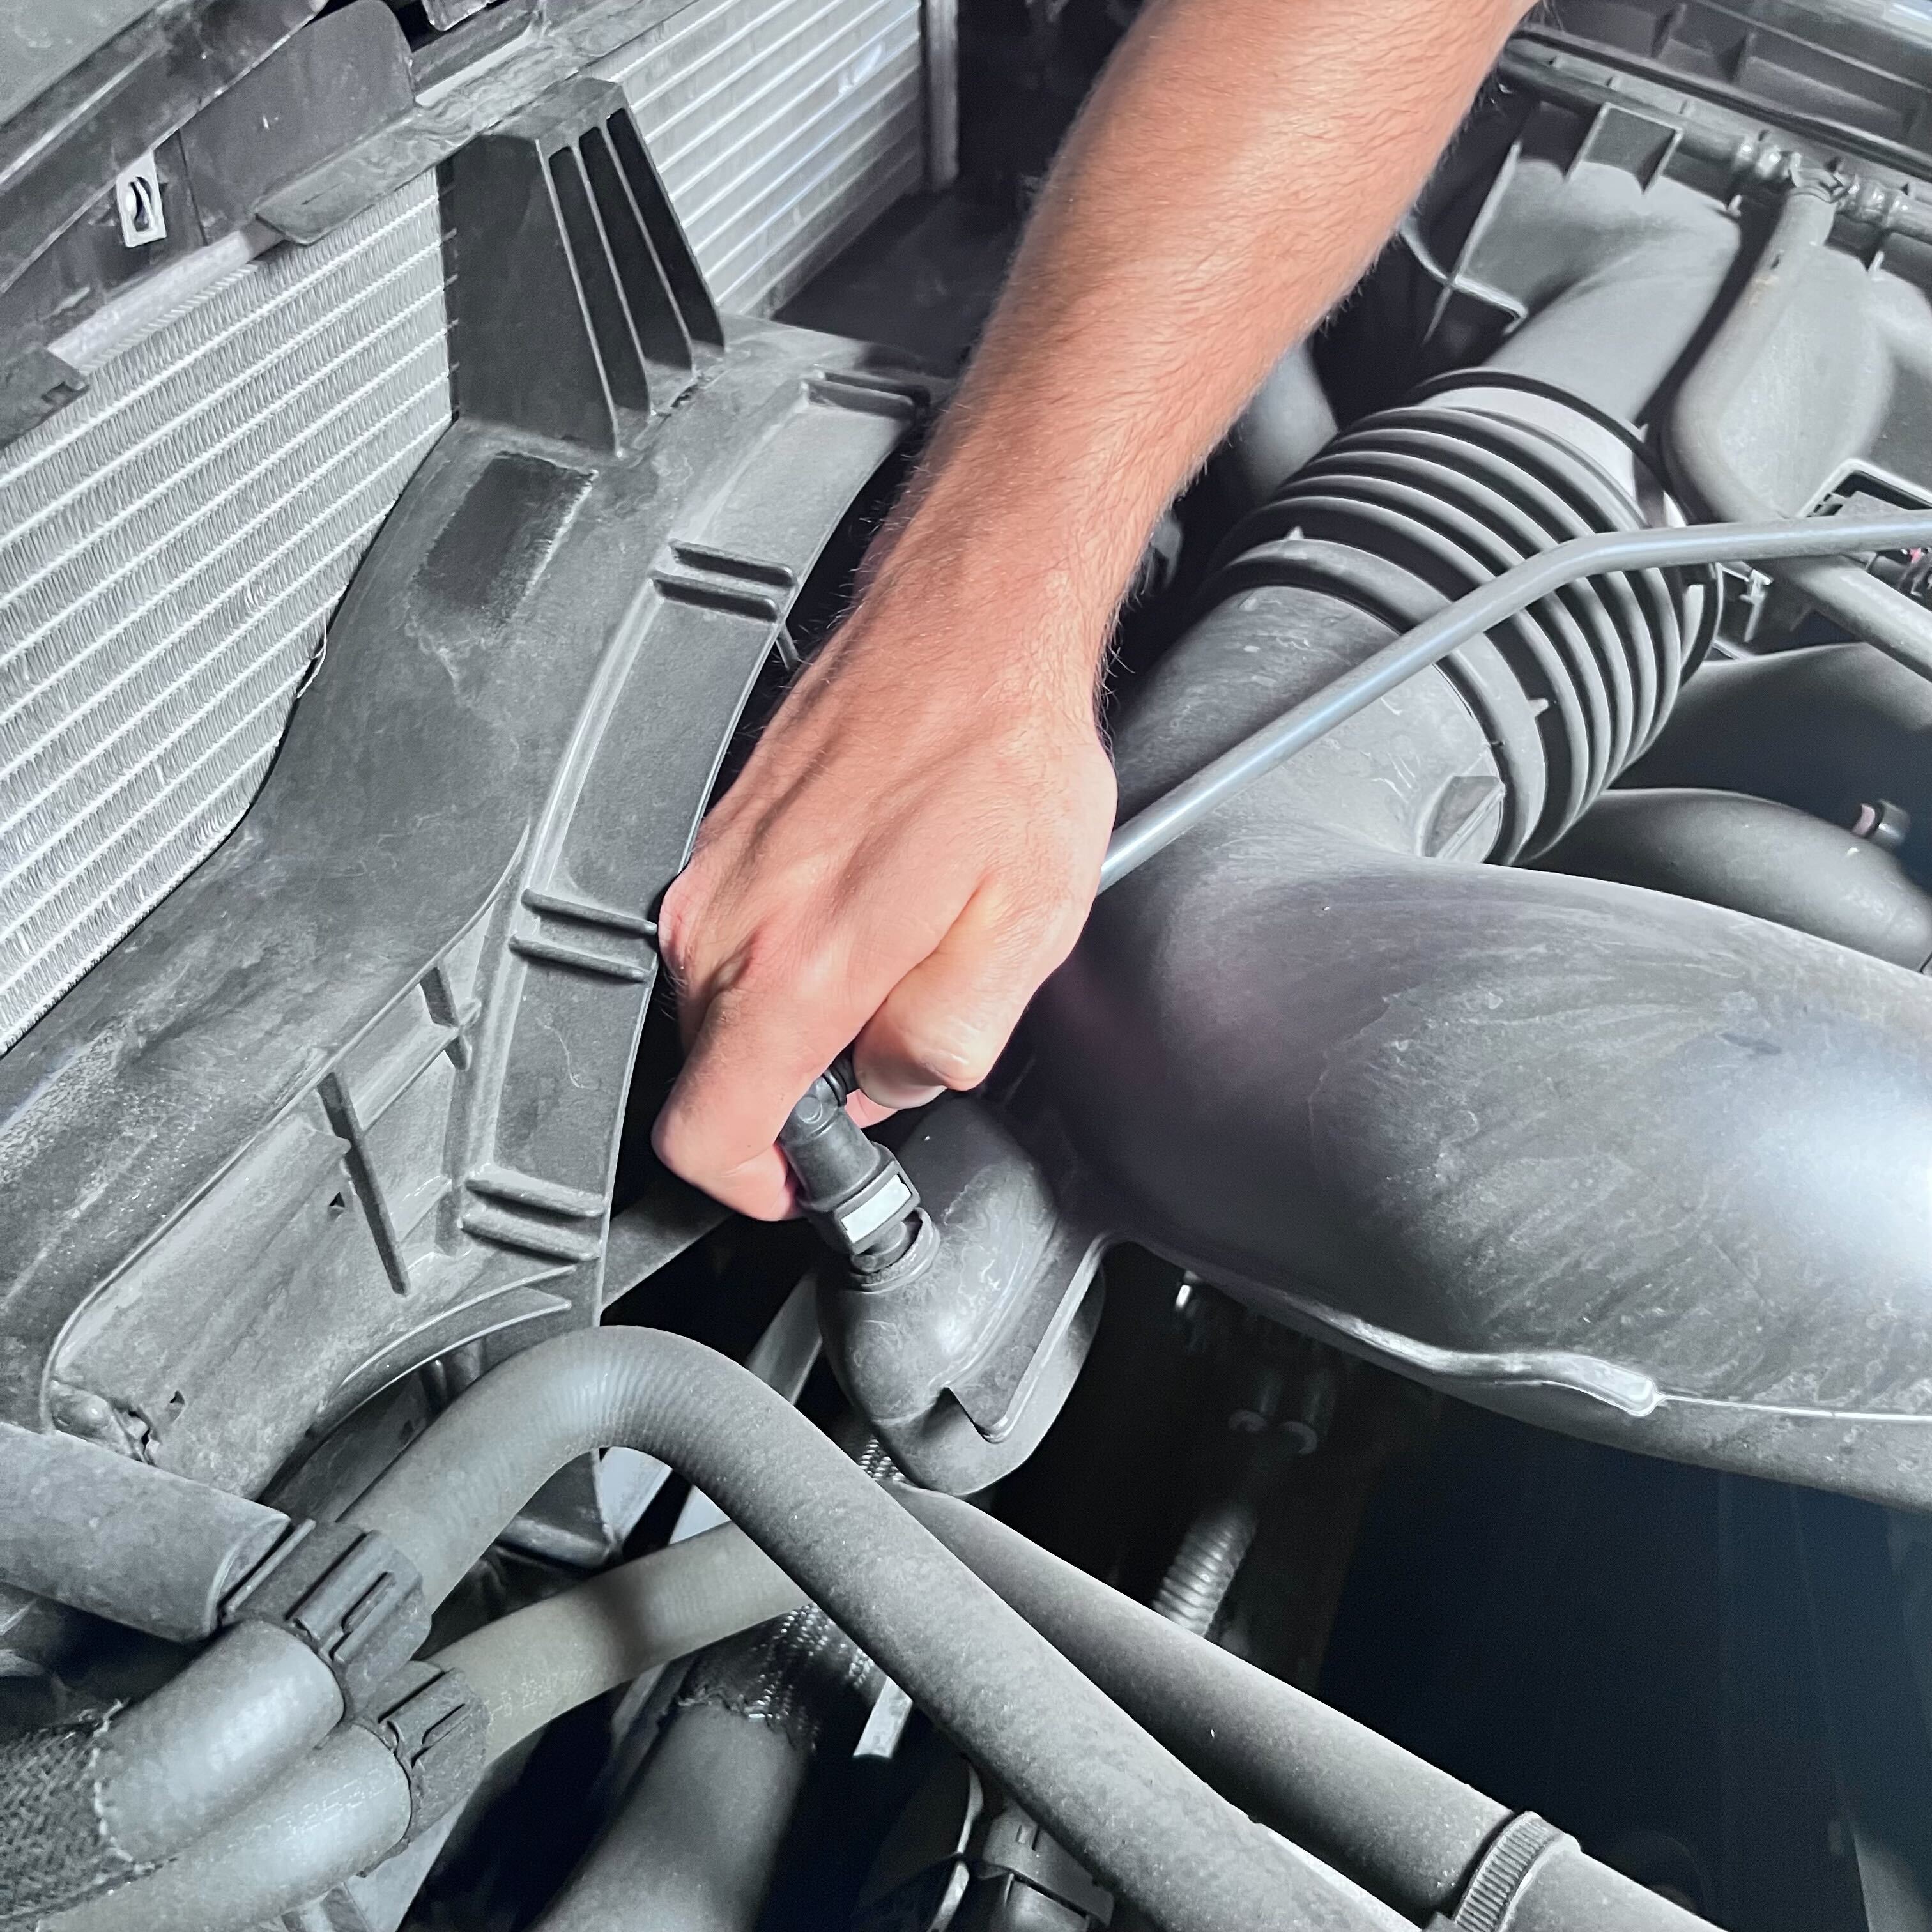
Loosen the hose clamp on the throttle body side of intake.
Tip: You'll need an 8mm socket for this.
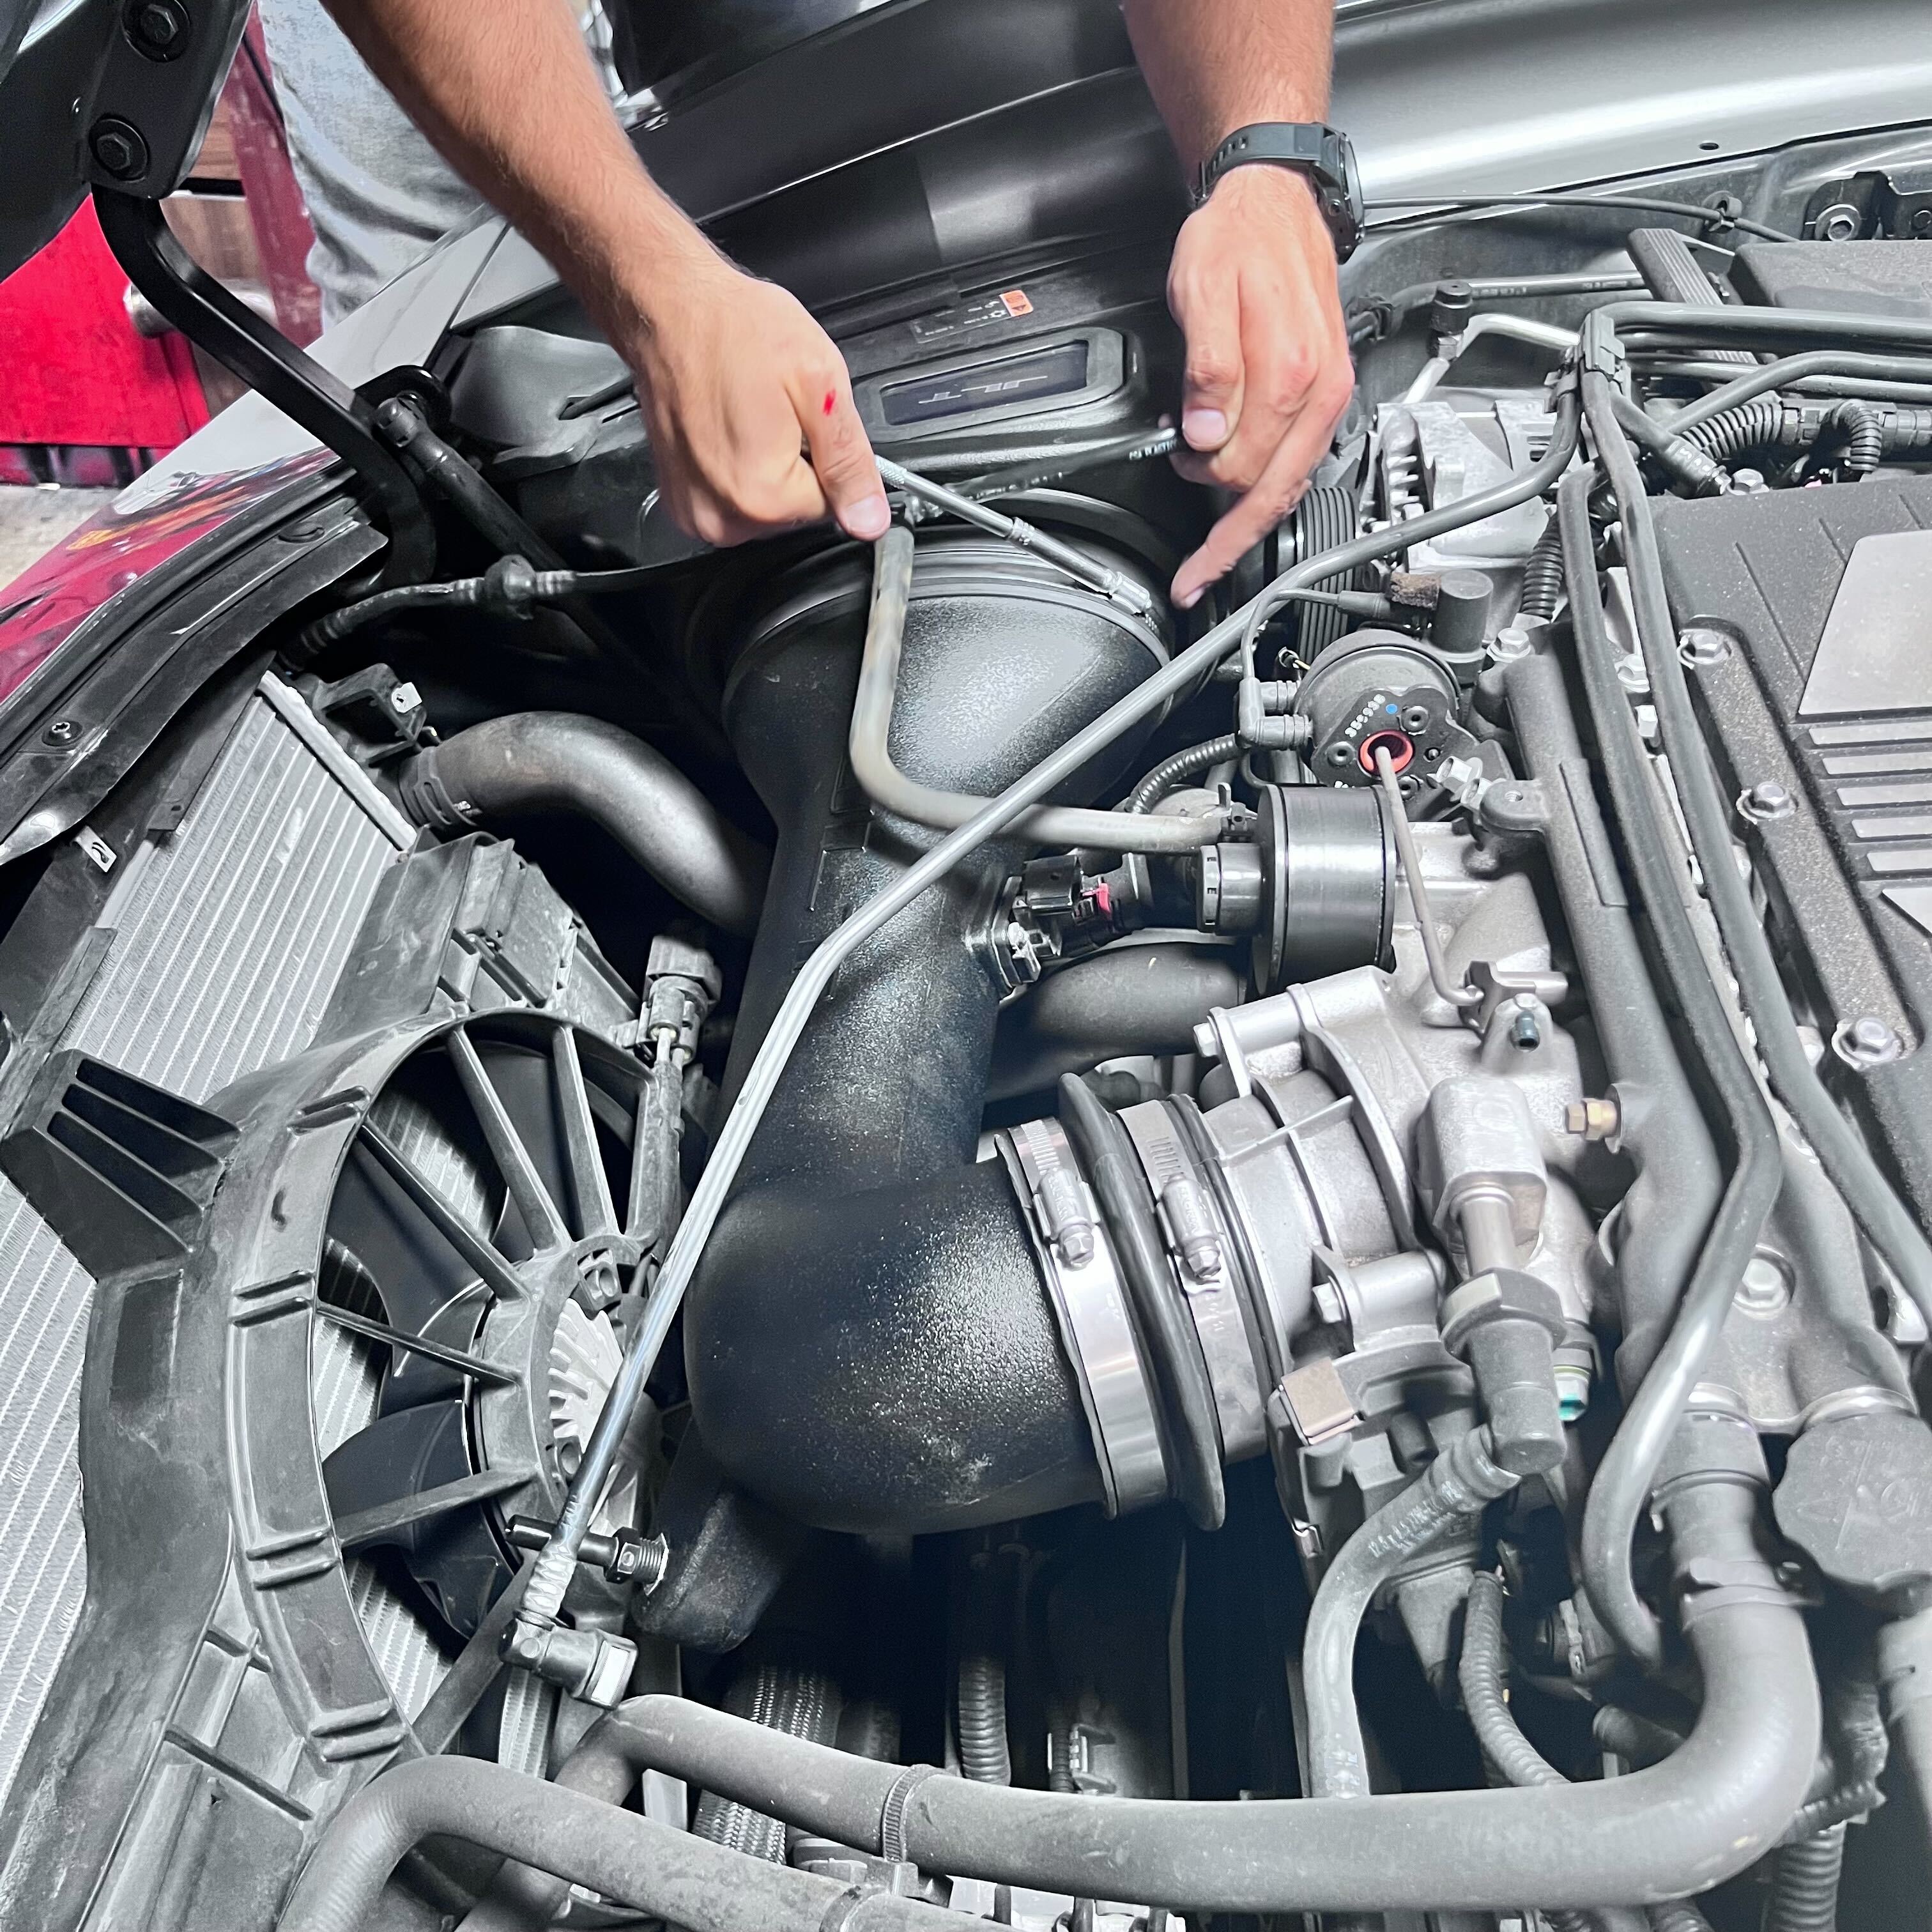
Disconnect the quick connect fitting connected to the intake tube. First, depress the button on the bottom of the fitting, then pull up while pushing the intake tube down.
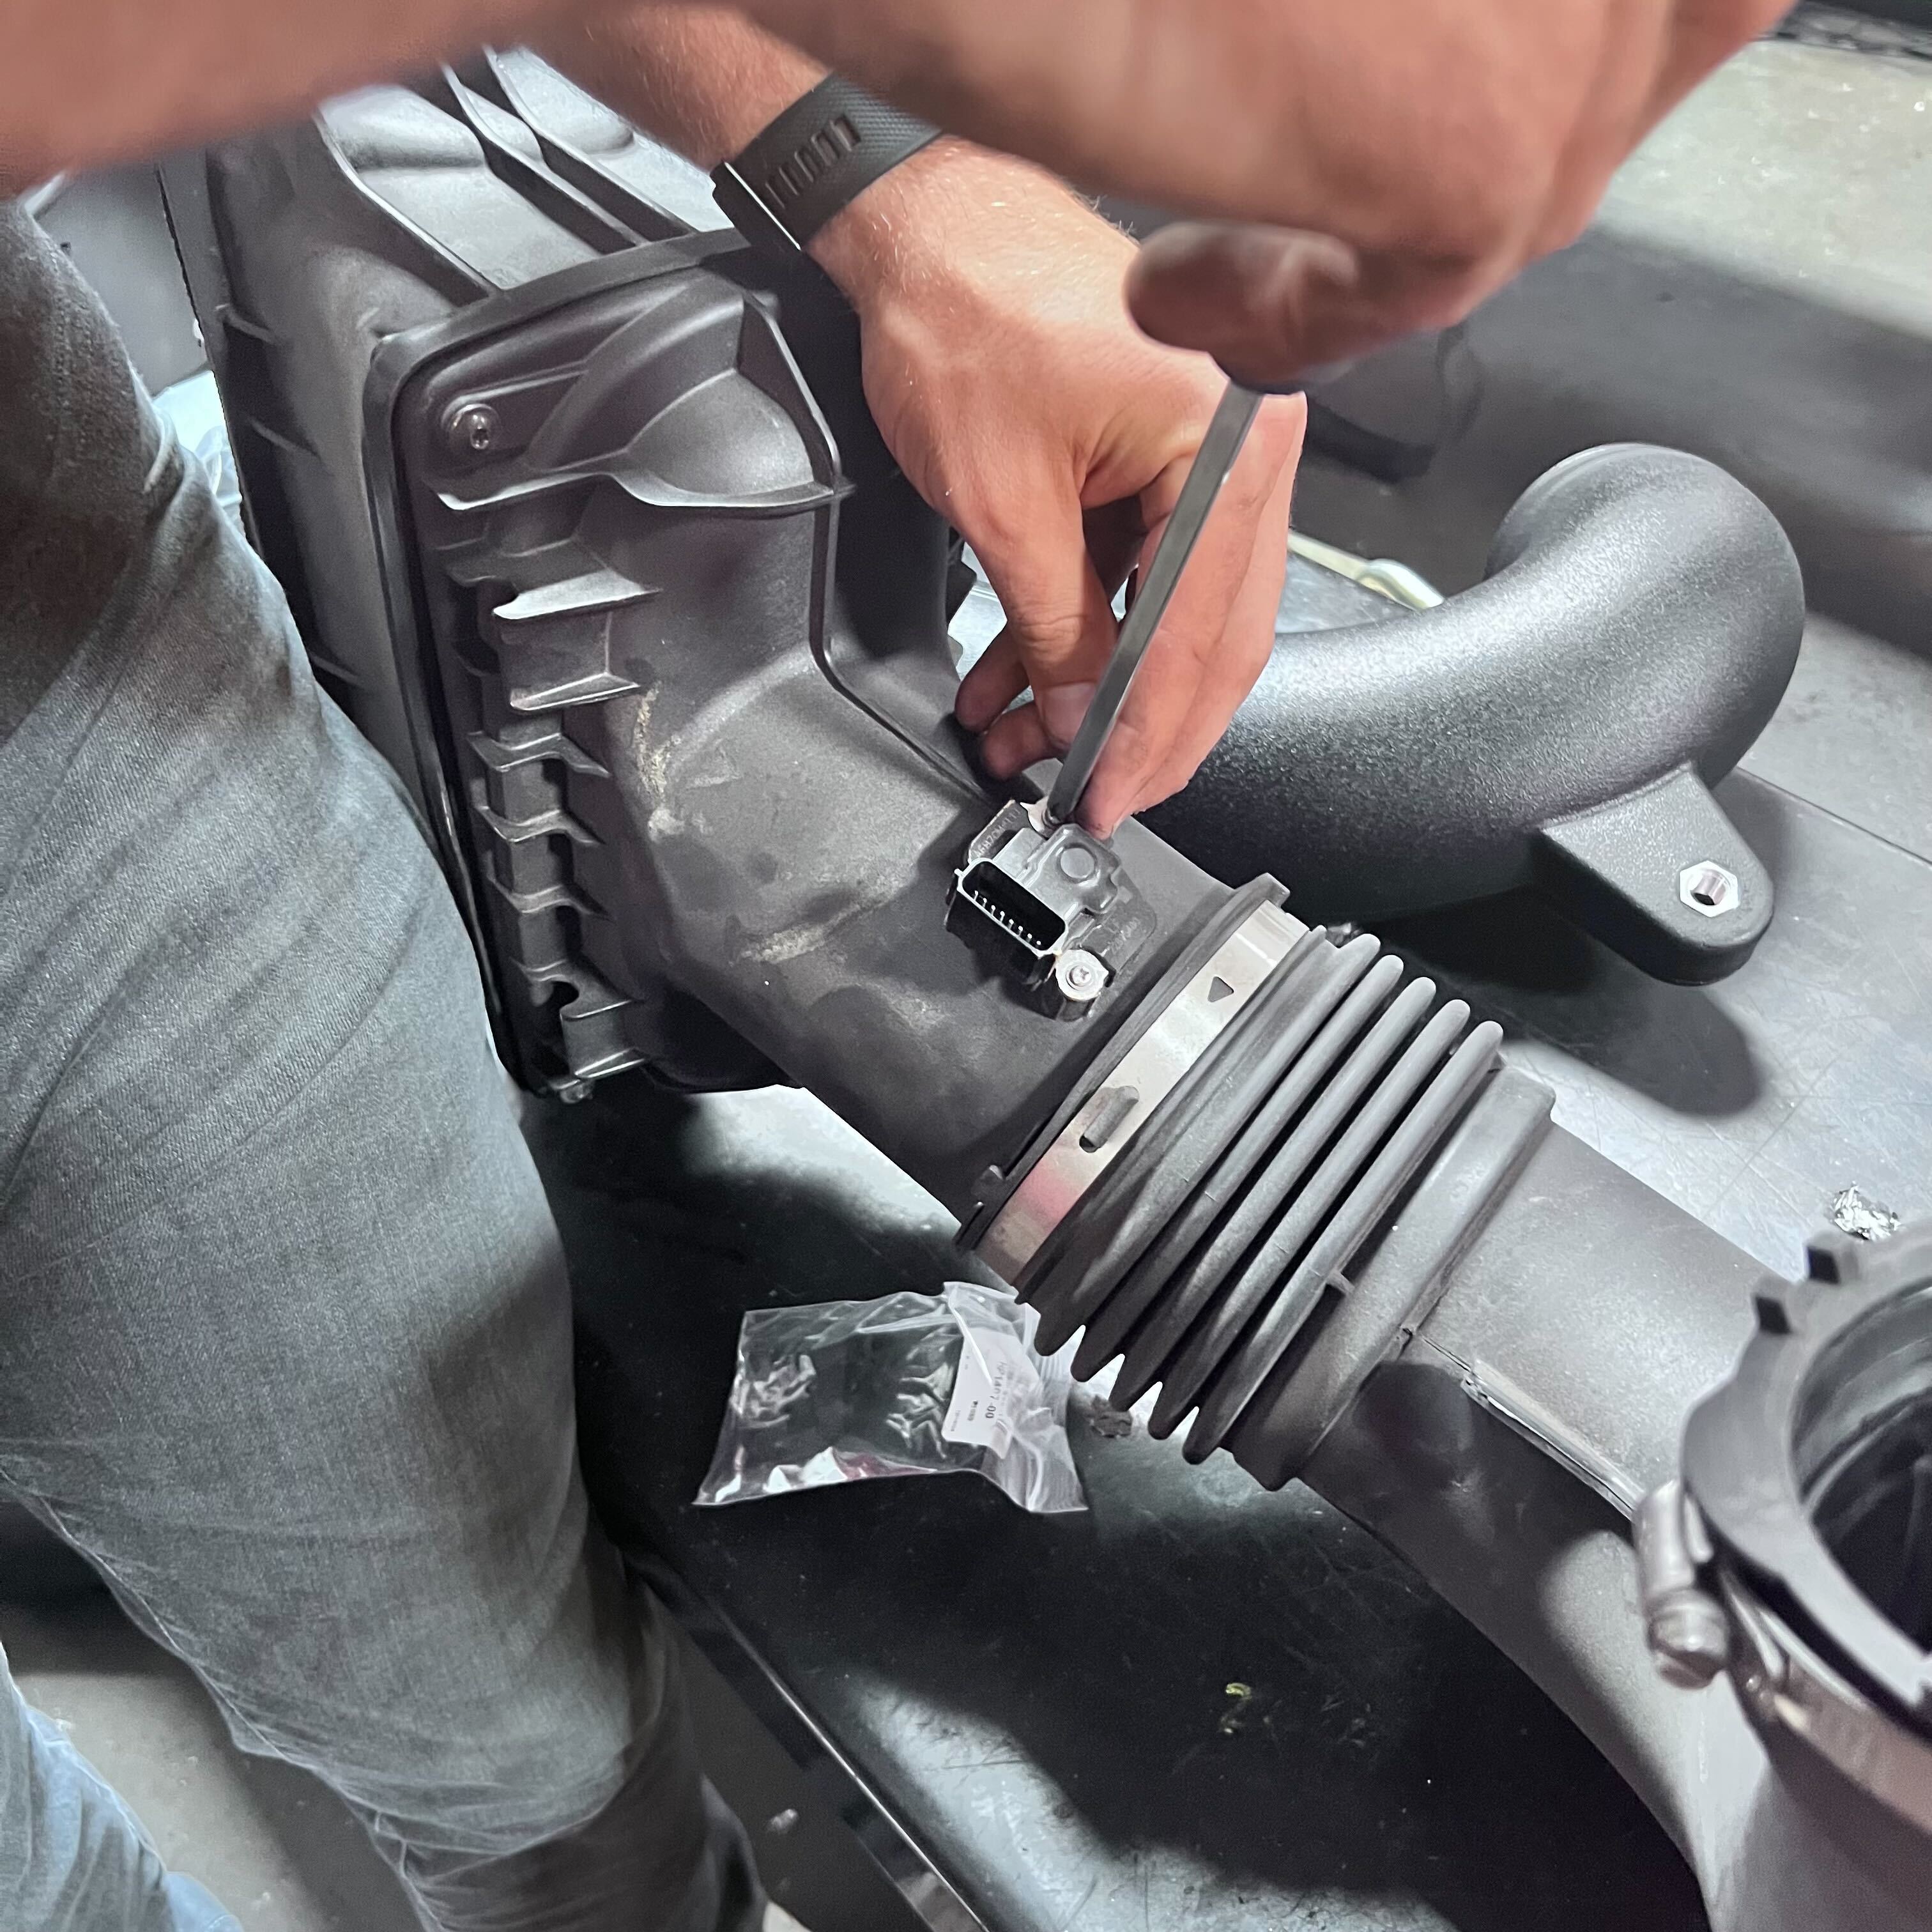
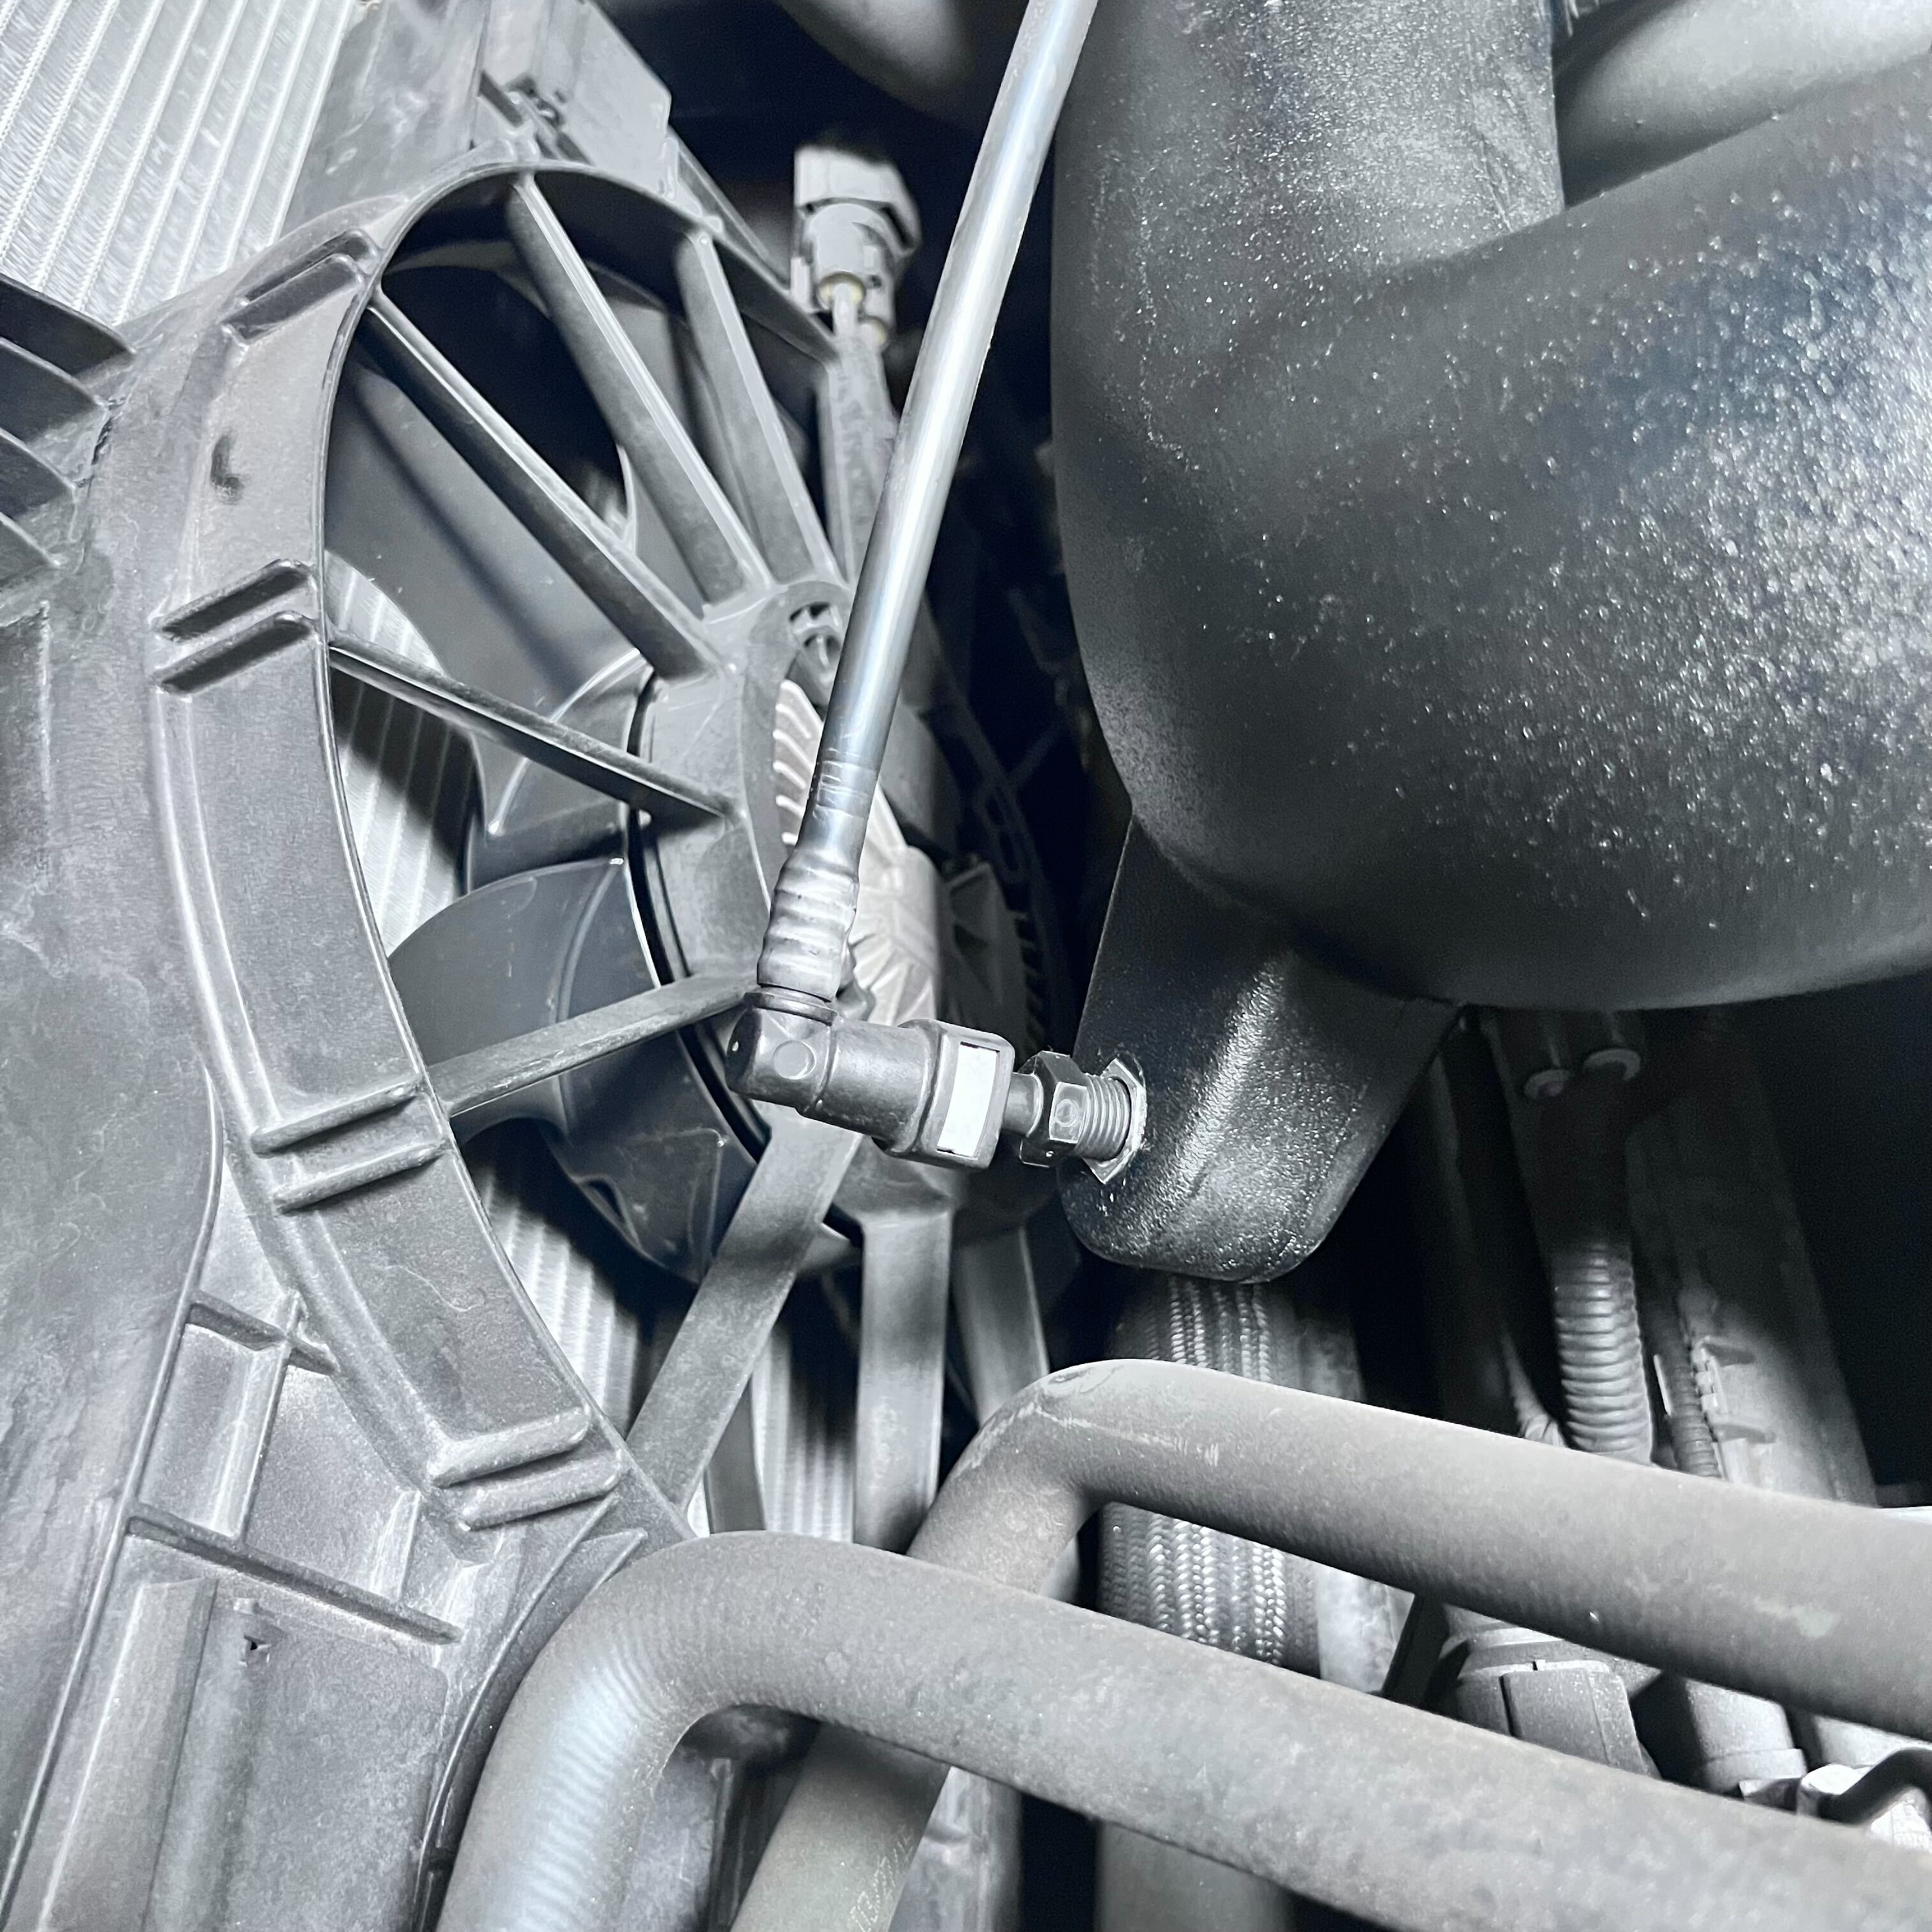
Disconnect the MAP Sensor from the intake tube.
Tip: Take a flat head screwdriver and push out the red tab, then press on the button in order to disconnect.

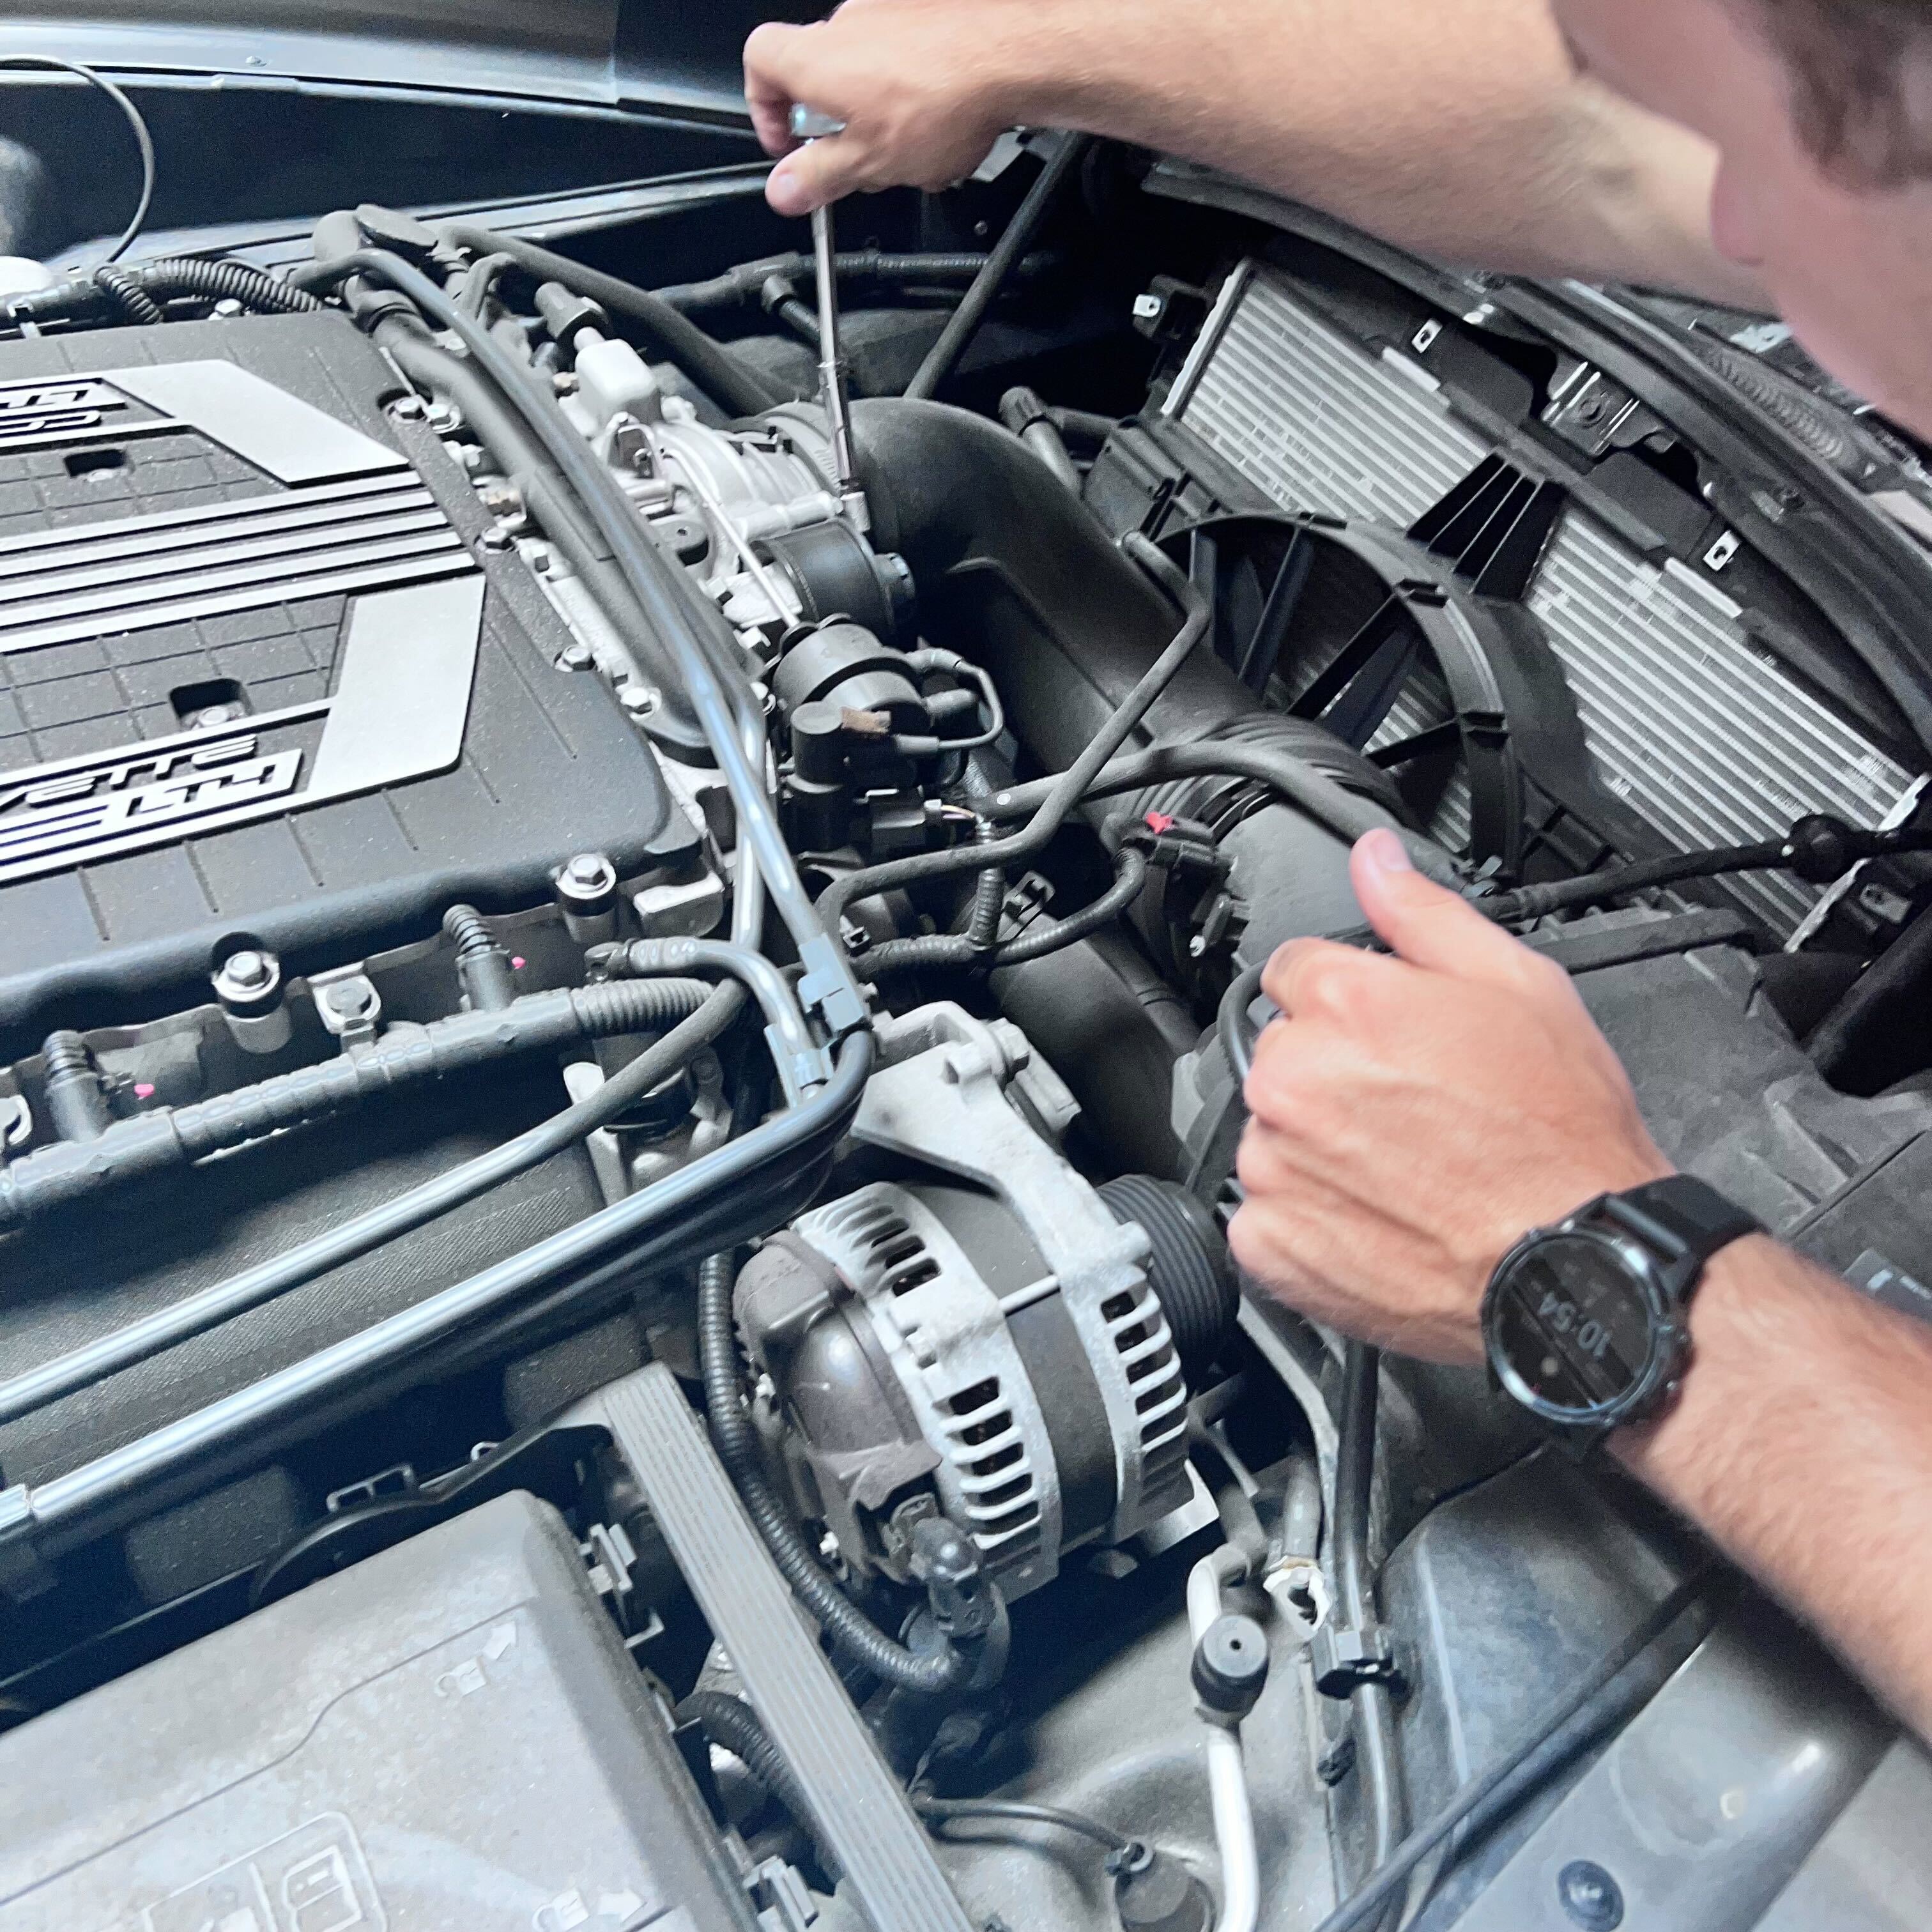
Remove the 3 bolts holding the air box to the vehicle.
Tip: You'll need a 10mm socket for this. There are 2 bolts on the right side of the air box and one on the left.
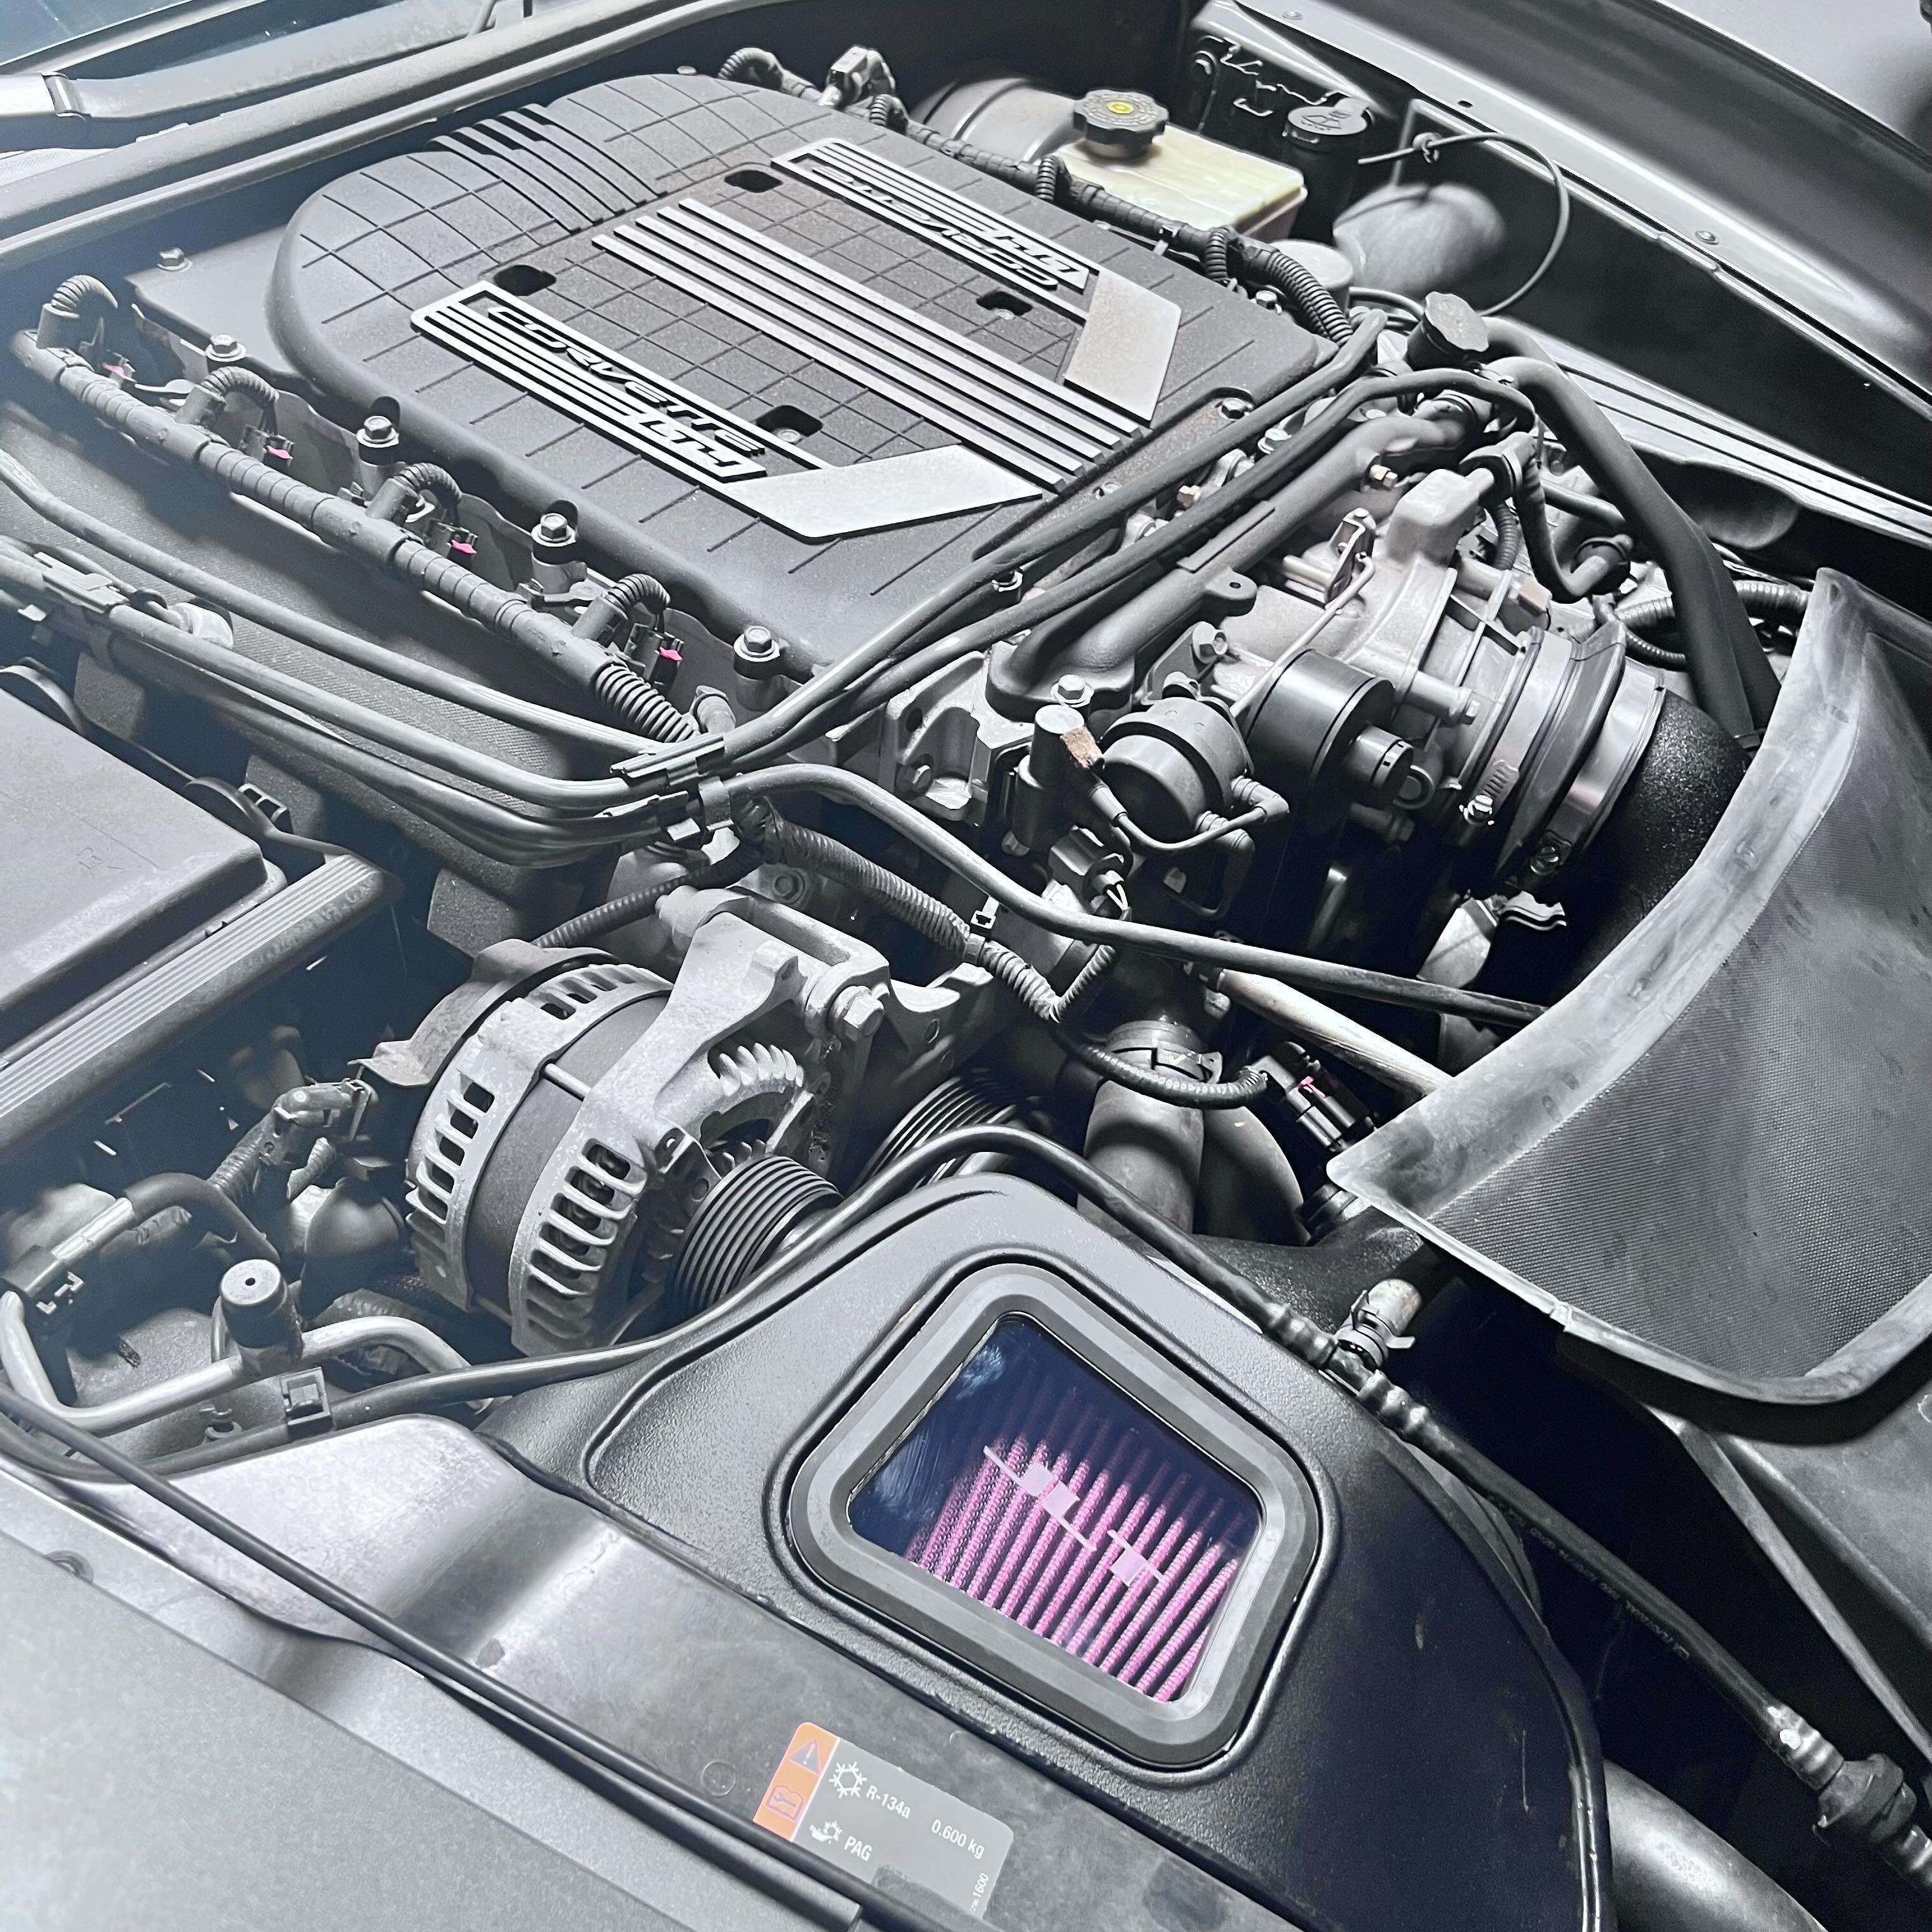
.png?v=1749837549166)
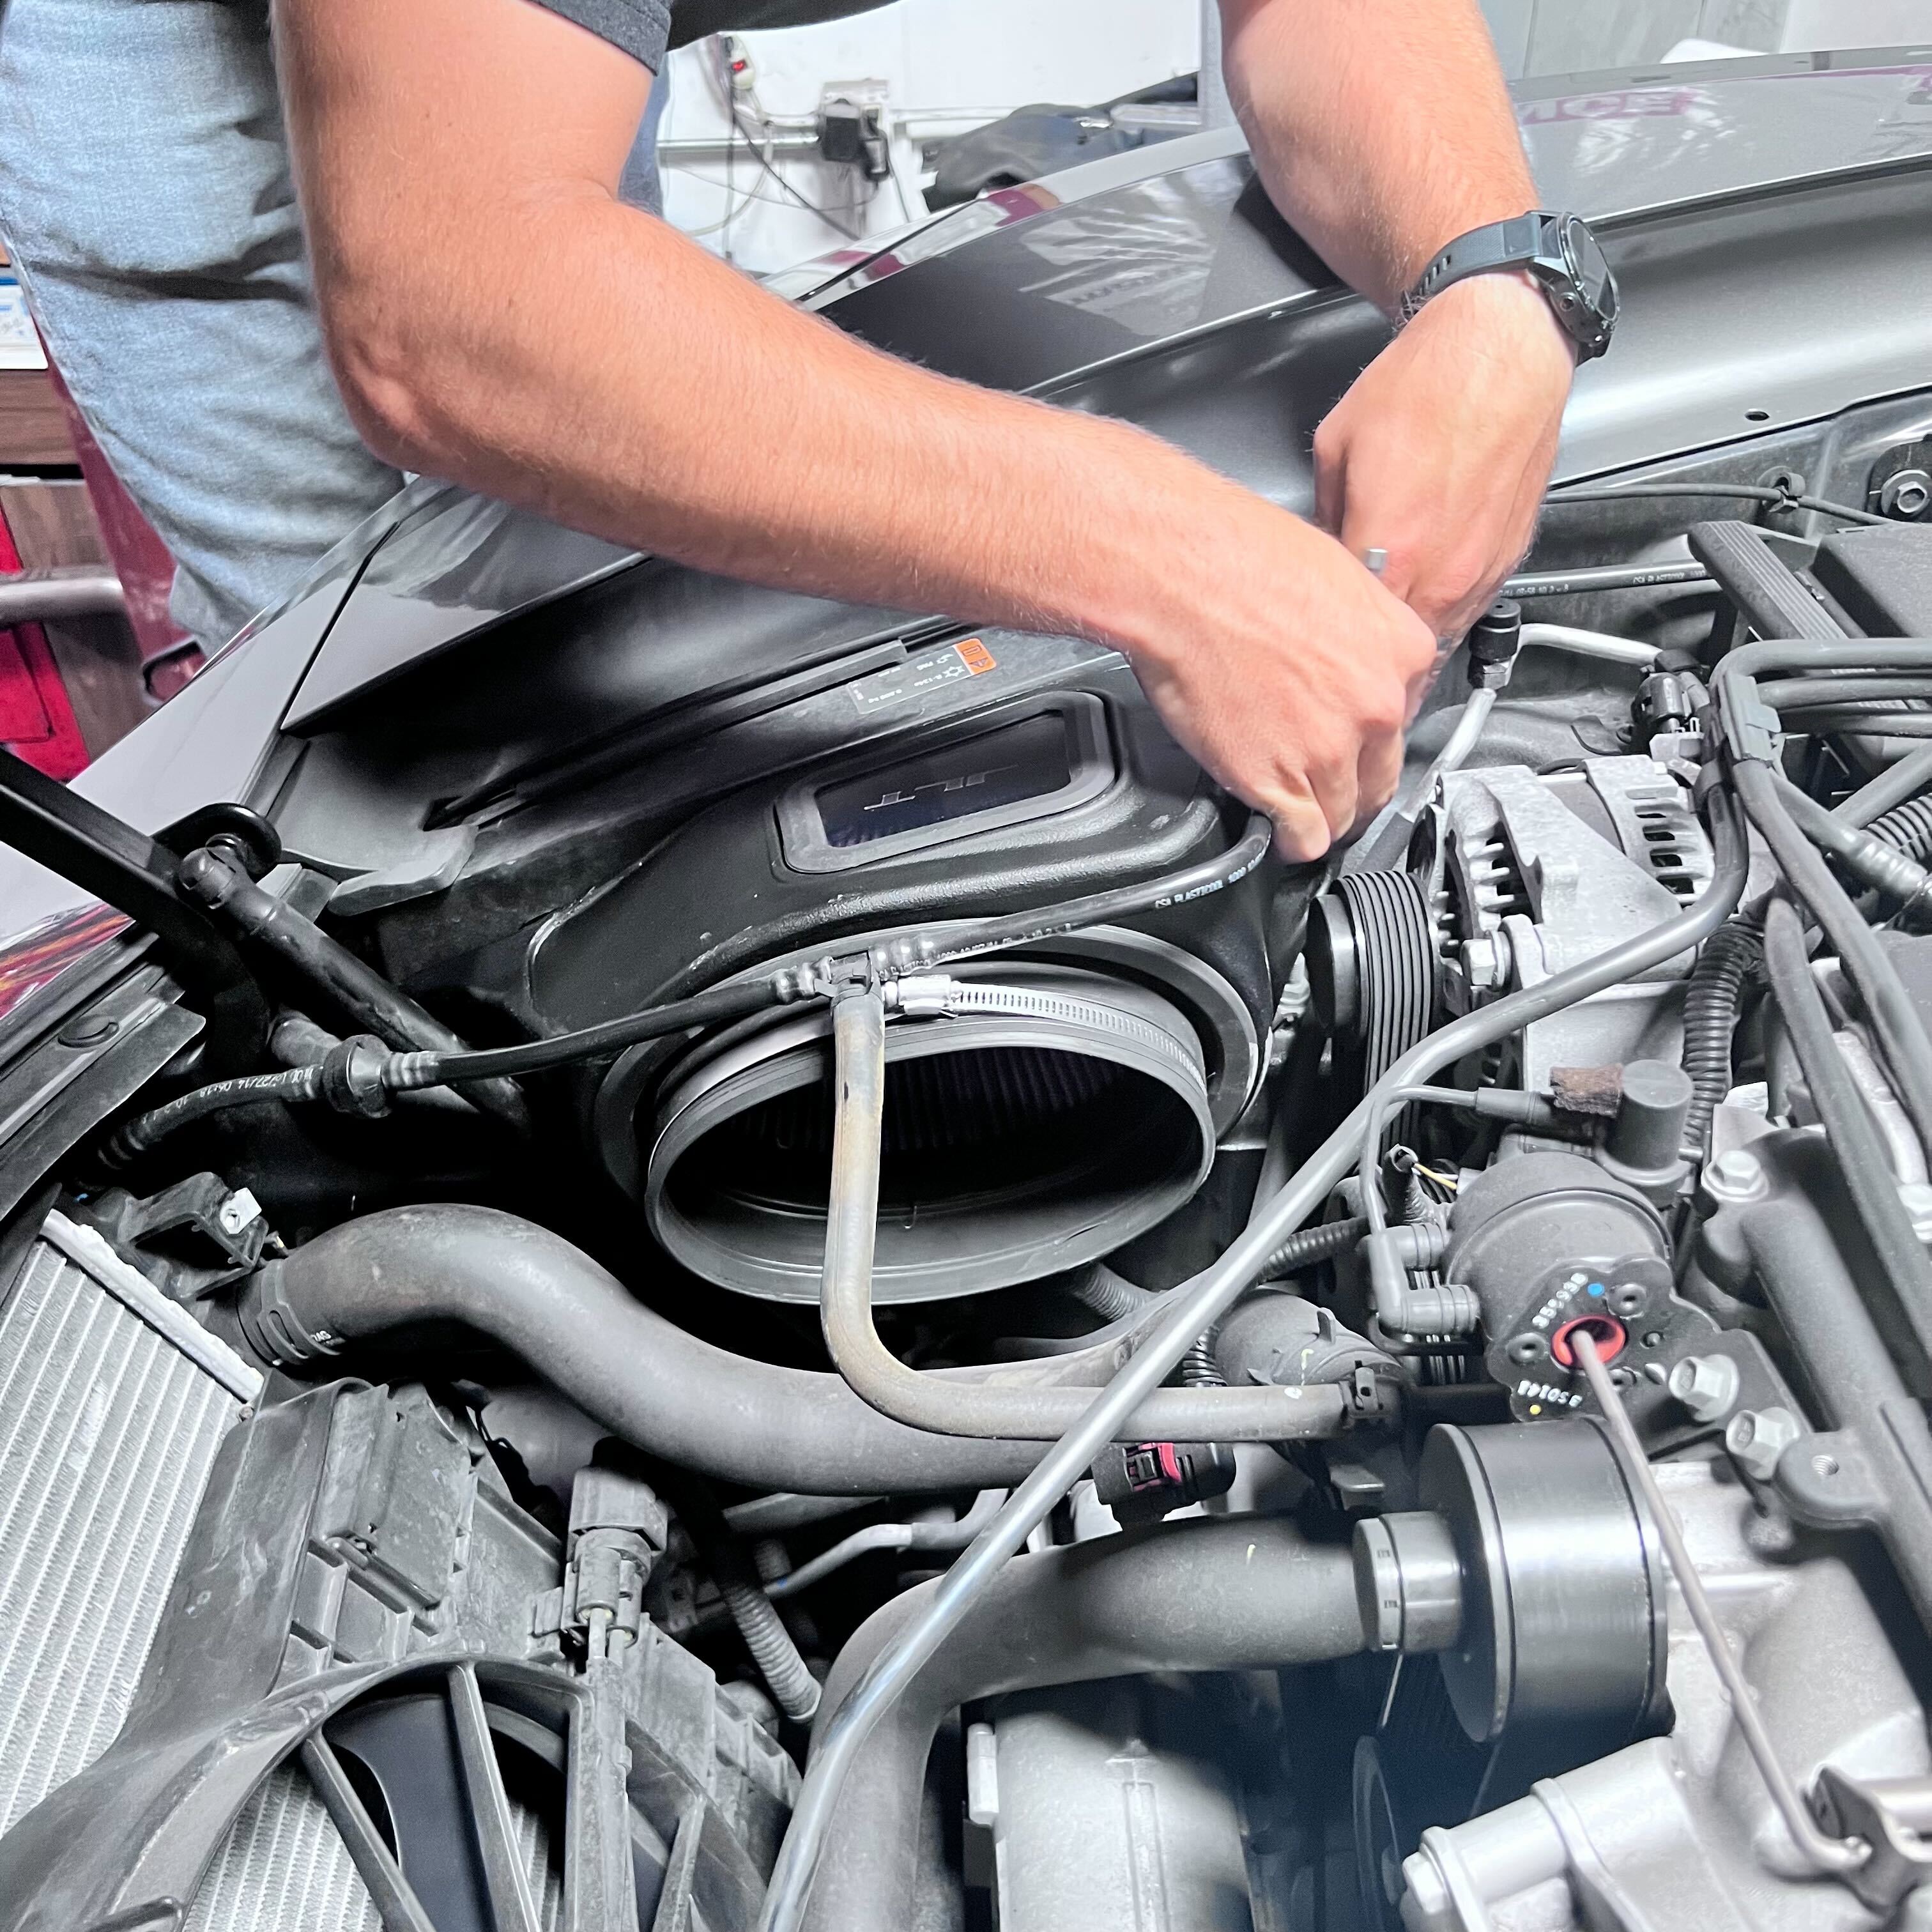
Begin the stock air intake removal by disconnecting the intake tube from the throttle body side. Once done, pull the entire intake assembly to the driver side of the engine bay as to not accidentally disconnect any hoses that hang over the air box.
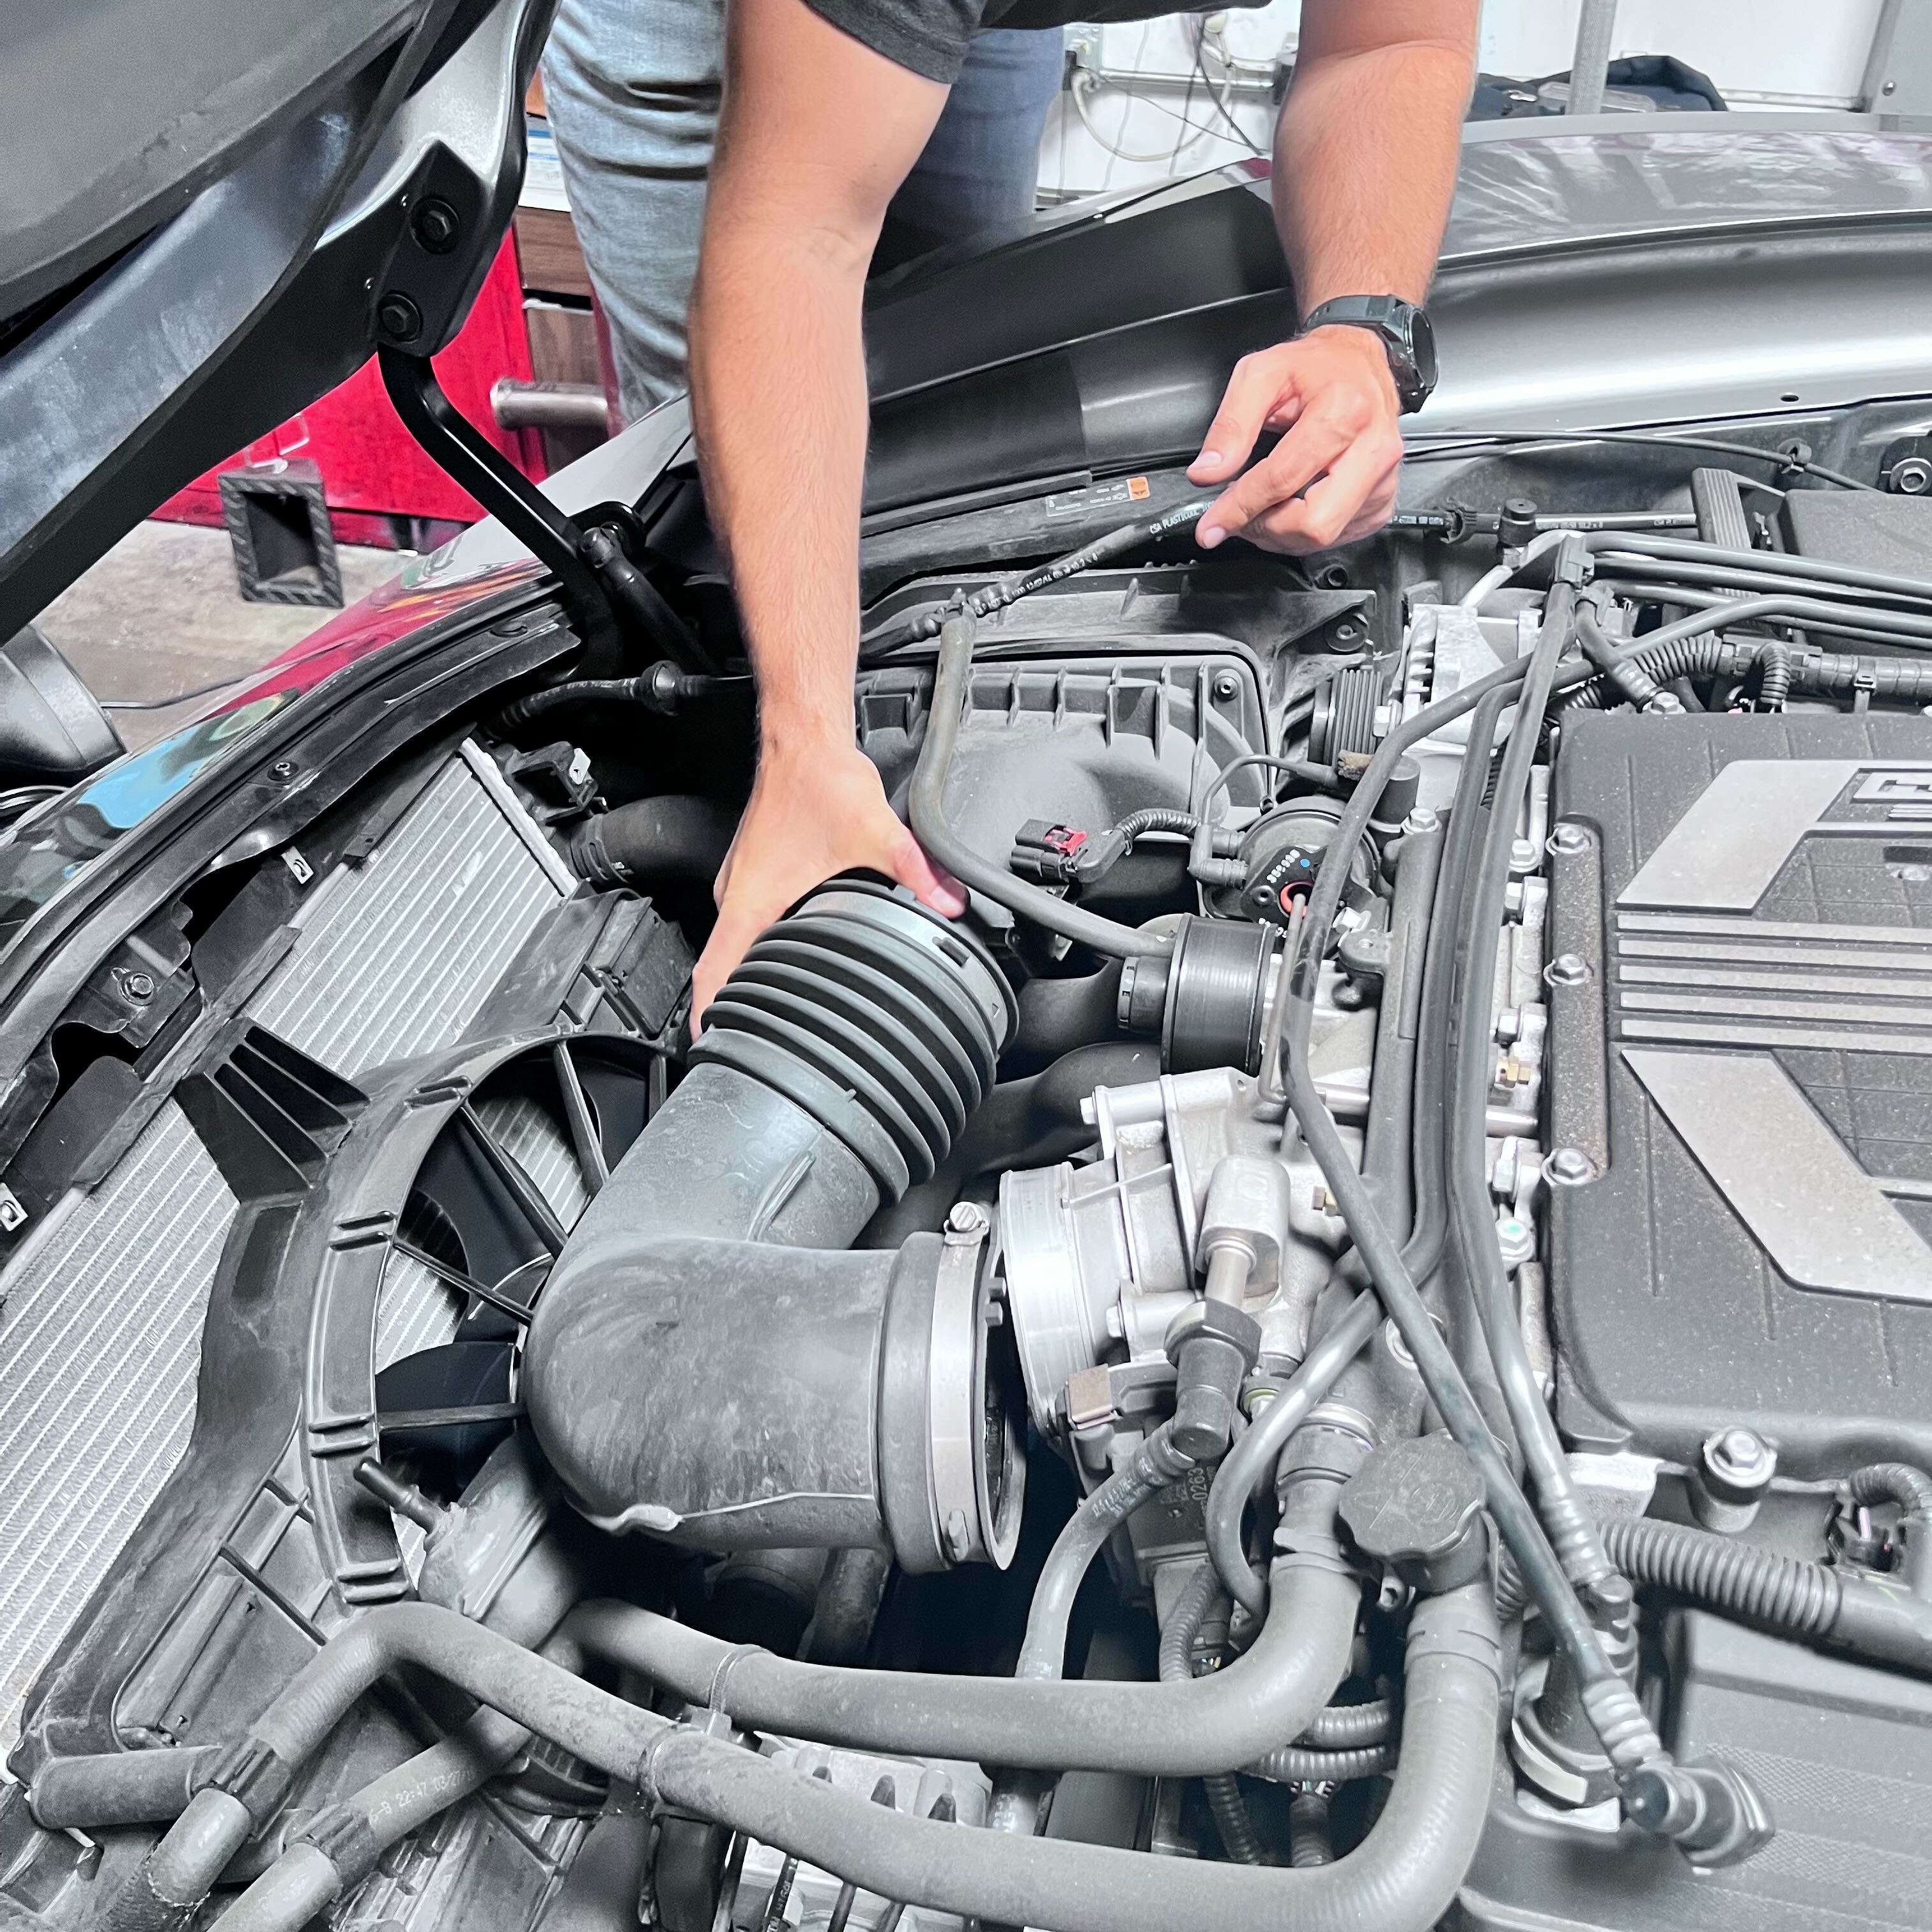
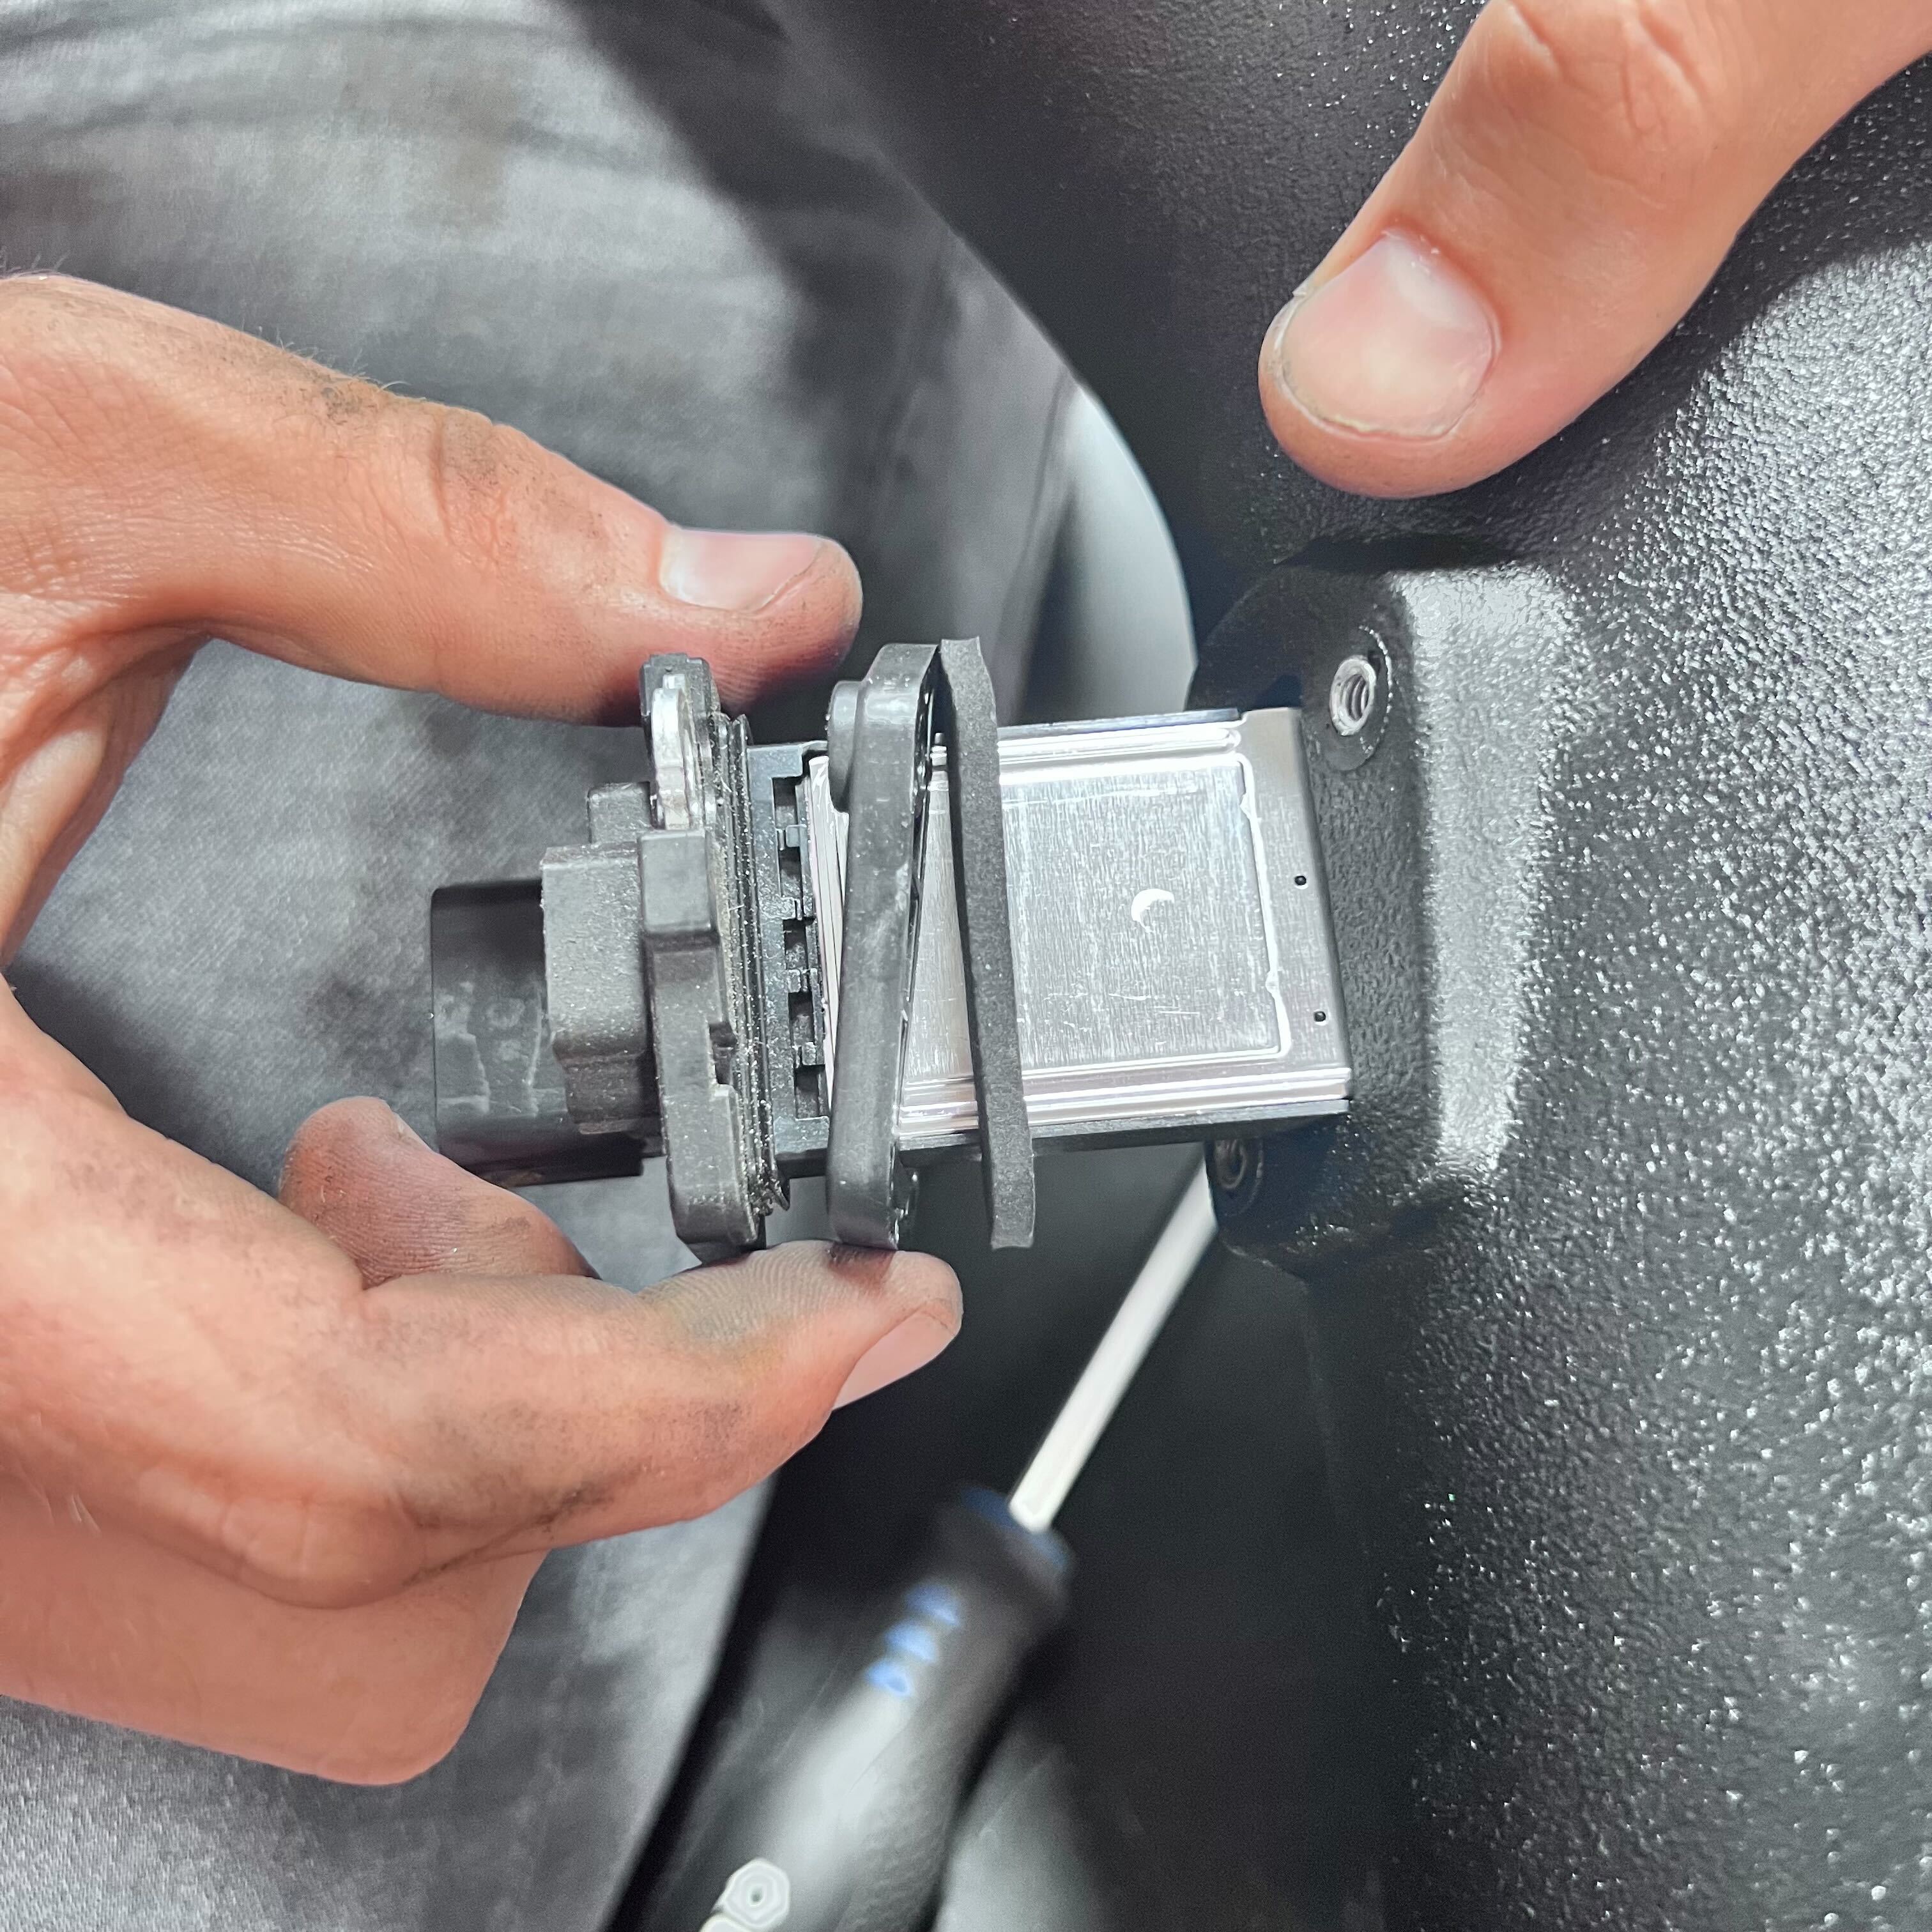
Use a phillips screwdriver to unscrew the MAP sensor from the intake tube.
Take your MAP sensor and place the provided spacer and gasket on your sensor. Then use a phillips screwdriver and the long screws provided to mount your MAP sensor to your JLT intake tube.
Tip: Make sure you place the plastic spacer between the top of the sensor and gasket.
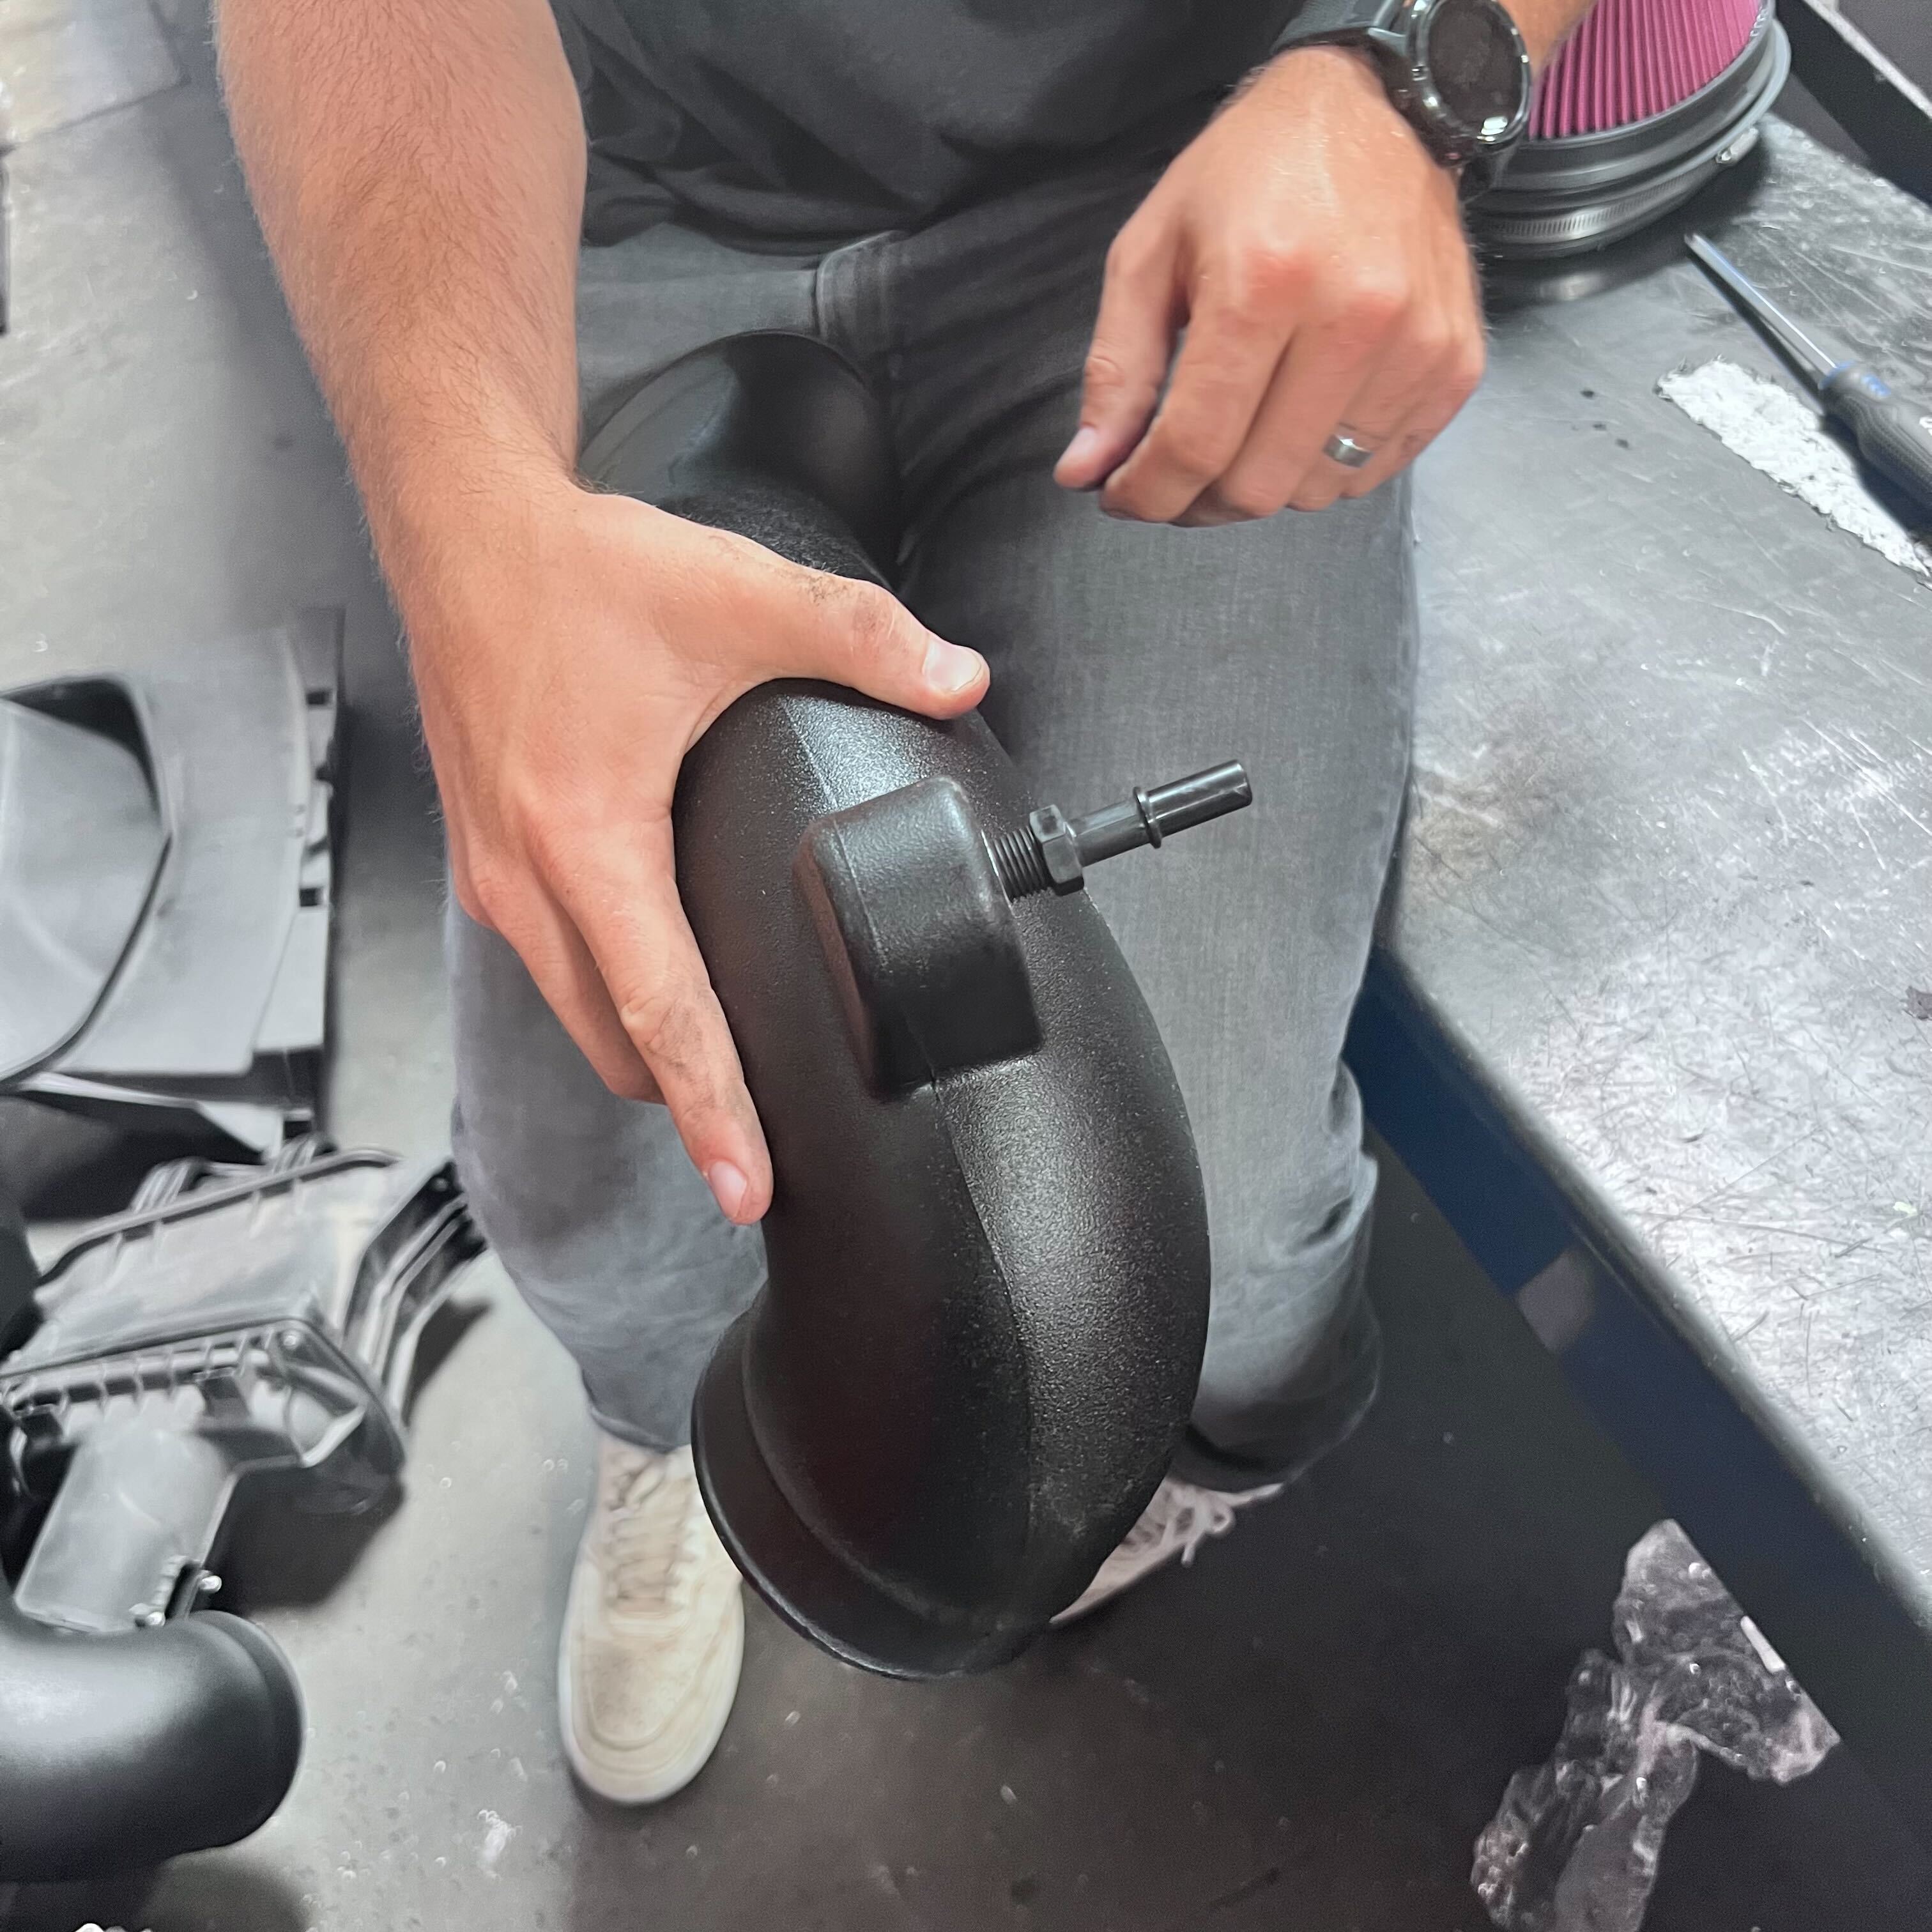
Next, install the fitting provided into the threaded mounting point near the throttle body side of the intake tube.
Tip: We recommend hand-tightening this fitting to prevent over-tightening and potential damage to fitting and/or threads.
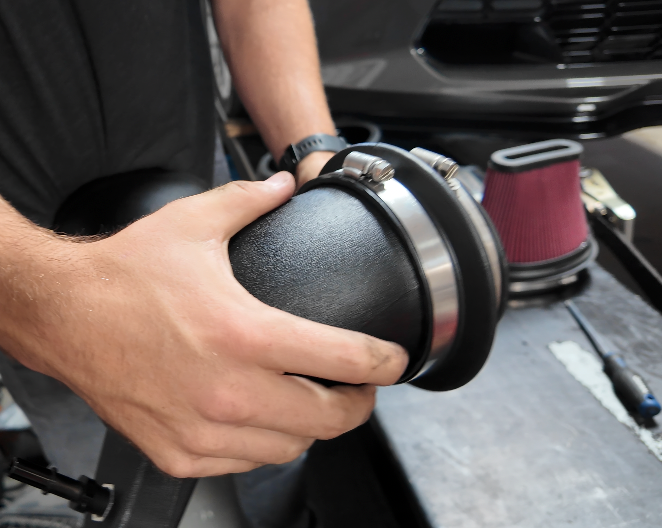
Install the cuppler (with hose clamps) onto the throttle body side of the intake tube.
Next, take your JLT air box and install the rubber grommets with shoulder washers.
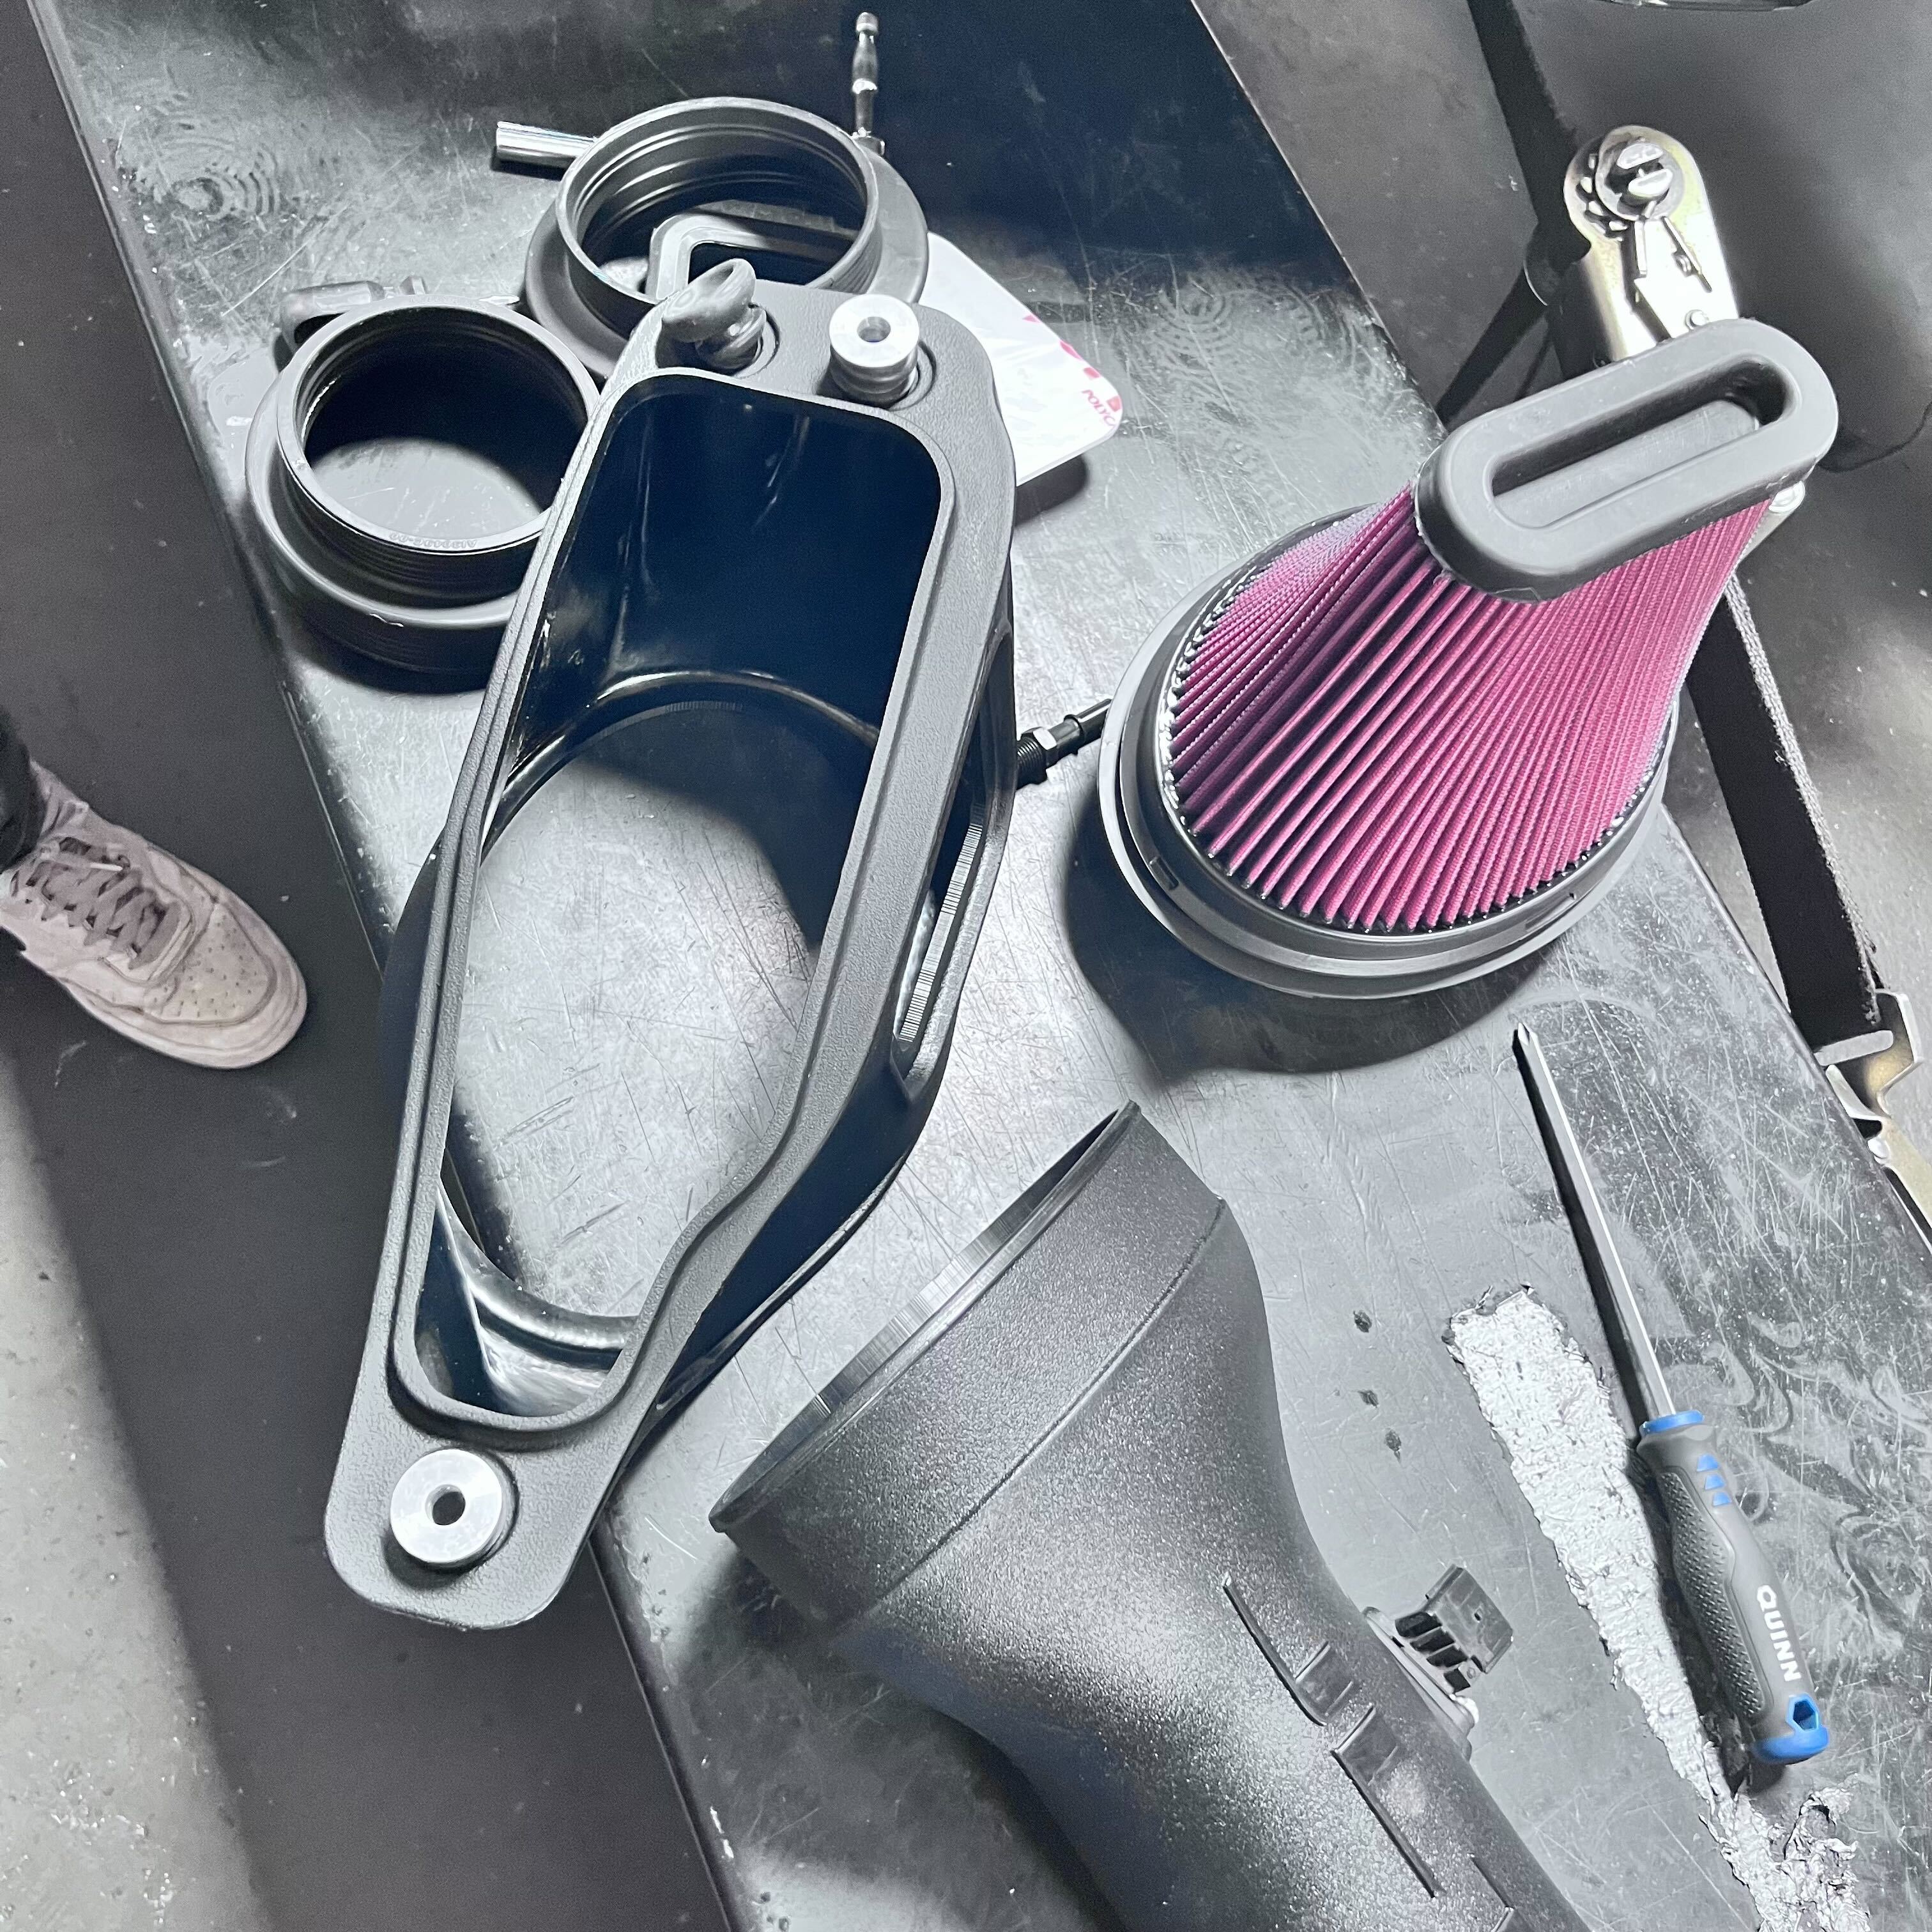
Take your new air filter and place it inside your new air box. Make sure you press fit the filter into the box, ensuring the molding is mounted flush with the opening.
.png?v=1749850418424)
Install the maintenance window to your air box.


Install your air box using the three OE screws.
Tip: You will need a 10mm socket.
Slide the Intake tube into the air box/filter, then mount the intake tube onto the throttle body and tighten all hose clamps.
Tip: You will need an 8mm socket to tighten all hose clamps.
Next, clip in the quick connect sensor to the fitting located on the elbow of the intake tube.
Once the intake kit is fully installed and all connection points are verified to be fully tightened, please reinstall the vent tube assembly.
Inspect your installation. Make sure the kit is properly positioned and all fasteners and hose clamps are secured. Keep all stock parts in the event you would ever need to reinstall the stock intake assembly. If you are an installer, please give the owner the QR code for the Installation Instructions so that he/she is aware of the Maintenance and Operation procedures. The installation is now complete.