Step 1
Install the custom tune onto the car. If you bought the JLT Tuner, please see the install video below.
Note: This intake kit may not fit with the following Aftermarket Parts installed:
- Body Lift or Lowering Kit
- Custom Hood
- Throttle Body Spacer / Upgrade
Please read the entire product guide before proceeding.
- Ensure all parts are present.
- If you are missing any of the components, call our customer support at (909) 947-0015.
- Do not work on your vehicle while the engine is hot.
- Make sure the engine is turned off and the vehicle is in Park or the Parking Brake is set.
- 5/16 or 8mm socket/nut driver
- 10mm socket
- Flat head screw driver
-X-Acto knife
- Phillips Head screw driver
Install the custom tune onto the car. If you bought the JLT Tuner, please see the install video below.
.jpg?v=1726691262387)
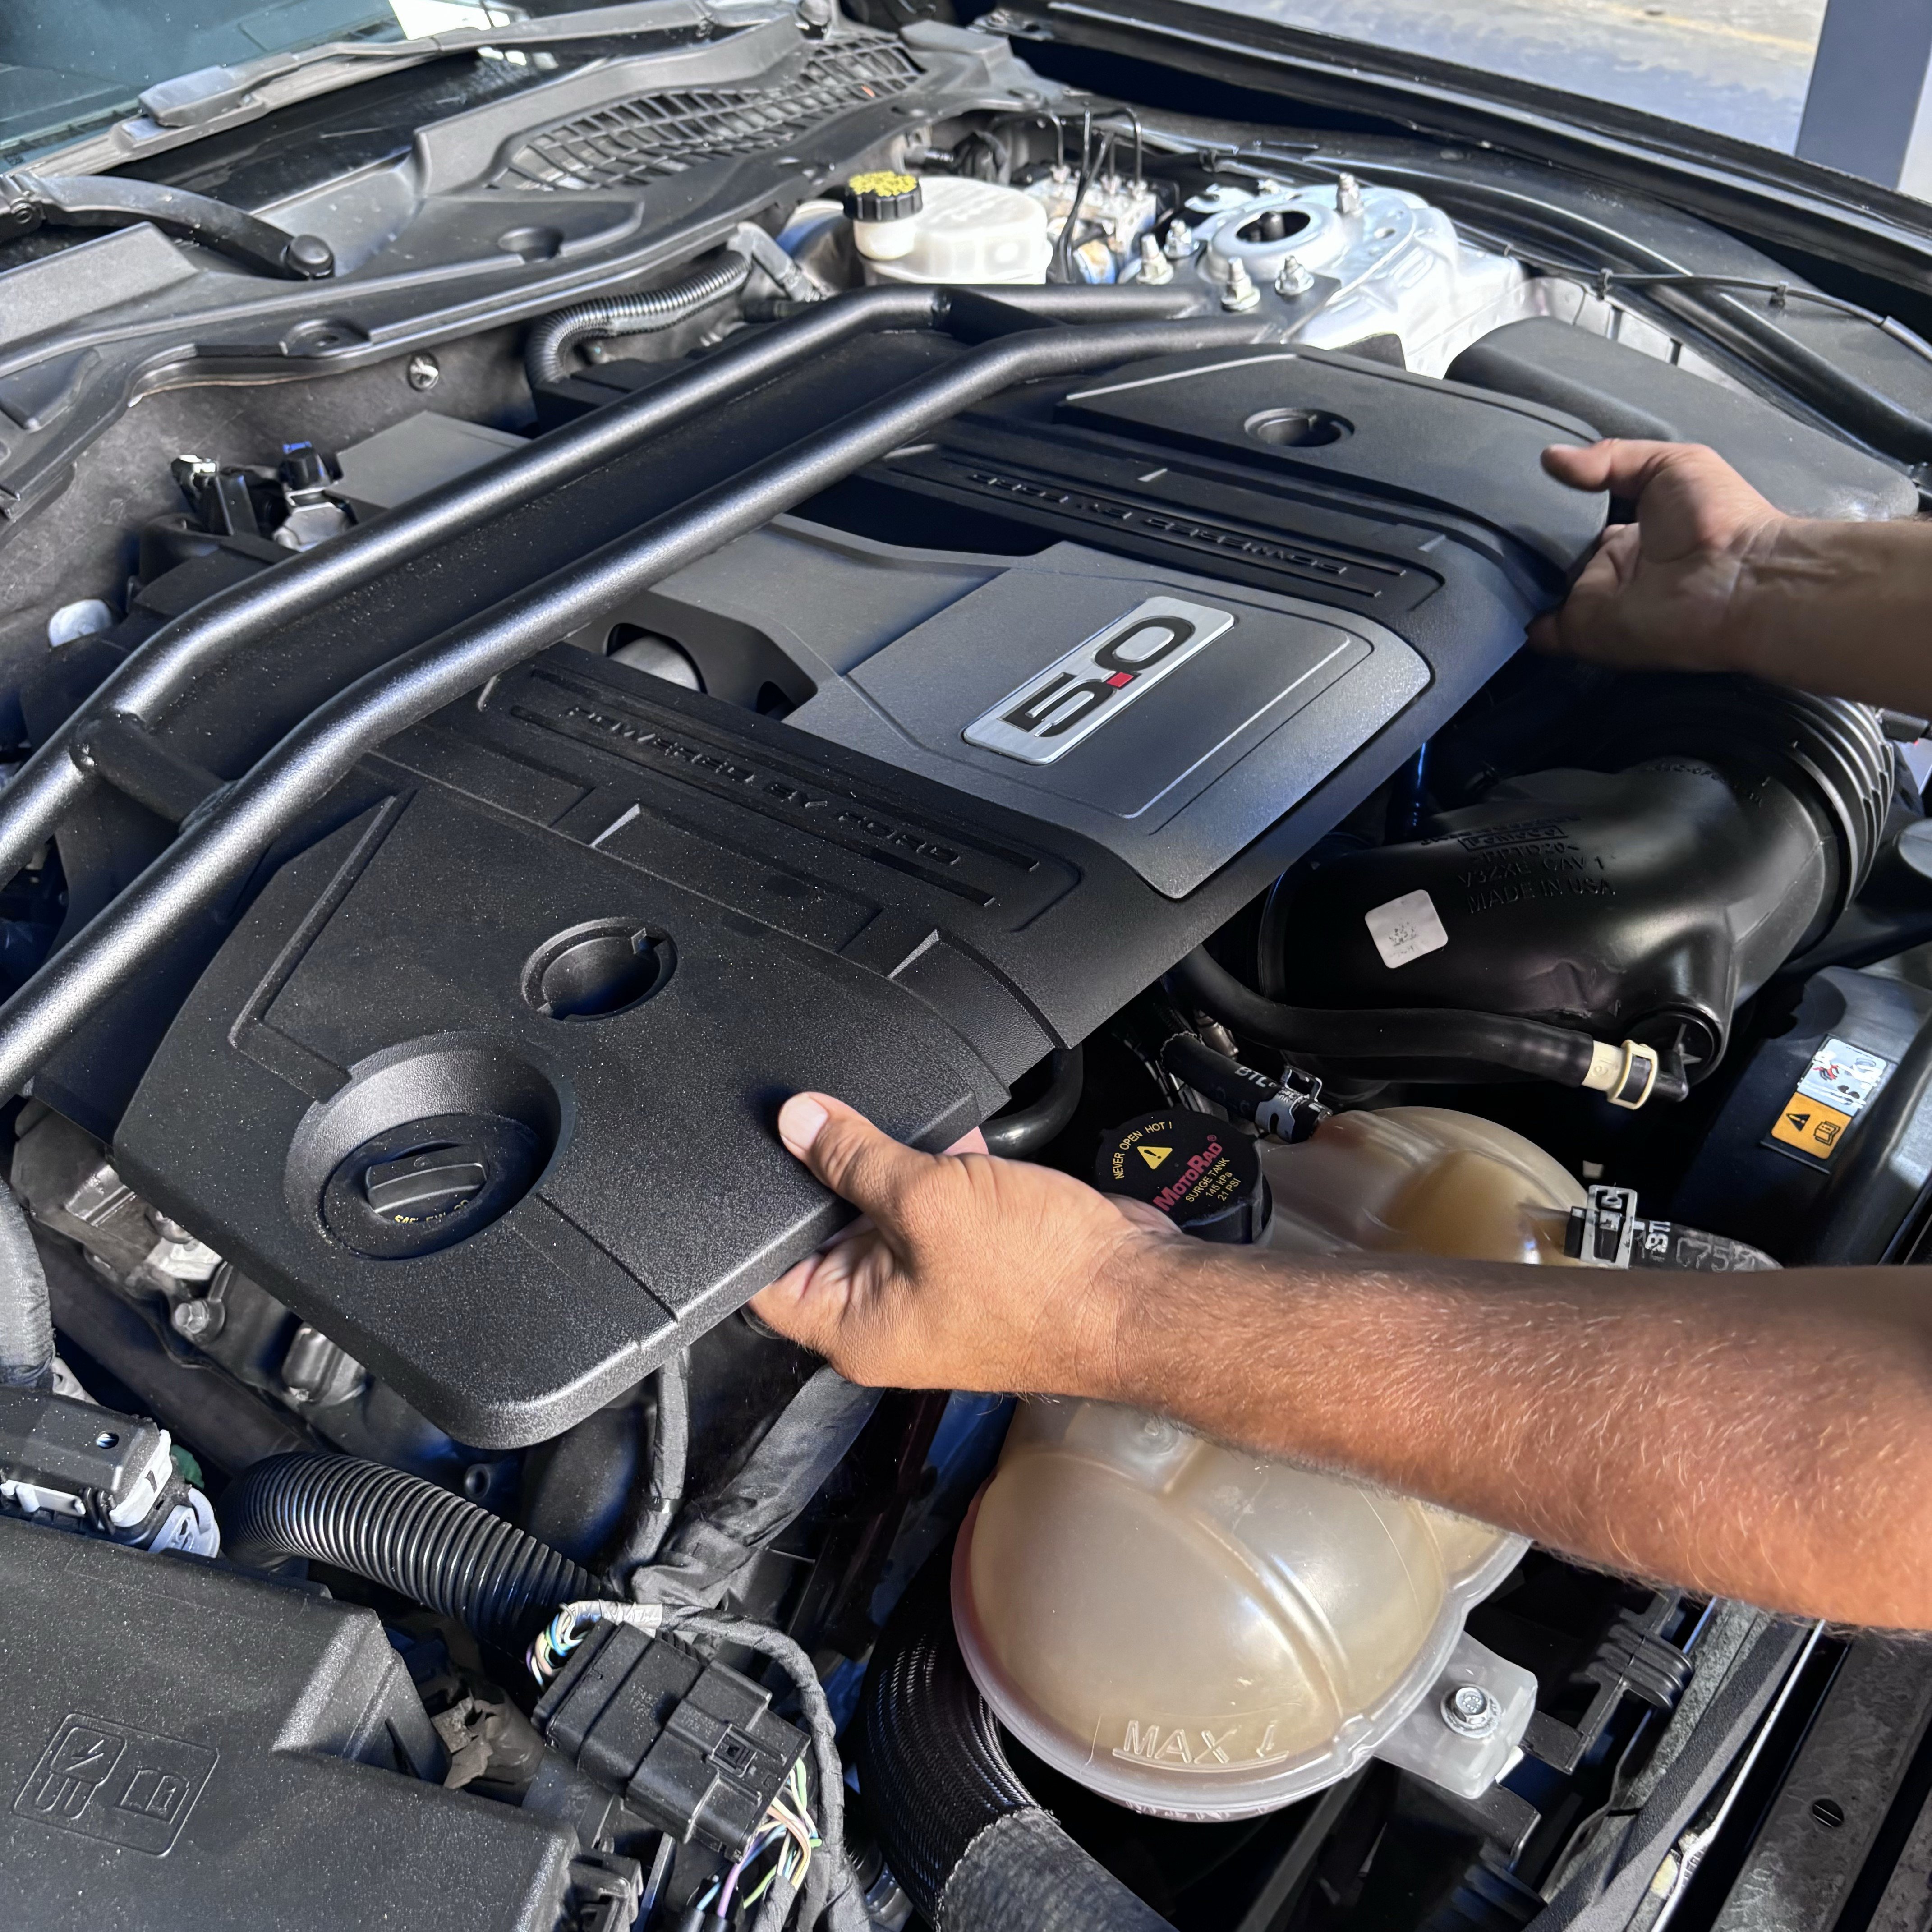
Remove engine cover by prying out the 2 covers with a flat screwdriver, removing the 10mm nuts and pulling up on the cover in the front and back.
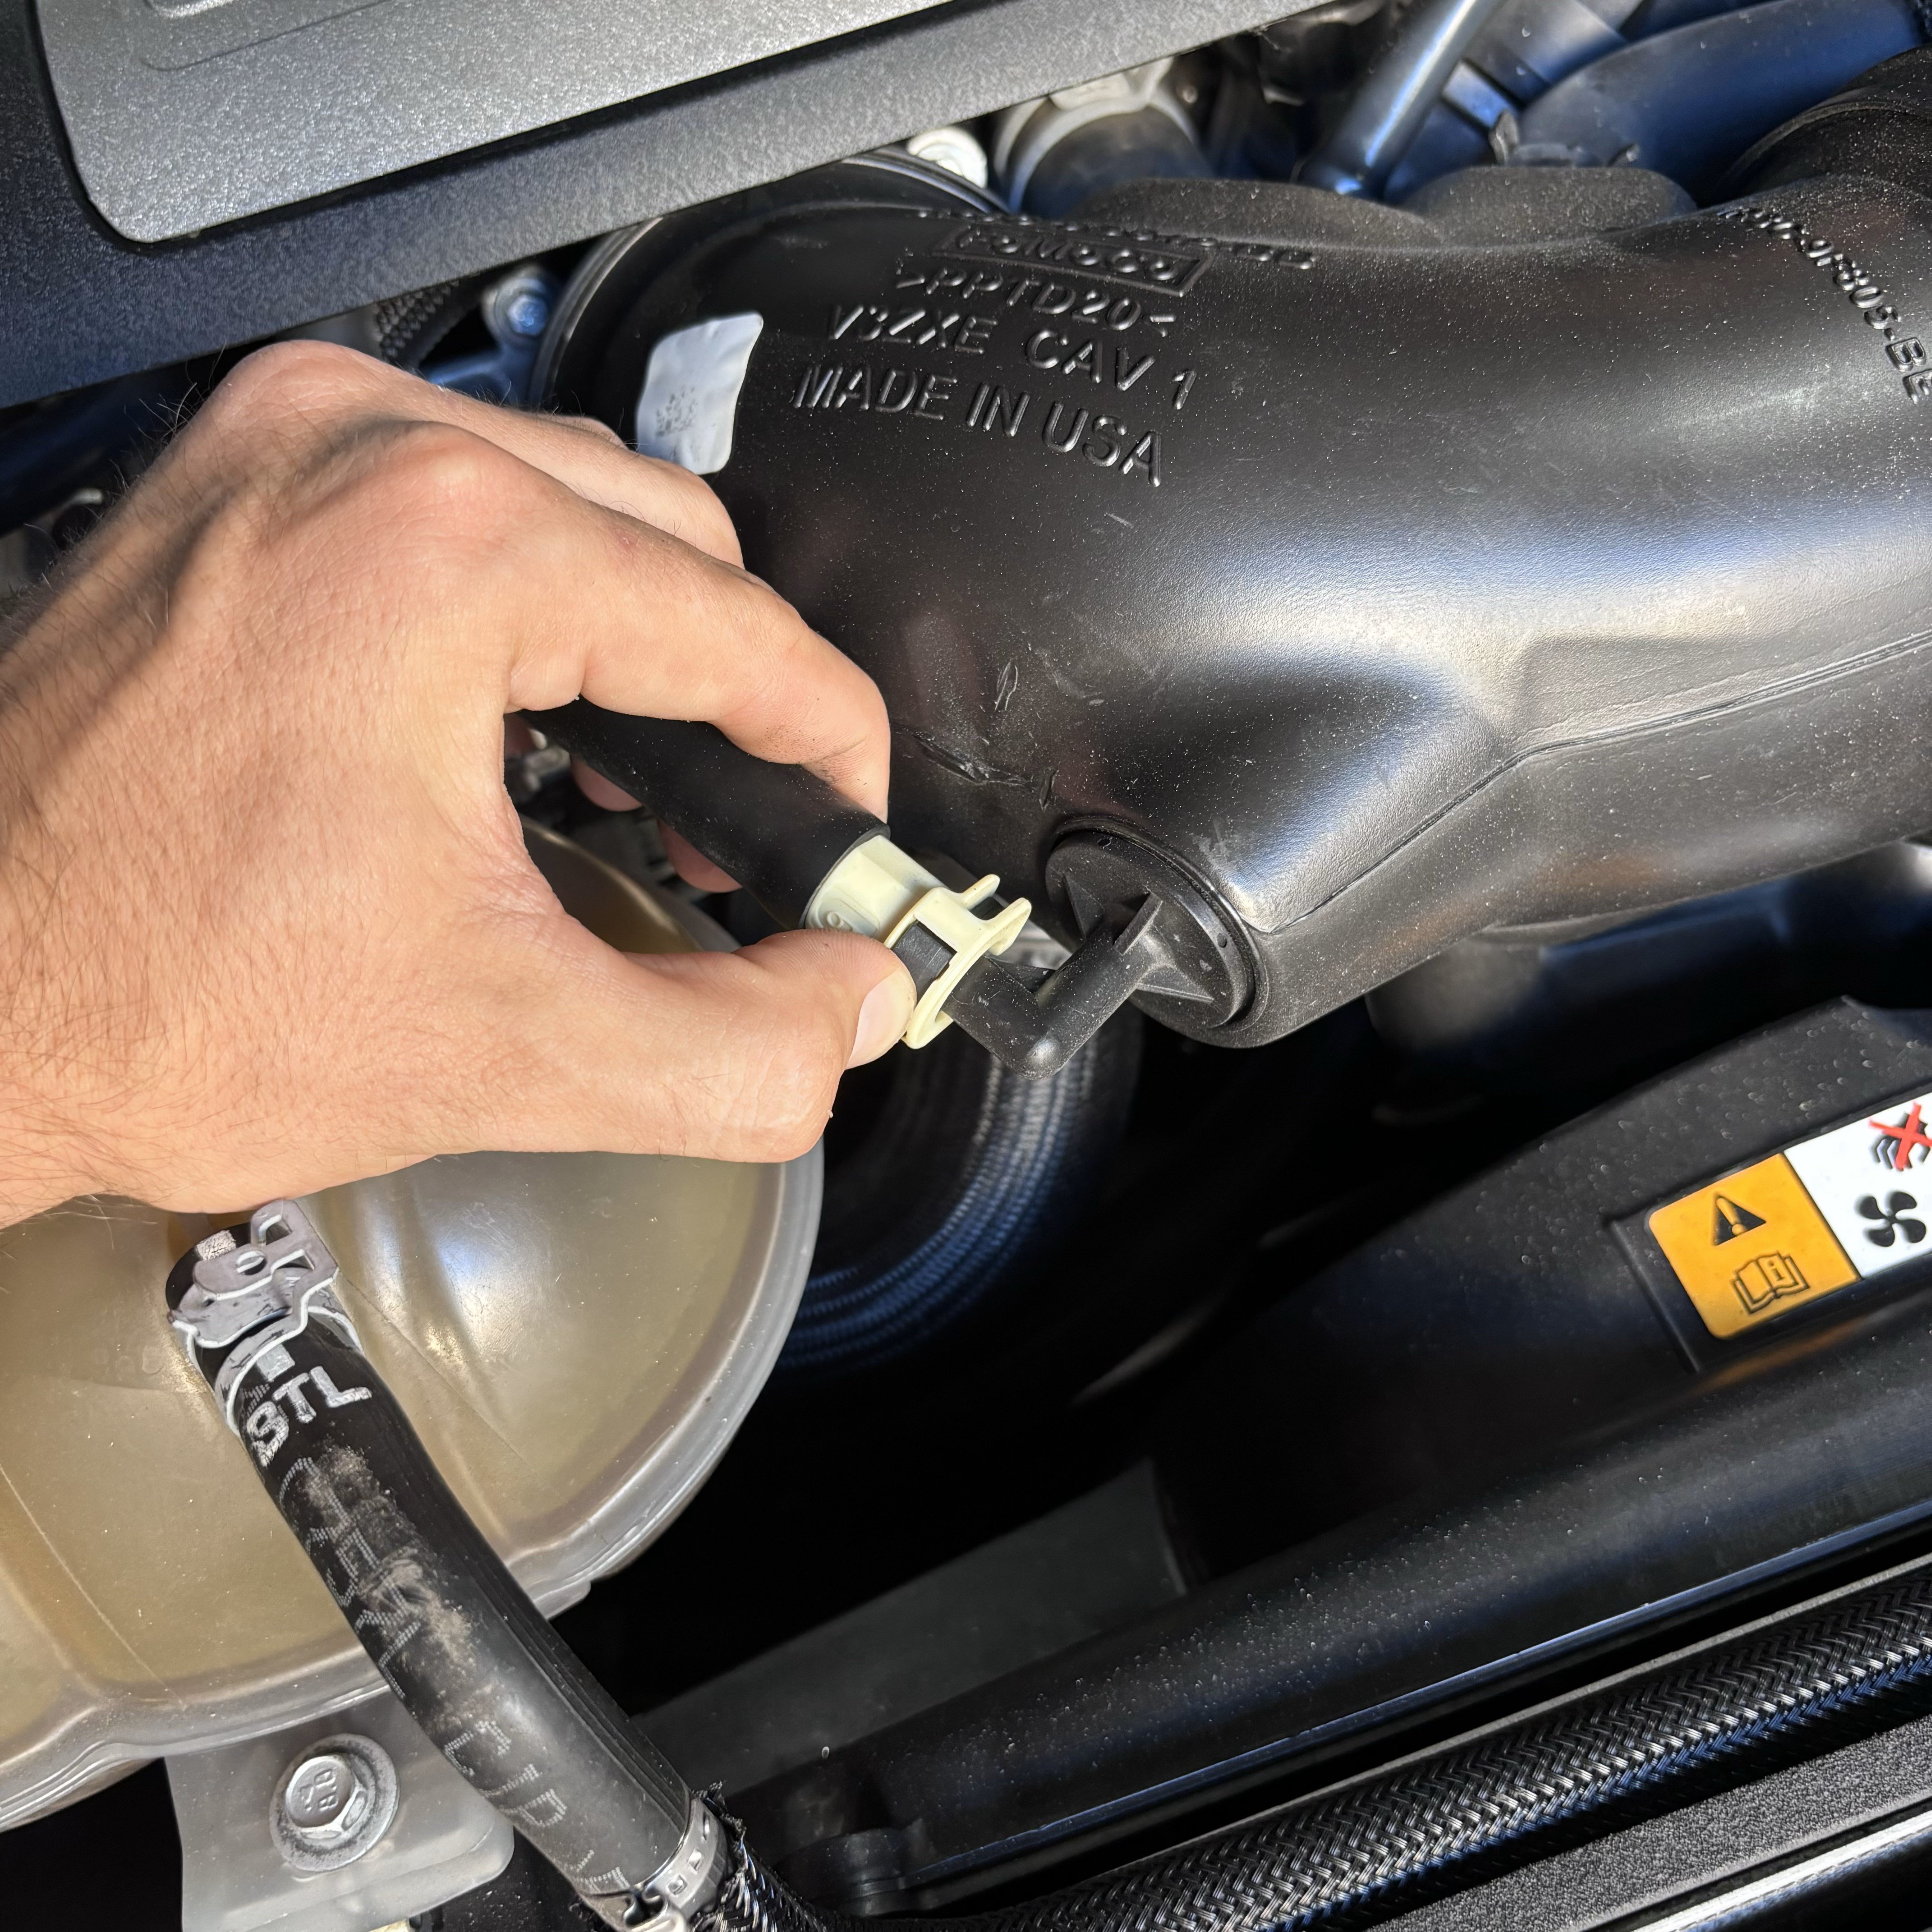
Depress the button on the quick connect and remove it from the OEM tube
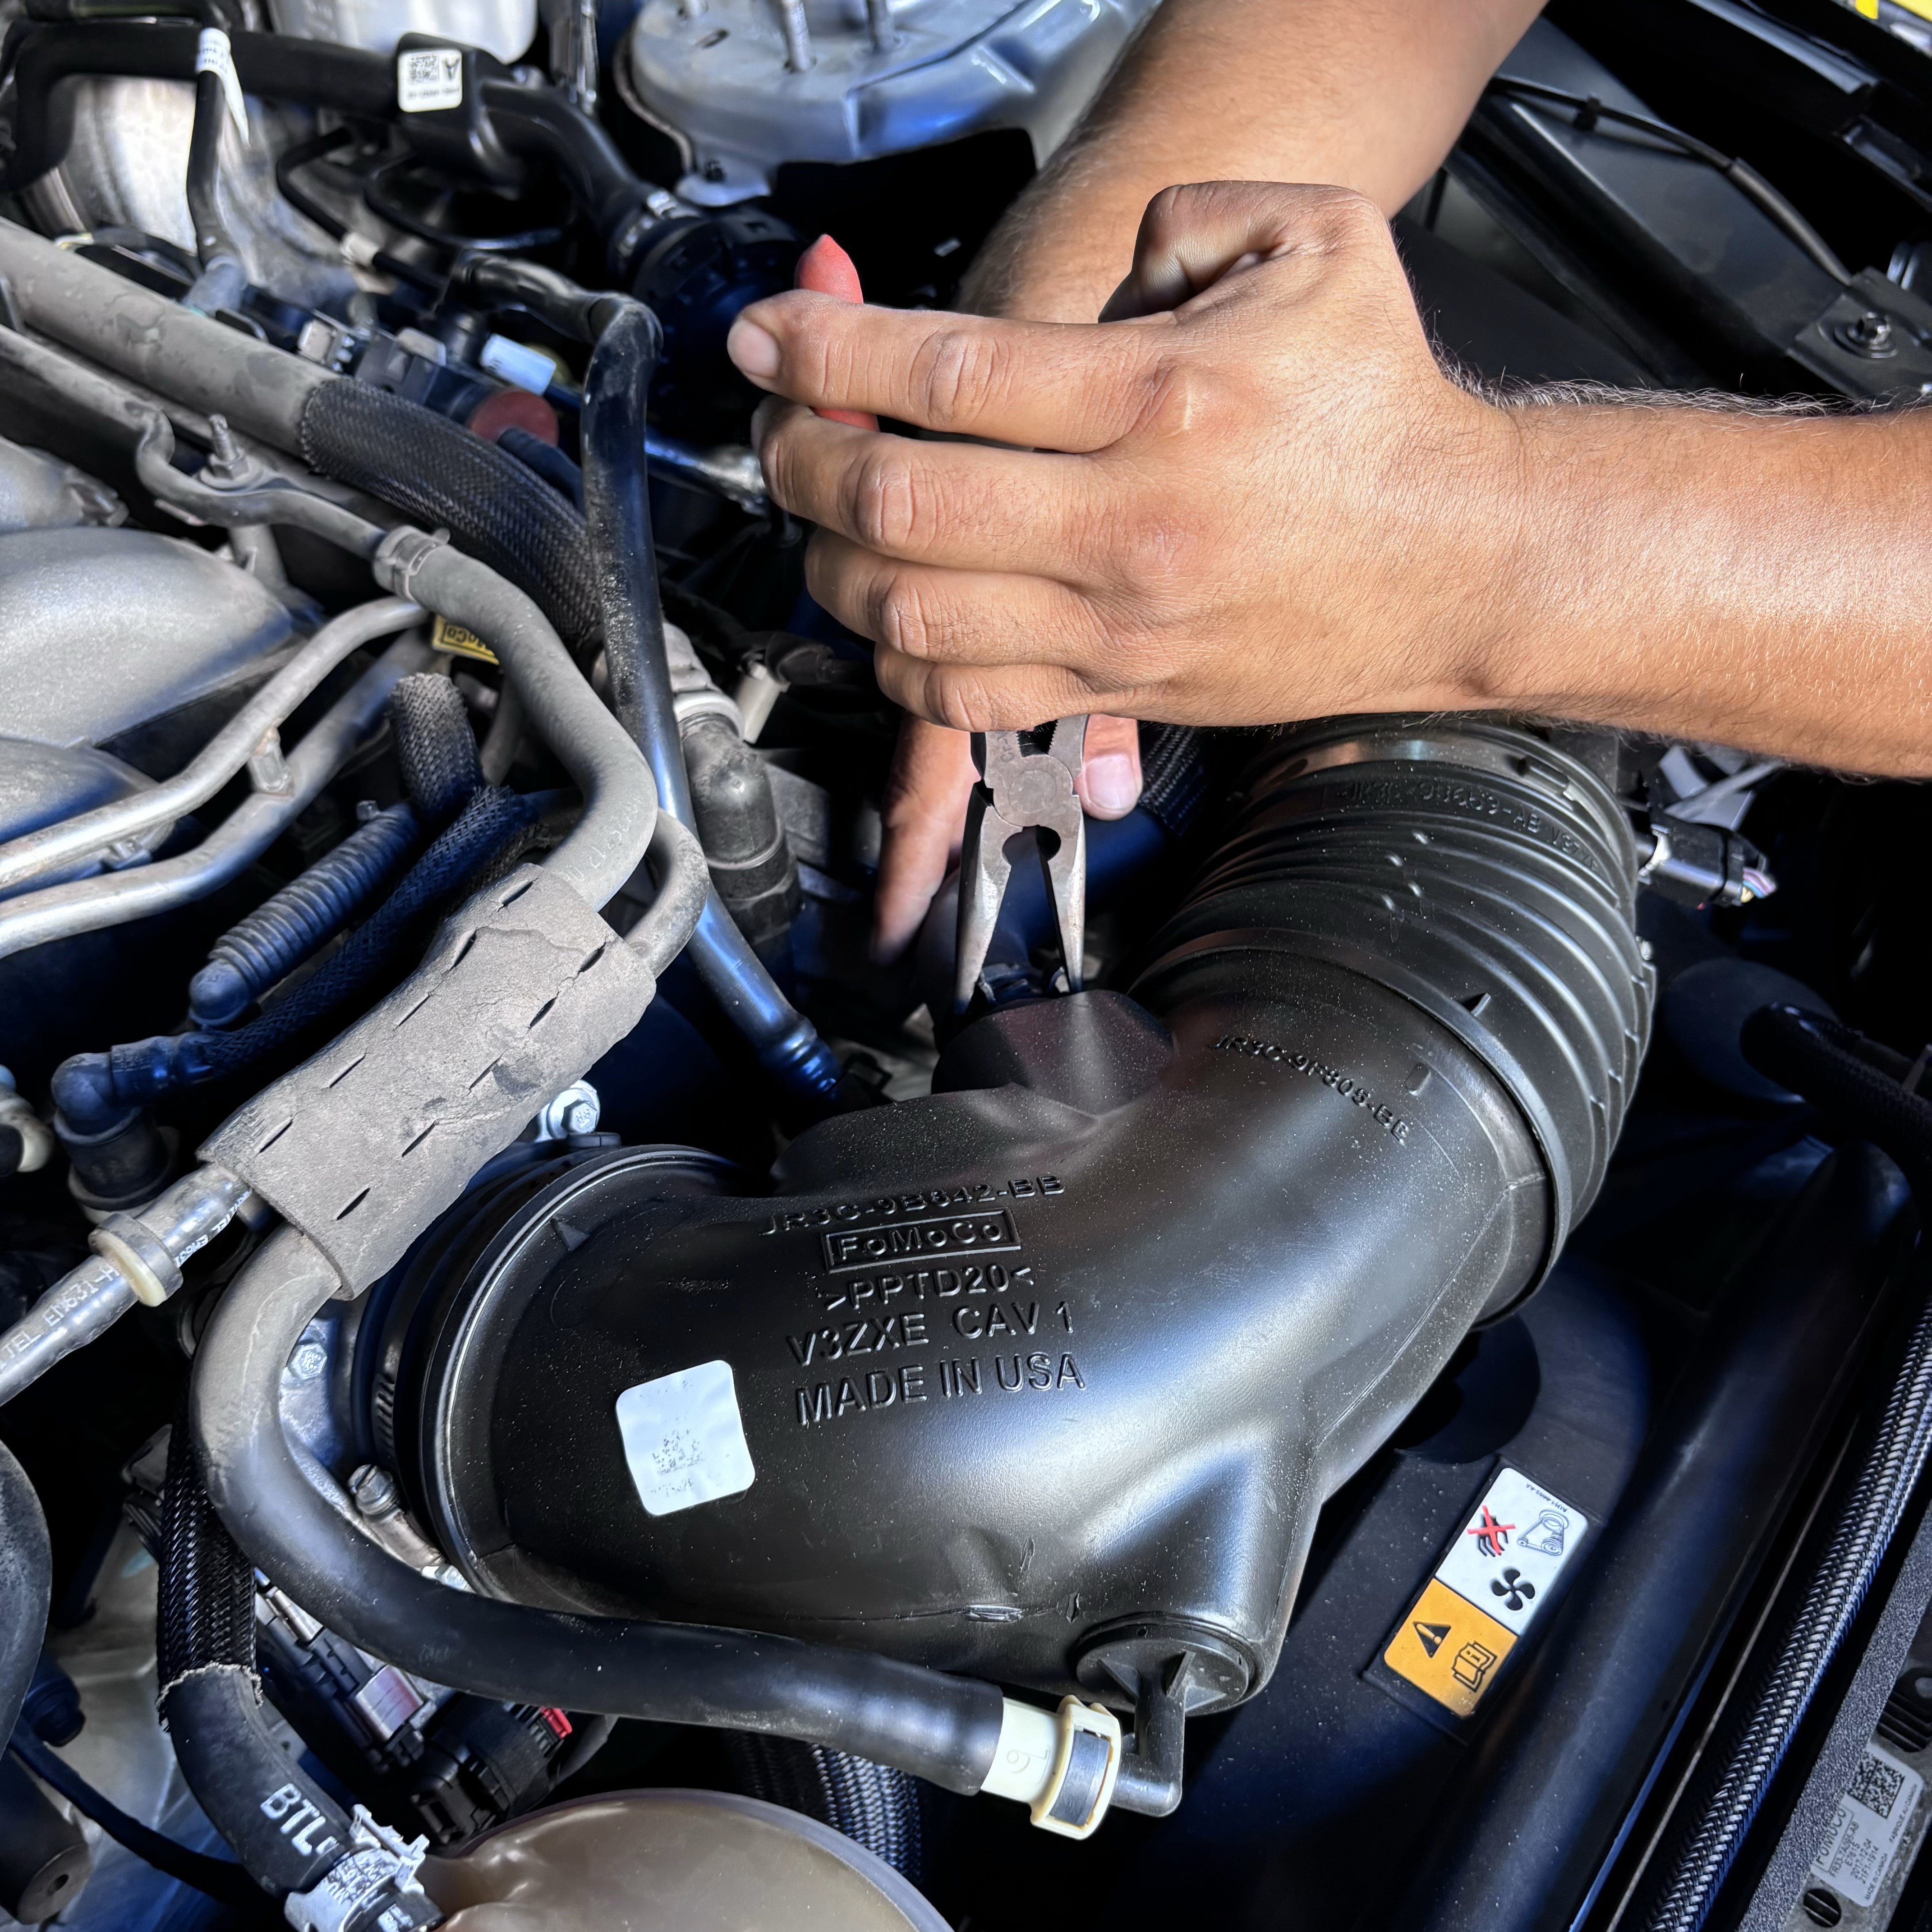
Remove the sound tube from the intake tube. Squeeze the constant tension clamp and slide it down the hose.
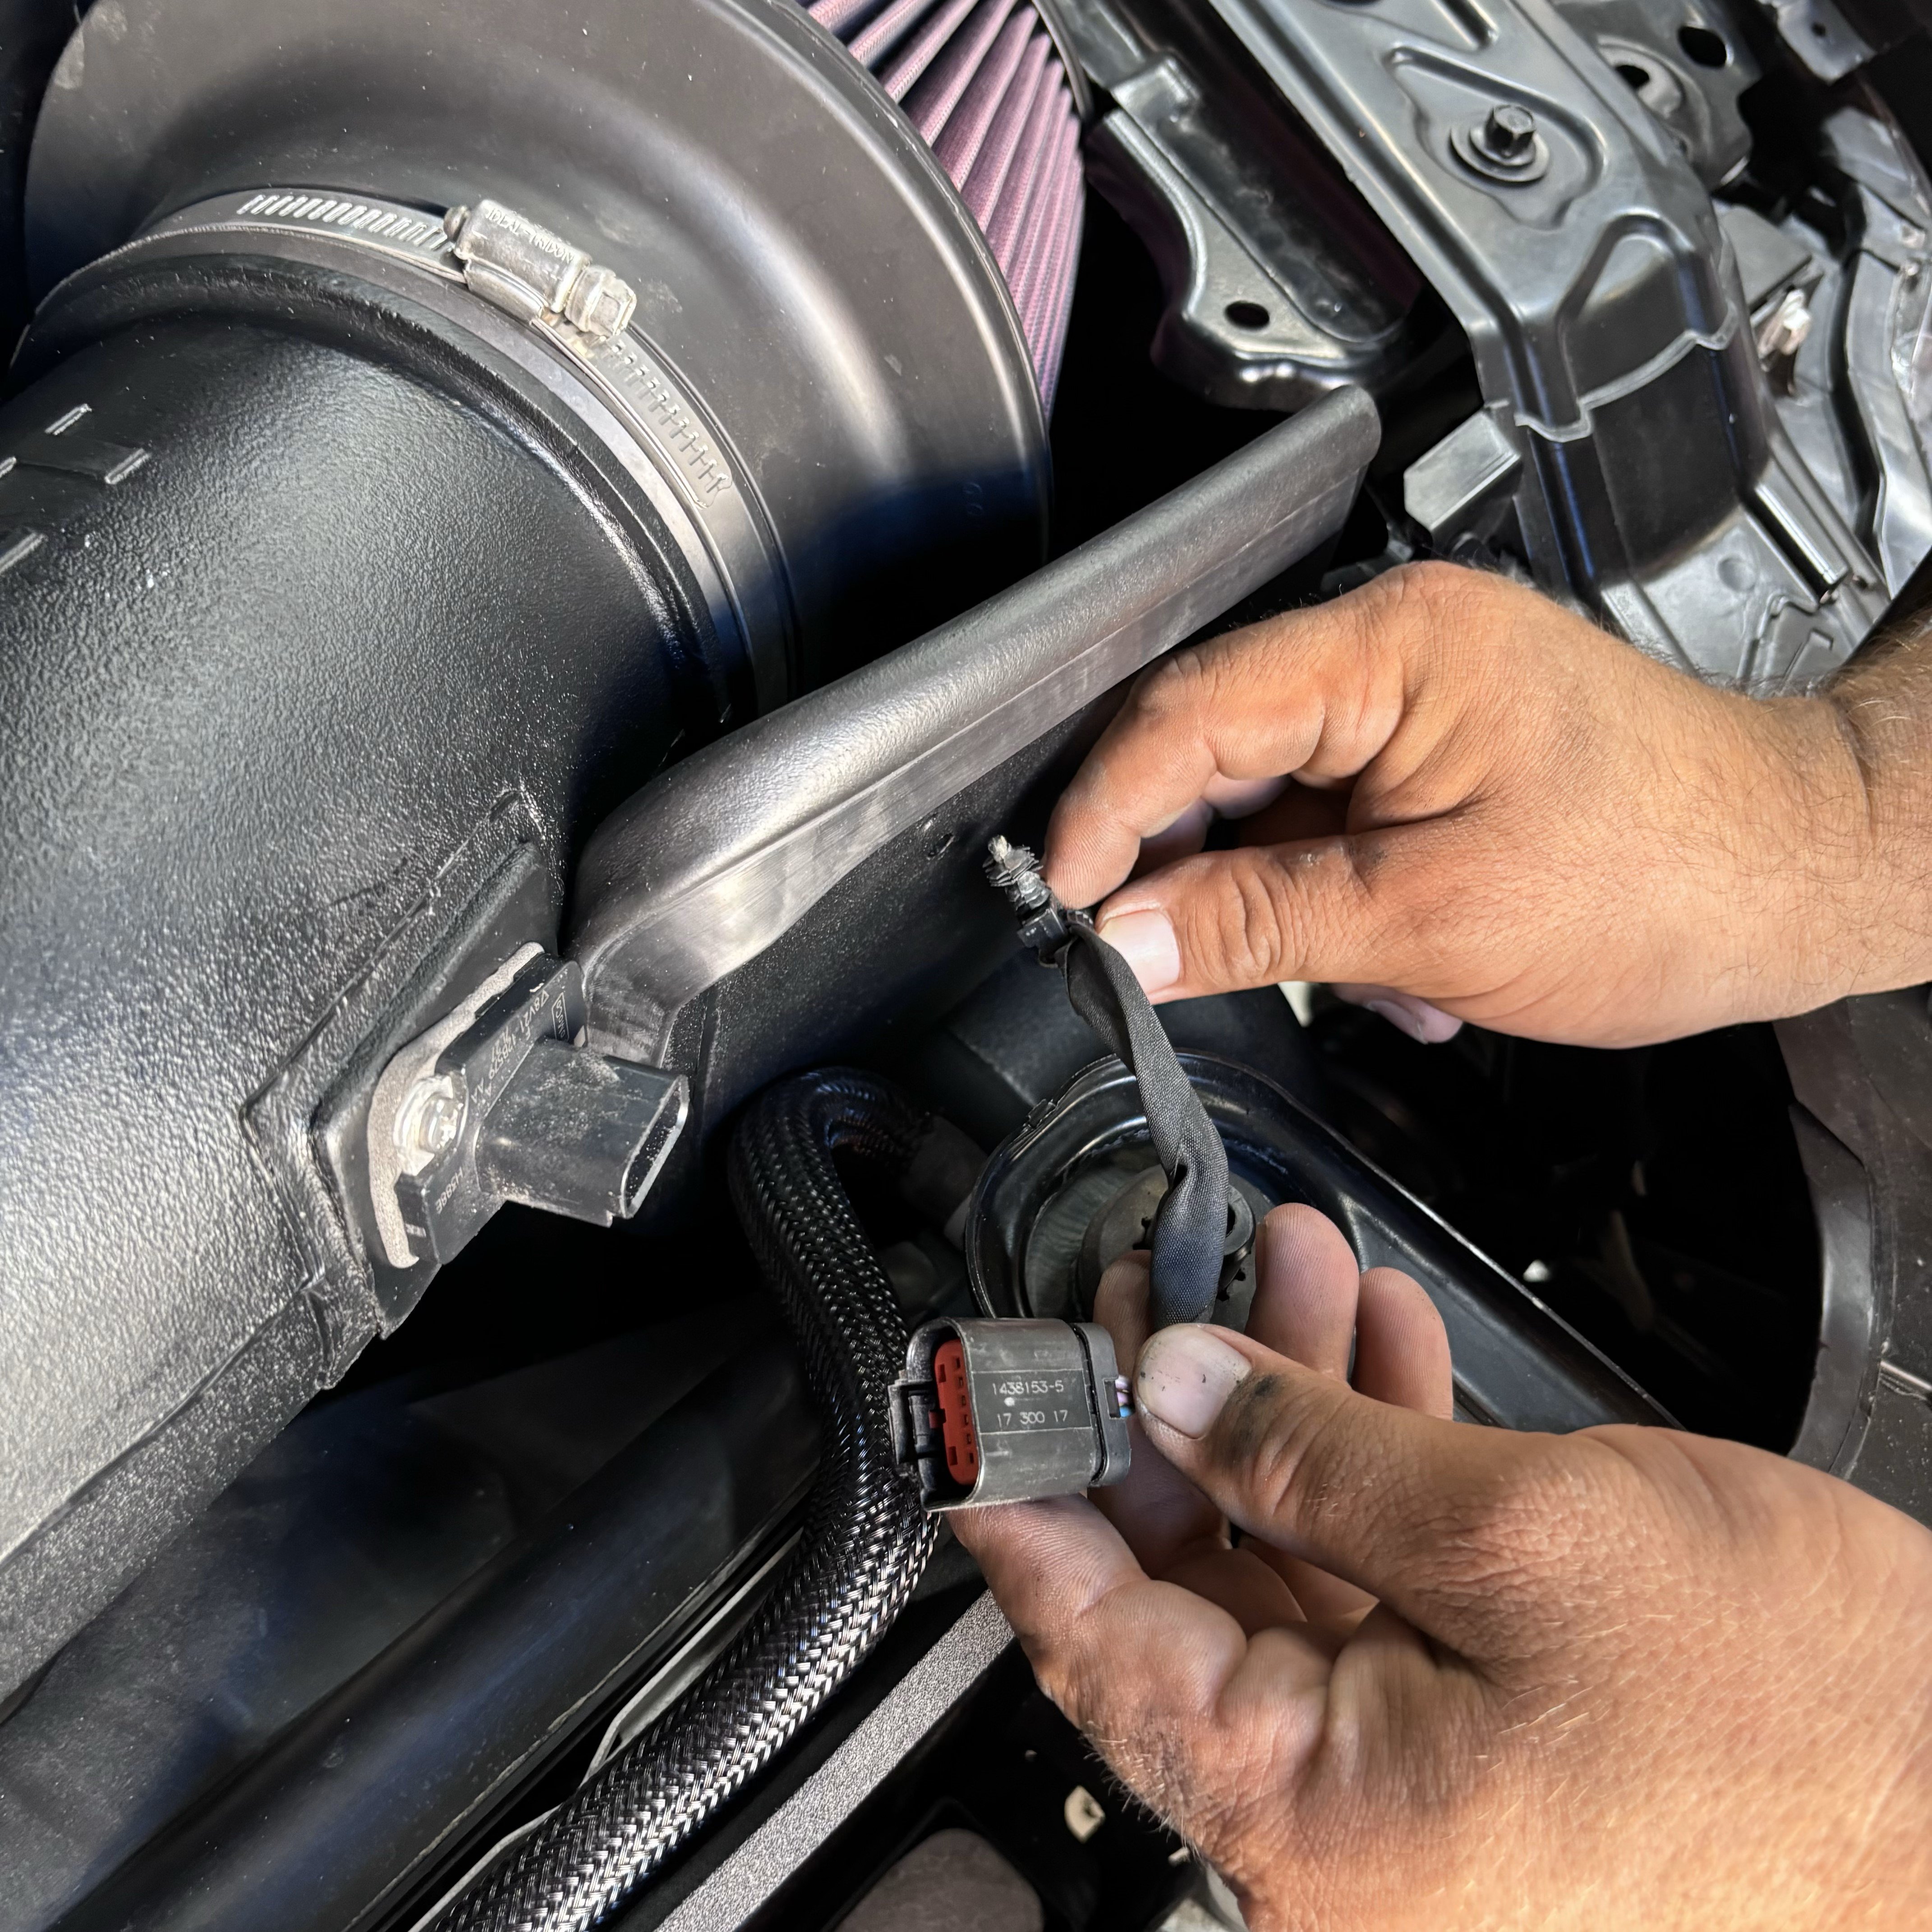
Remove the MAF sensor from the tube by sliding the red locking tab back and depressing the black button on the connector.
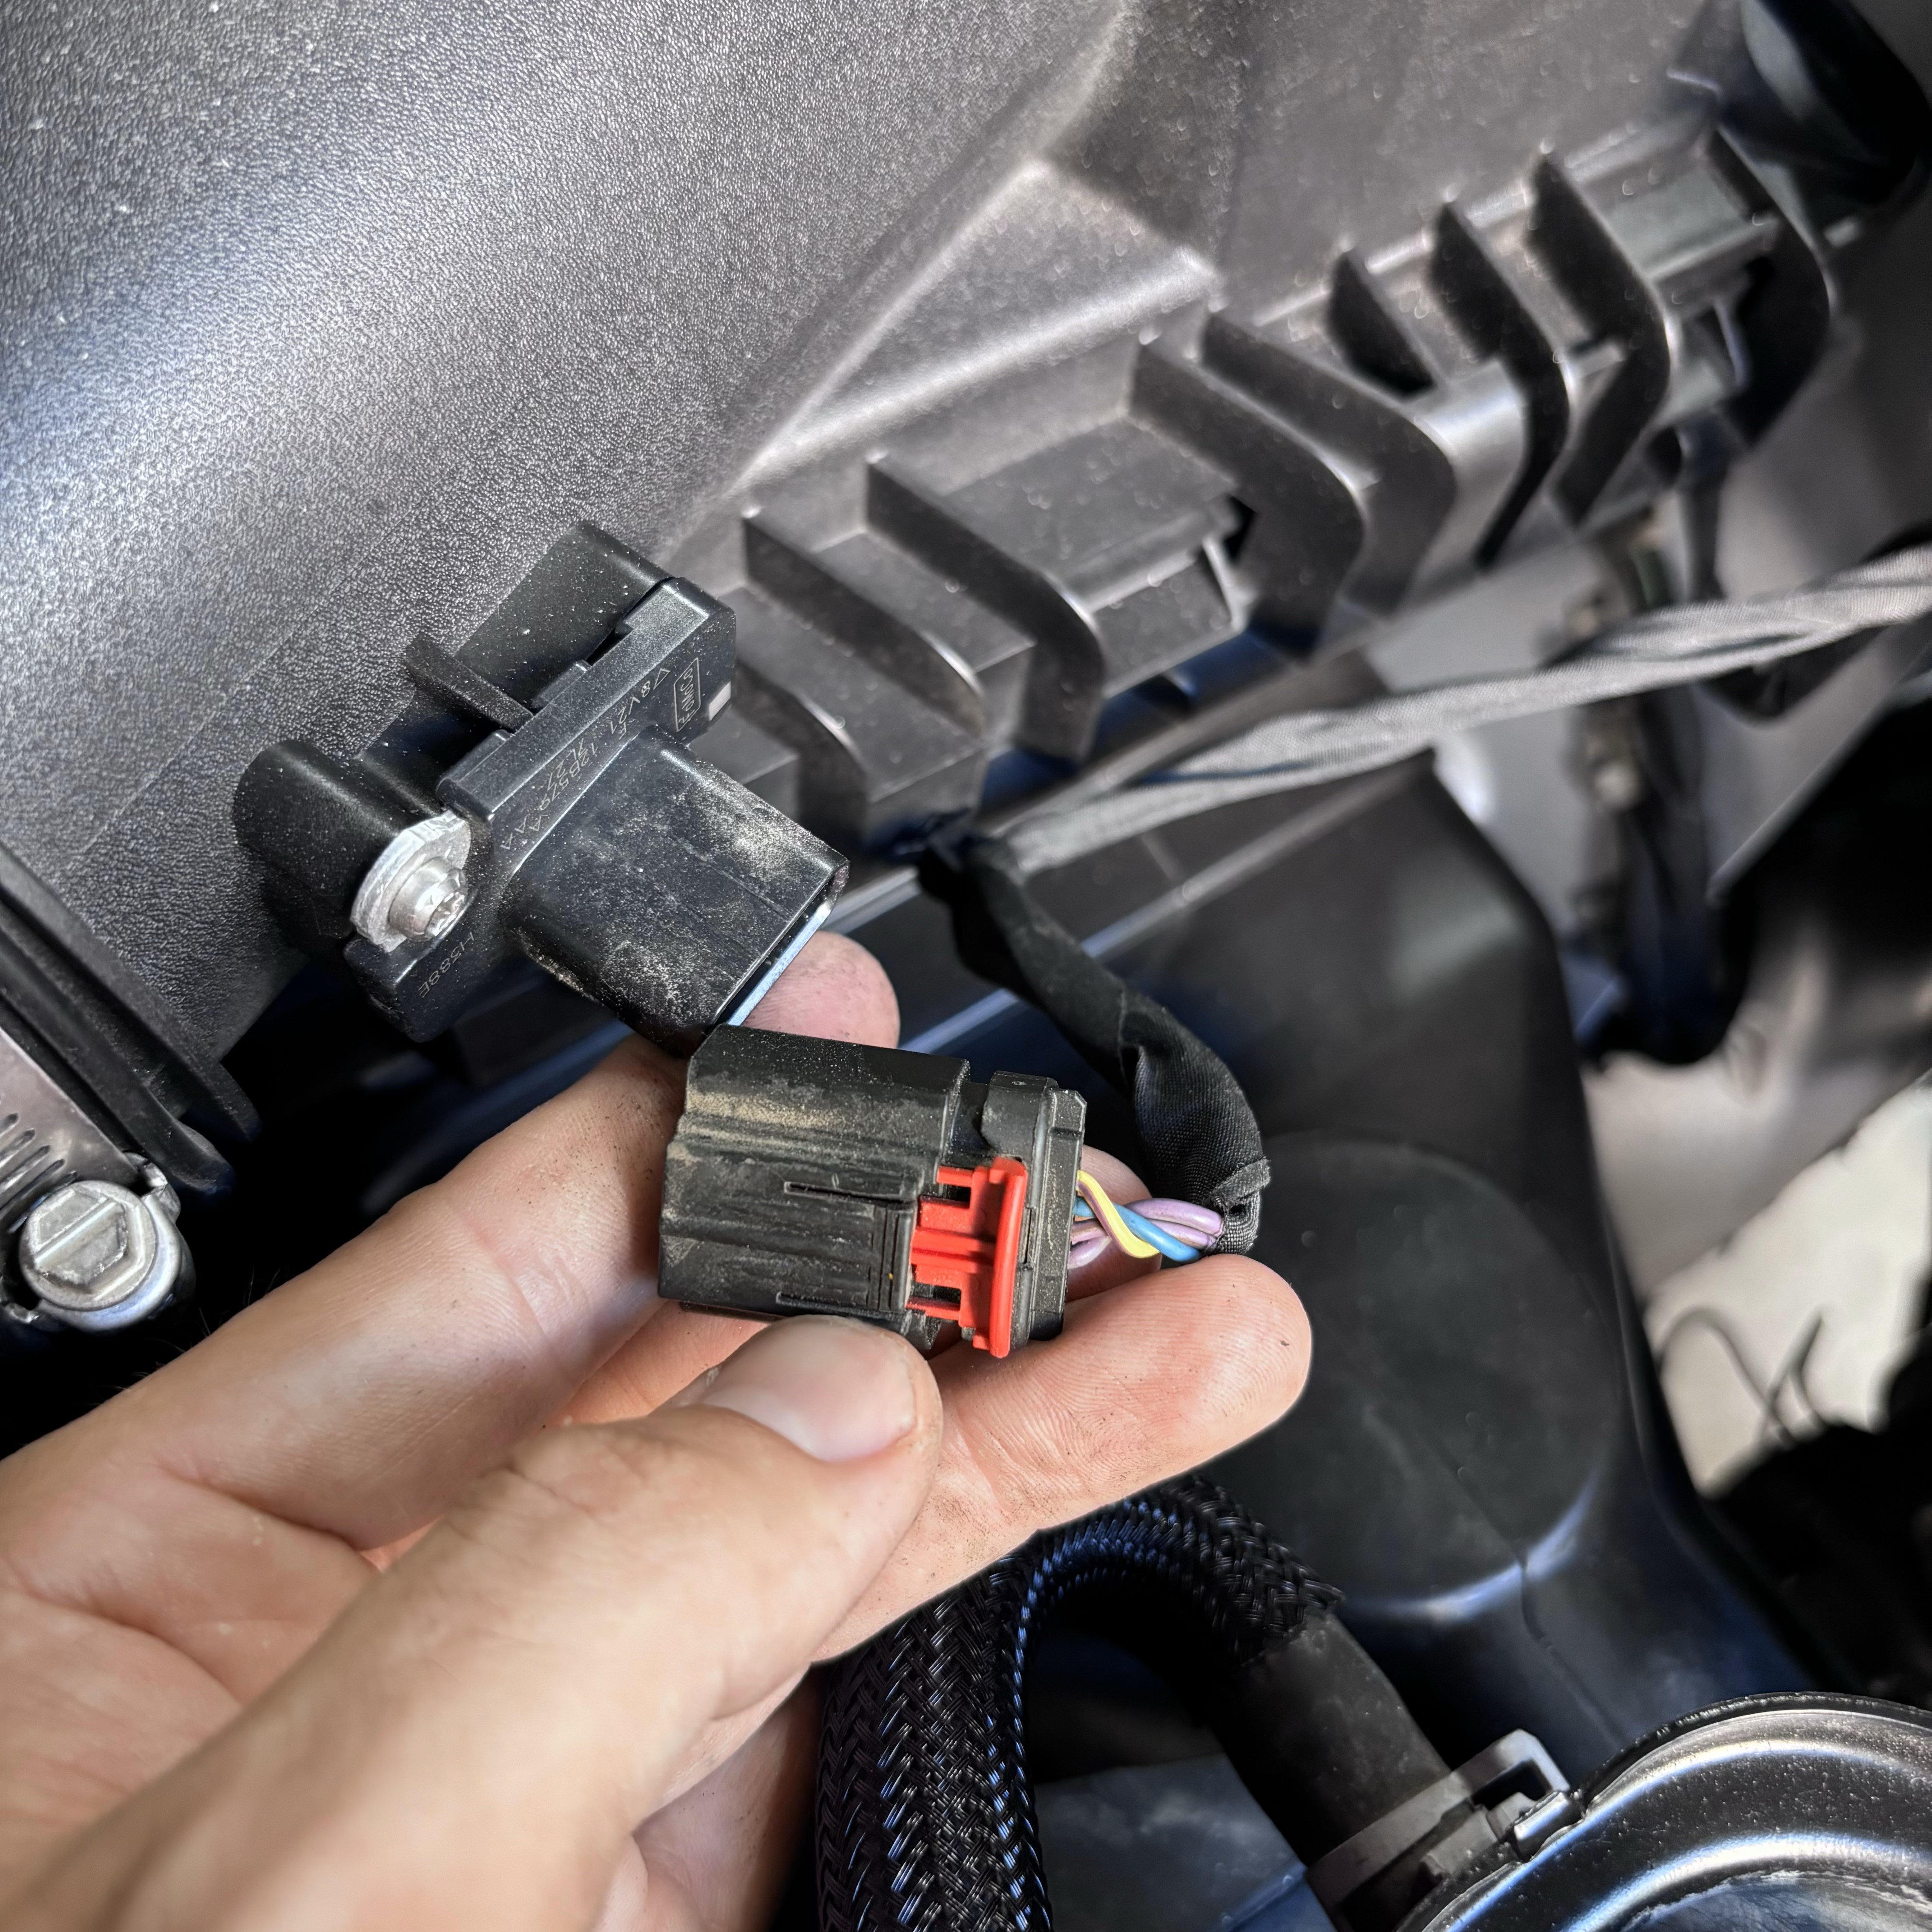
Remove the Christmas tree rivets from the OEM airbox.
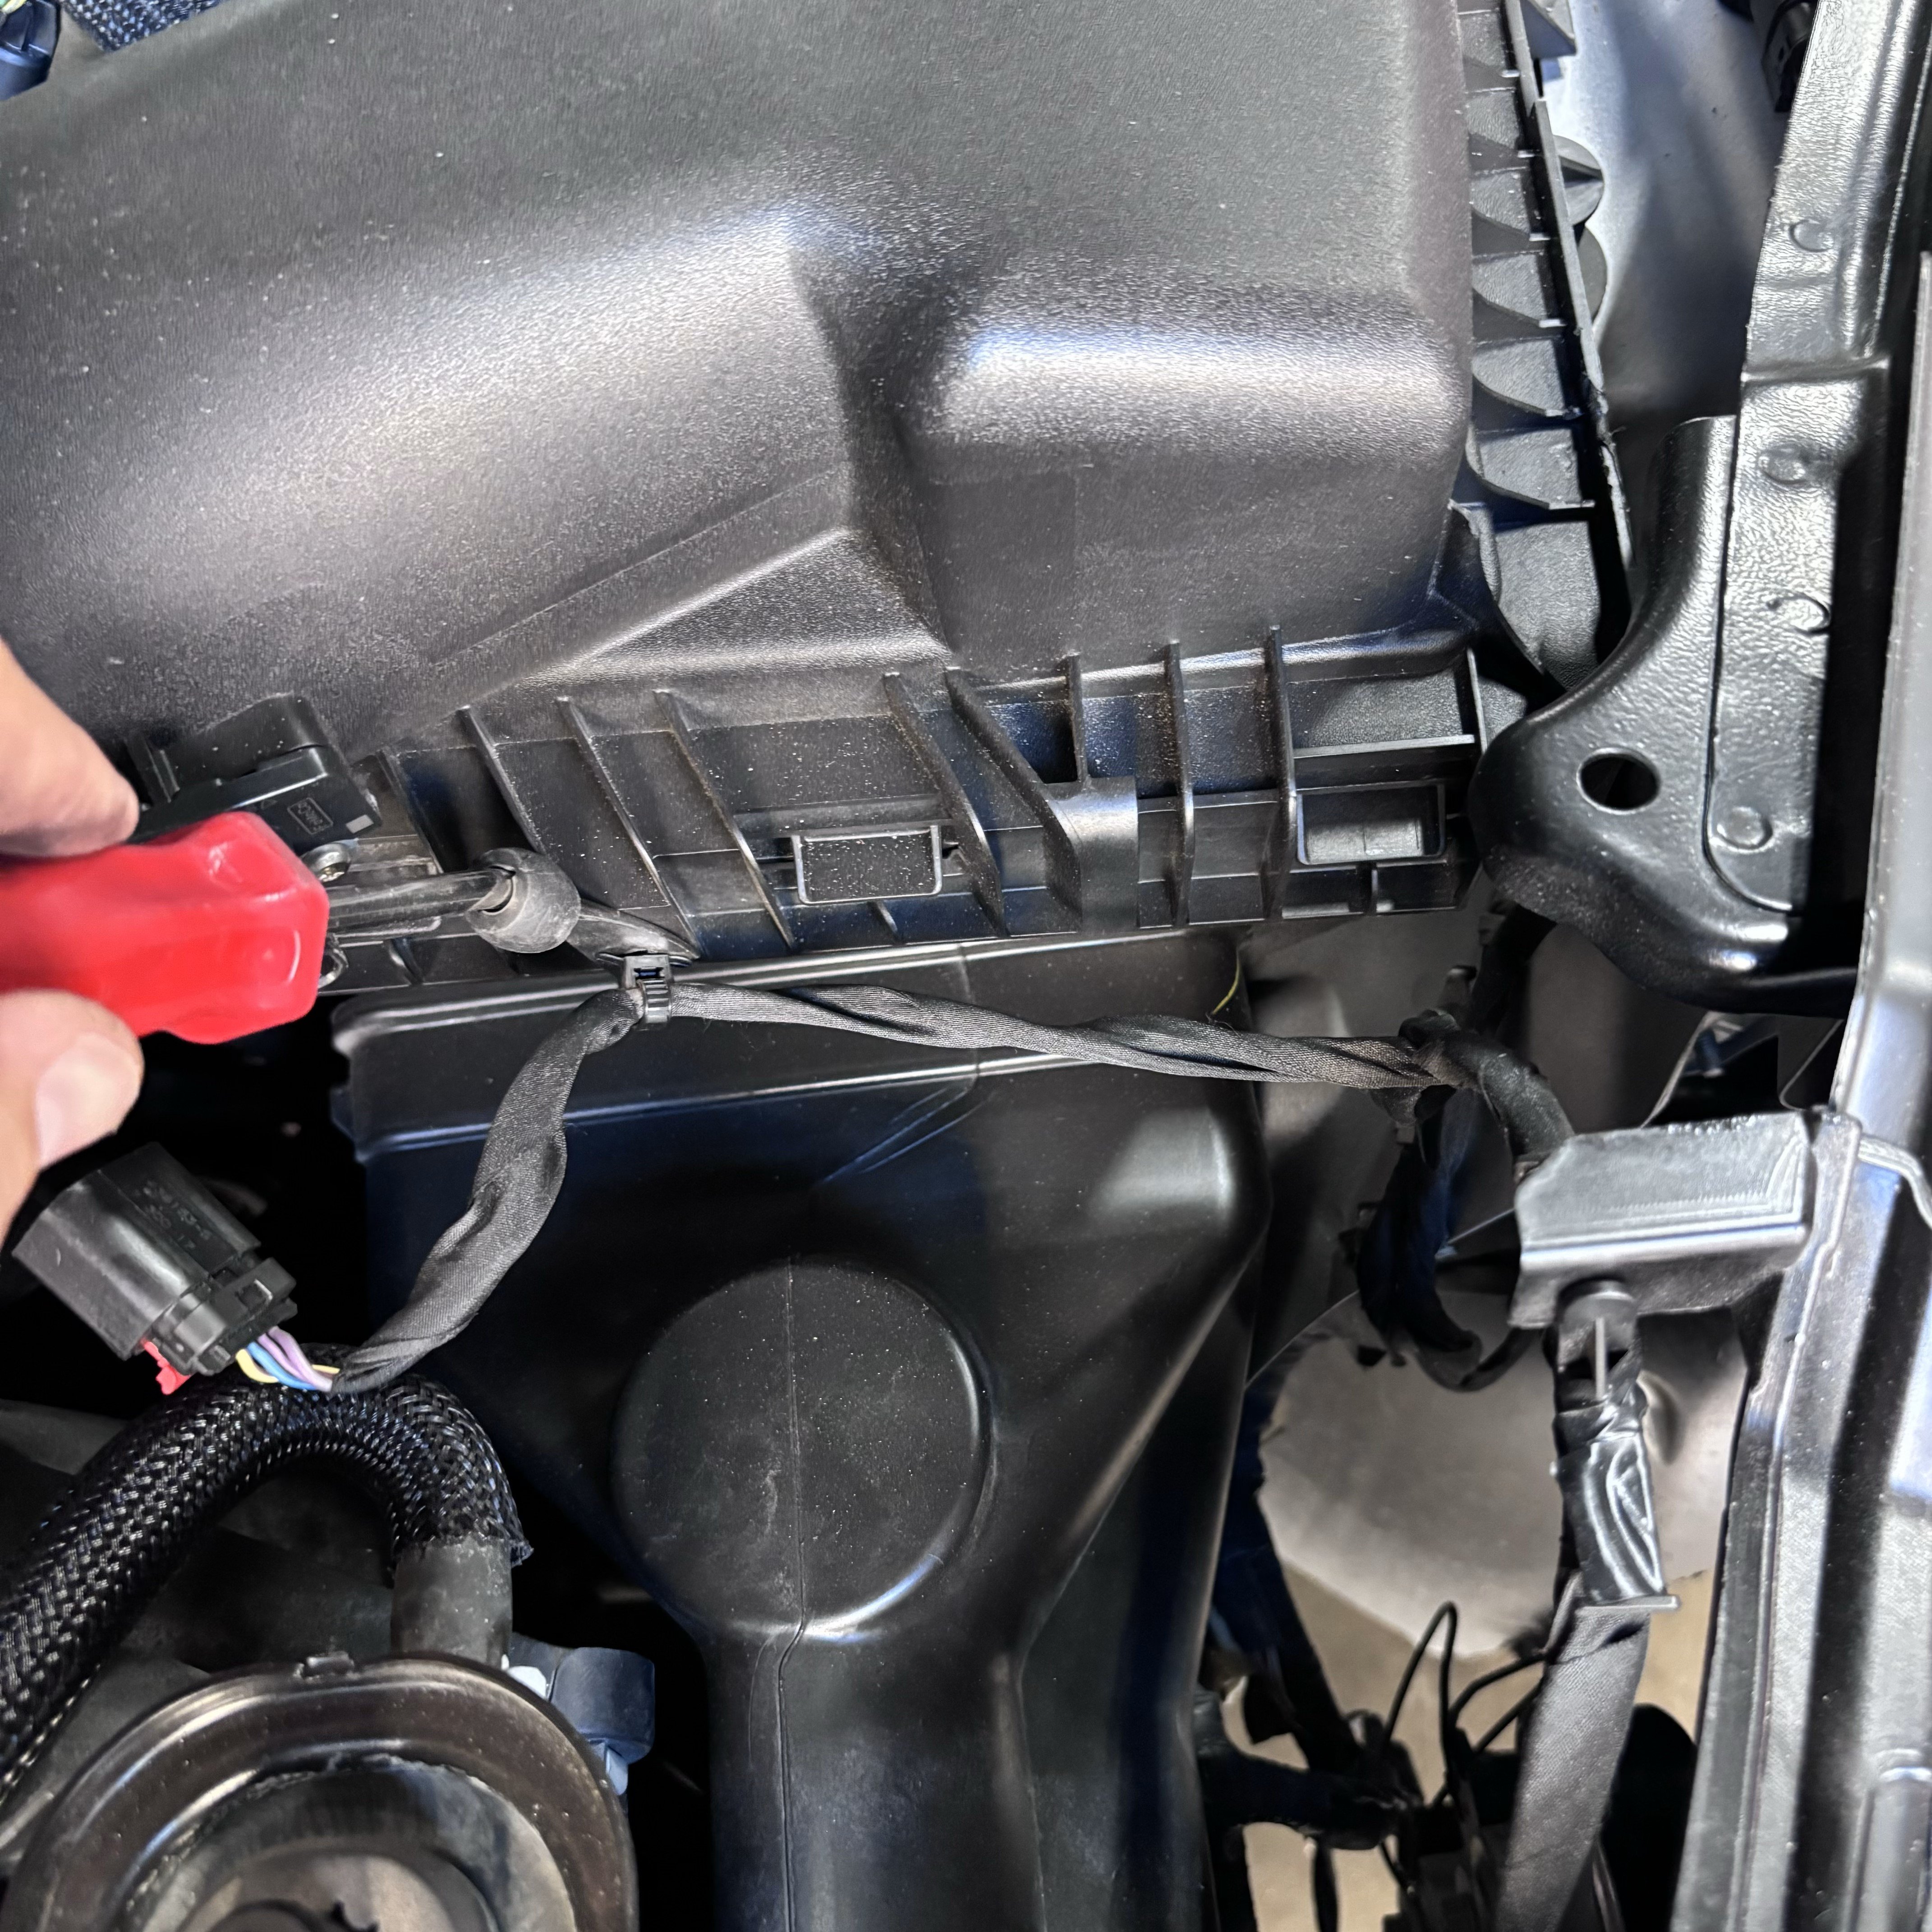
Remove this connector by rotating the inner connector counterclockwise.
.jpg?v=1726692718683)
Loose the hose clamp on the throttle body and pull off the coupler from the throttle body.
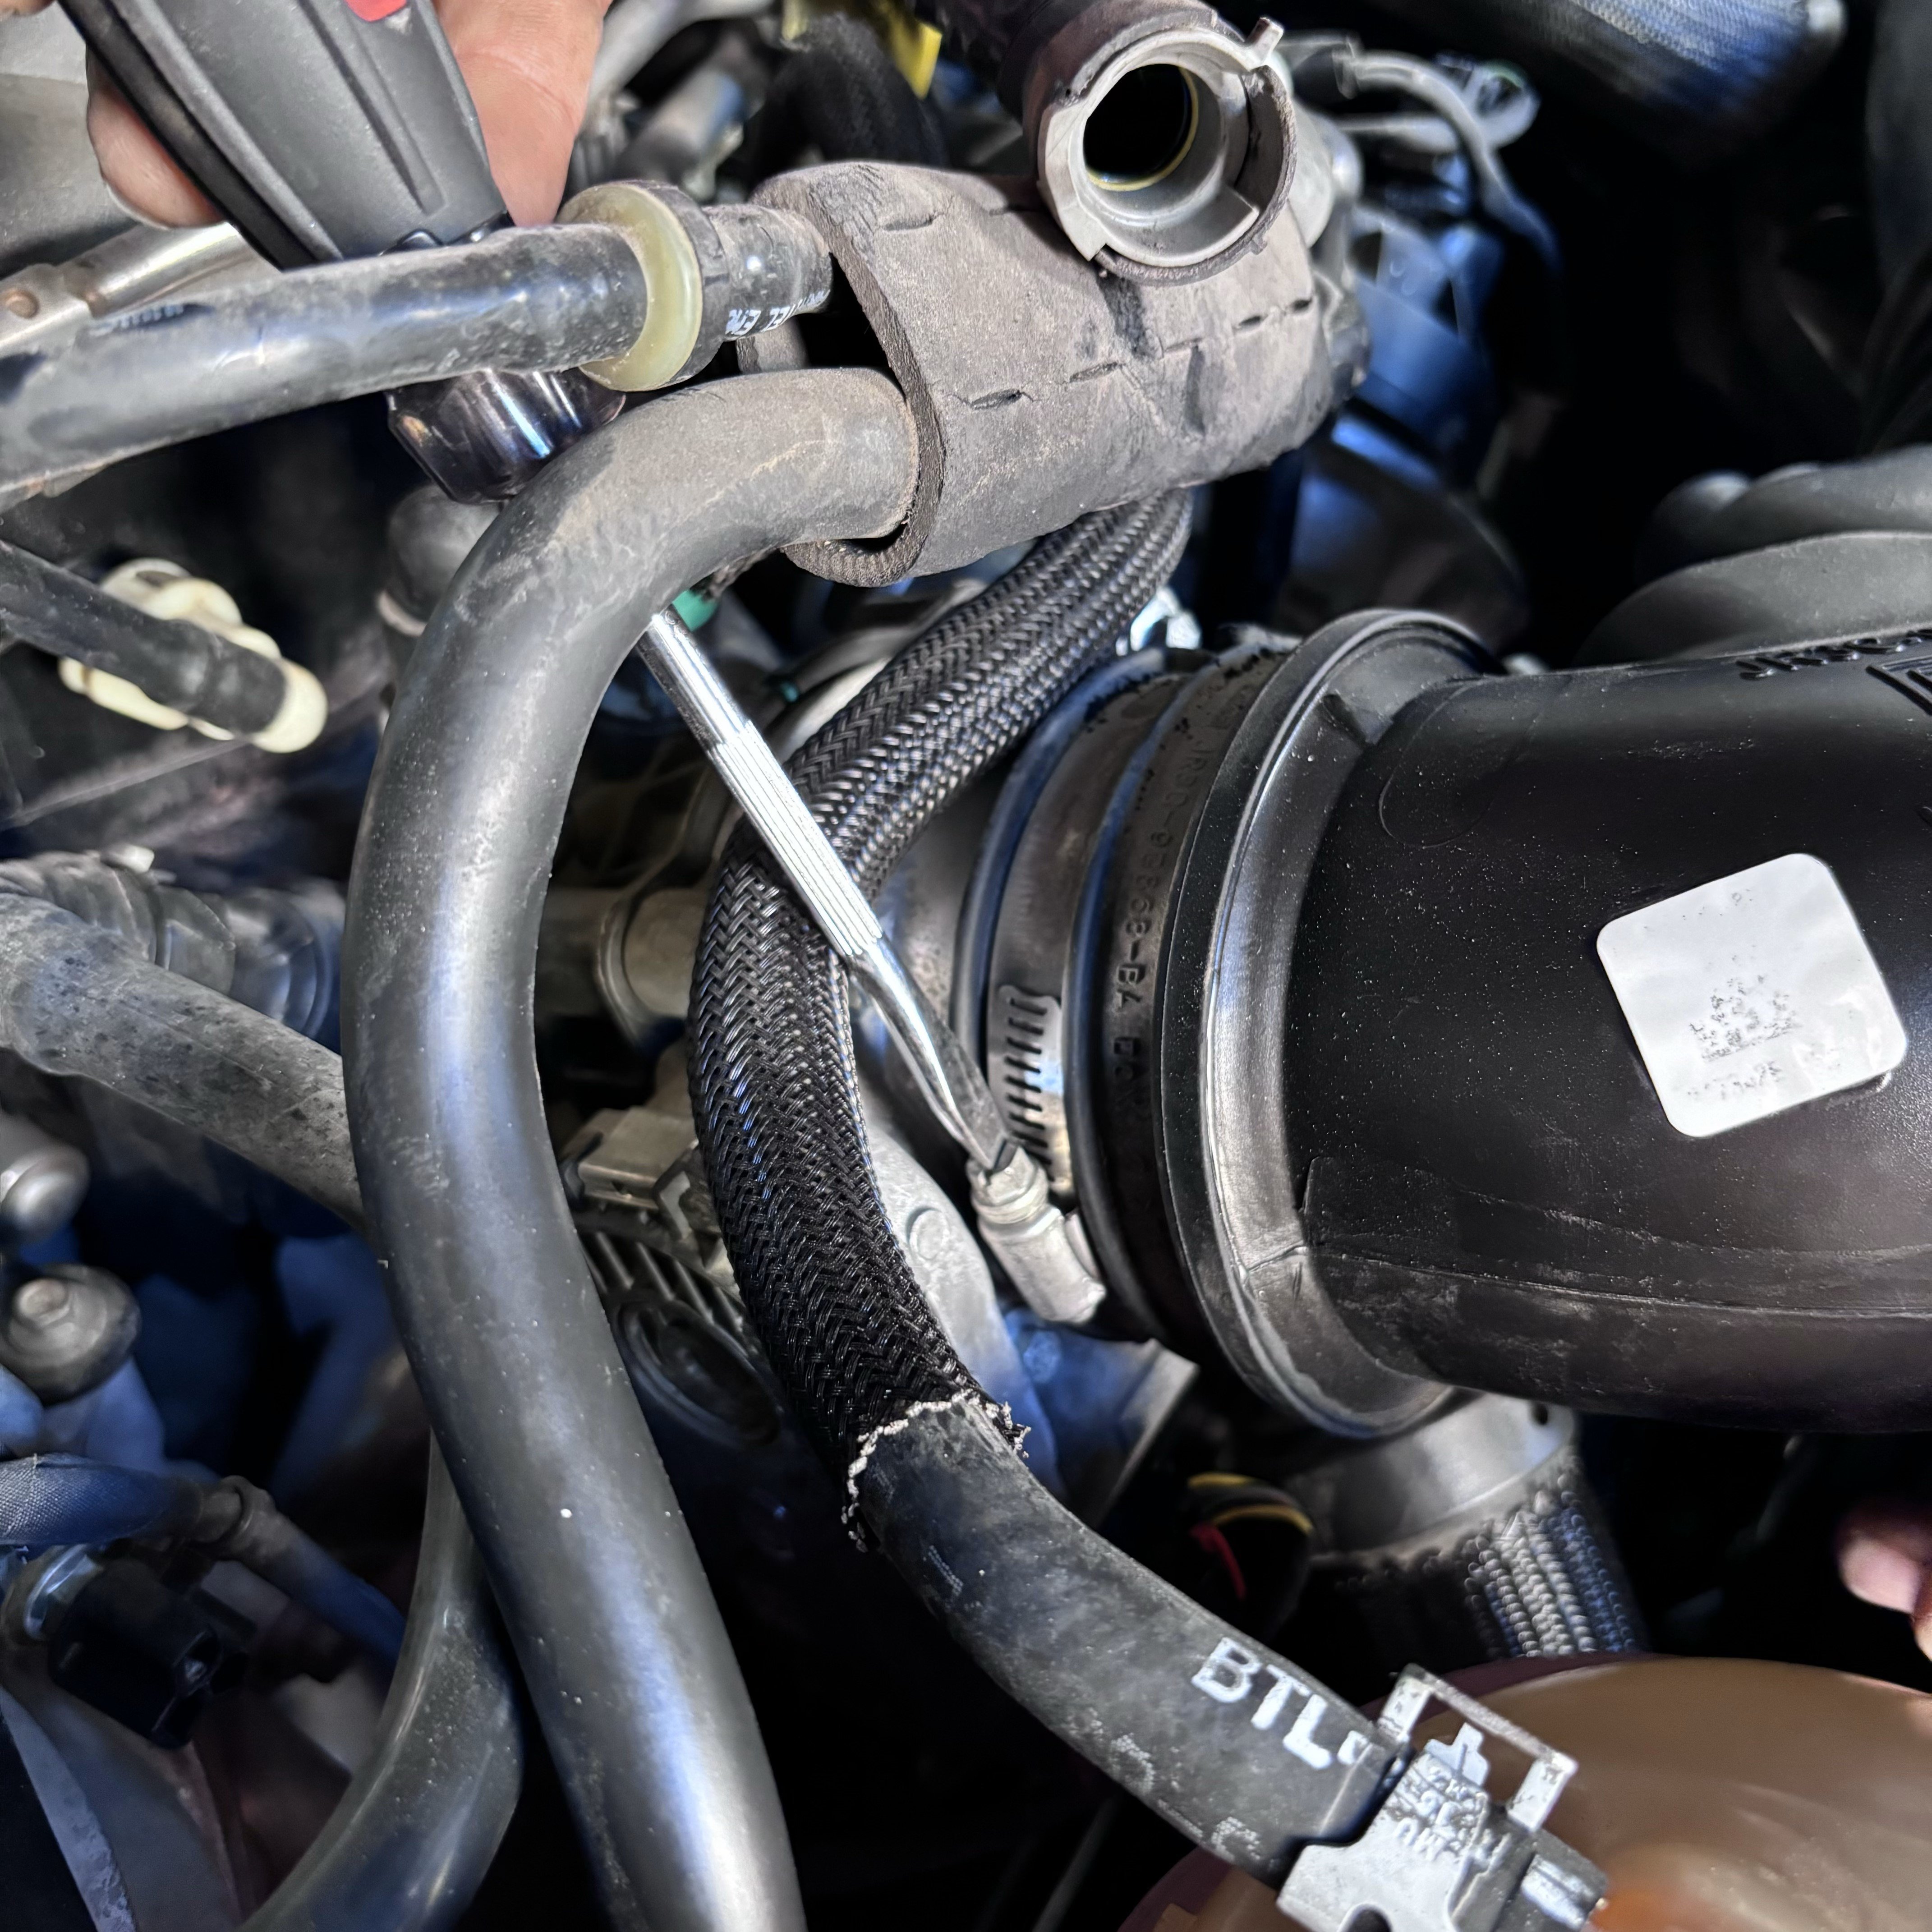
With a 10mm, remove the bolt holding the airbox to the body of the vehicle.
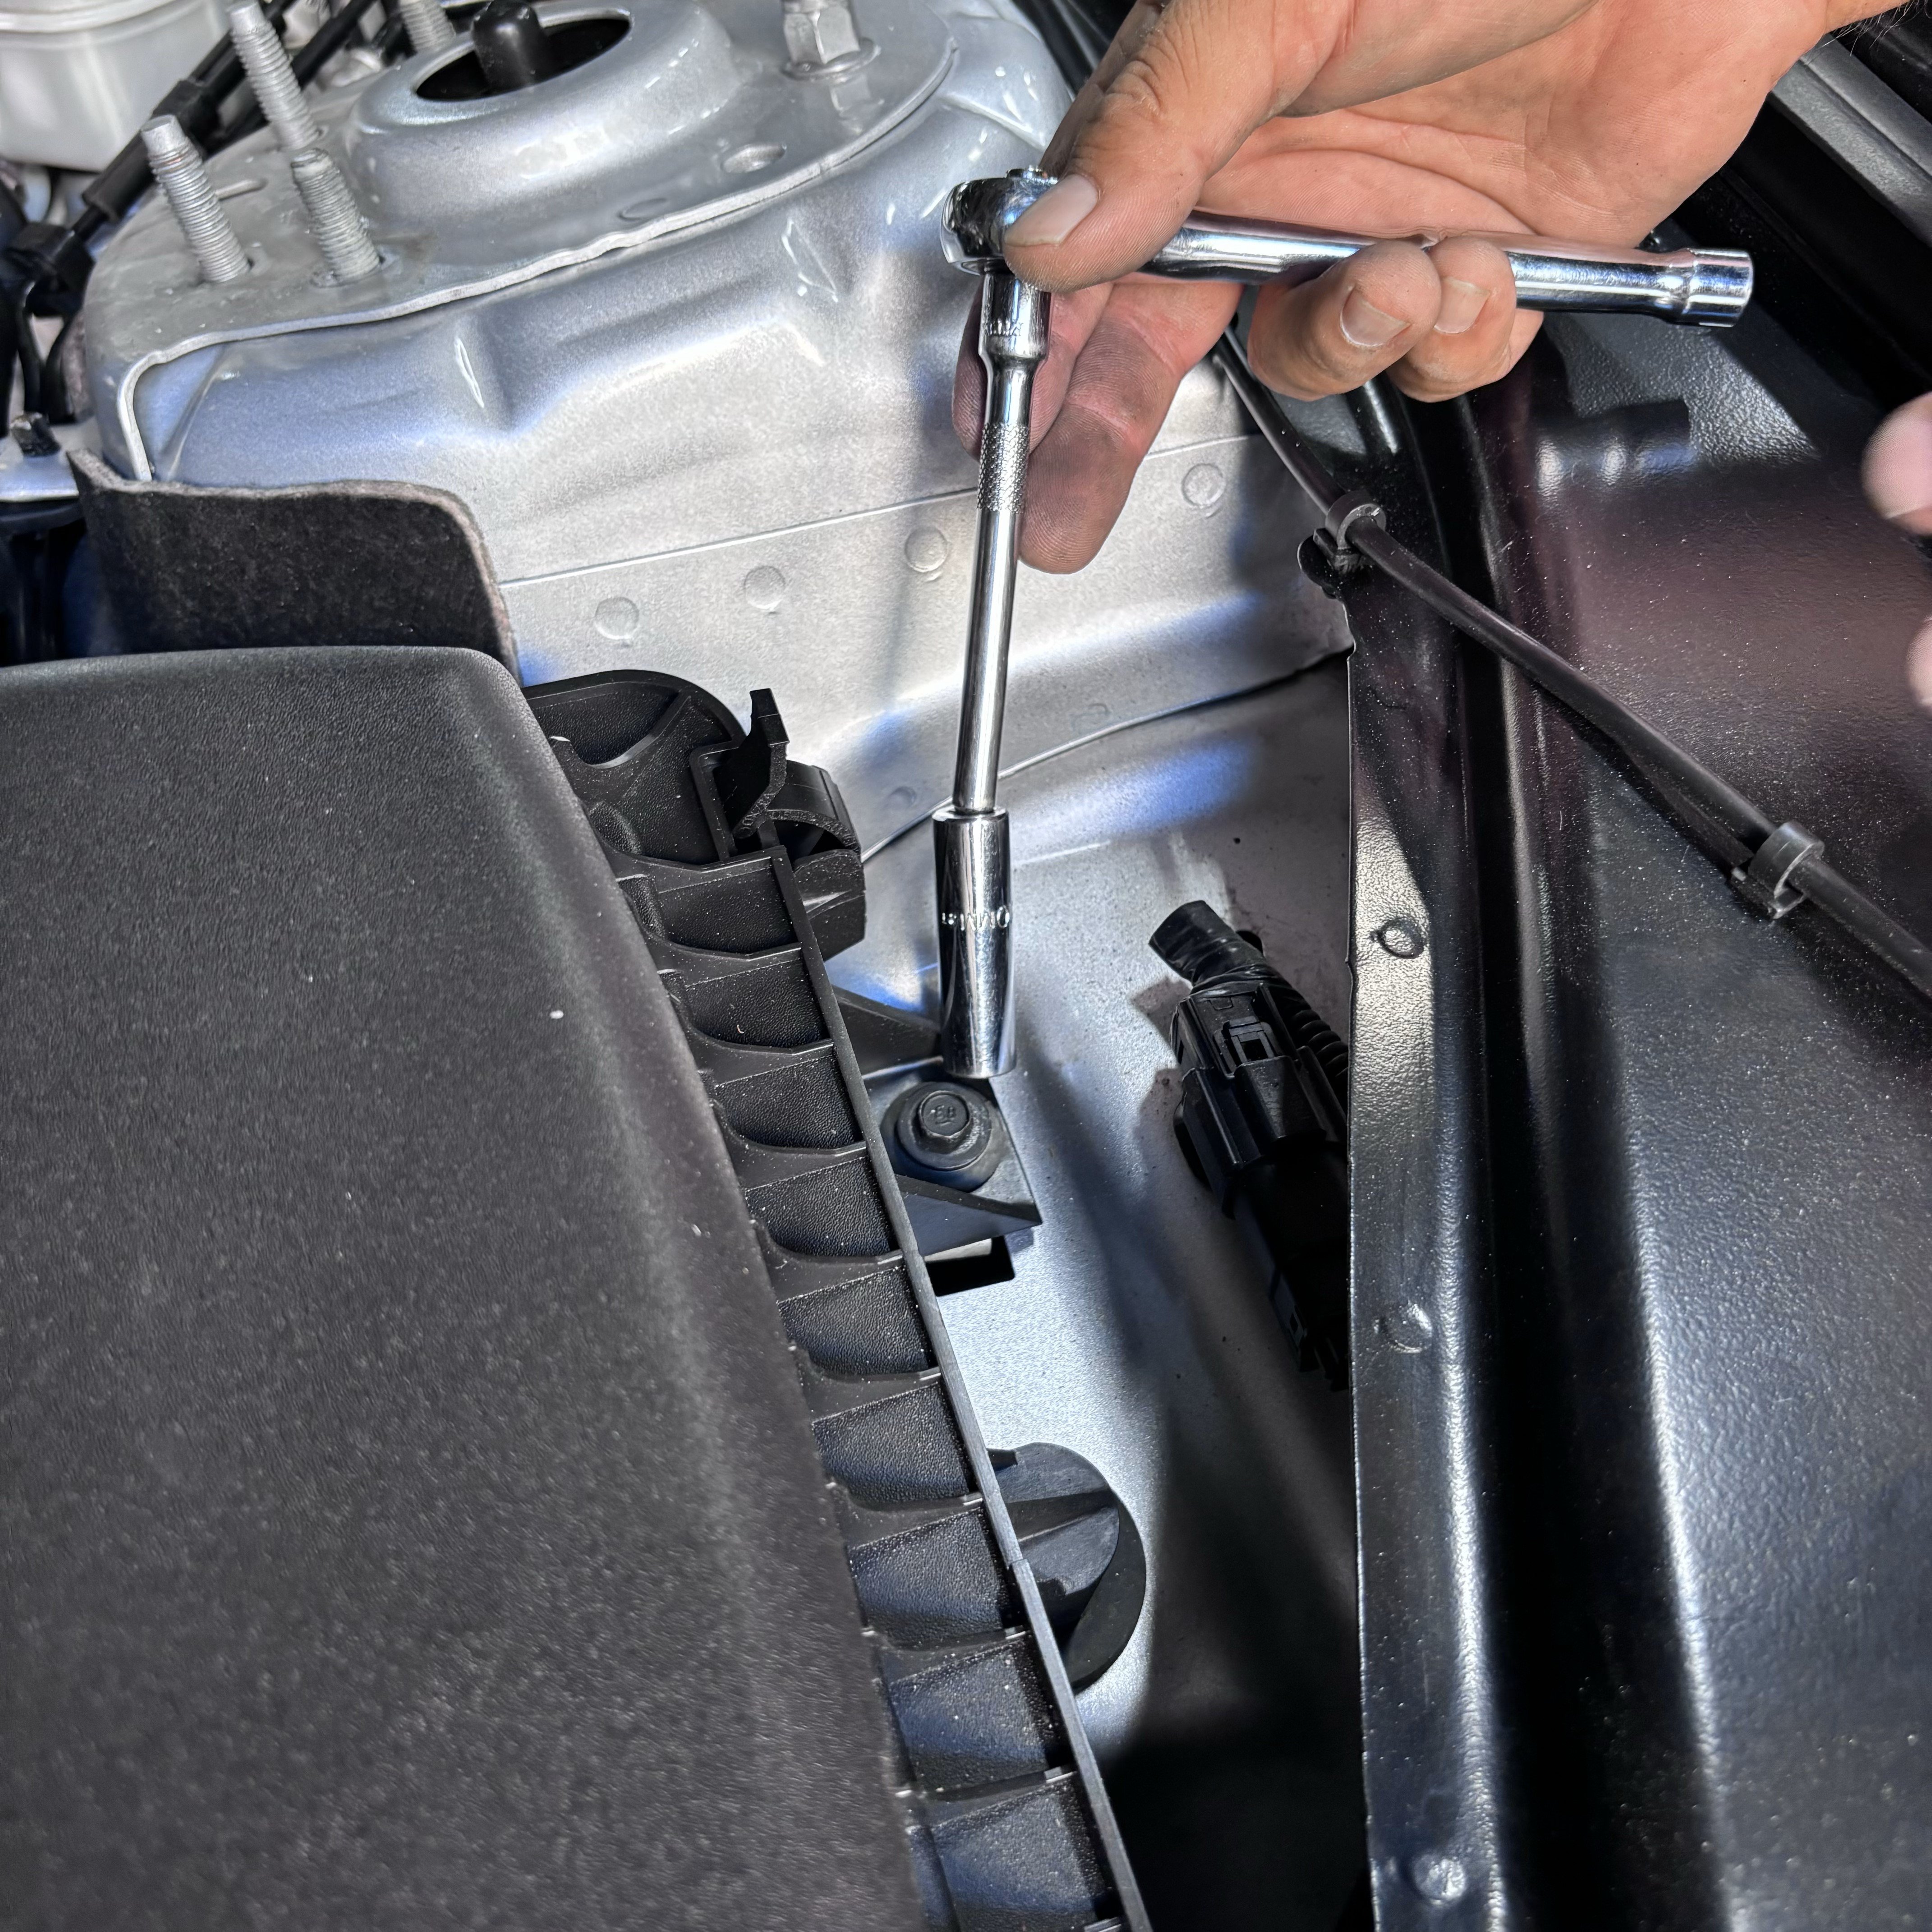
Lift the OEM intake out of the vehicle.
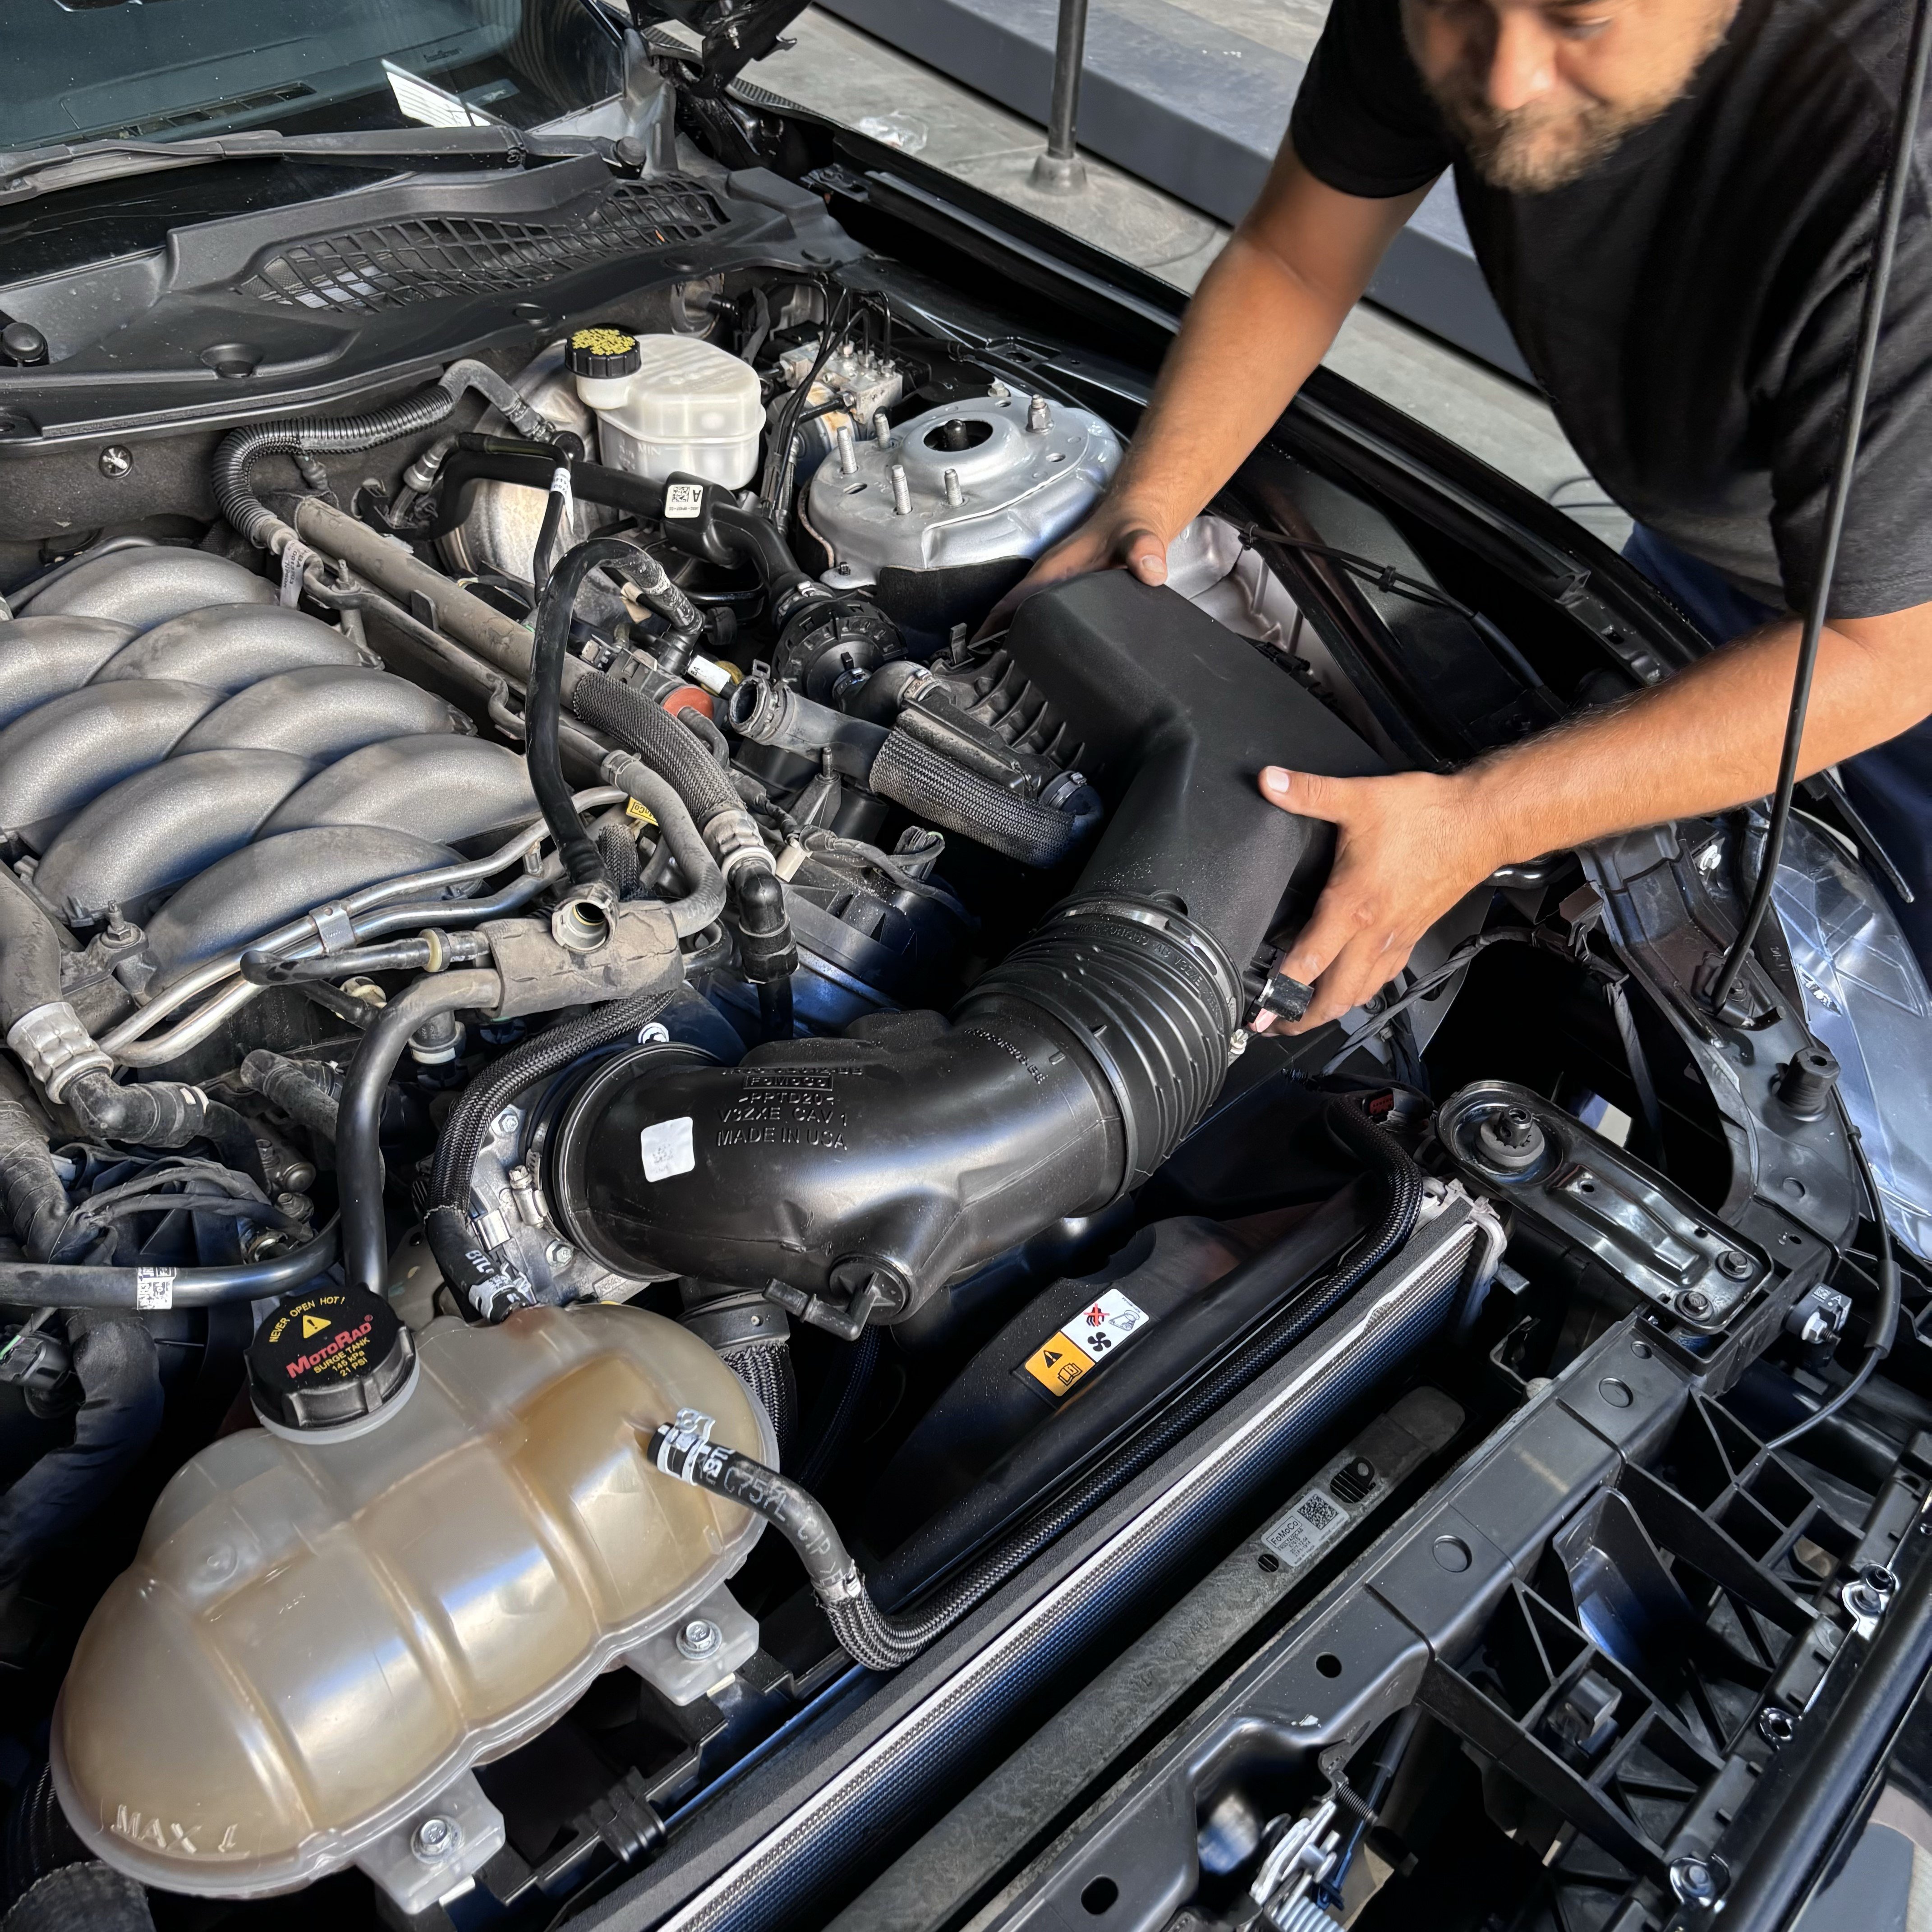
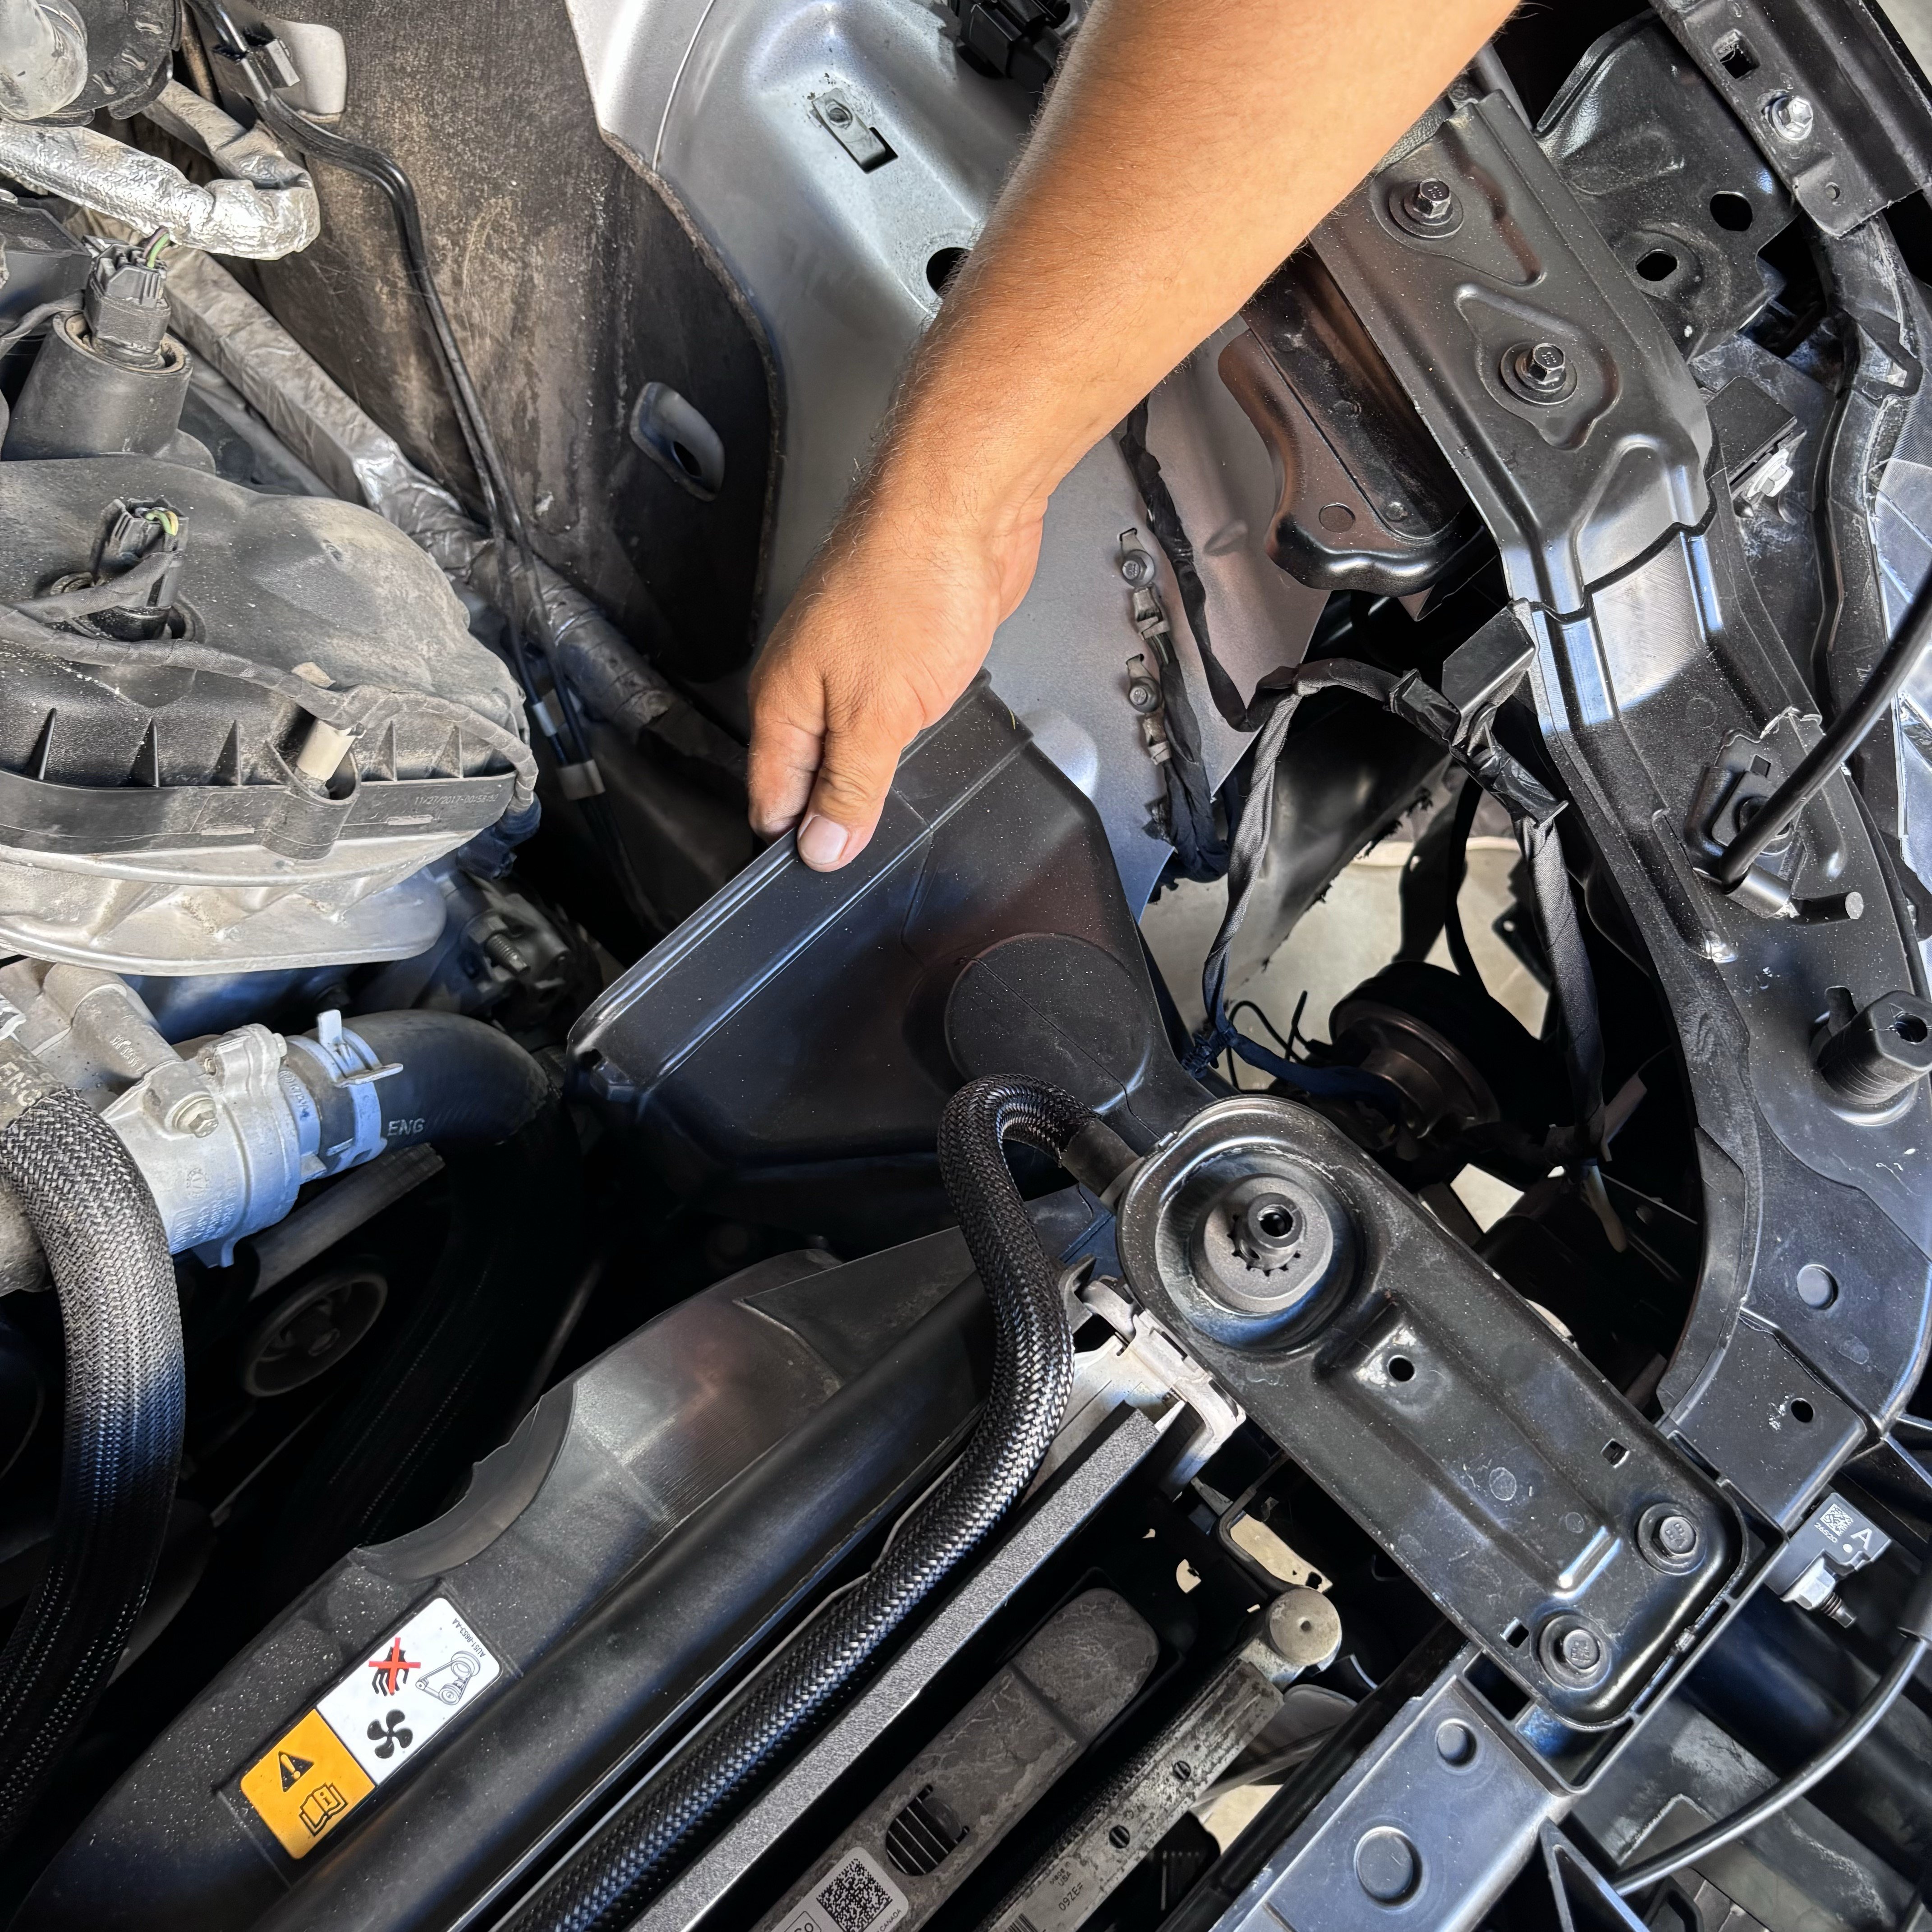
Remove the front scoop from the car
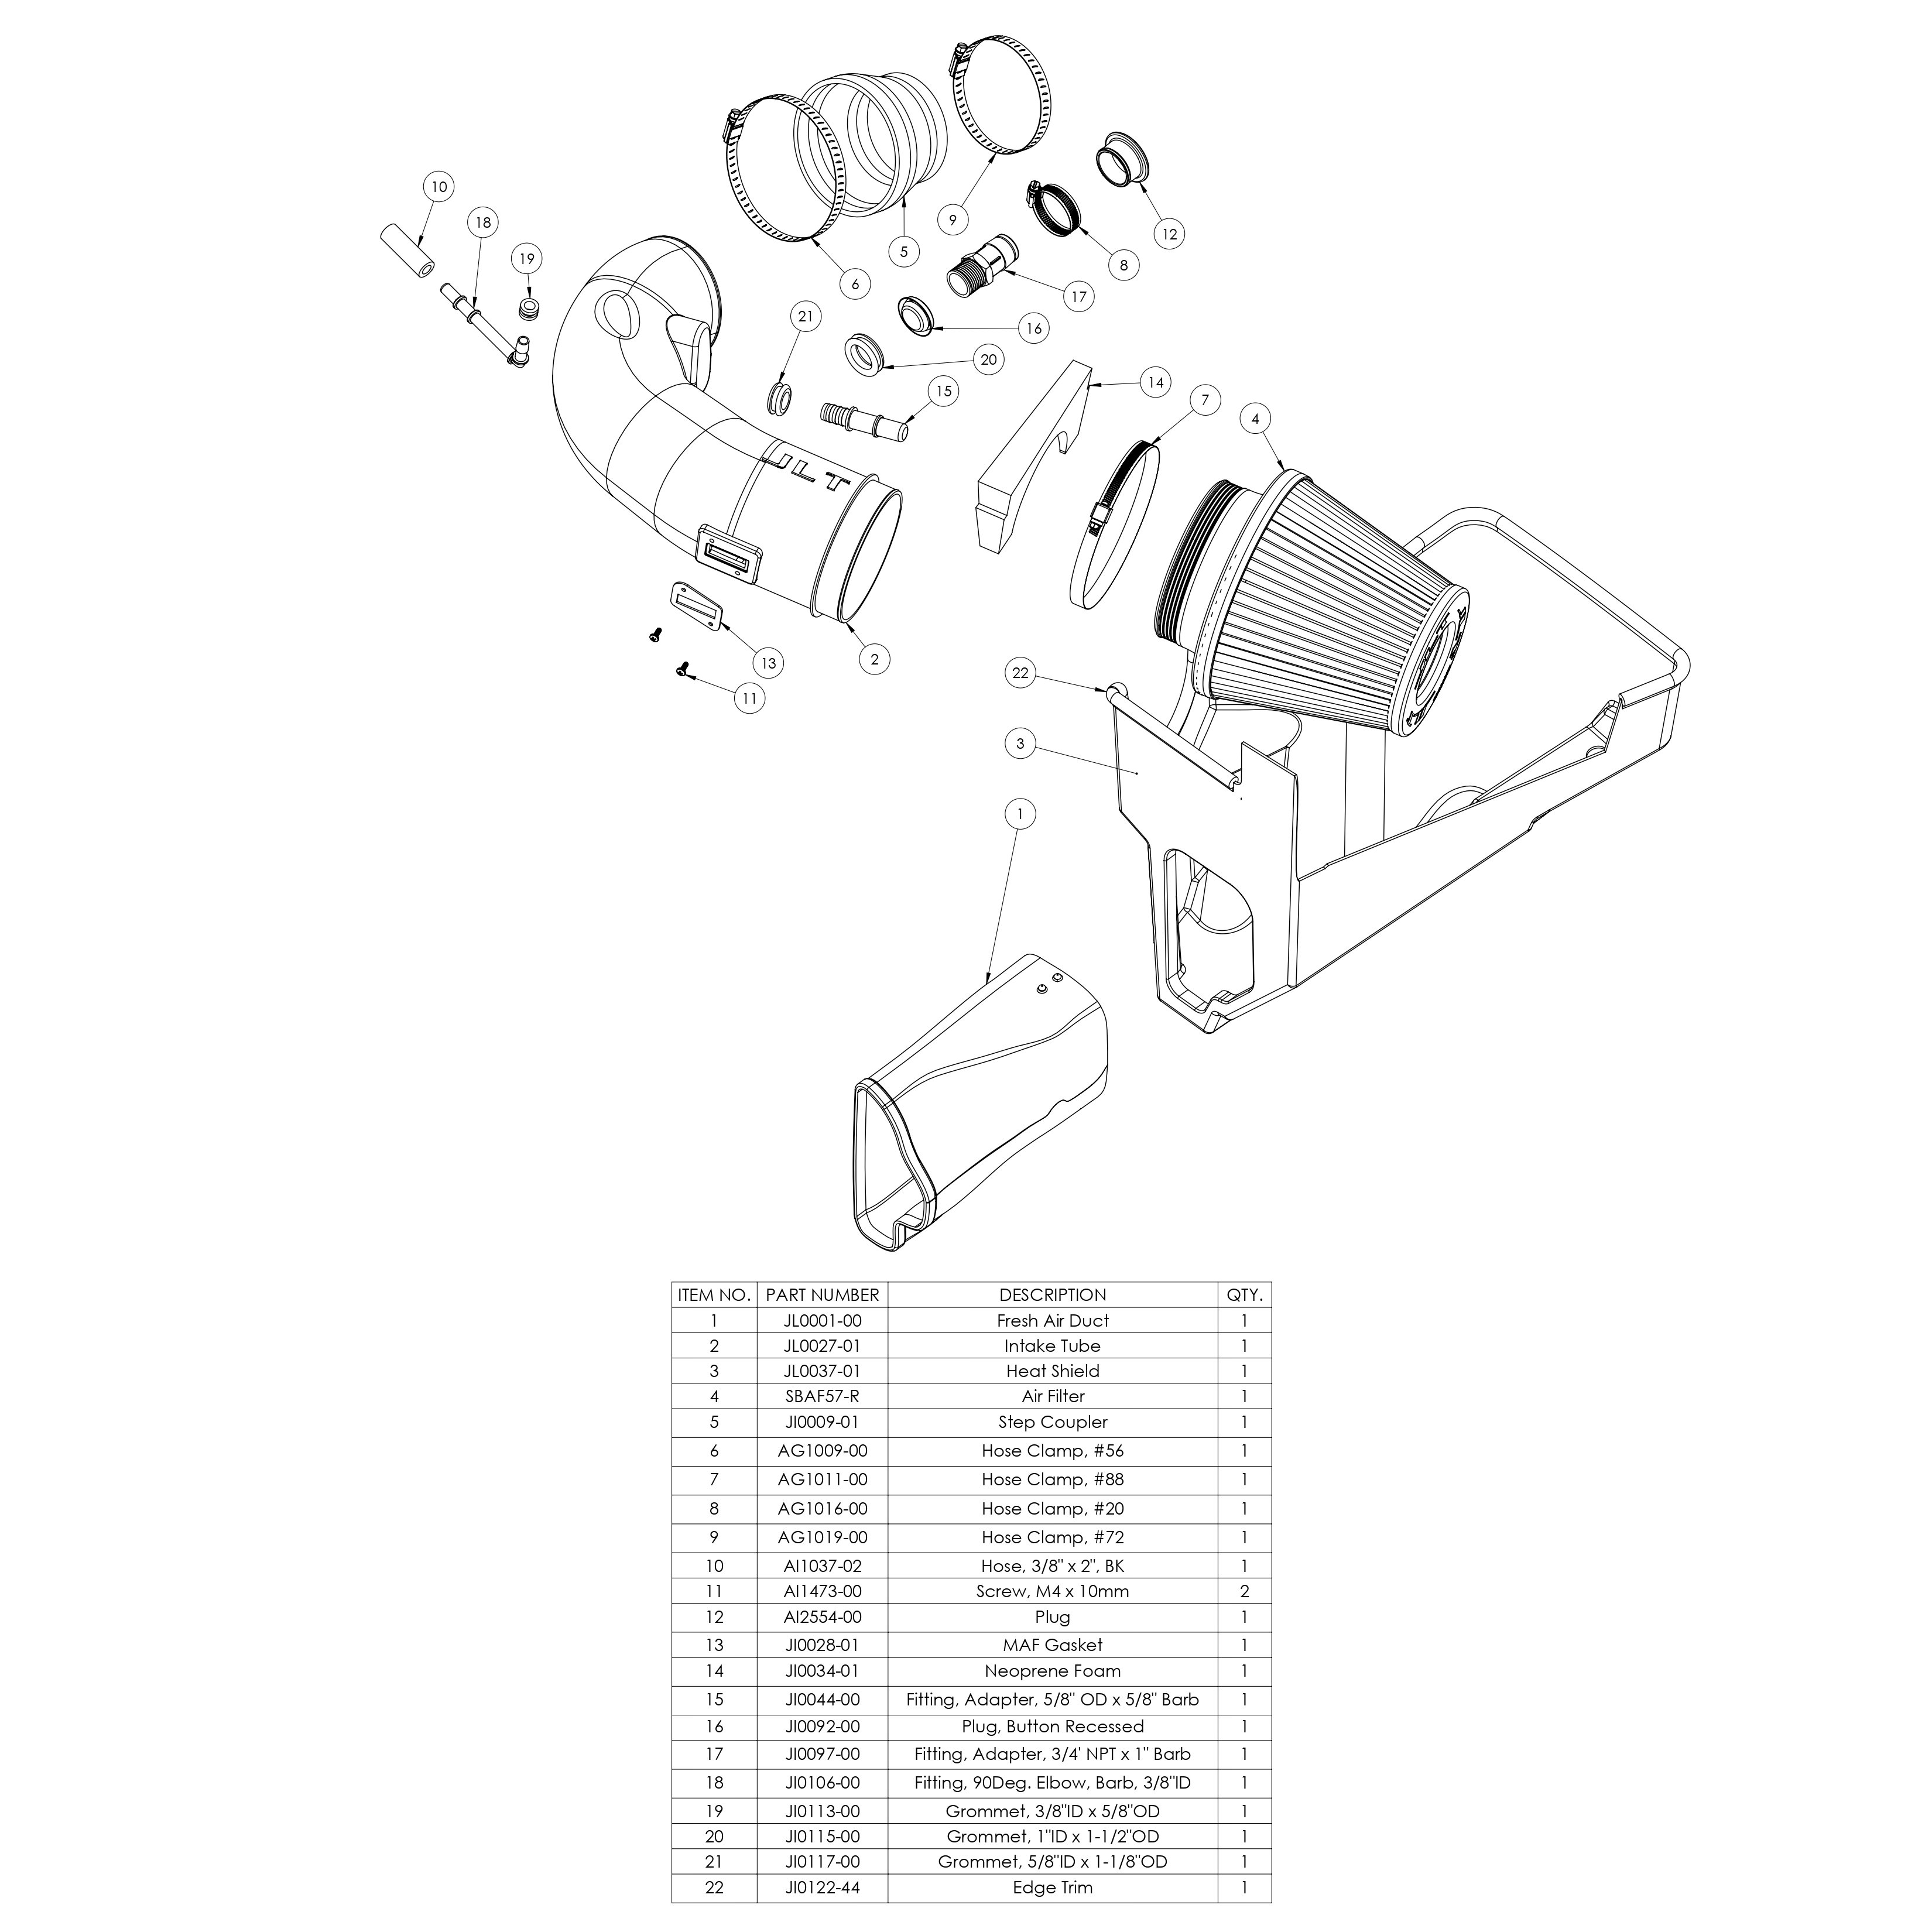
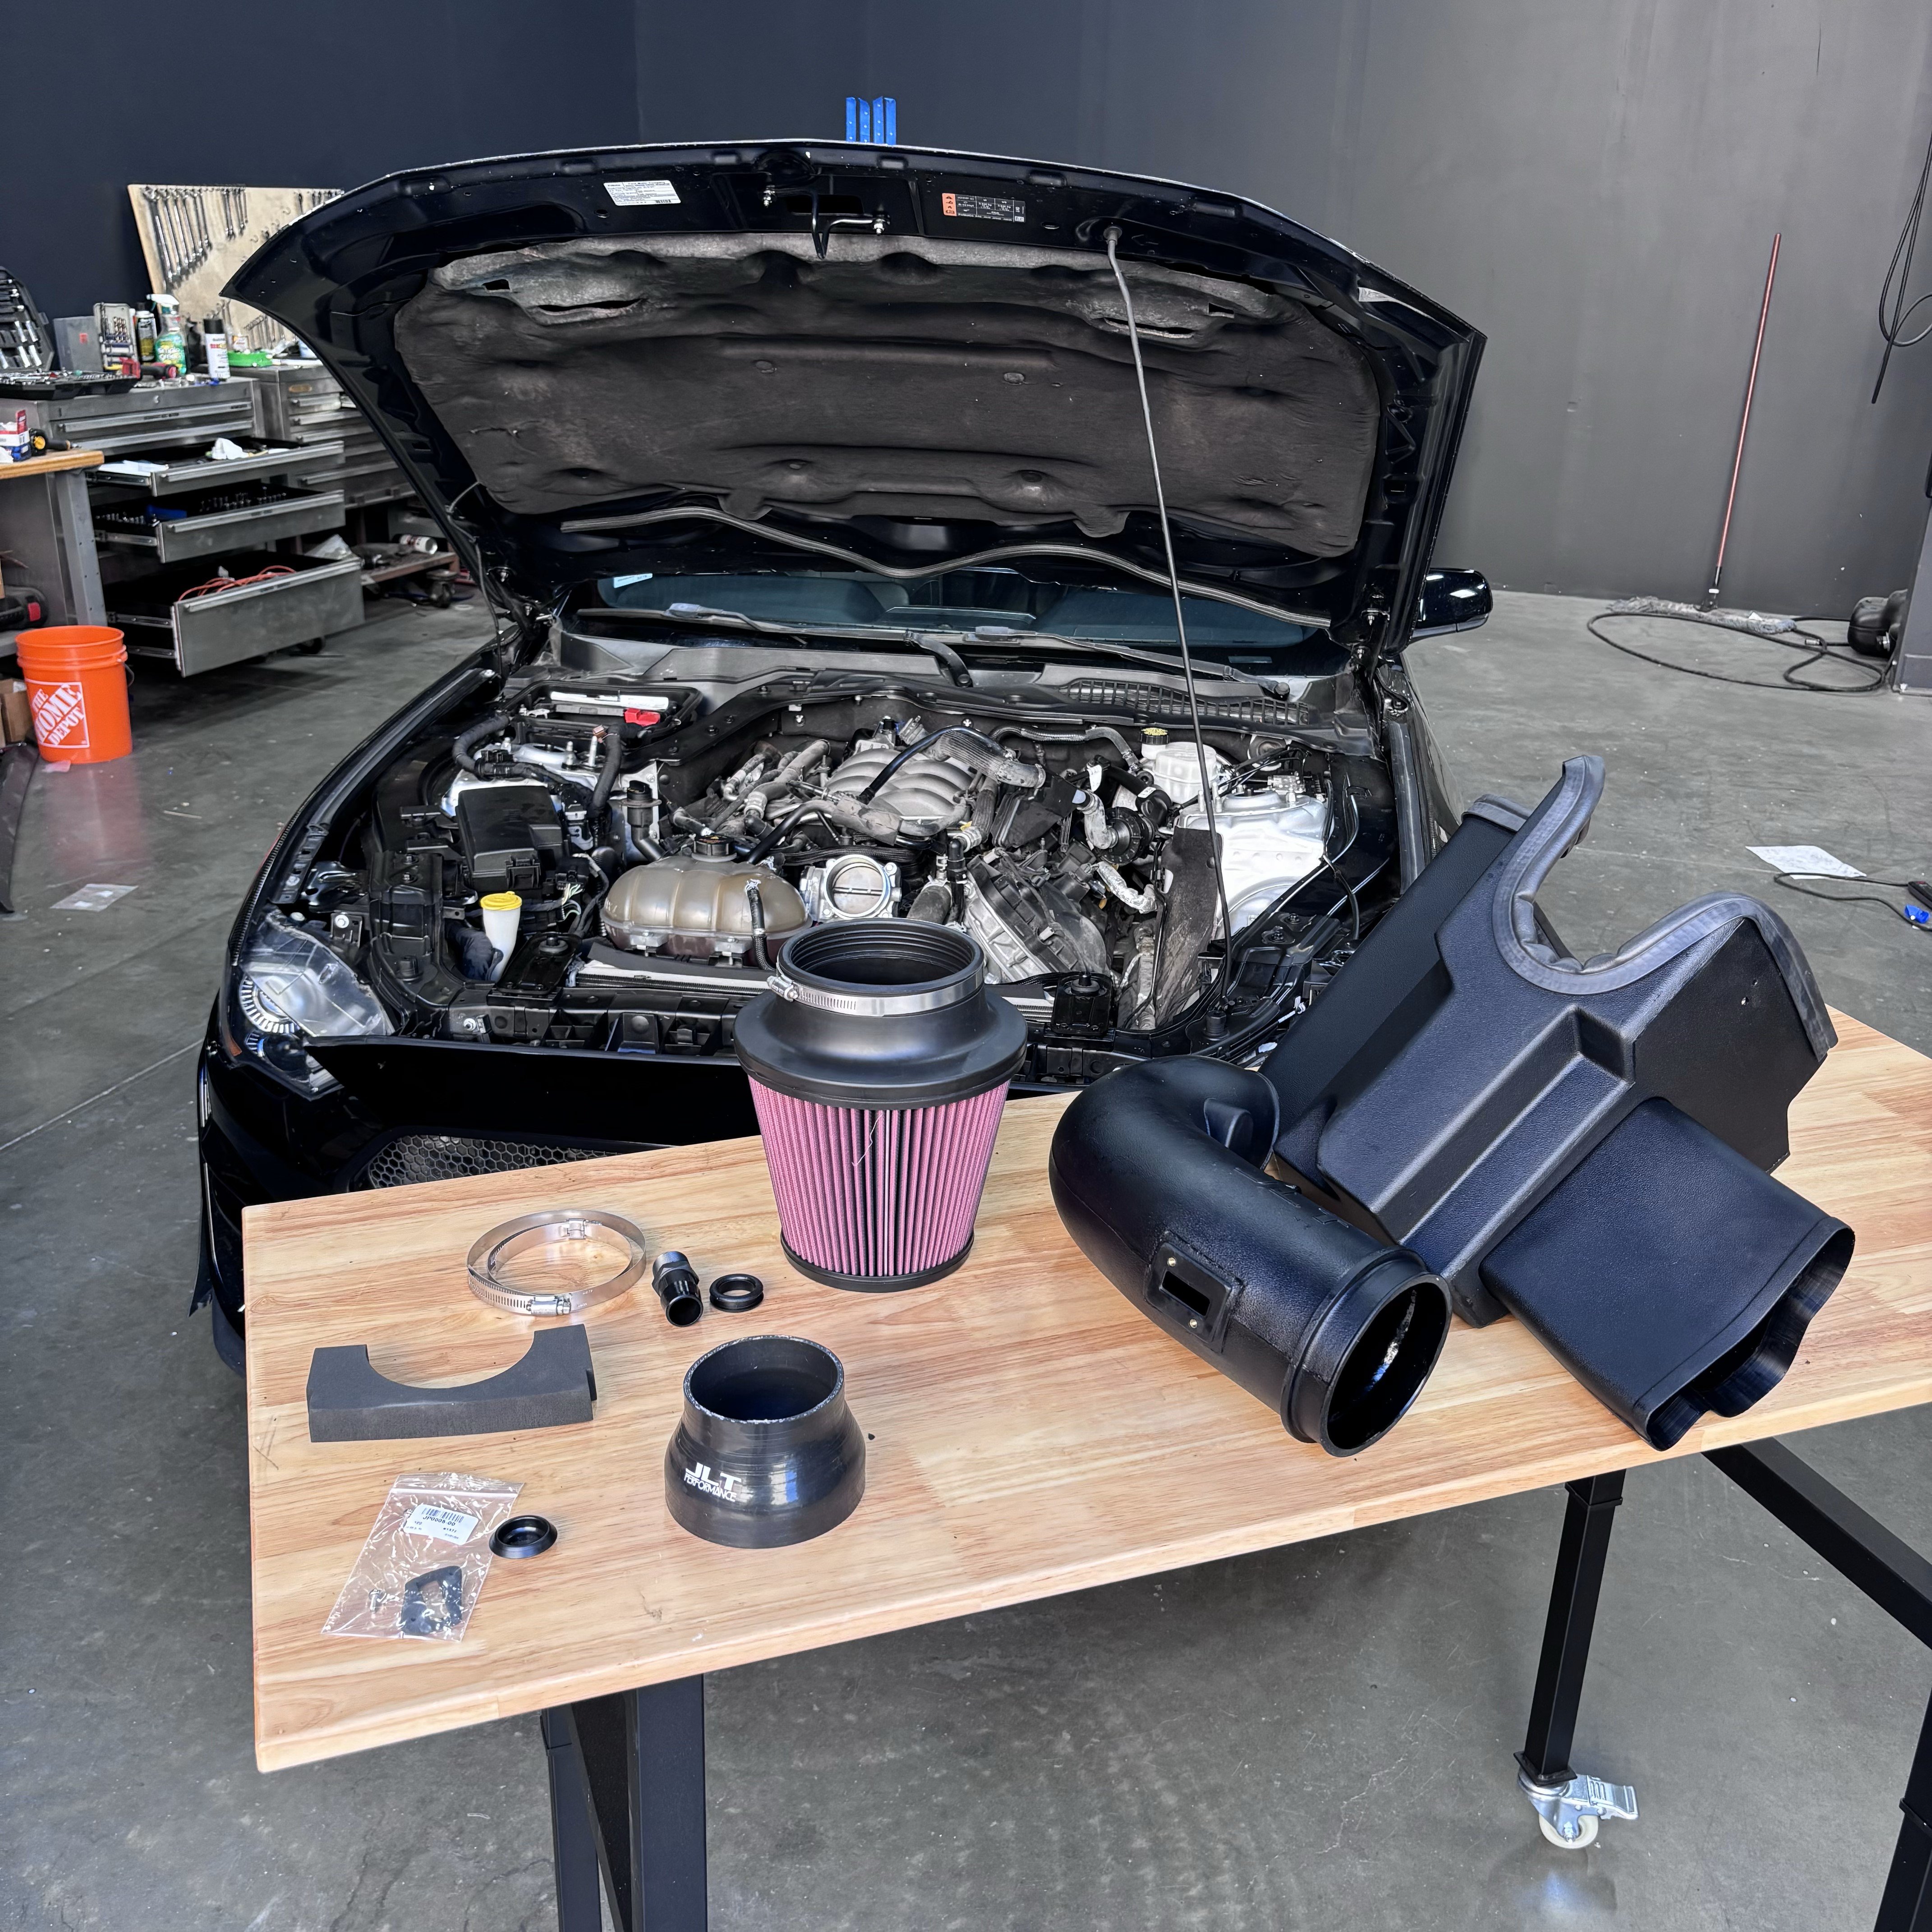
Now we are going to assembly the JLT intake to get it ready for install
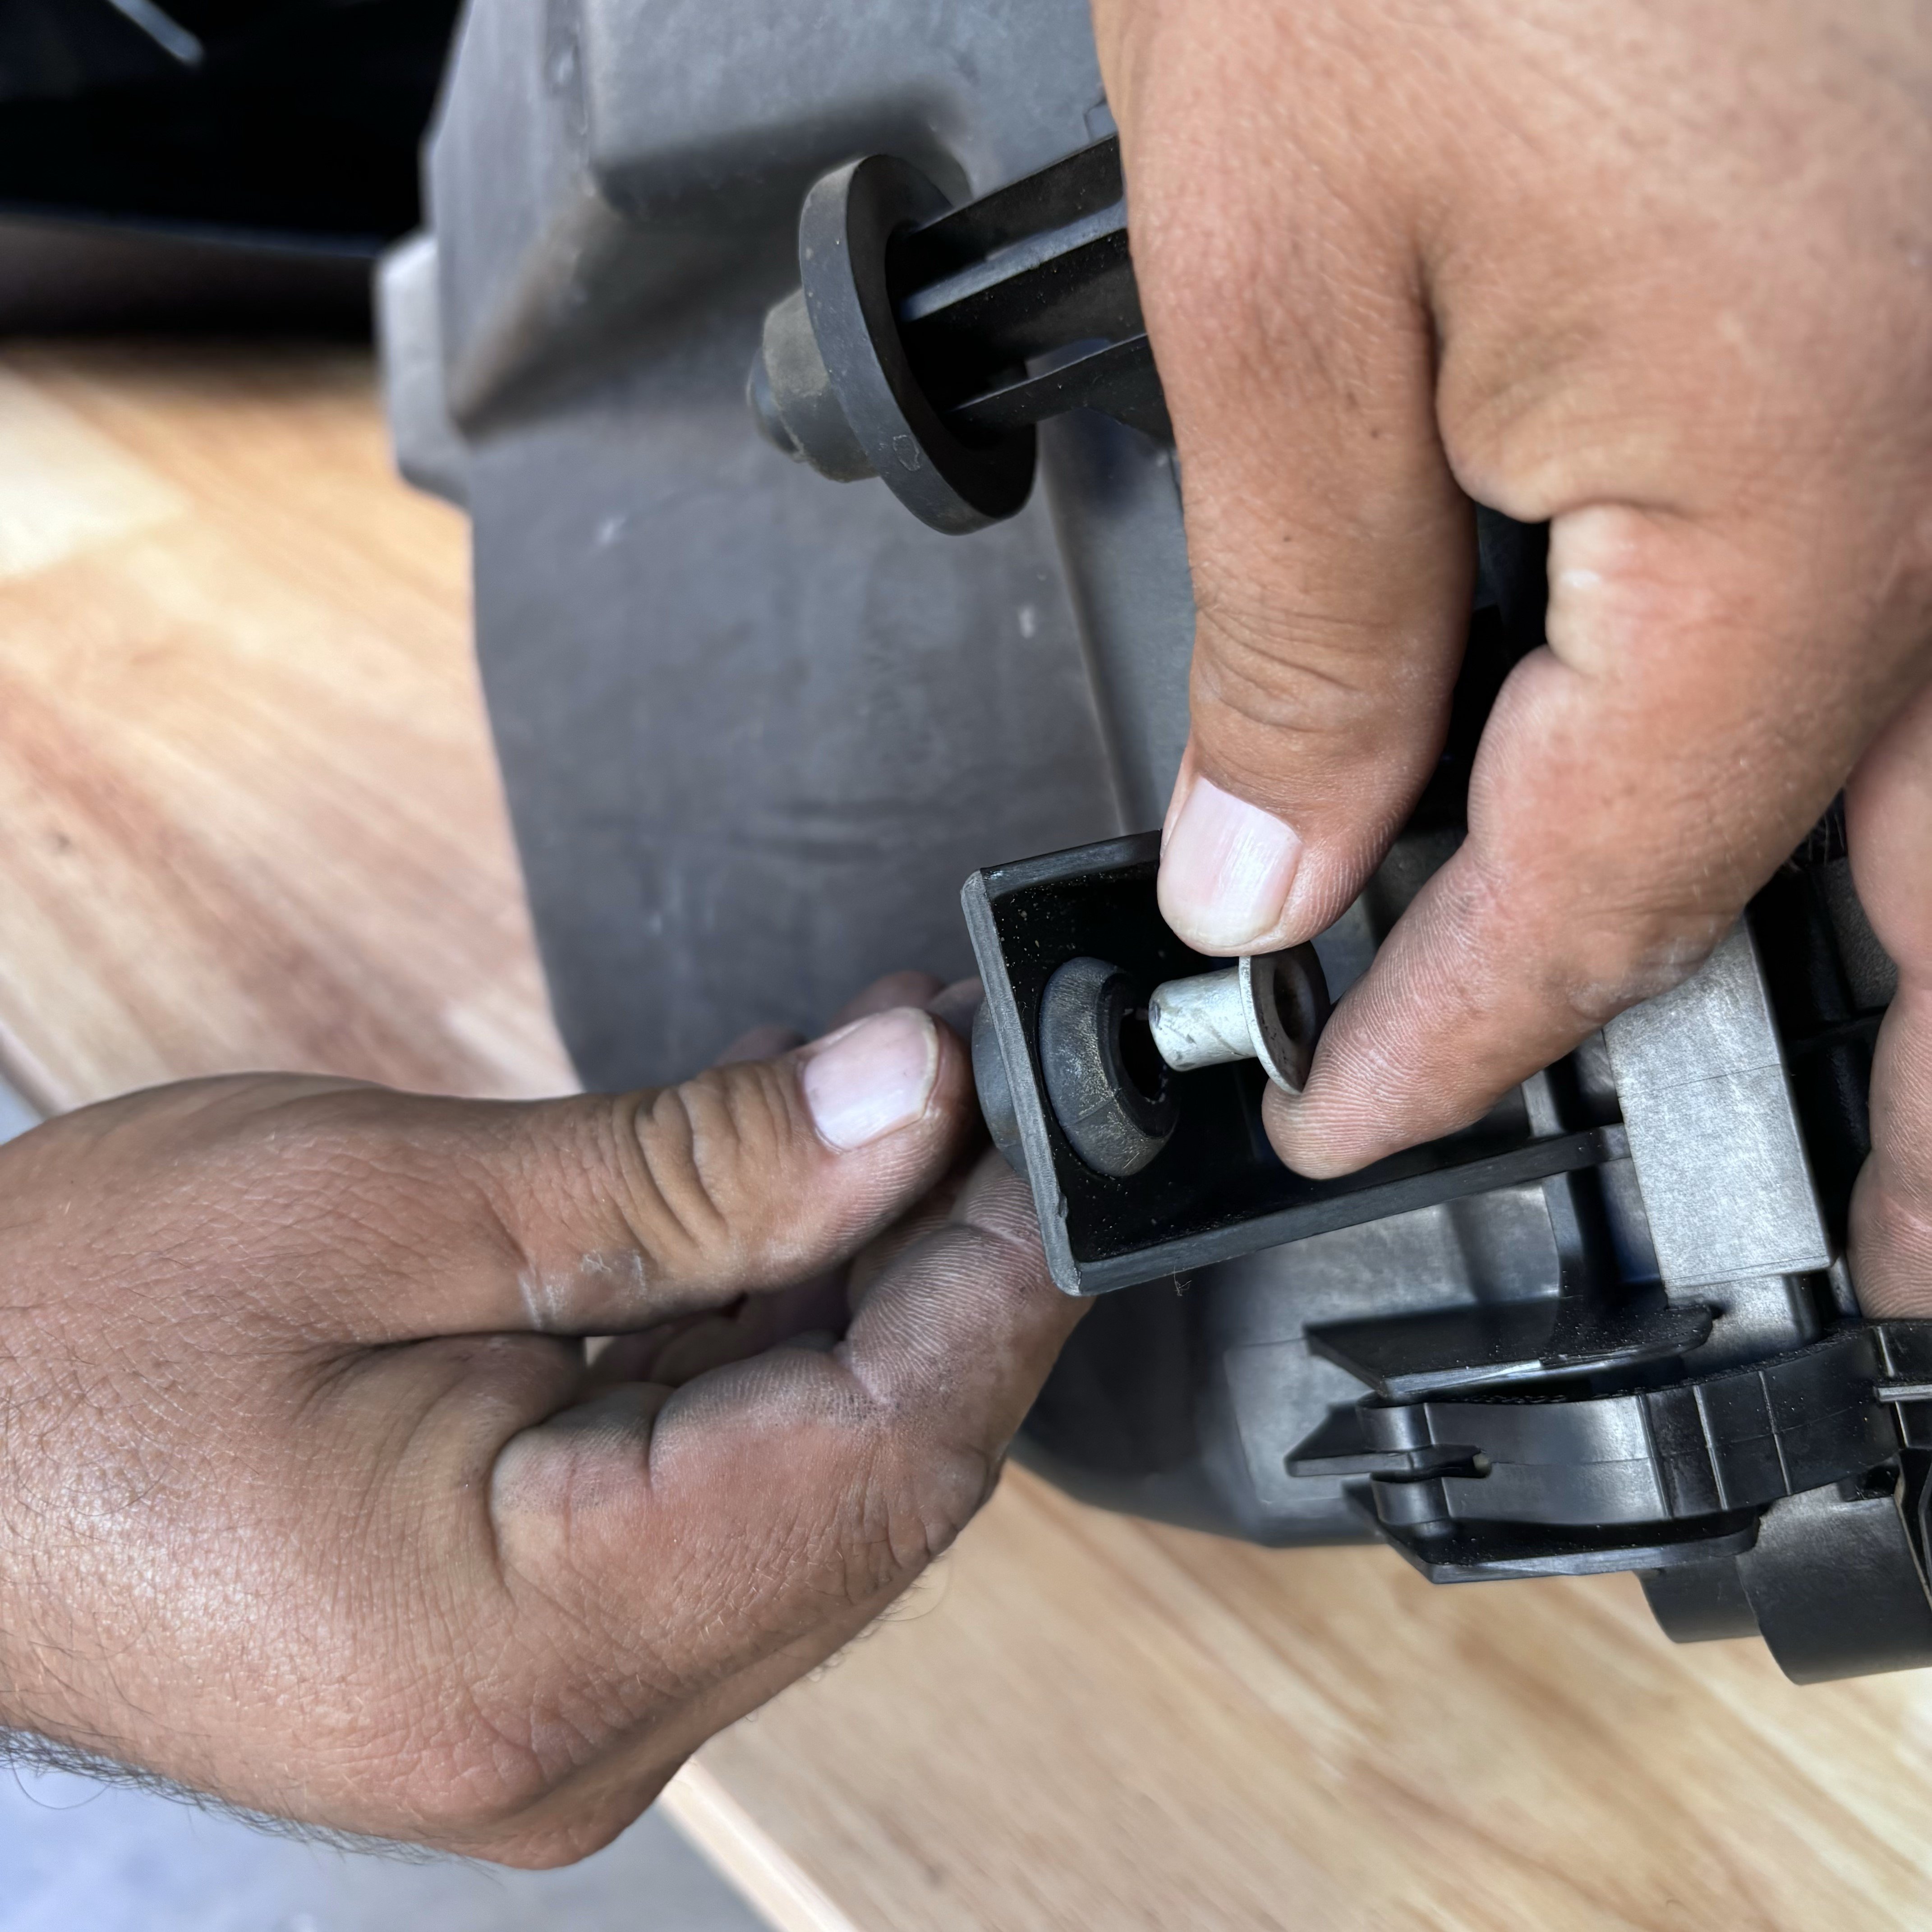
Remove the grommet and shoulder washer from the OEM airbox and install it onto the JLT airbox.
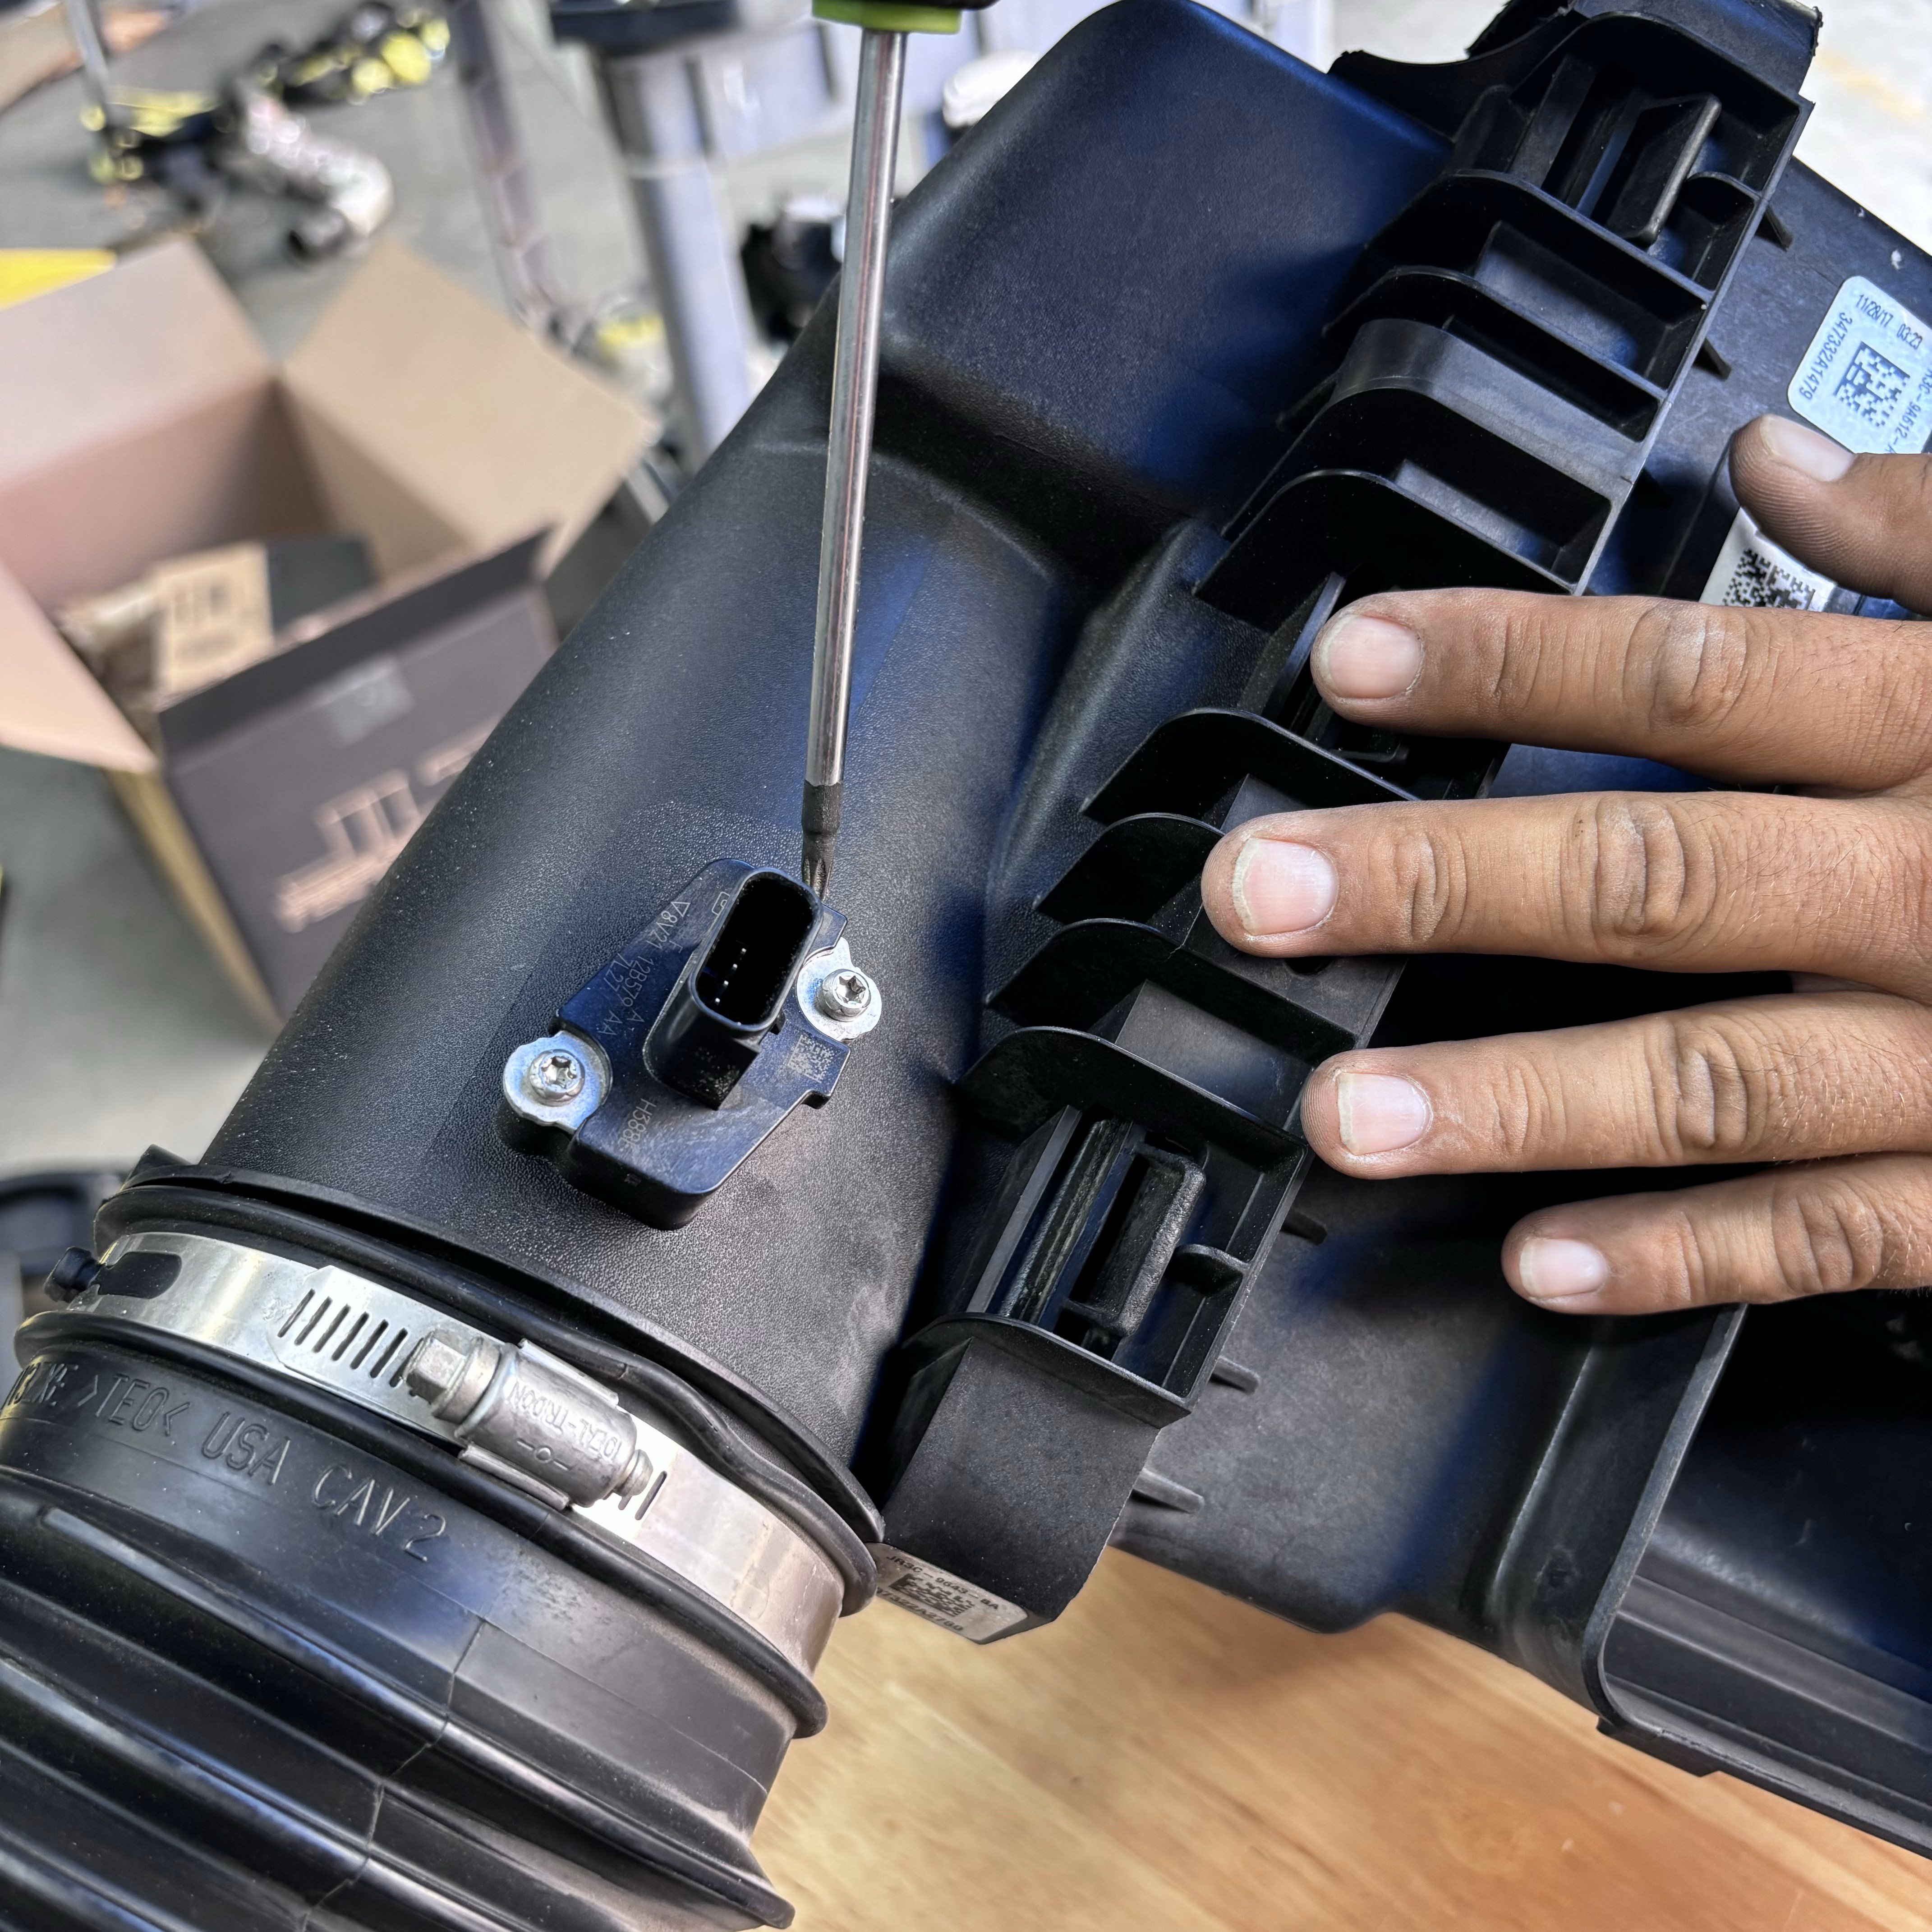
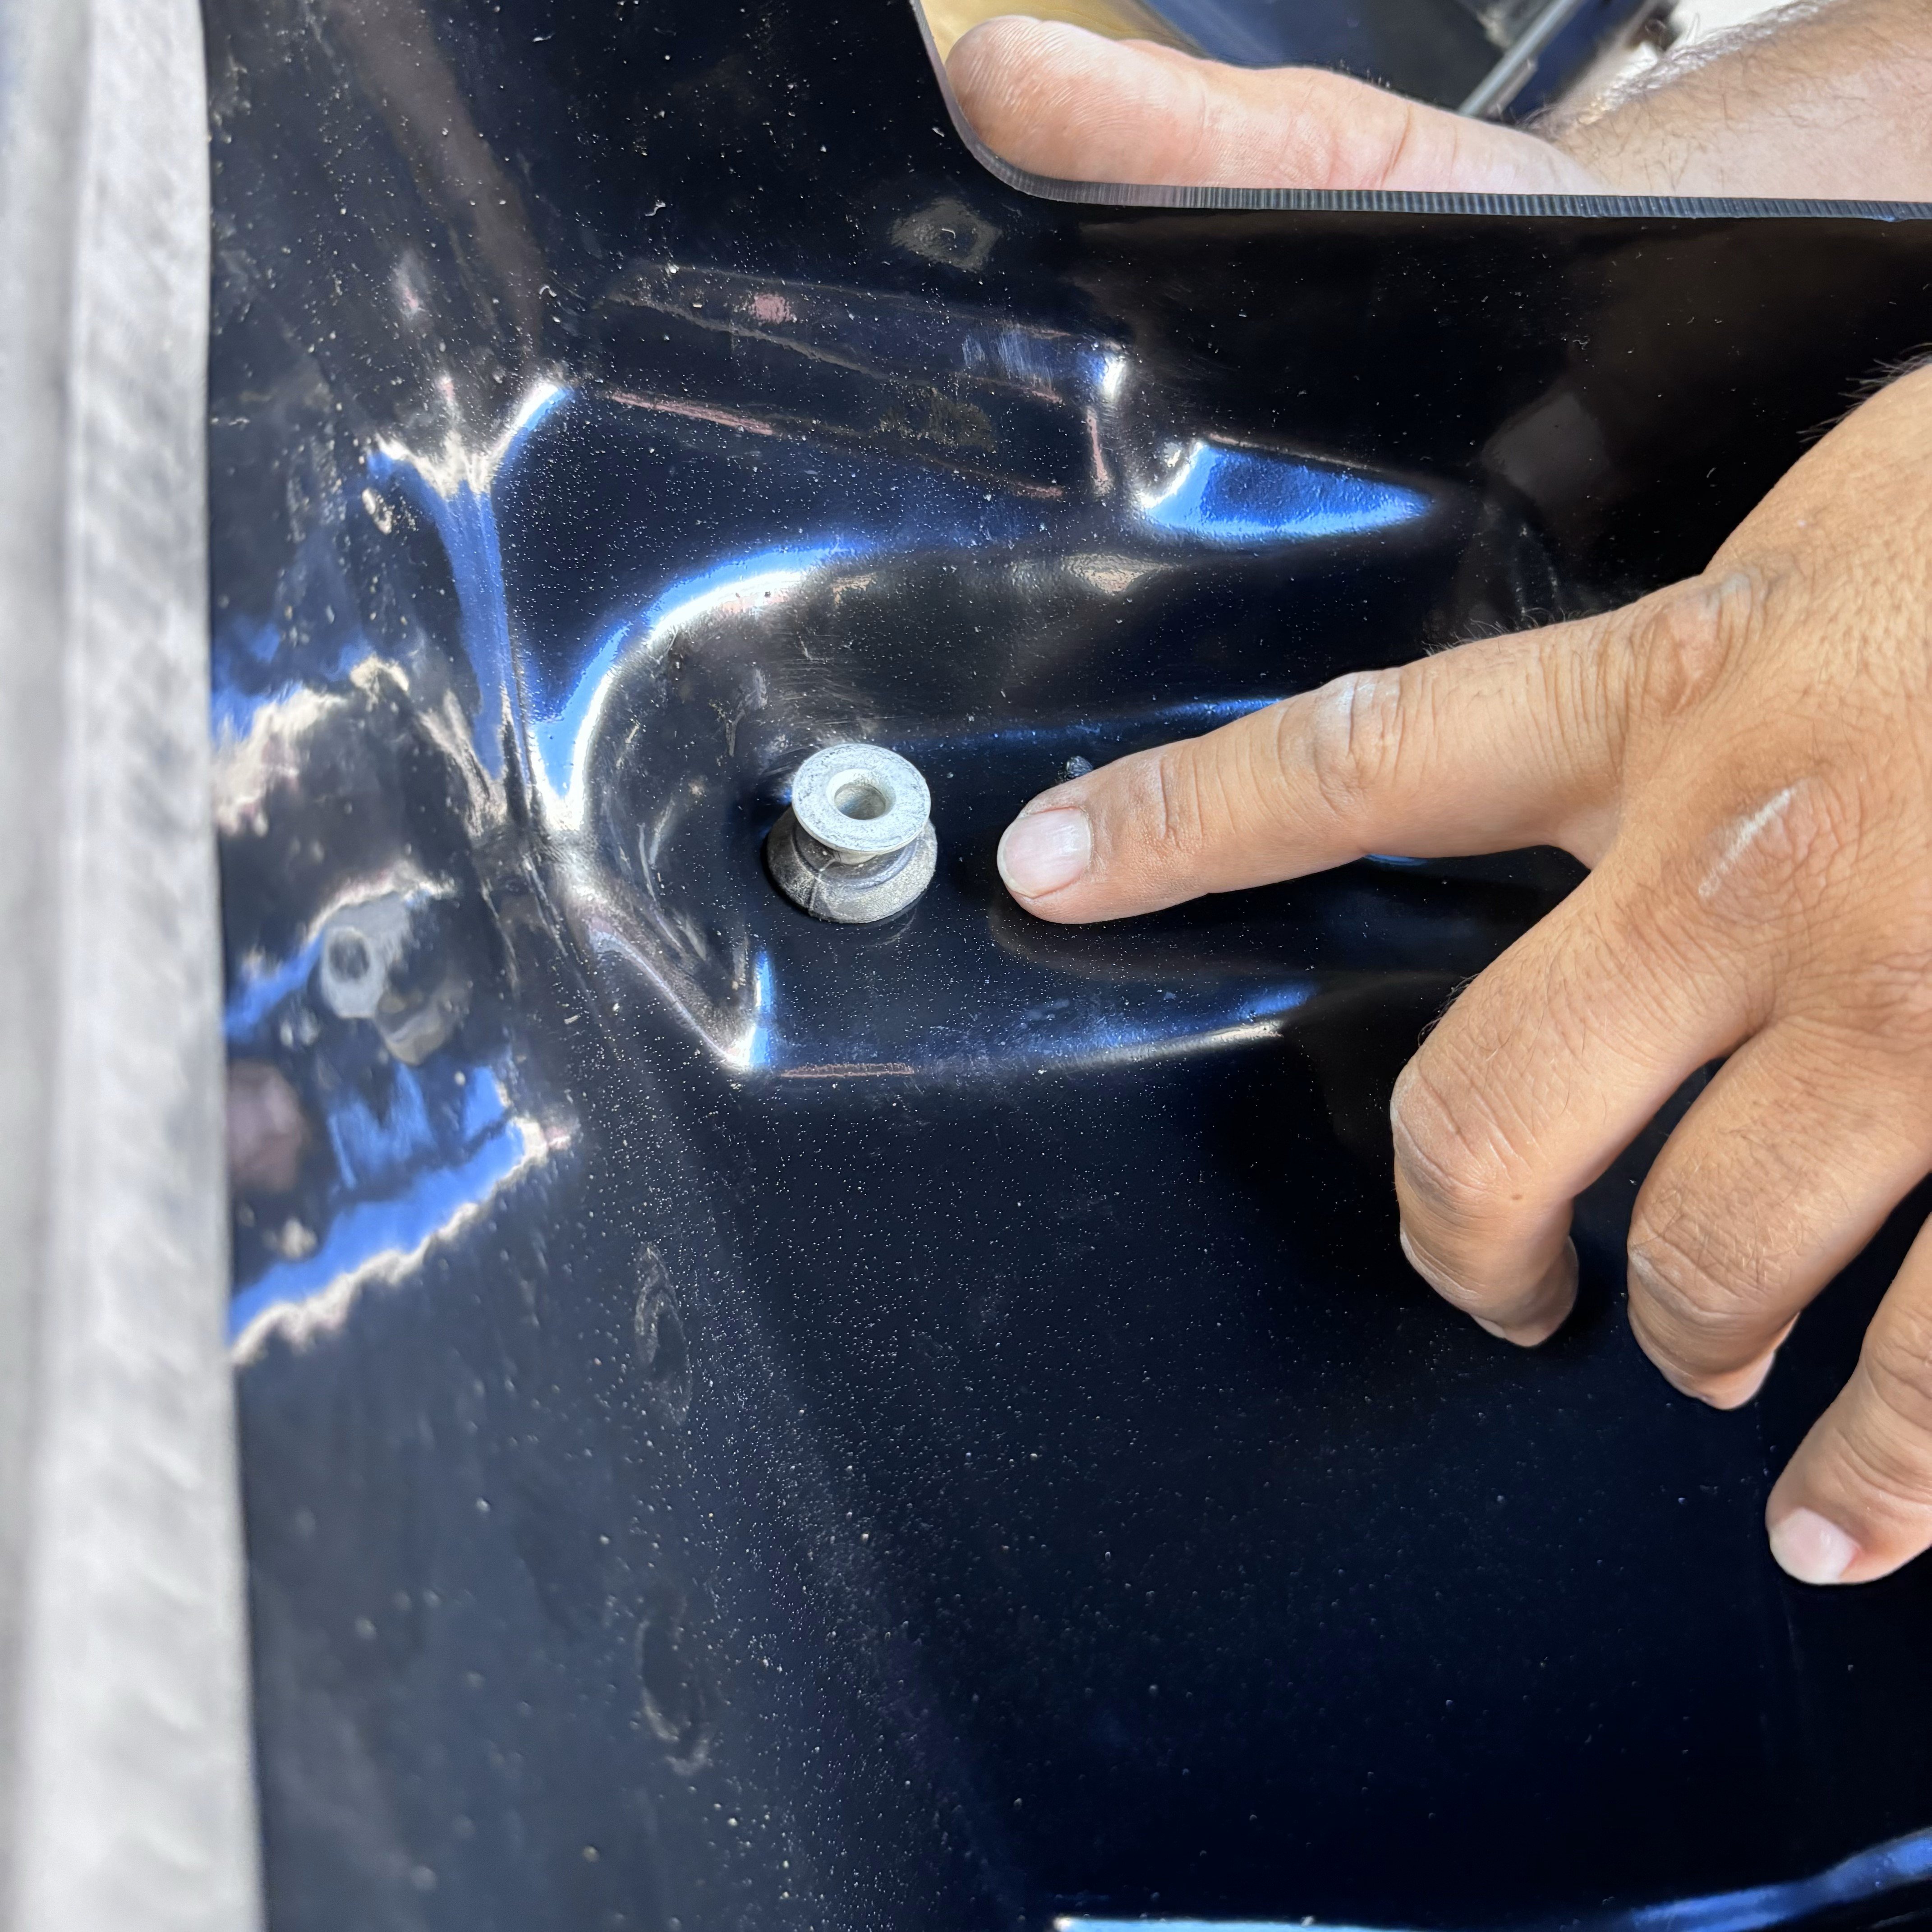
With a torx, remove the OEM MAF sensor.
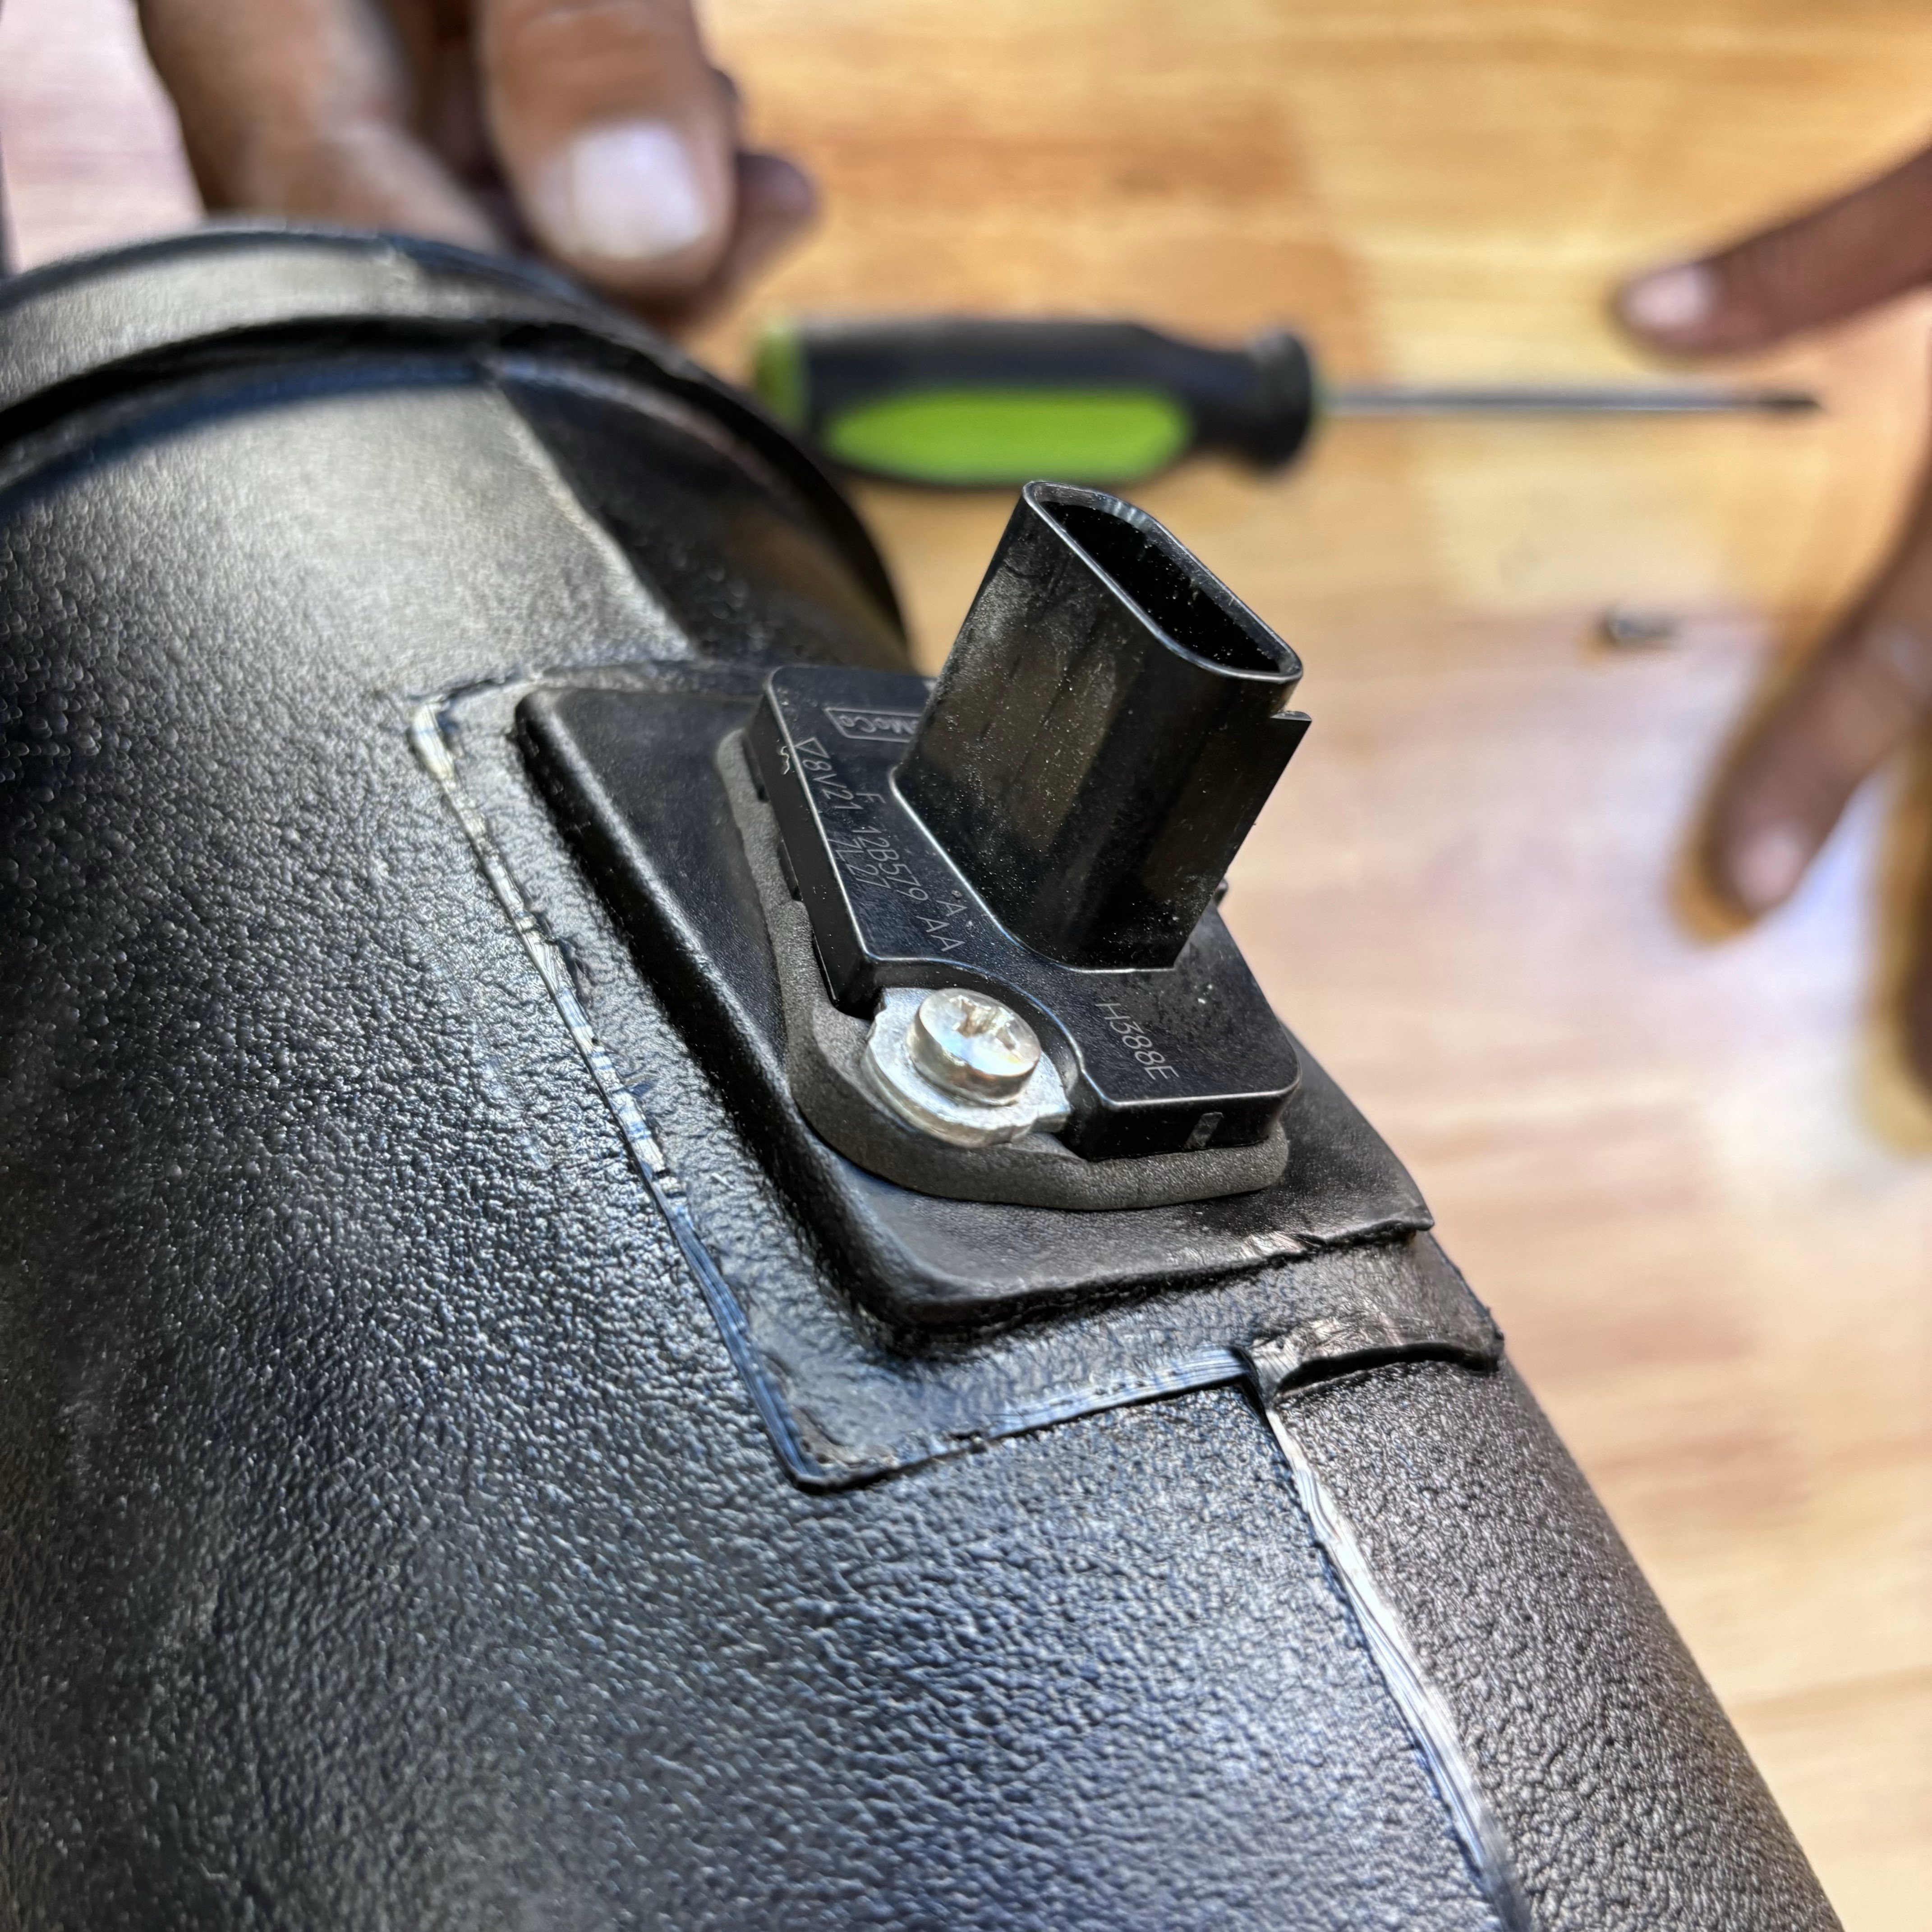
Install the OEM MAF onto the JLT Intake tube. Install the gasket first and secure down with the included Phillips head bolts.
Install the included S&B plug and hose clamp onto the sound tube.
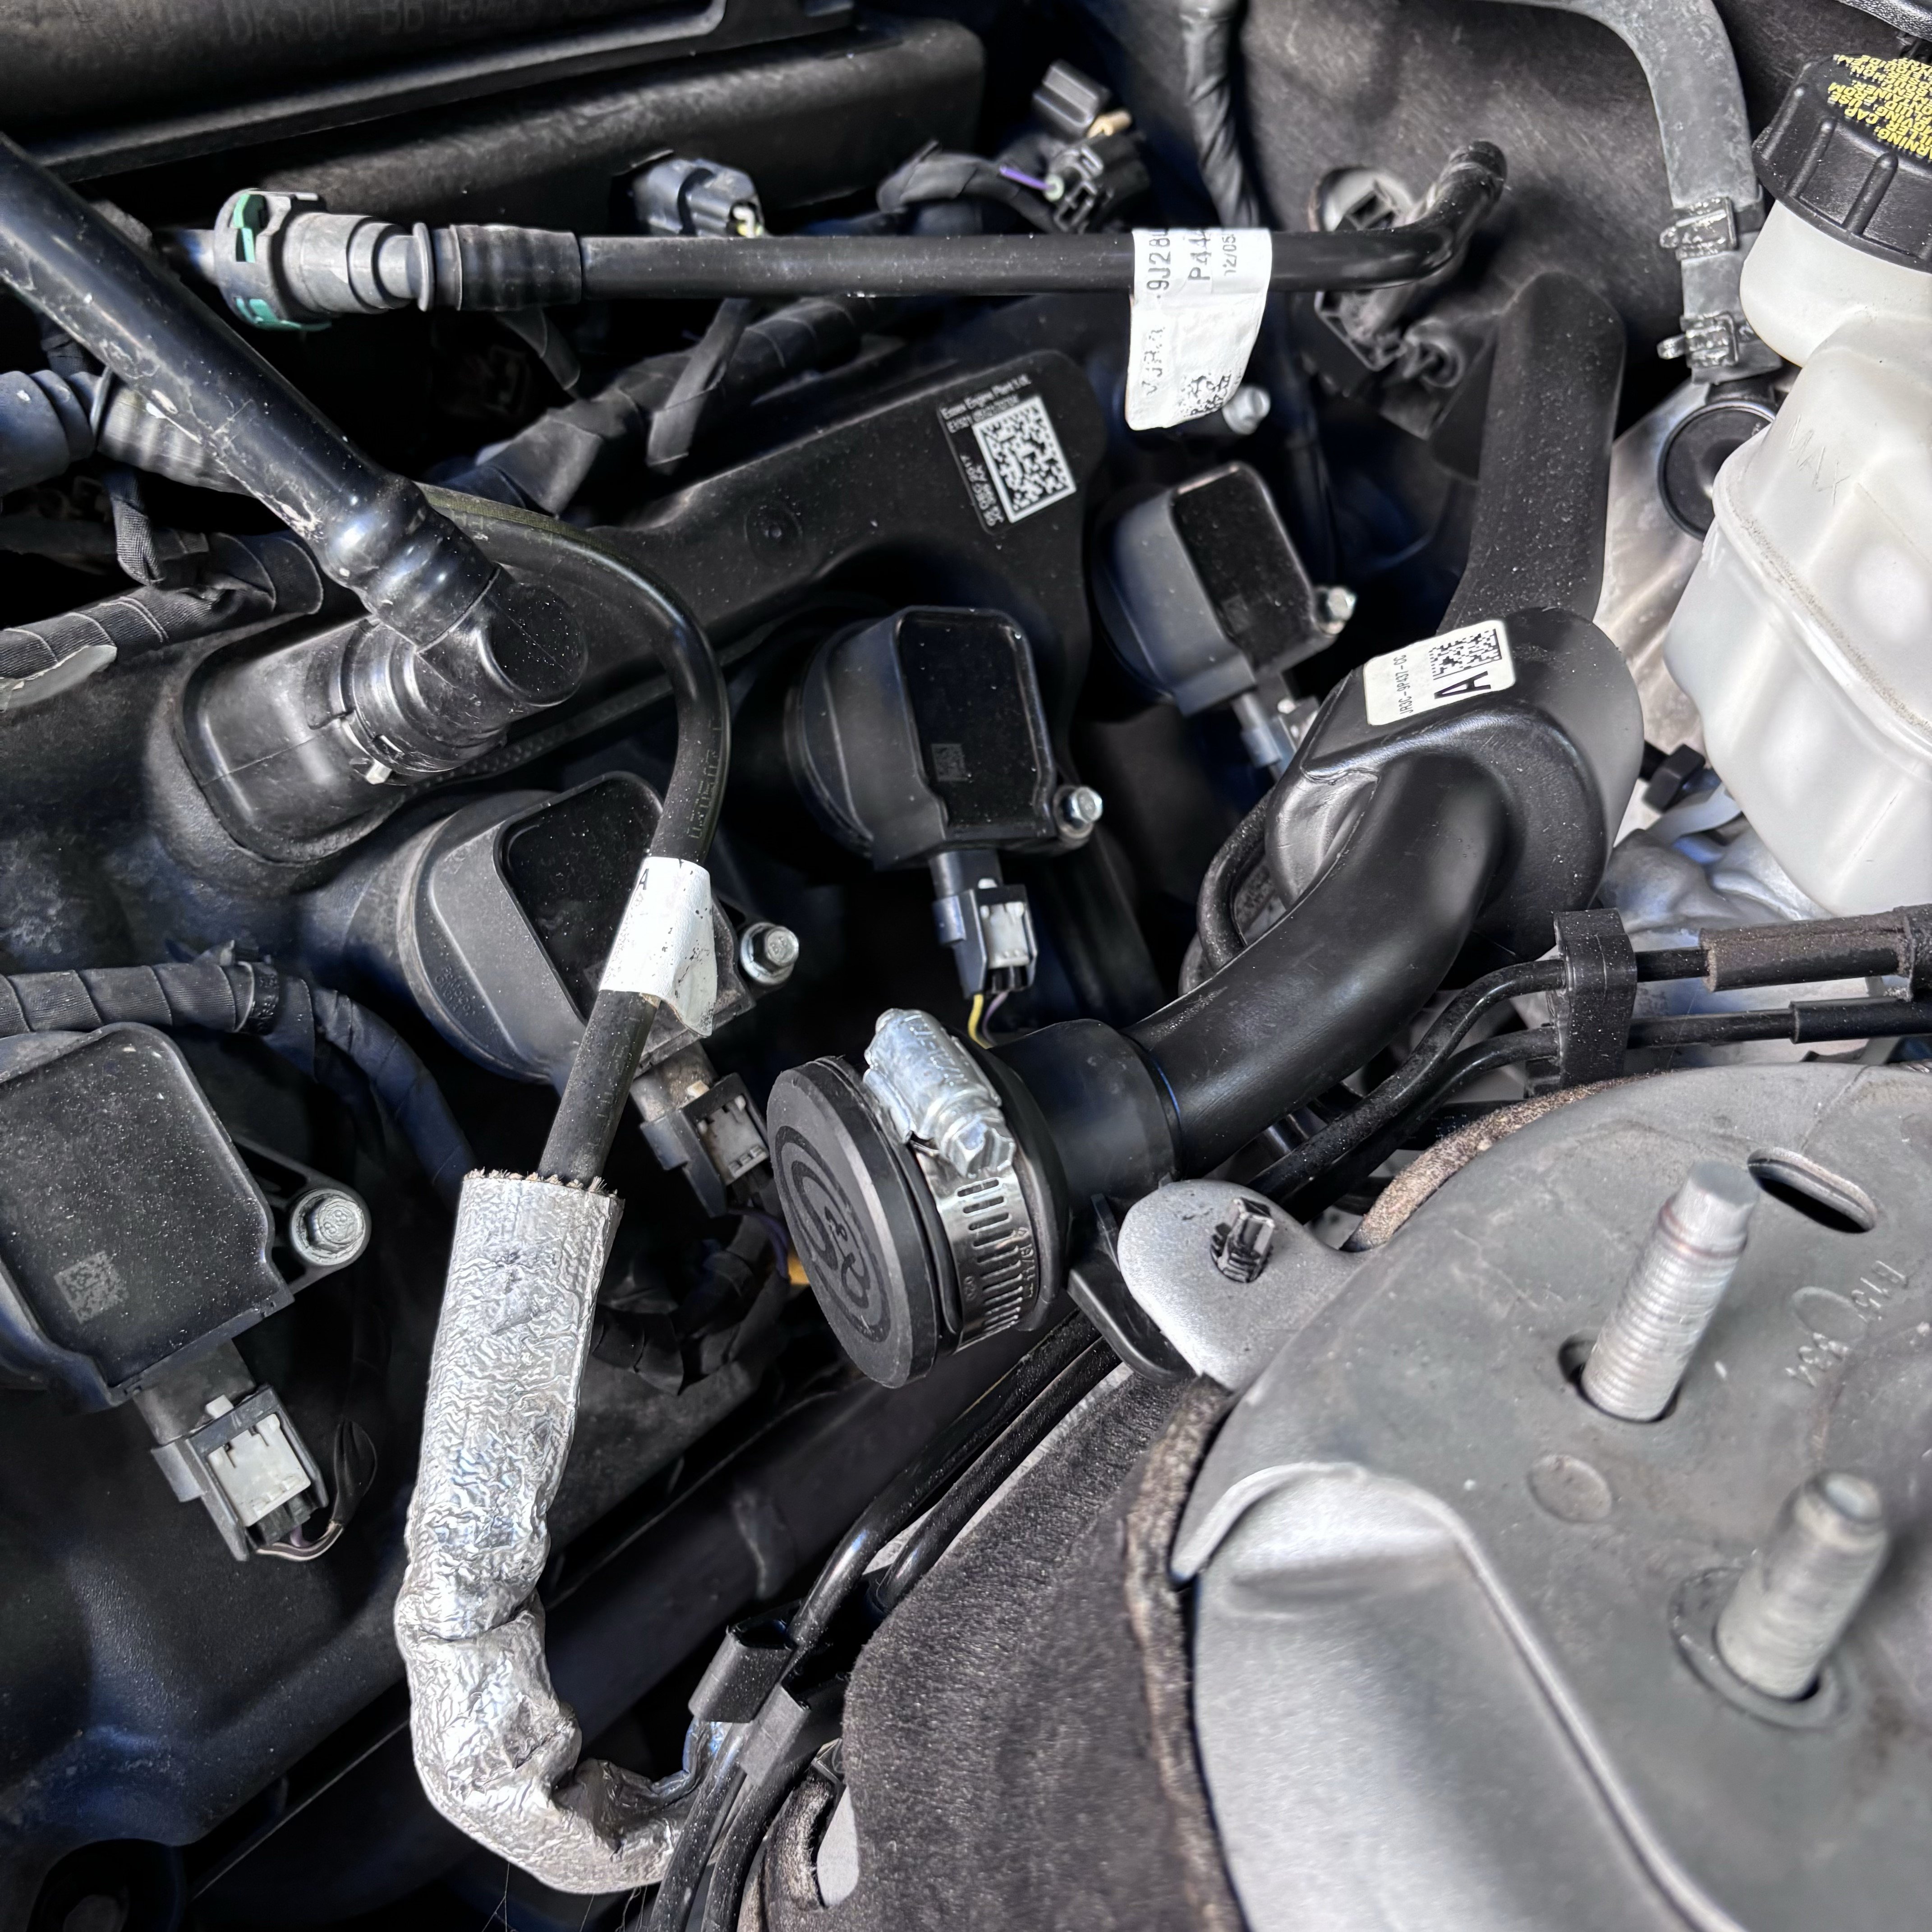
Make sure the lower grommet stayed in the vehicle when you removed the OEM airbox. If it came out with the OEM intake, reinstall.
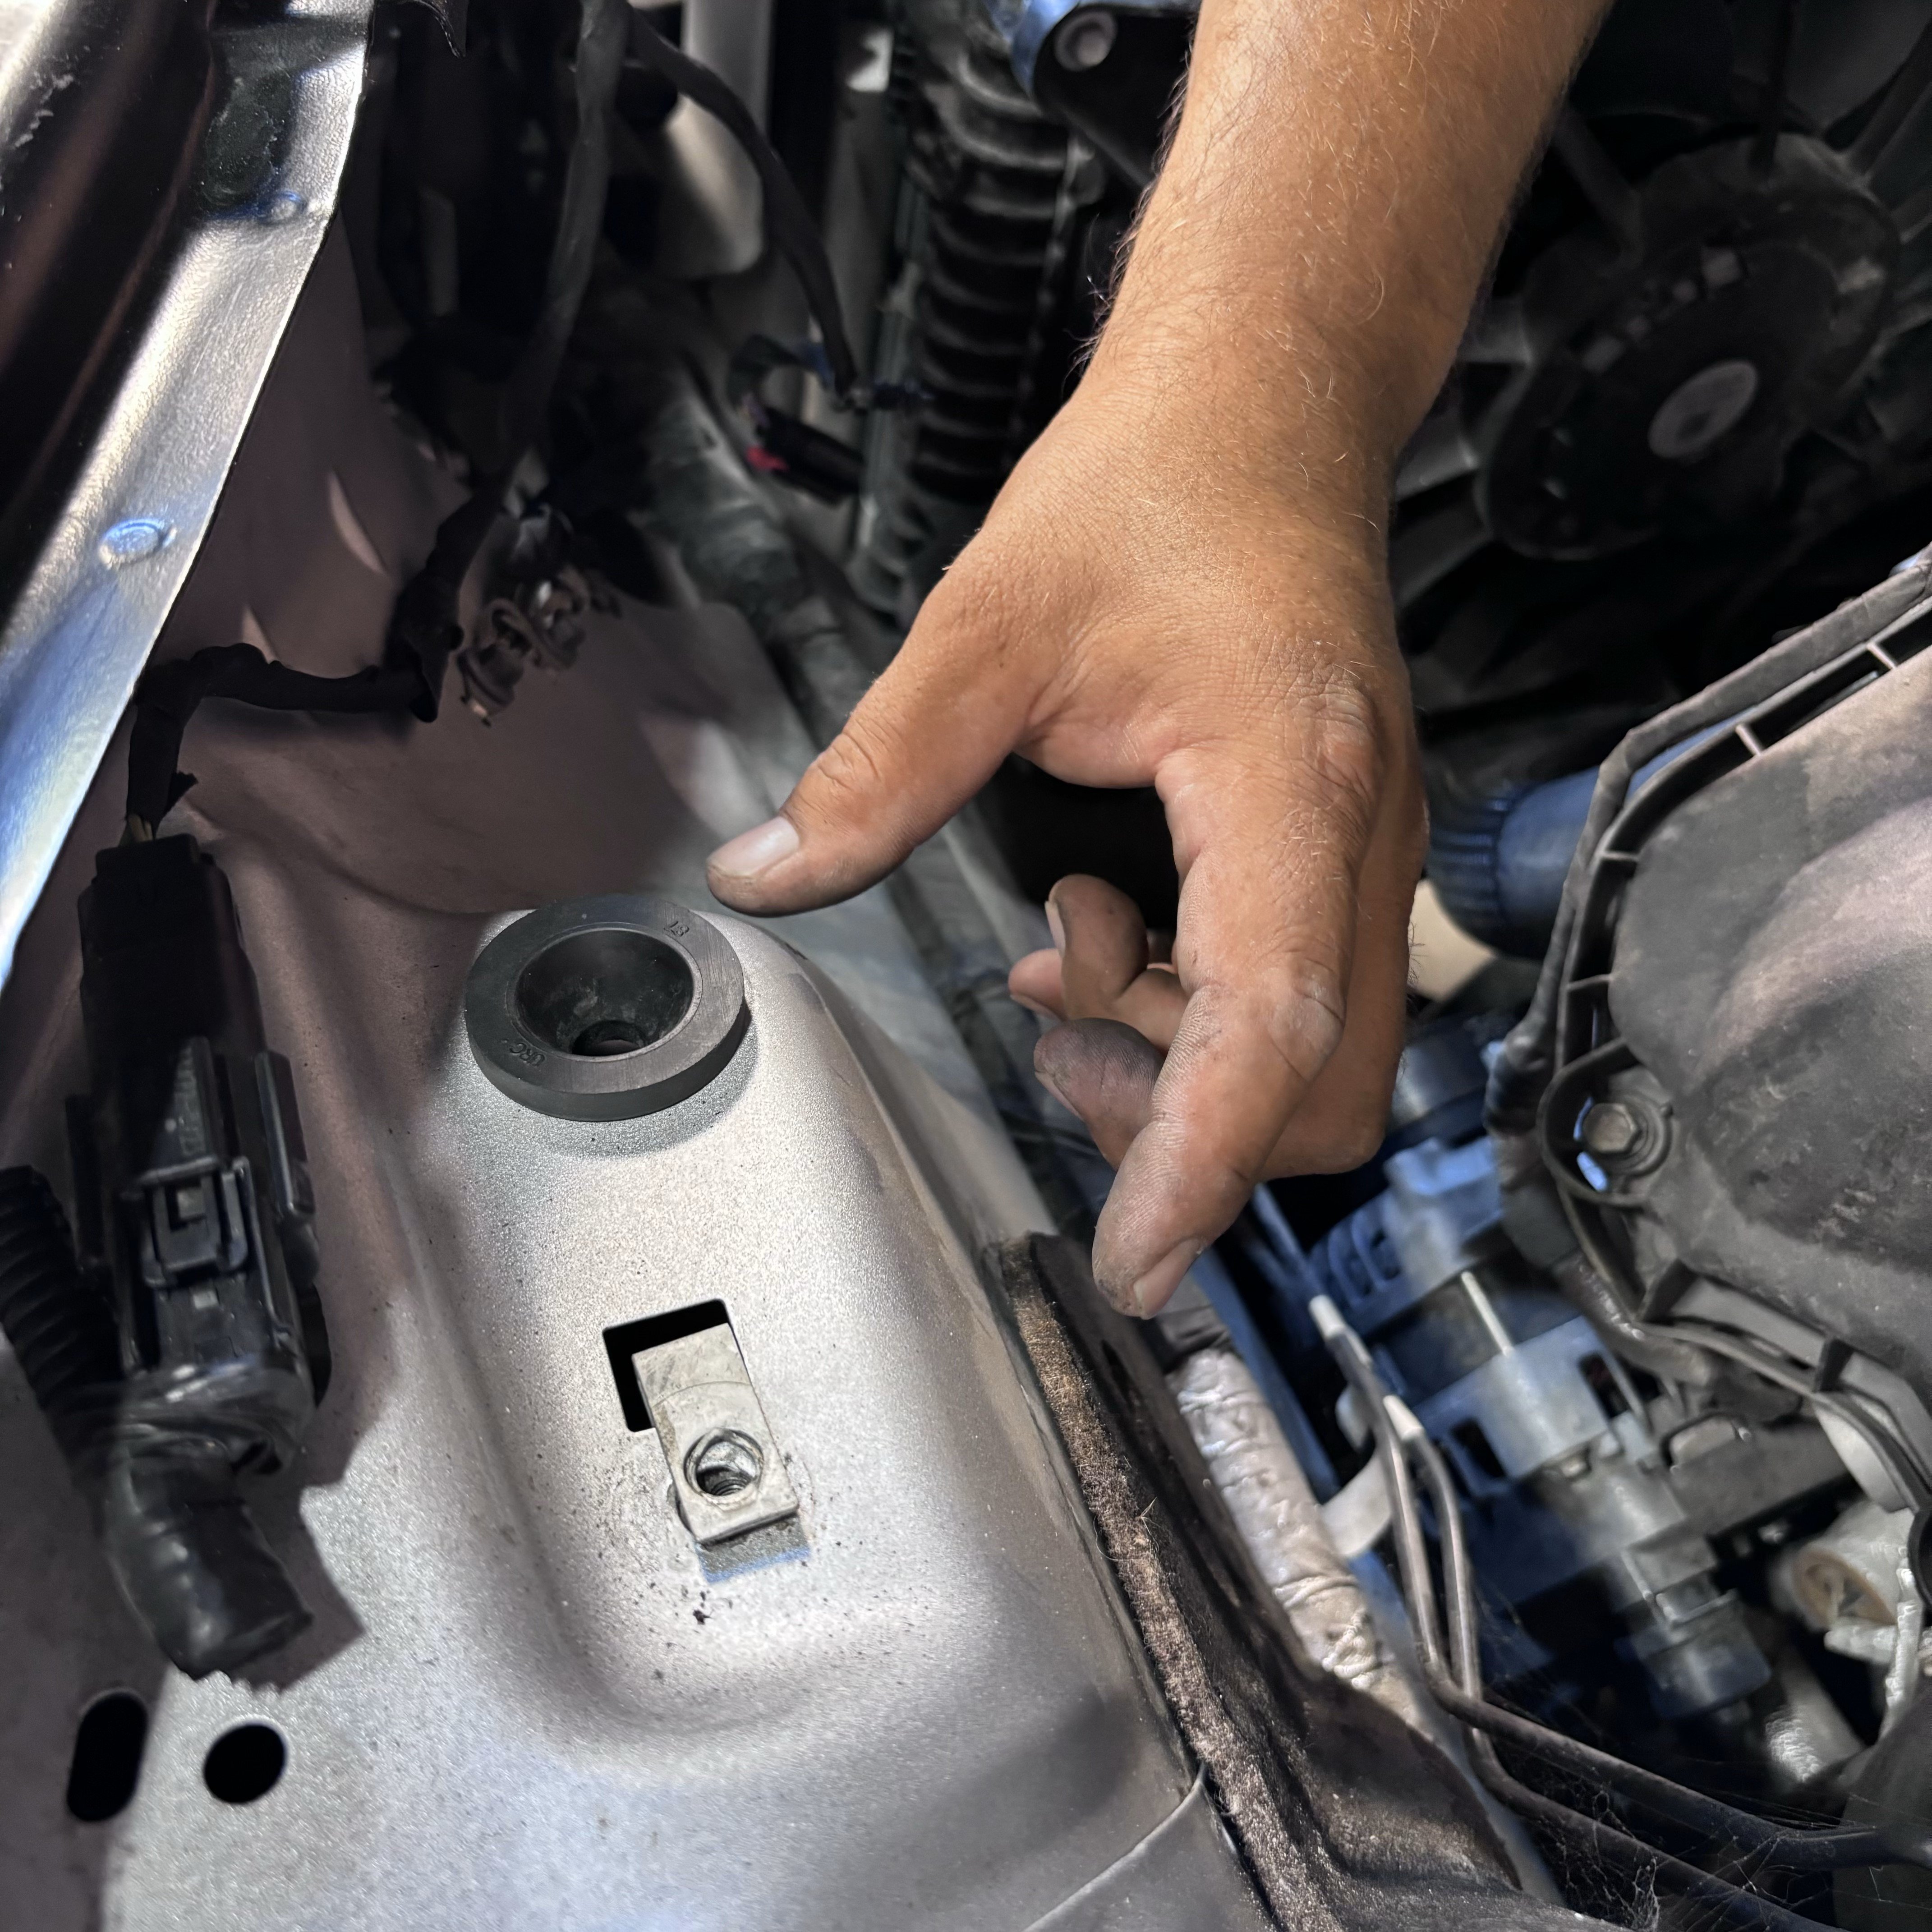
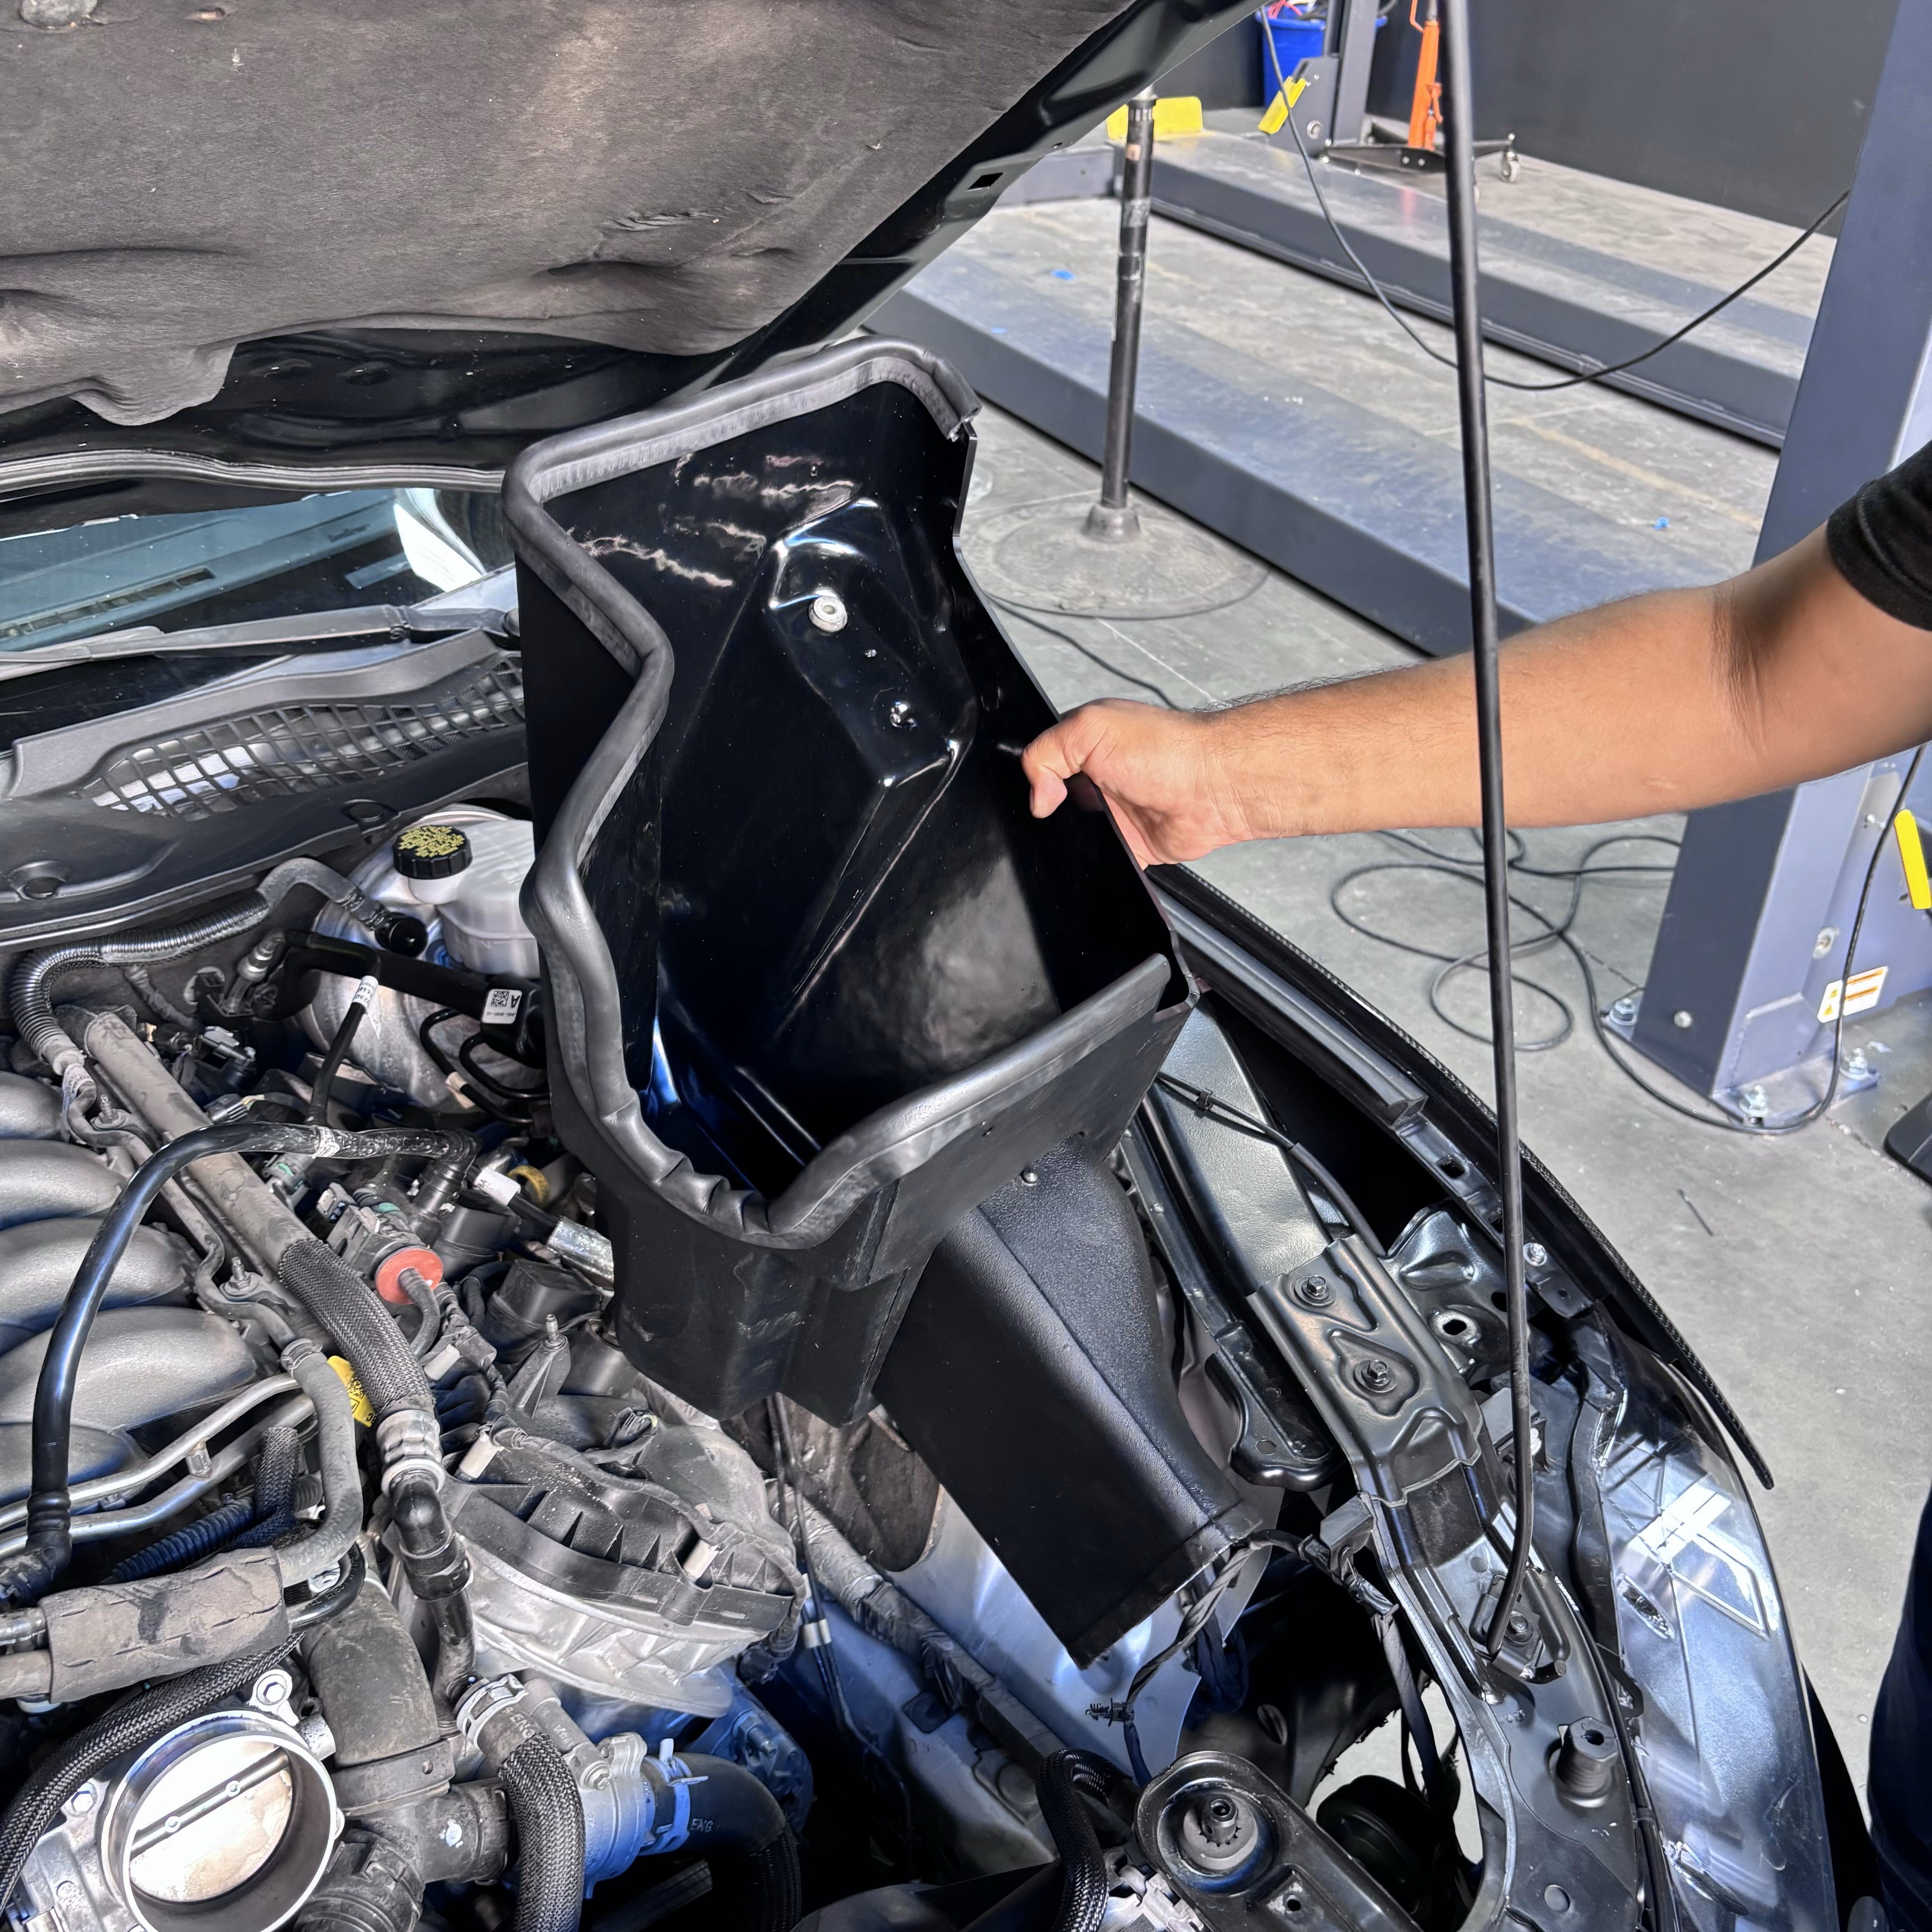
Install the JLT airbox and scoop into the car. The scoop should be inside the airbox so it fits.
Slide the JLT scoop forward until it installs onto the OEM inlet and the airbox lip is between the 2 dots.
Reinstall the OEM bolt through the grommet.
.jpg?v=1726694345371)
Install the coupler onto the throttle body with the hose clamps on but loose.
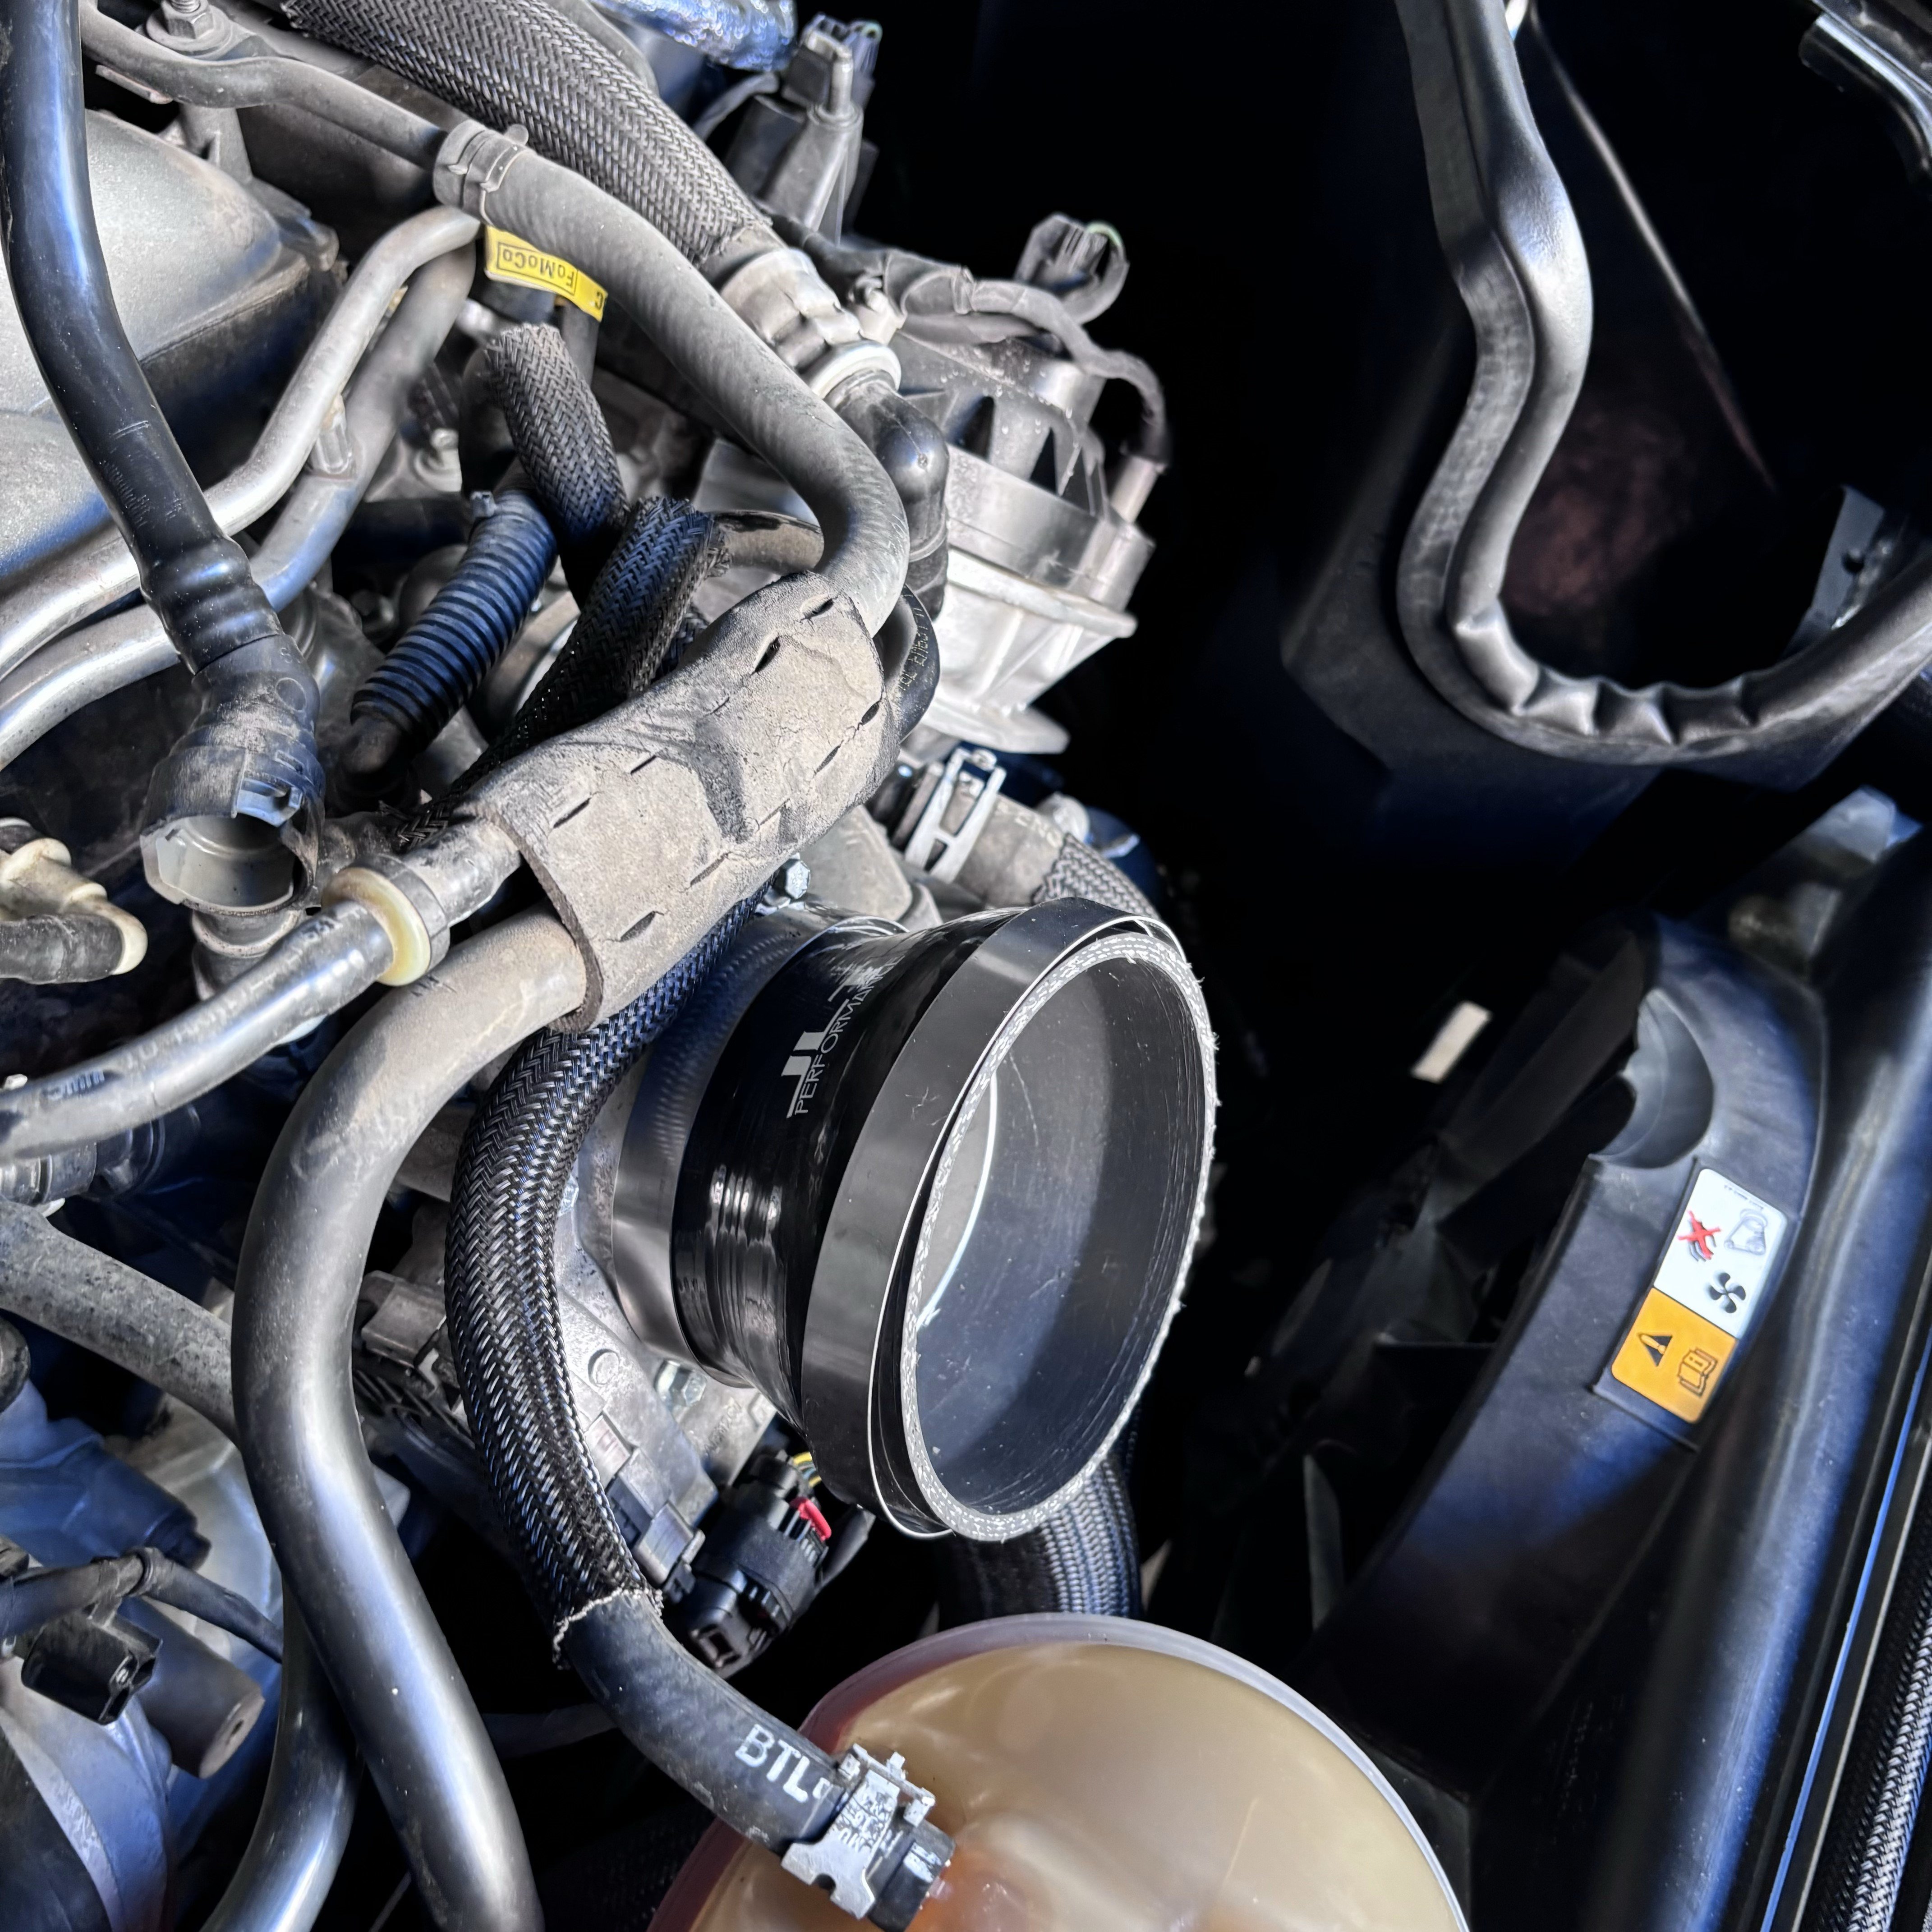
Install the filter onto the intake tube. Slide the tube into the coupler and then drop into the airbox.
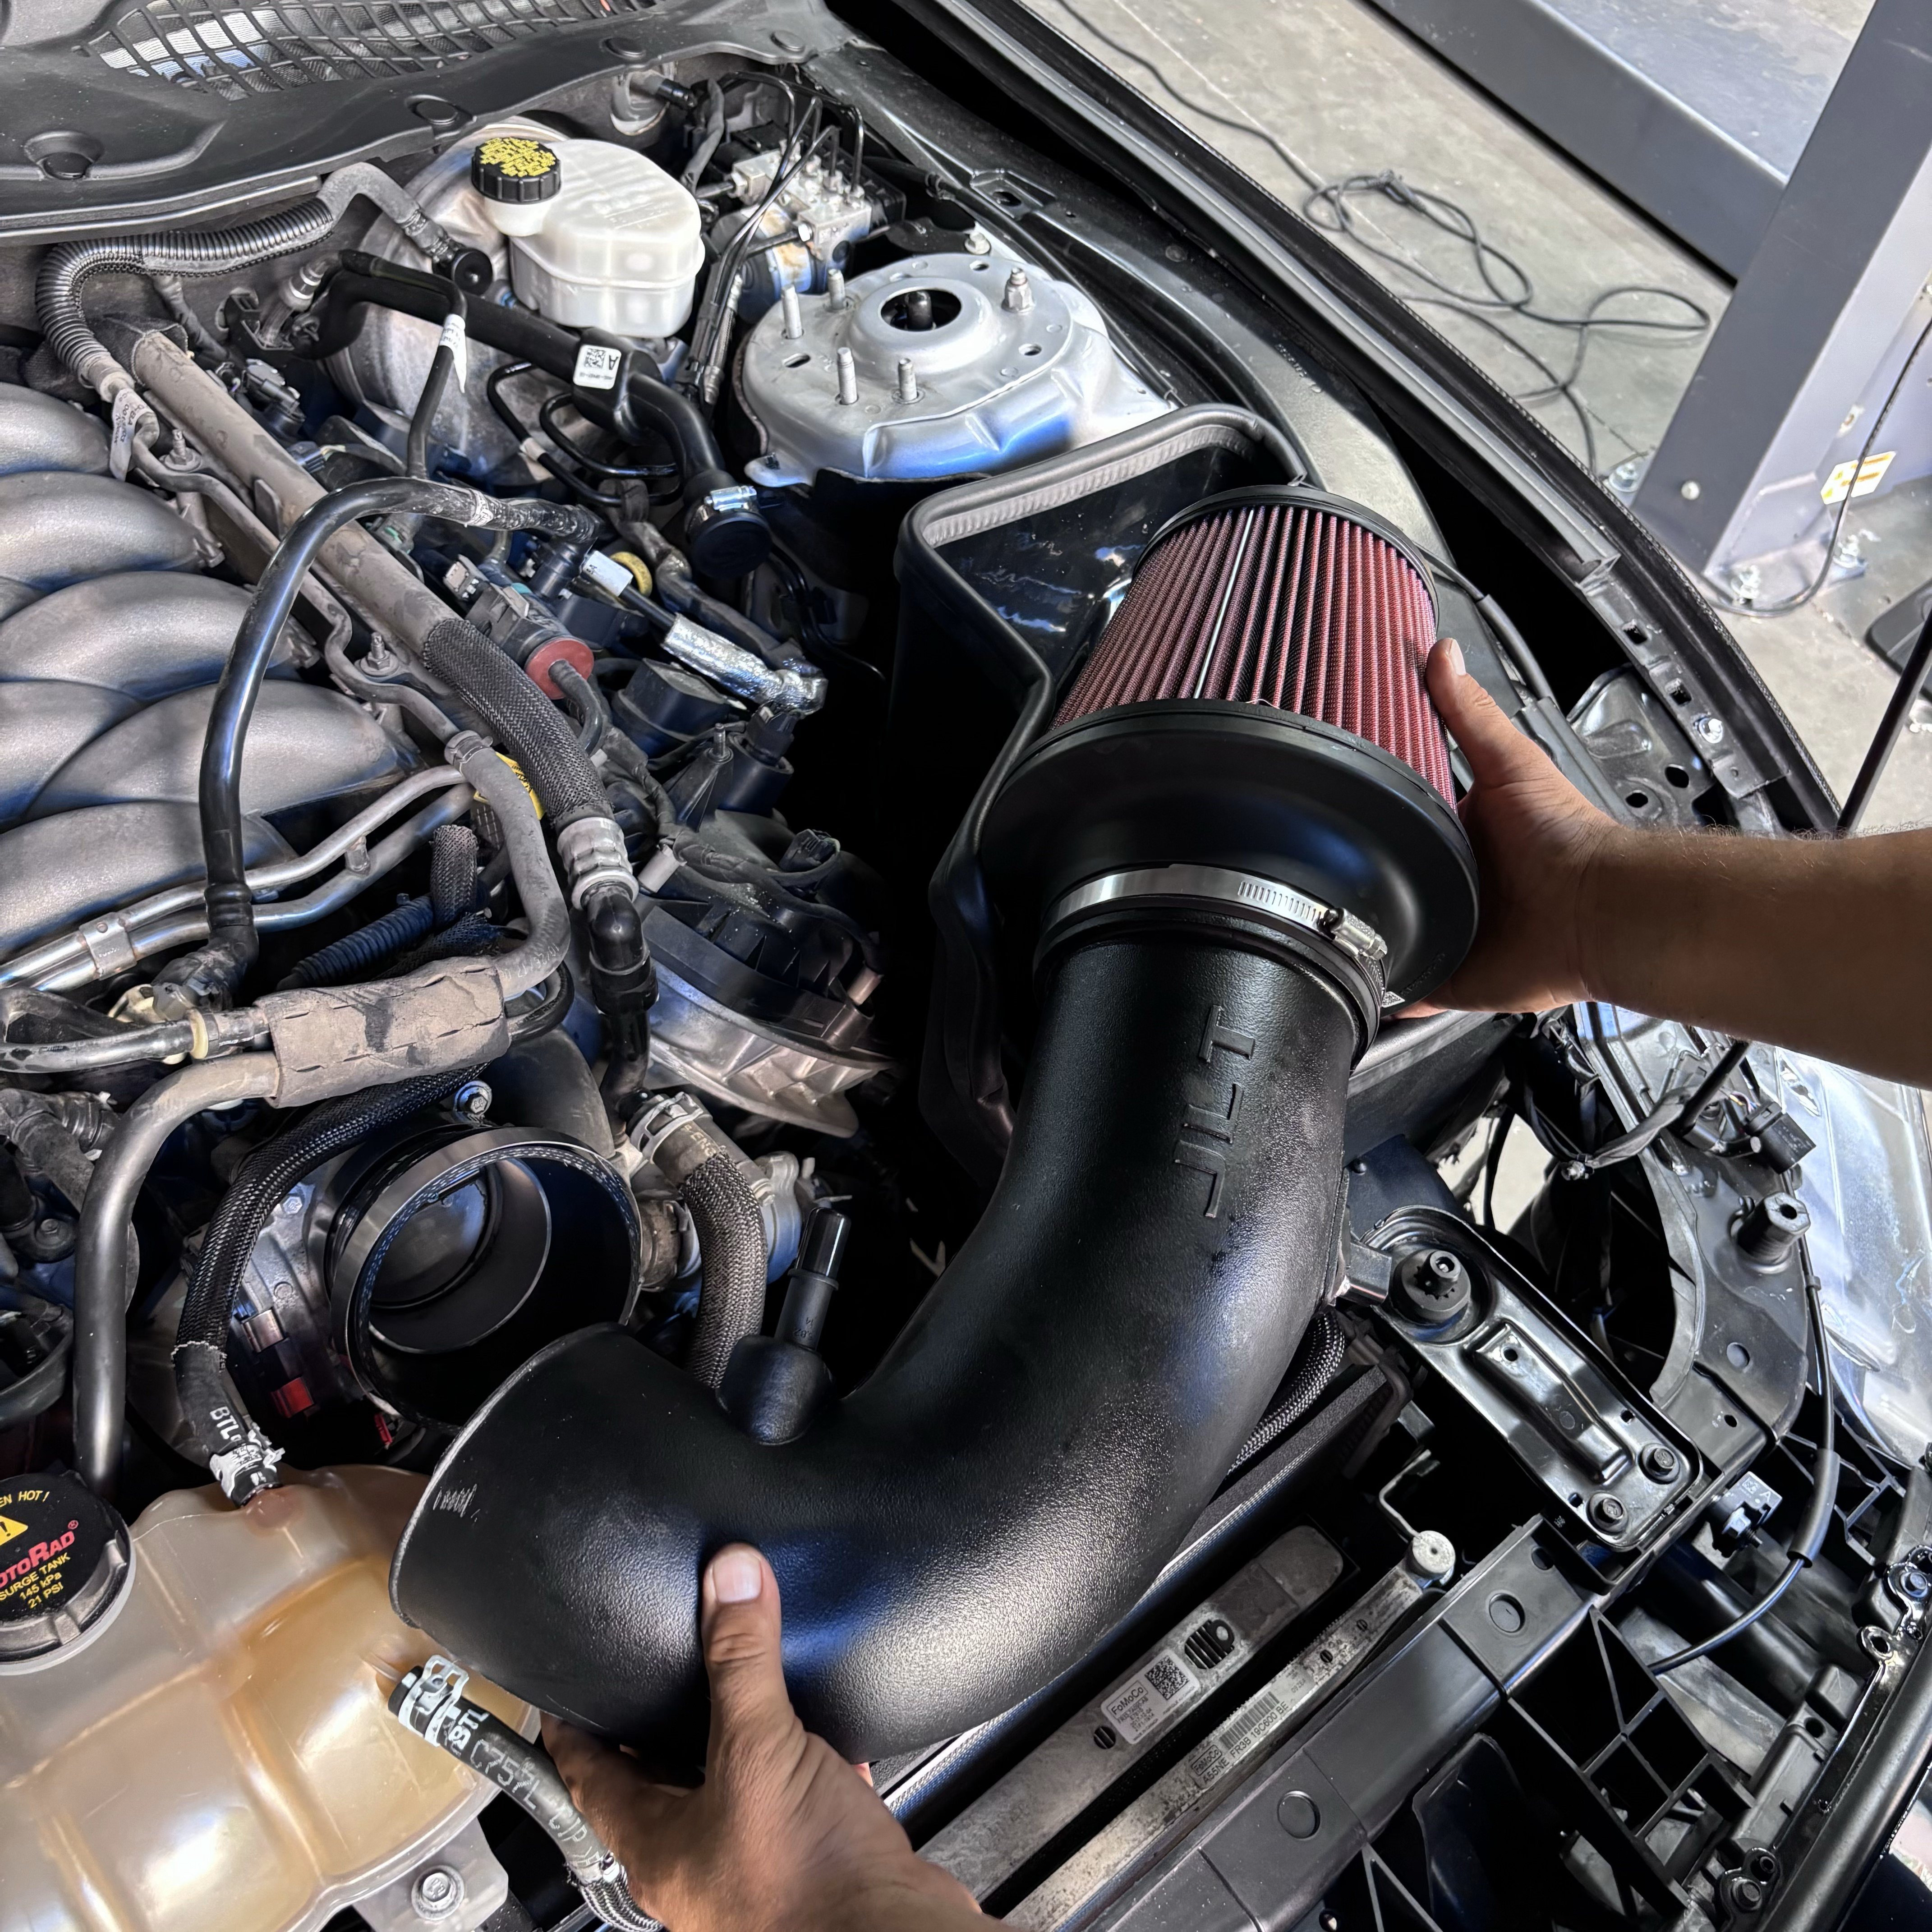
Reinstall the lower quick connect.
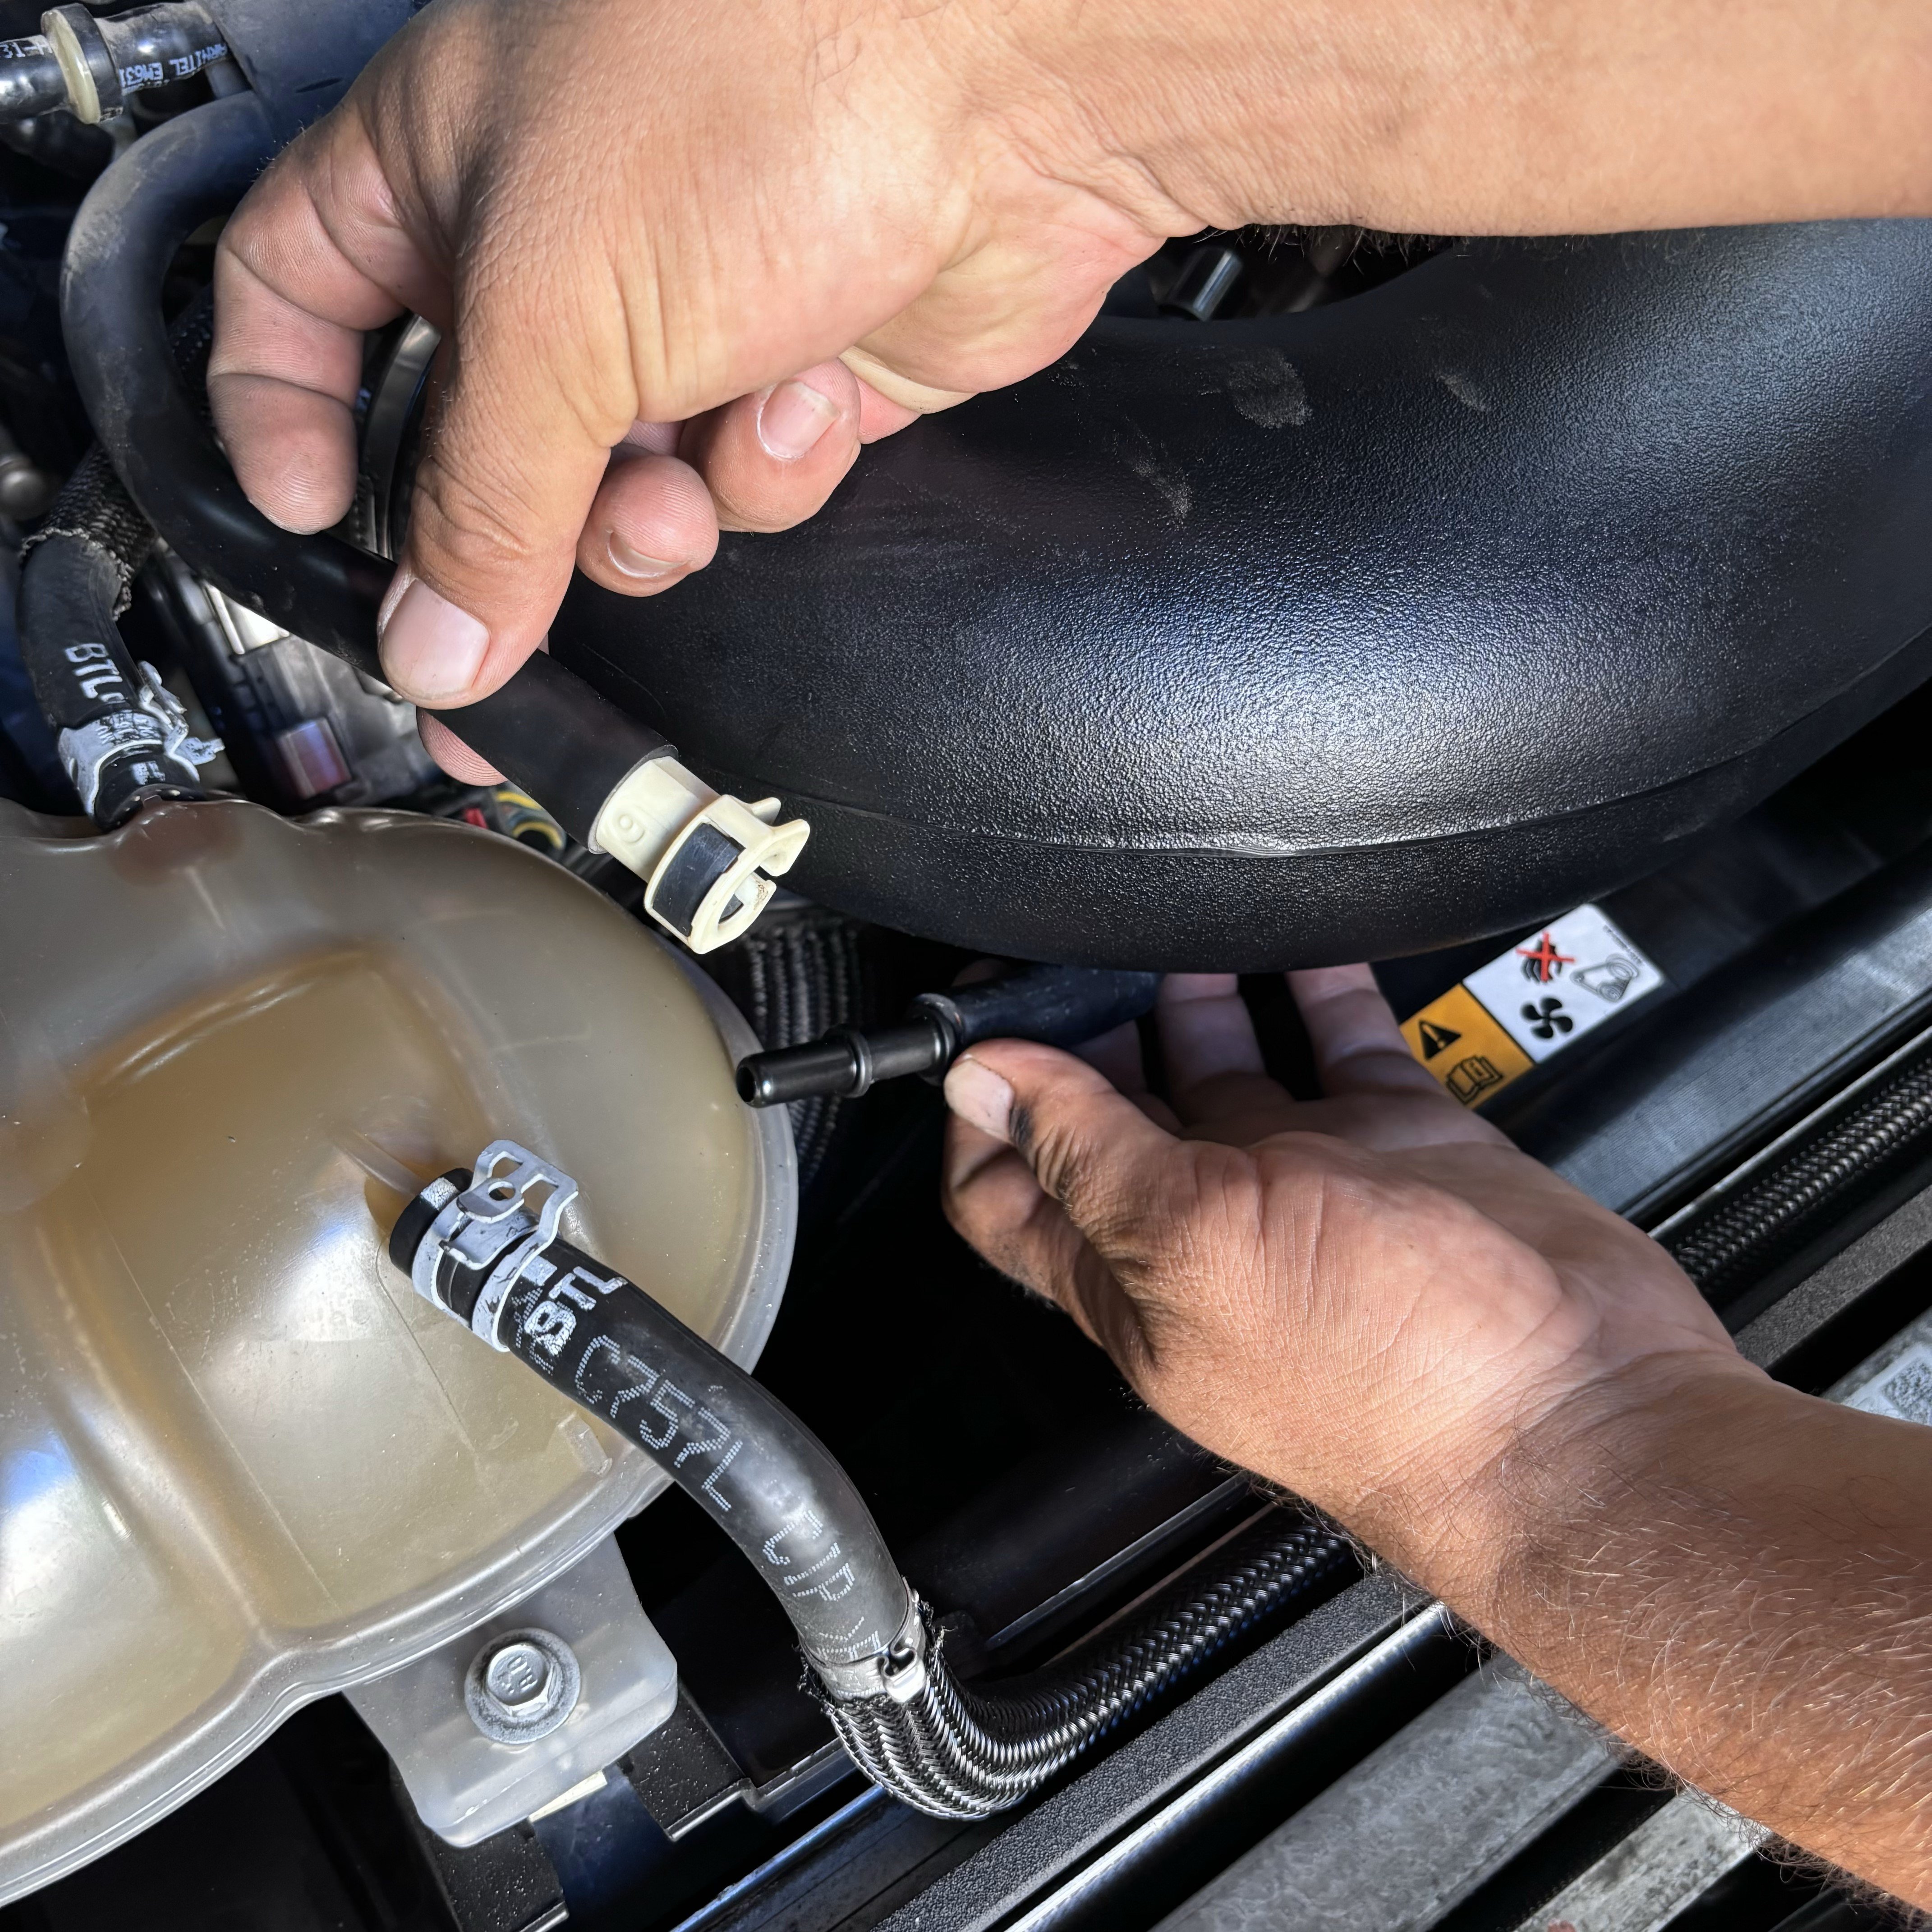
Reinstall the quick connect on to the other side of the tube.
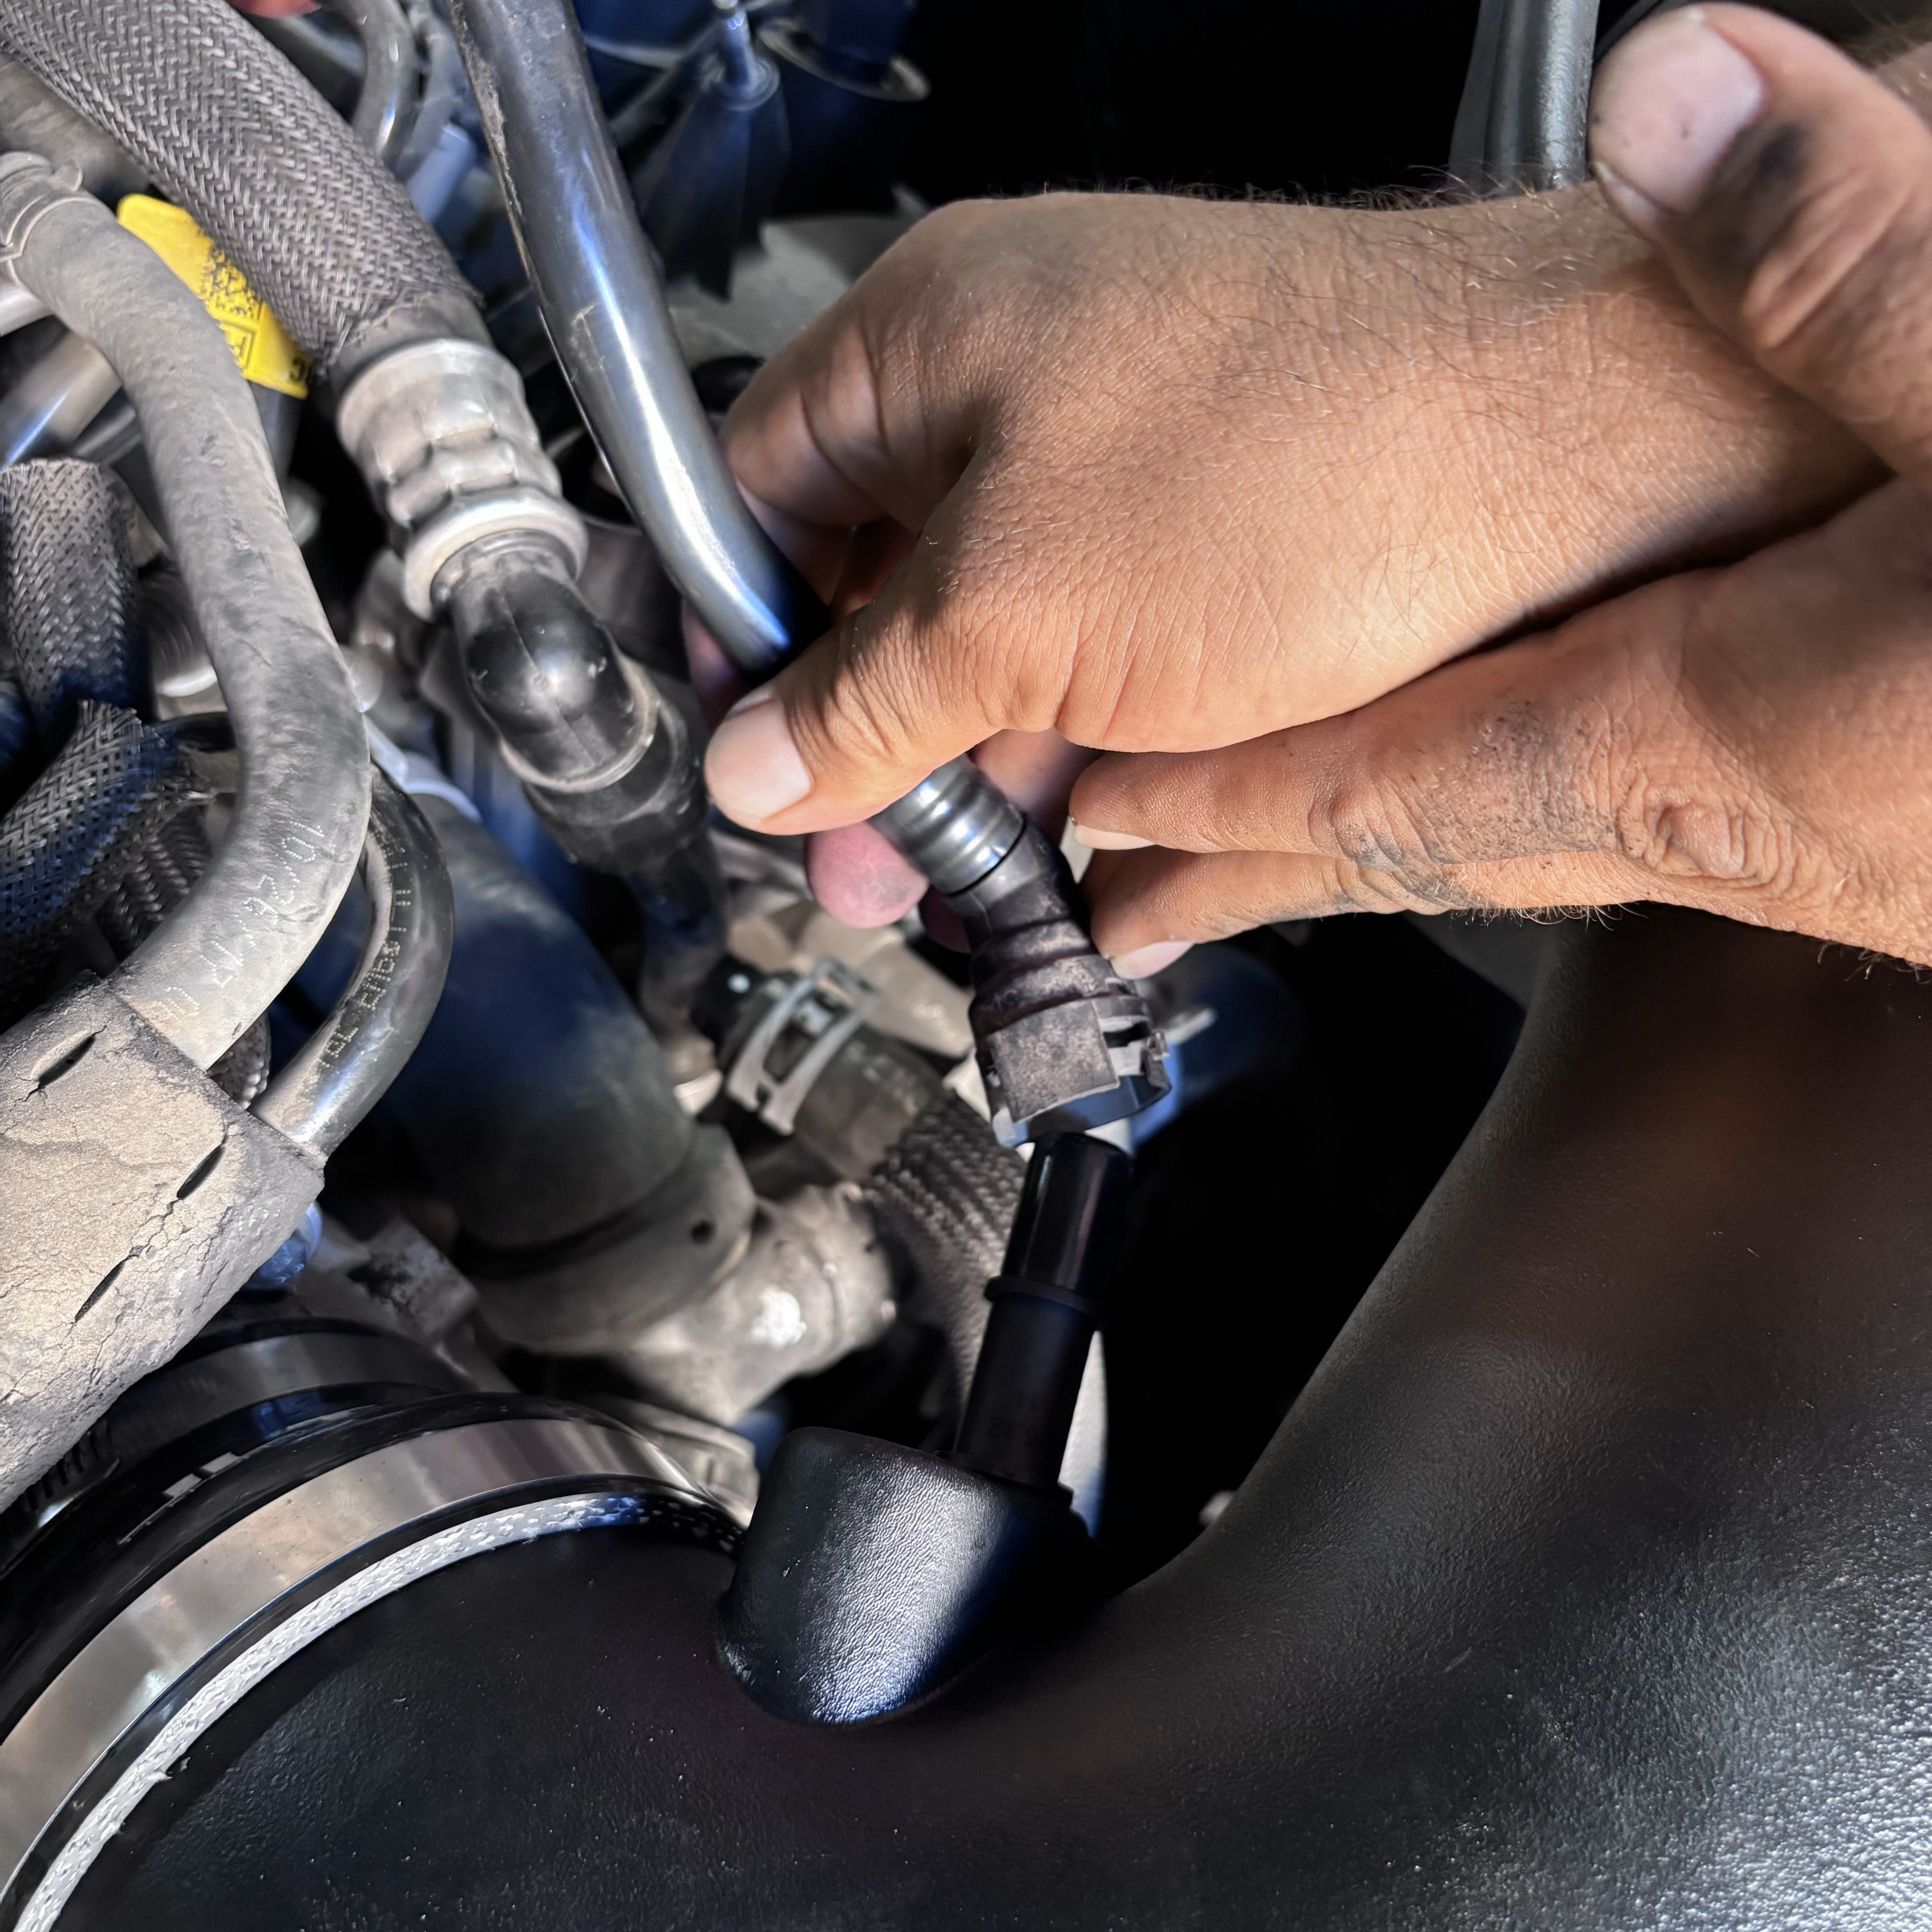
Tighten the hose clamps on the throttle body.
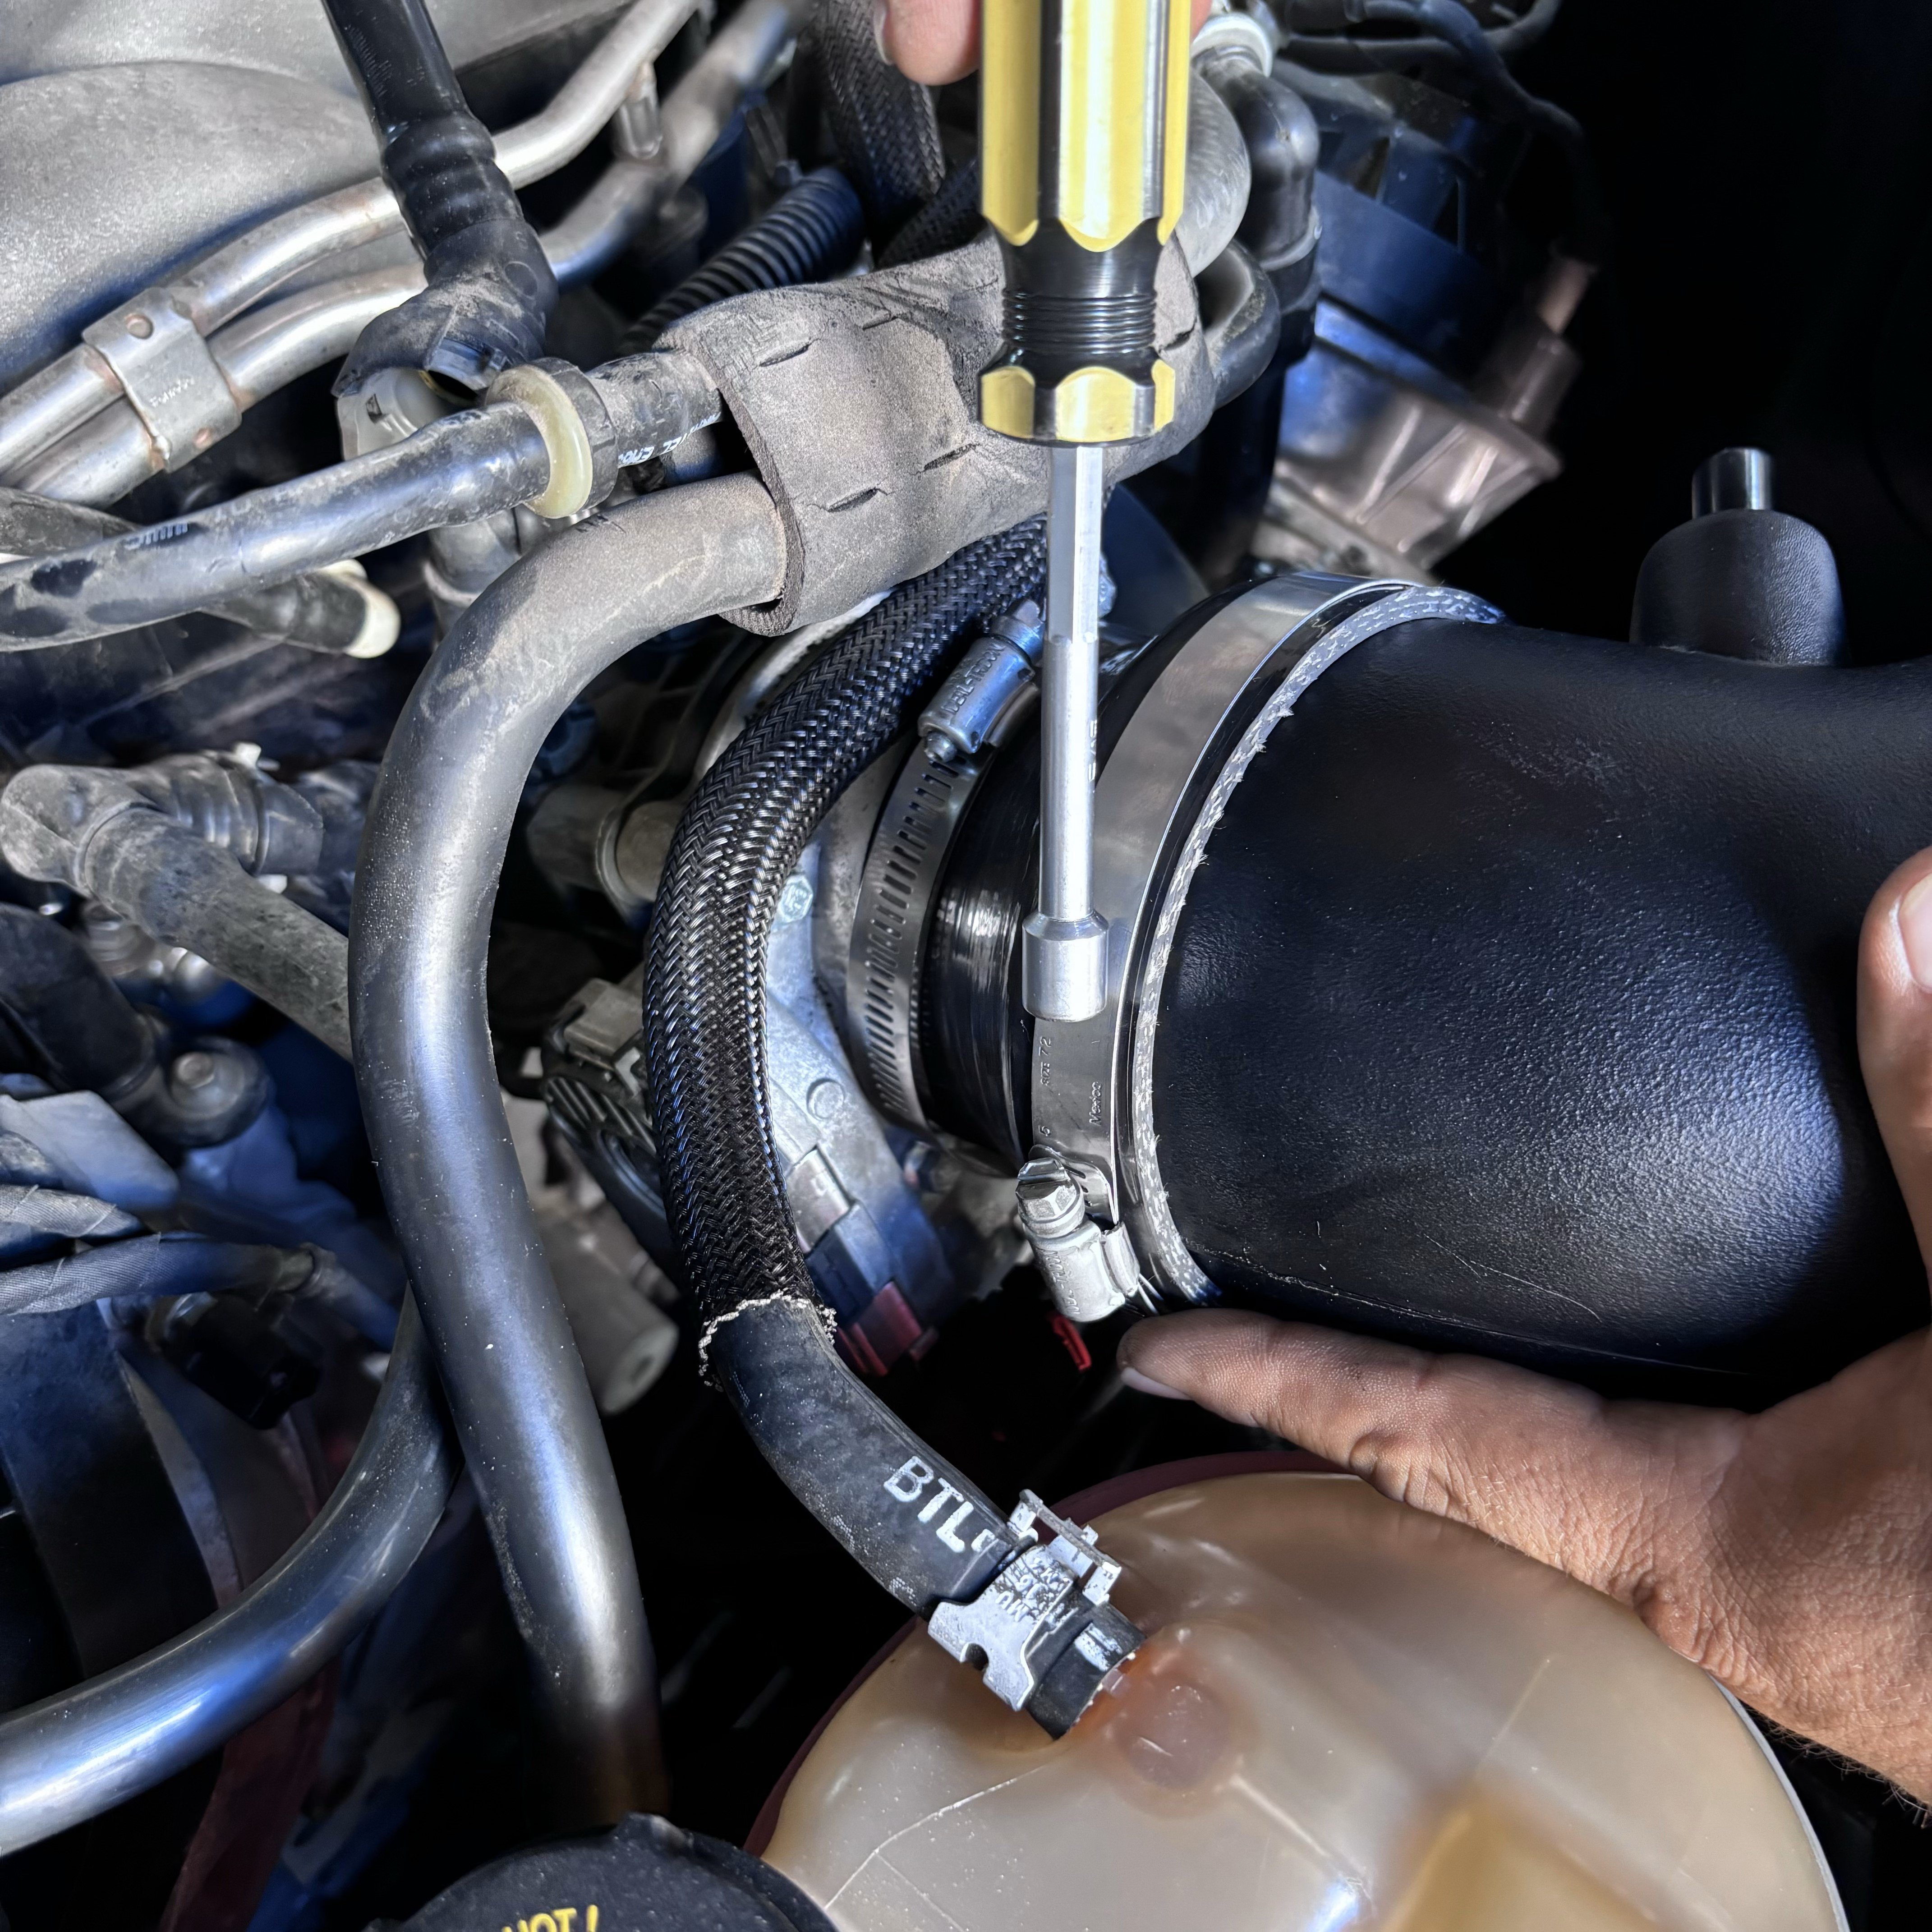
Reinstall the OEM MAF sensor.
Install the heat shield insert onto the tube. Double check all connections are tight and there is proper clearance around the intake and with the hood.
*Remember, the car will not run properly without a tune that has the properly scaled MAF readings. The JLT Tuner part # is R03-PL0-04-WHT if you have don't have a tuner purchased.
.jpg?v=1726695478082)