Step 1
Remove the screw holding the airbox to the car, disconnect the IAT sensor, loosen the hose clamp and disconnect the tube.
Note: This intake kit may not fit with the following Aftermarket Parts installed:
- Body Lift or Lowering Kit
- Custom Hood
- Throttle Body Spacer / Upgrade
Please read the entire product guide before proceeding.
- Ensure all parts are present.
- If you are missing any of the components, call our customer support at (909) 947-0015.
- Do not work on your vehicle while the engine is hot.
- Make sure the engine is turned off and the vehicle is in Park or the Parking Brake is set.
- 5/16 or 8mm socket/nut driver
- Flat head screw driver
-X-Acto knife
- Phillips Head screw driver

Remove the screw holding the airbox to the car, disconnect the IAT sensor, loosen the hose clamp and disconnect the tube.
Remove the stock intake from the vehicle.
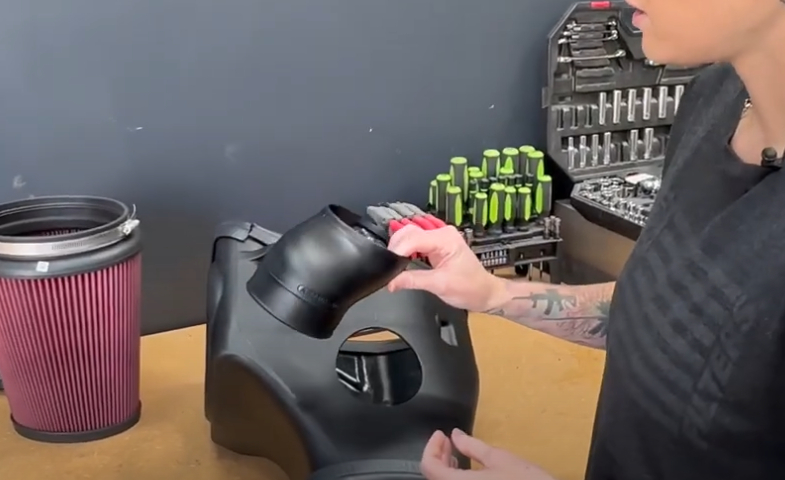
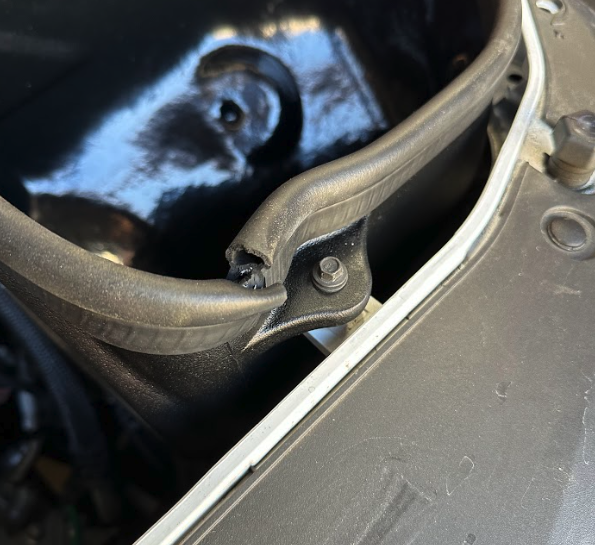
If your Challenger has a functional headlight scoop, install the seal and scoop onto the airbox. Make sure the arrows on the coupler line up as shown in the picture. Widebodies use the shorter scoop, and narrow bodies use the longer scoop.
If you have a Charger and installed the Hellcat inlet air cleaner duct, use the gasket with the circular opening provided.
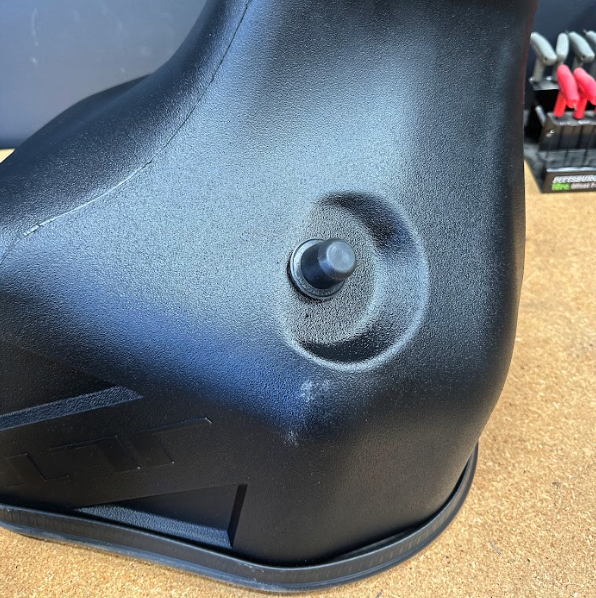
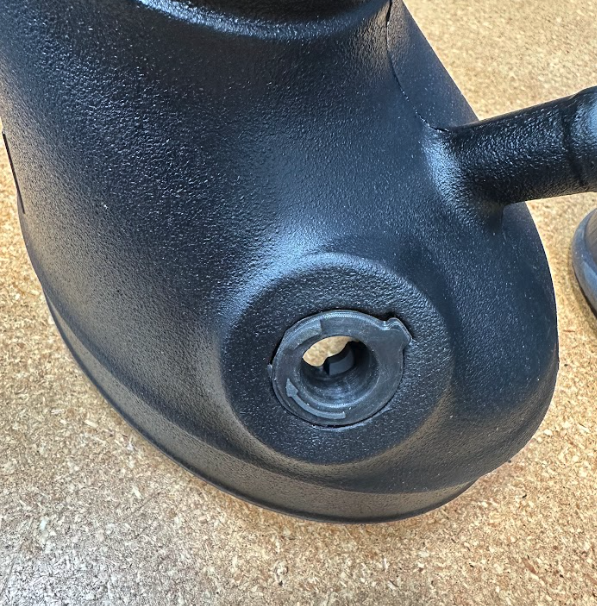
If your vehicle doesn't have a functional headlight scoop, you can use the provided circular box plug or leave the opening unplugged.
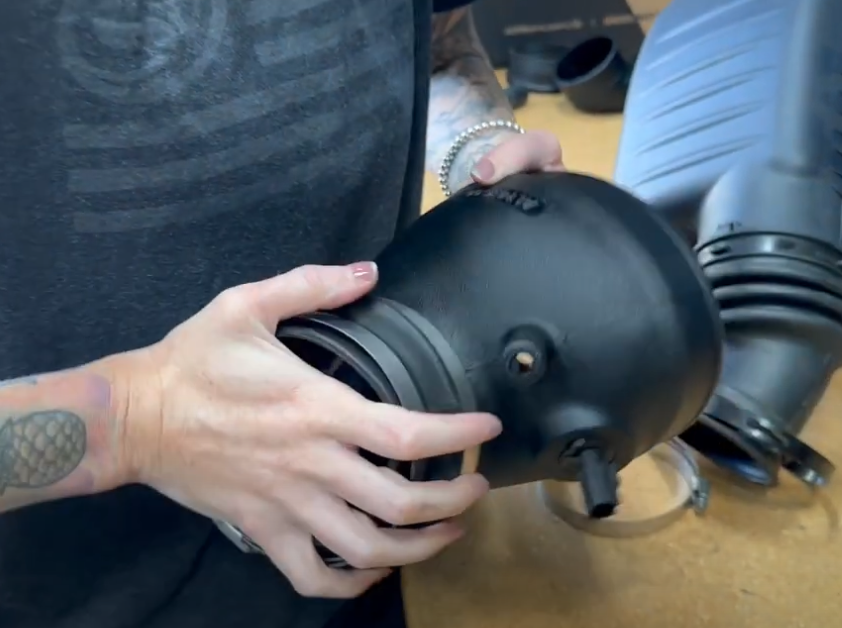
Install the grommet onto the bottom of the airbox.
Install the grommet onto the intake tube, making sure the tab lines up with the notch.
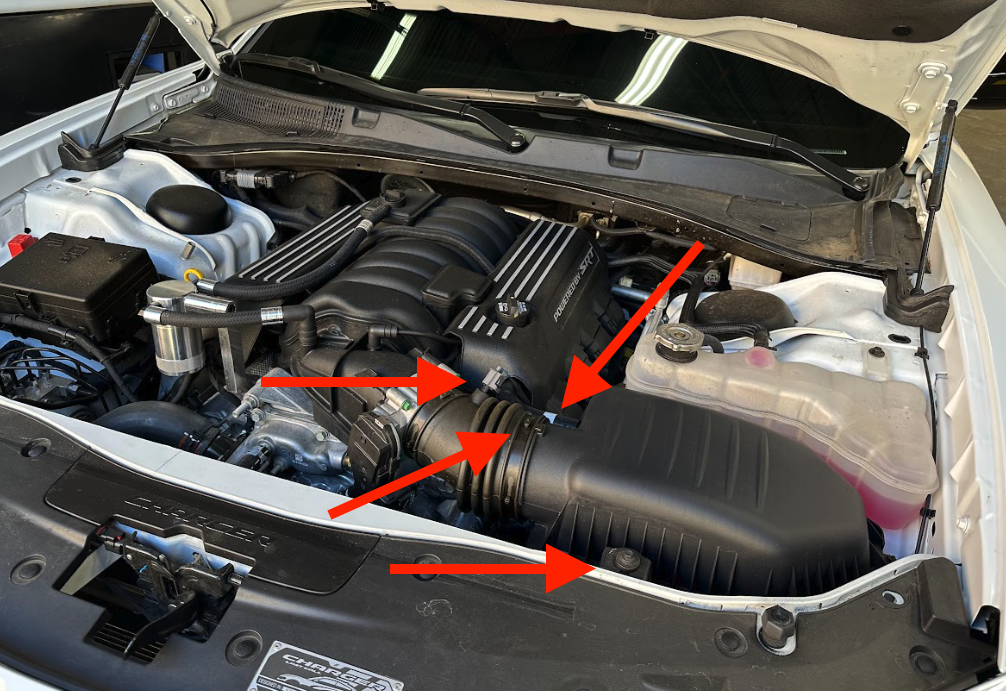
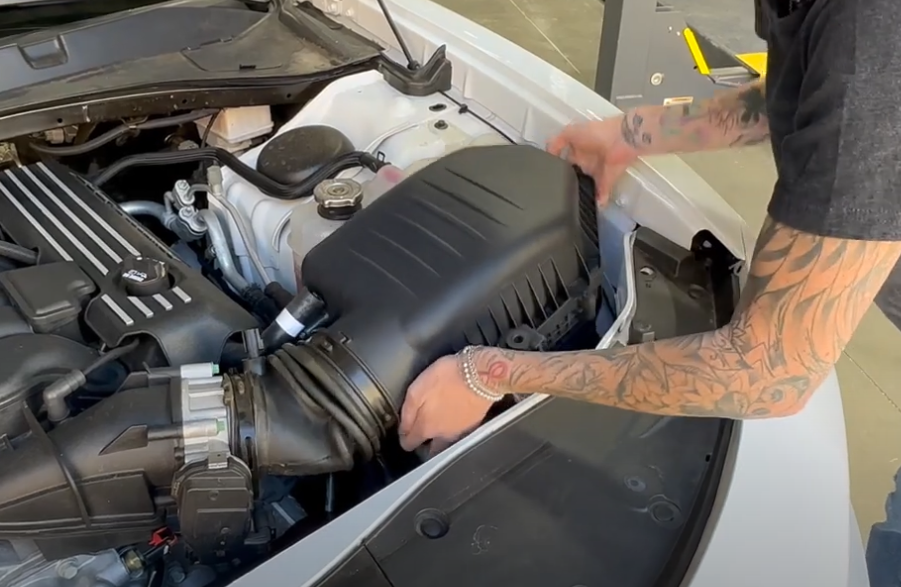
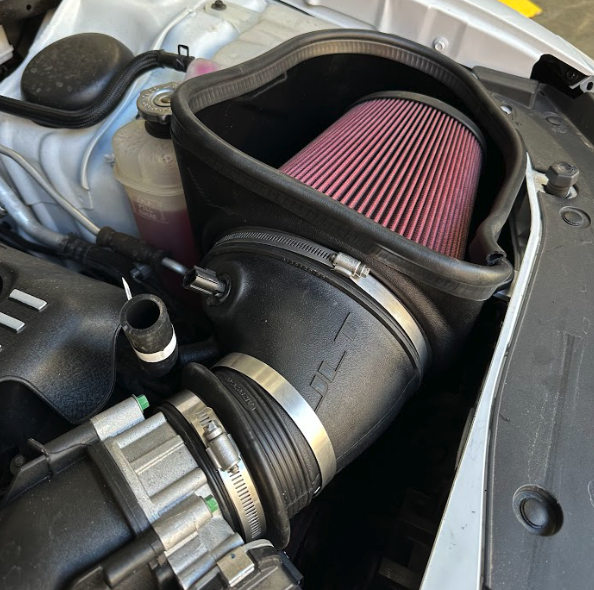
Install the JLT airbox into the vehicle.

Reinstall the screw that holds down the airbox to the vehicle.
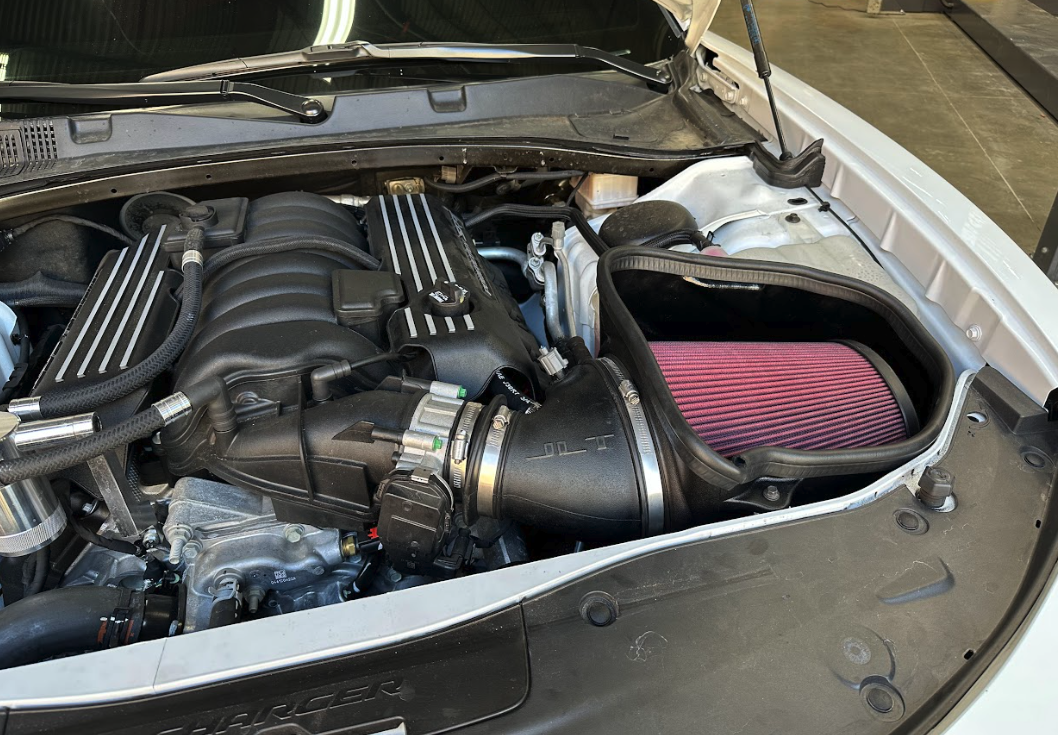
Install the S&B filter into the airbox. Make sure the flange snaps all the way around.

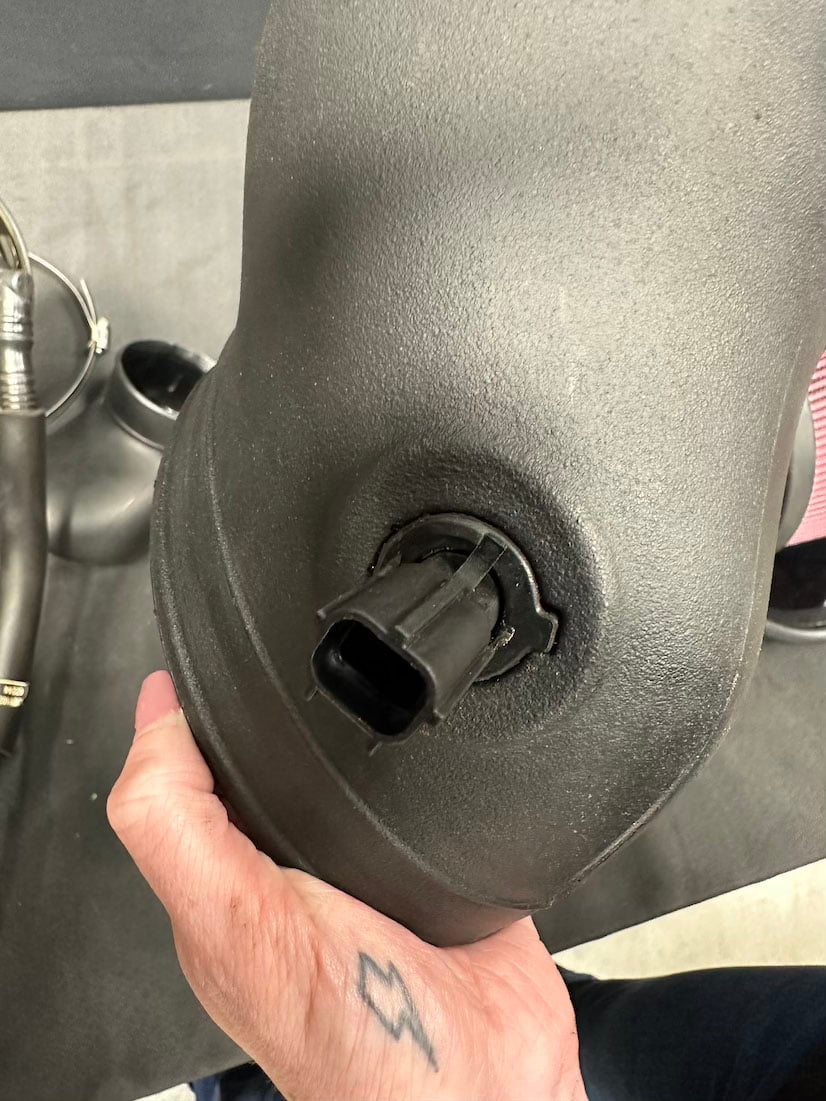
Care fully remove the IAT sensor from the stock tube. Then, install the IAT sensor into the JLT tube by twisting it so the tab is as shown.
Loosely install the coupler and hoses clamps onto the intake tube.
Pushing the coupler as far as possible onto the tube makes installation easier. Install the intake tube and tighten down the hose clamps.
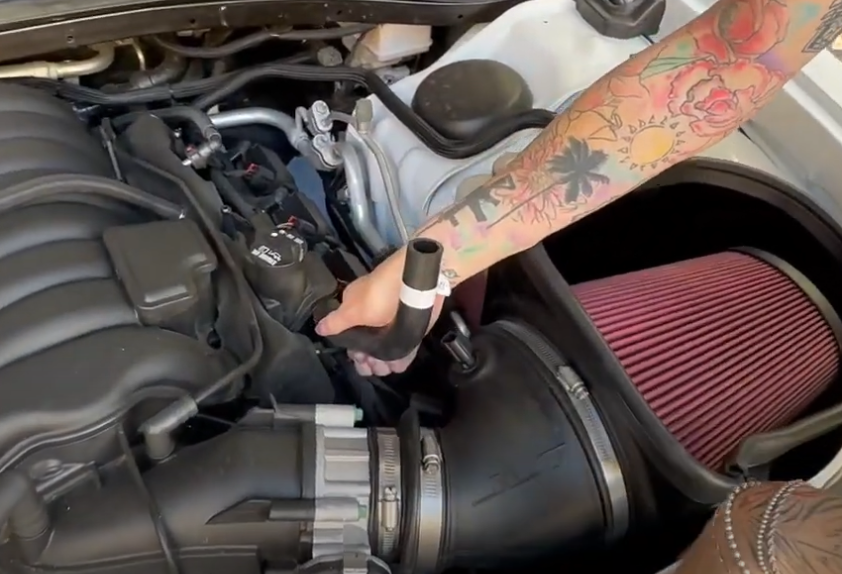
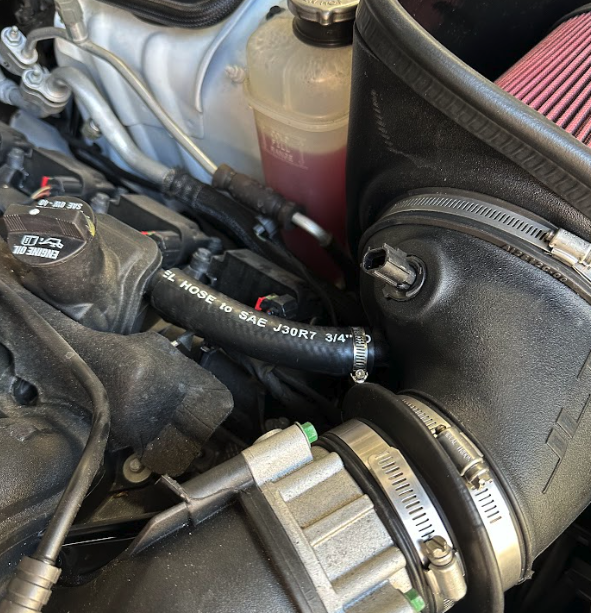
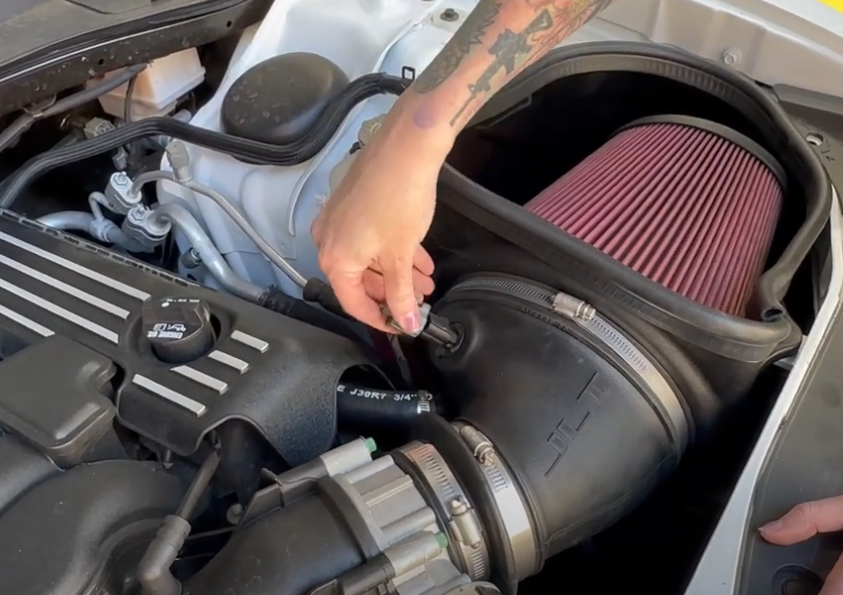
Remove the engine cover in order to gain access to the hose that will connect to the JLT intake tube. Remove the tube and install the supplied JLT tube with the hose clamp. Once the tube is on, tighten down the hose clamp.
Reinstall the engine cover.

Reconnect the IAT sensor.
Inspect your installation. Make sure the kit is properly positioned and all fasteners and hose clamps are secured. Keep all stock parts in the event you would ever need to reinstall the stock intake assembly. If you are an installer, give the owner the QR code for the Installation Instructions so that he/she is aware of the Maintenance and Operation procedures are given at the beginning of the Instructions. The installation is now complete.