Step 1
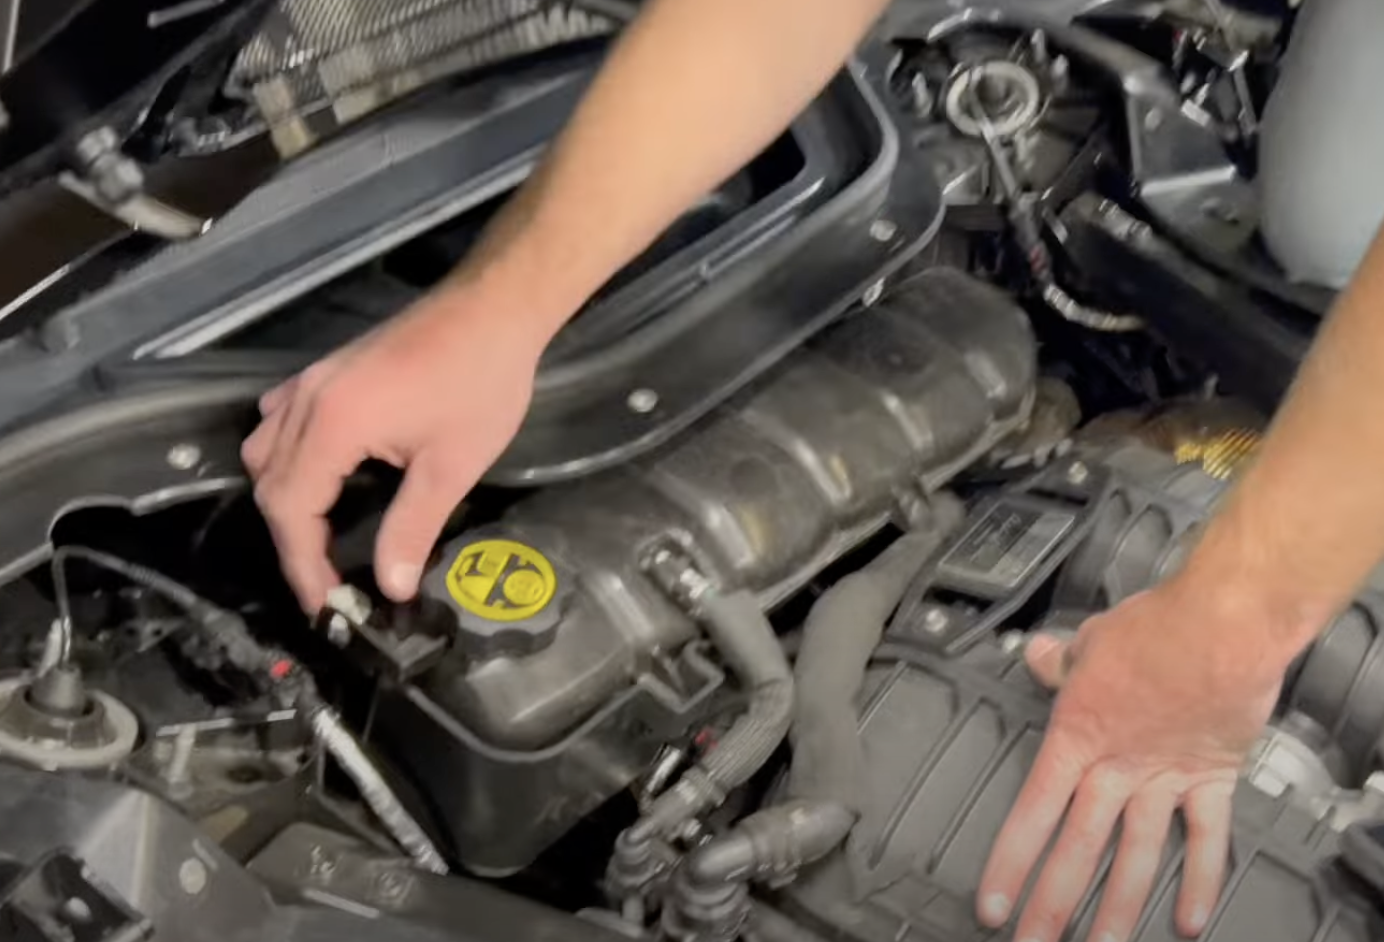
Remove the engine cover from the vehicle. Save the bolts for later.
Note: This intake kit may not fit with the following Aftermarket Parts installed:
- Body Lift or Lowering Kit
- Custom Hood
- Throttle Body Spacer / Upgrade
Please read the entire product guide before proceeding.
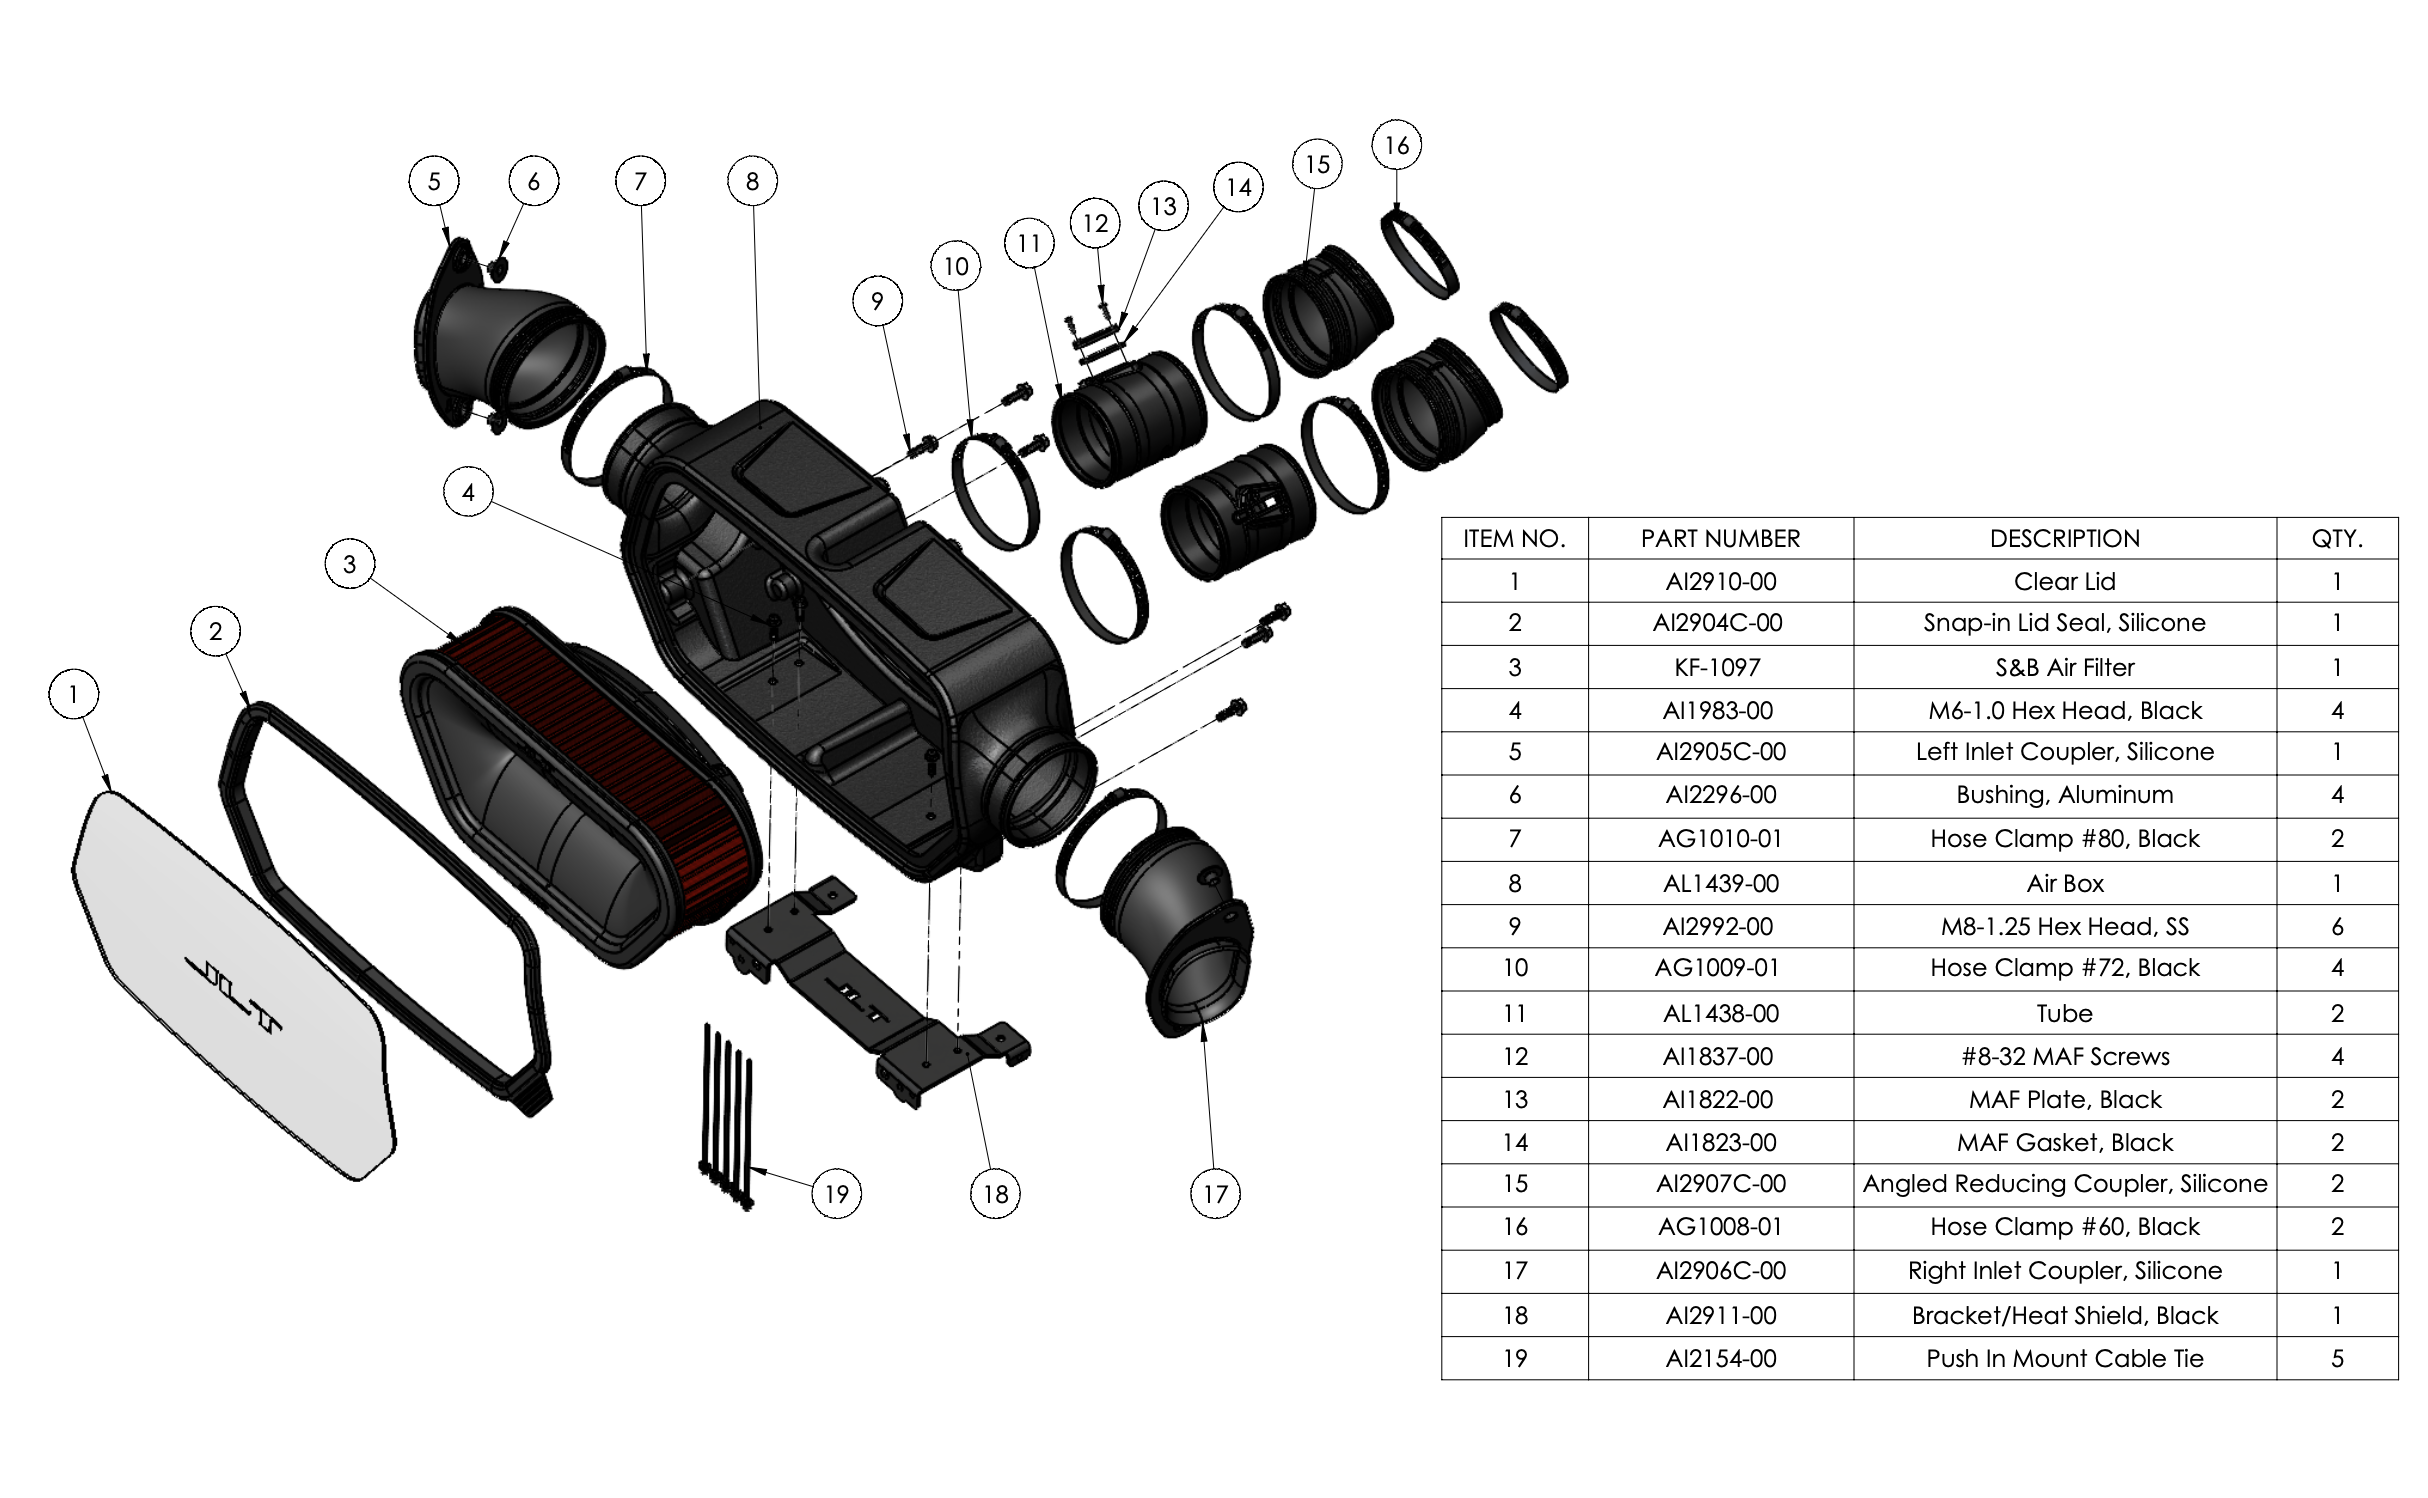
- Ensure all parts are present.
- If you are missing any of the components, call our customer support at (909) 947-0015.
- Do not work on your vehicle while the engine is hot.
- Make sure the engine is turned off and the vehicle is in Park or the Parking Brake is set.
- 5/16 or 8mm socket/nut driver
- Flat head screw driver
-X-Acto knife
- Phillips Head screw driver
Remove the engine cover from the vehicle. Save the bolts for later.
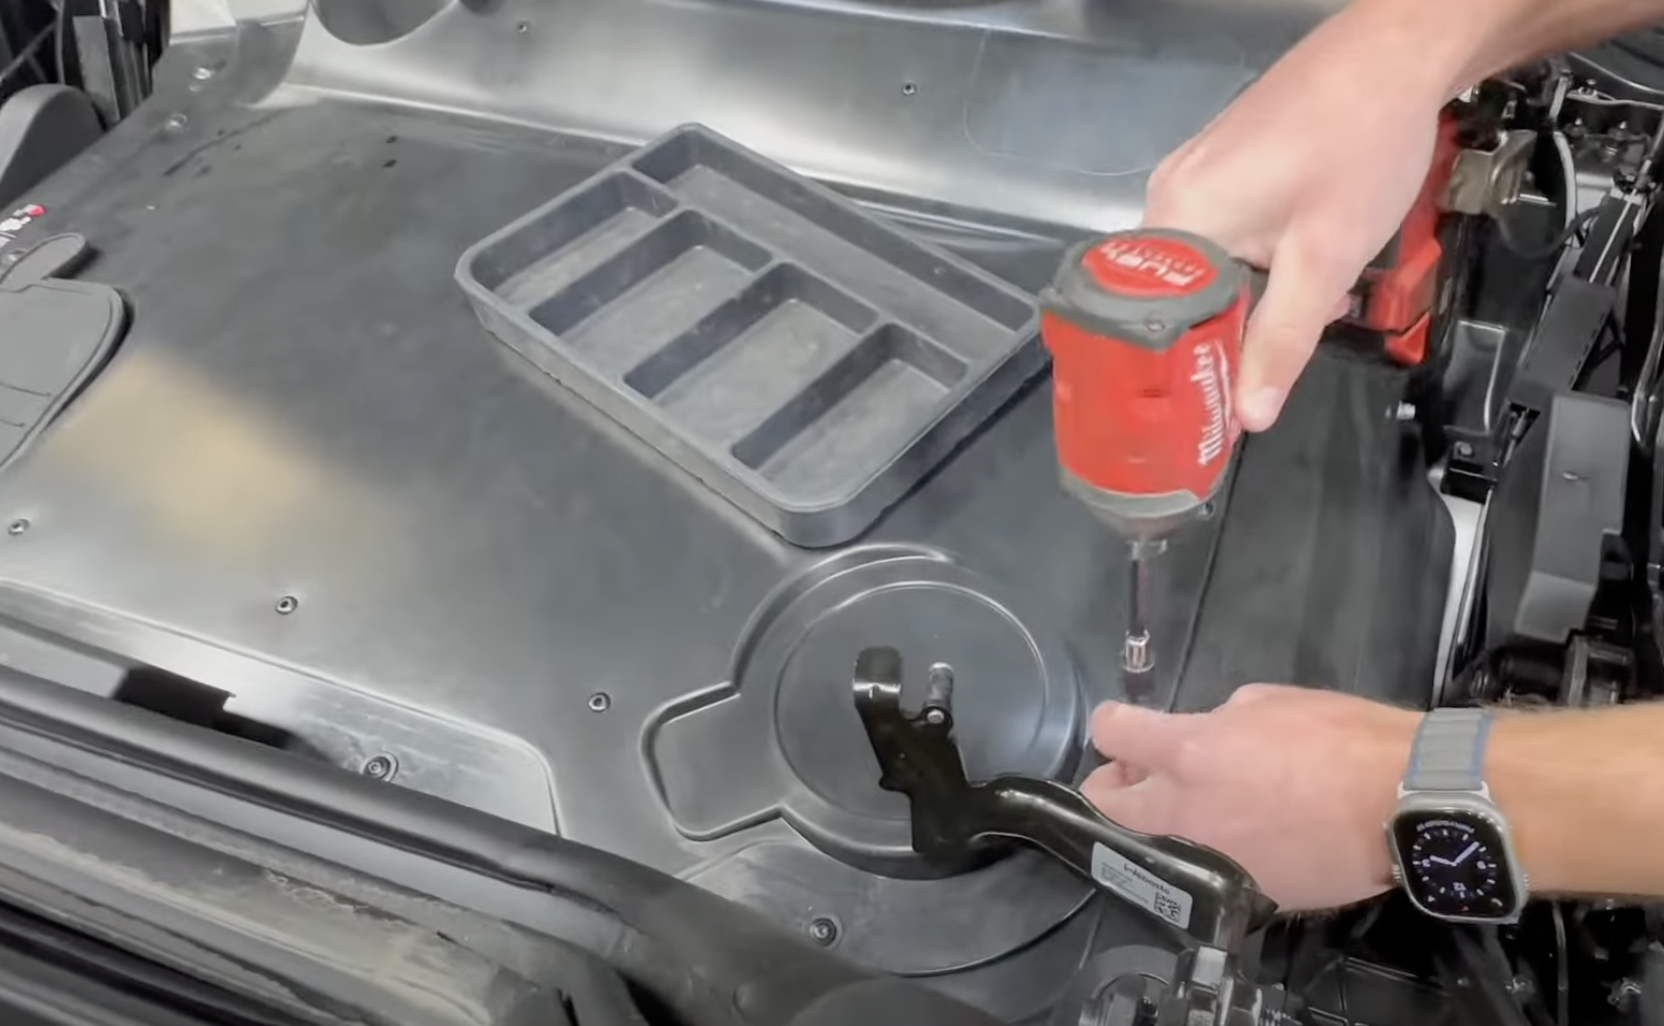
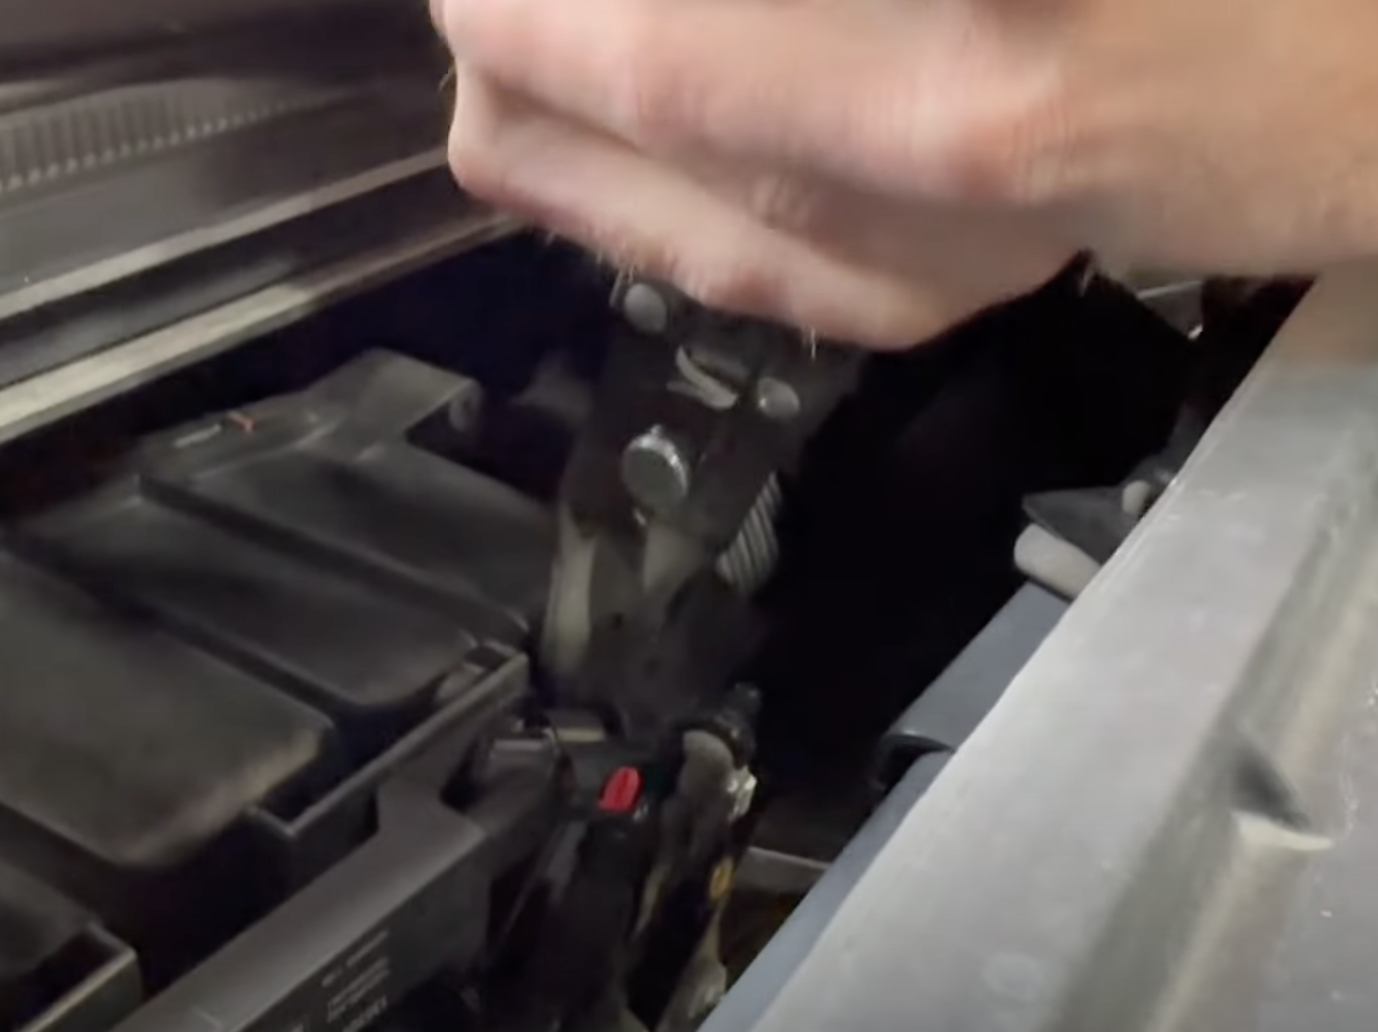
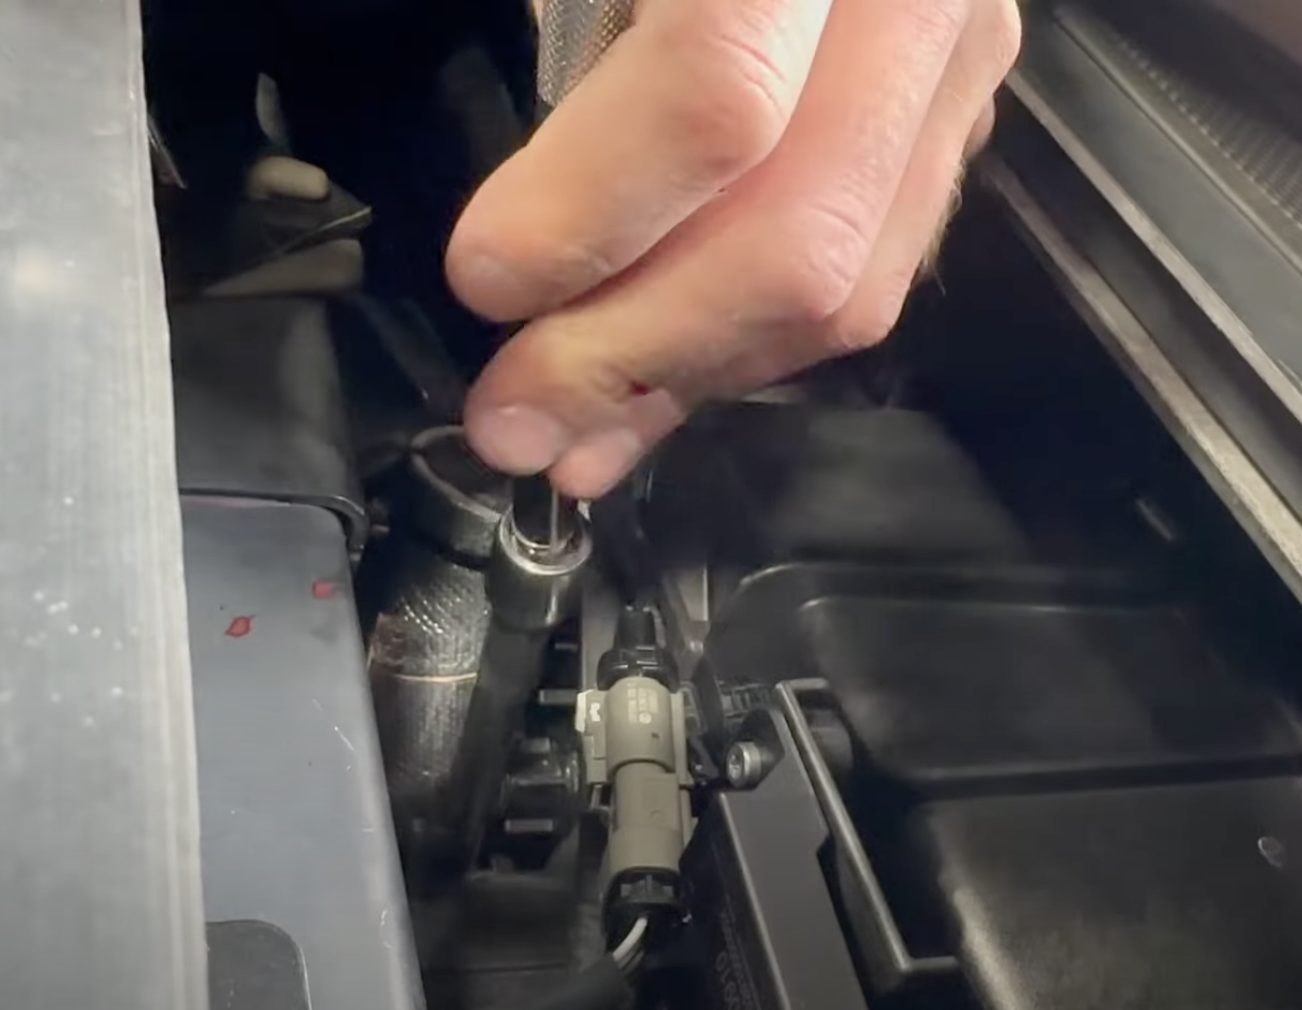
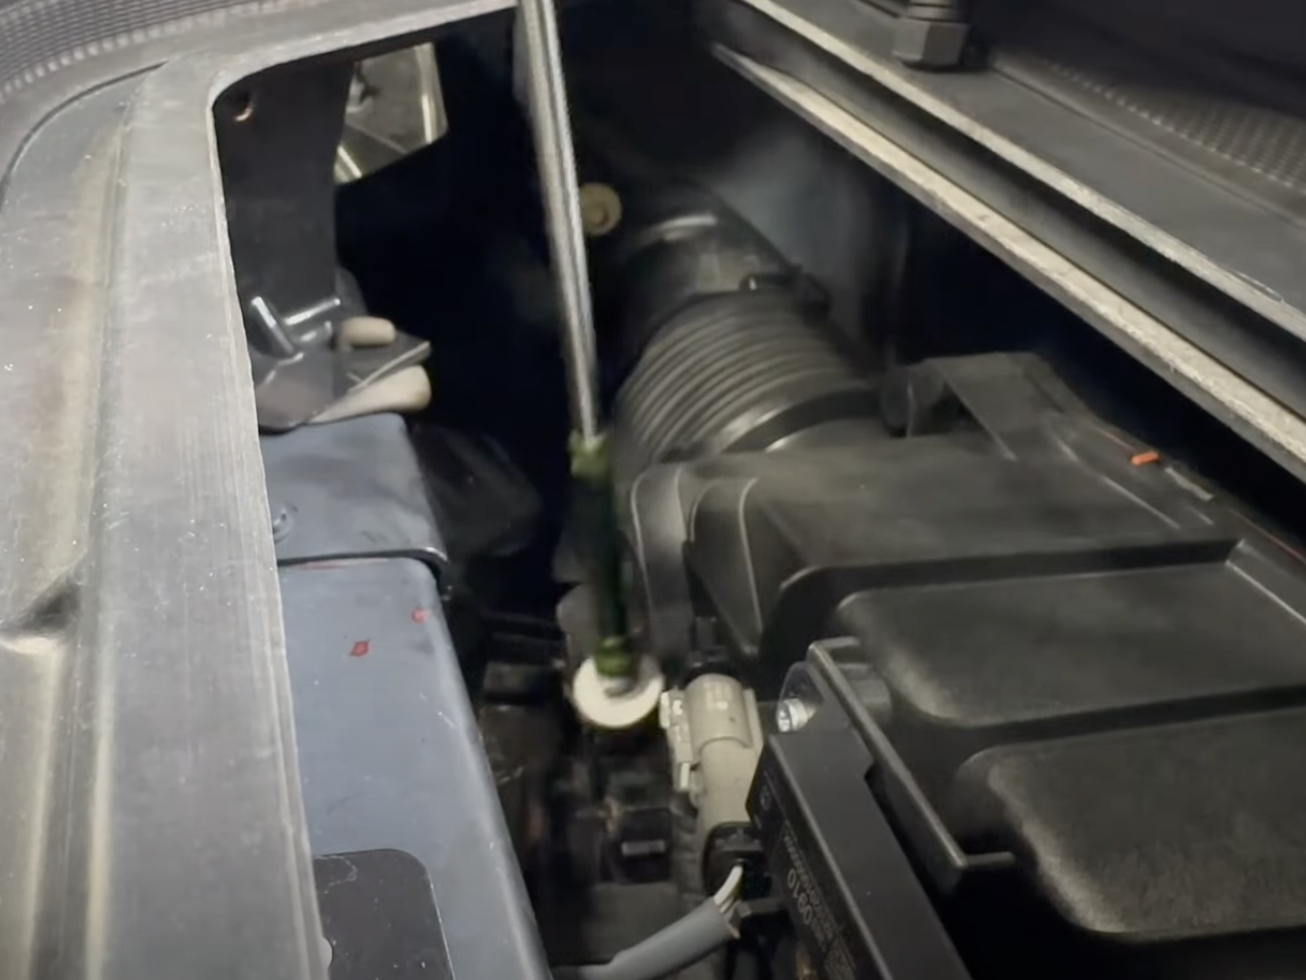
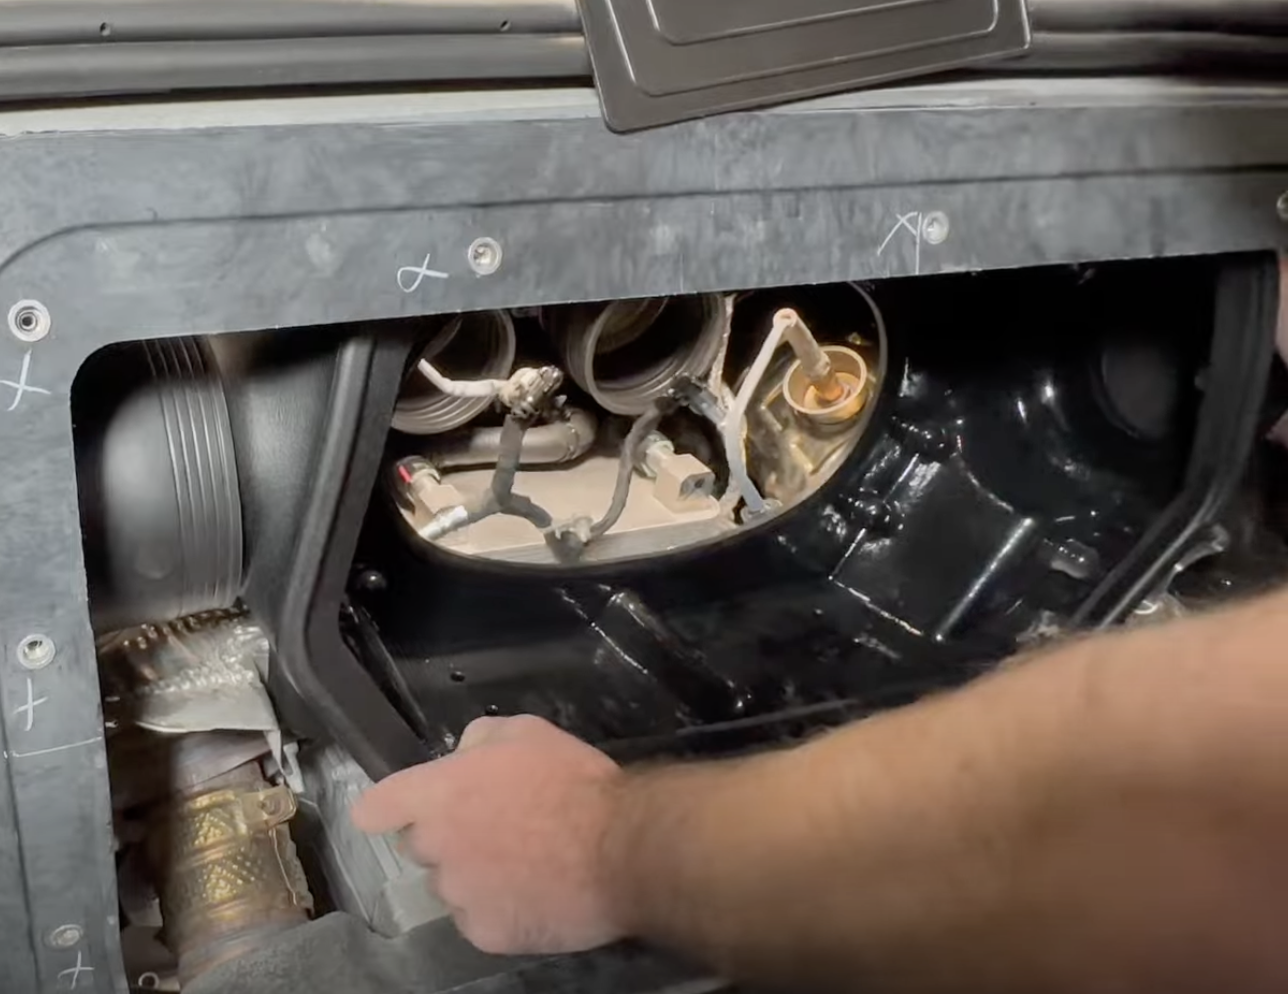
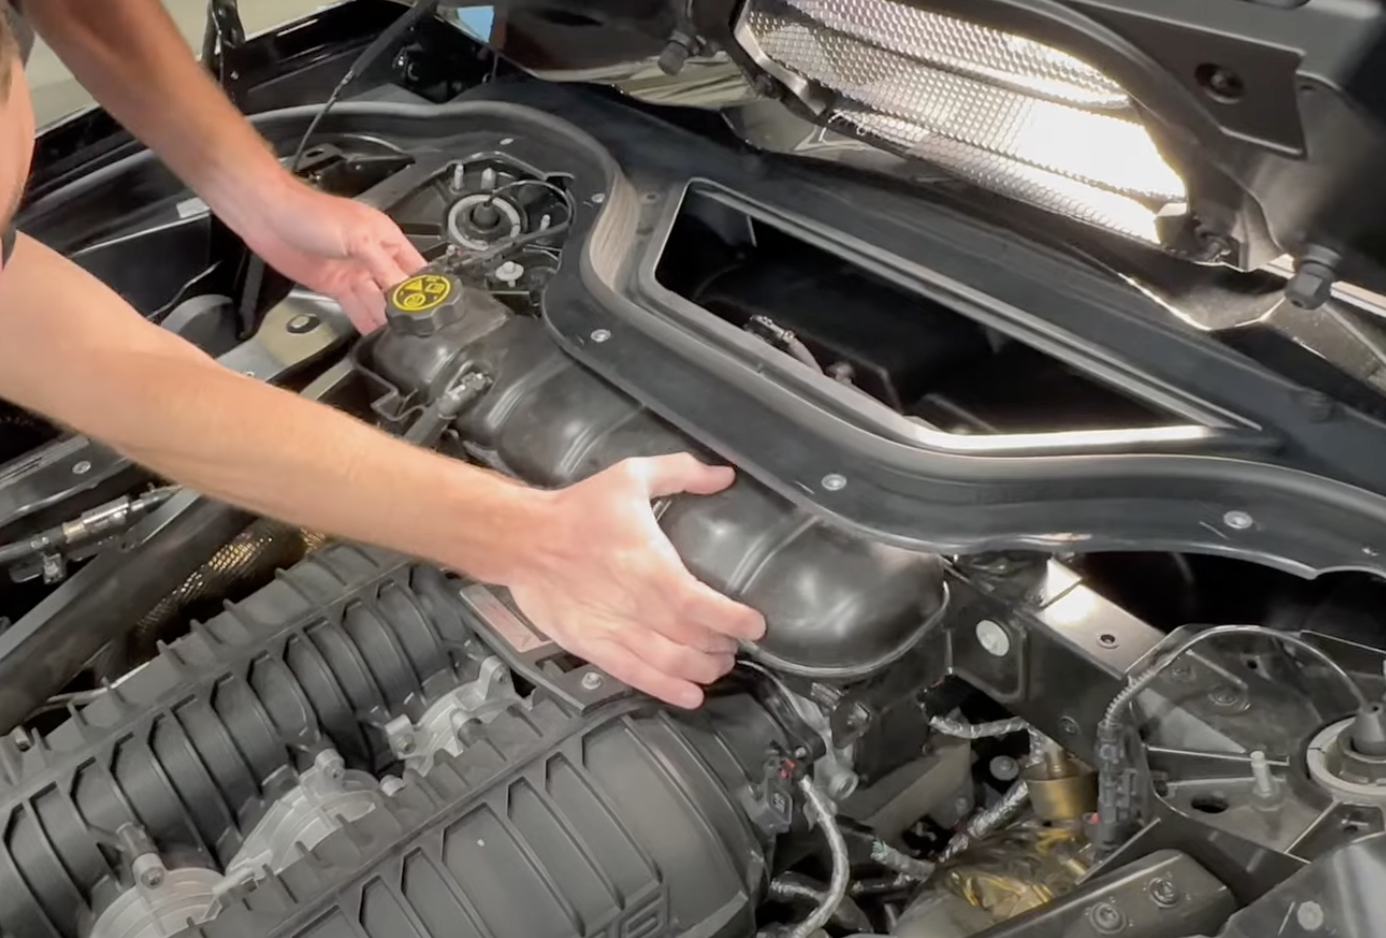
Remove the 10mm bolt and slide the coolant tank out of the way.
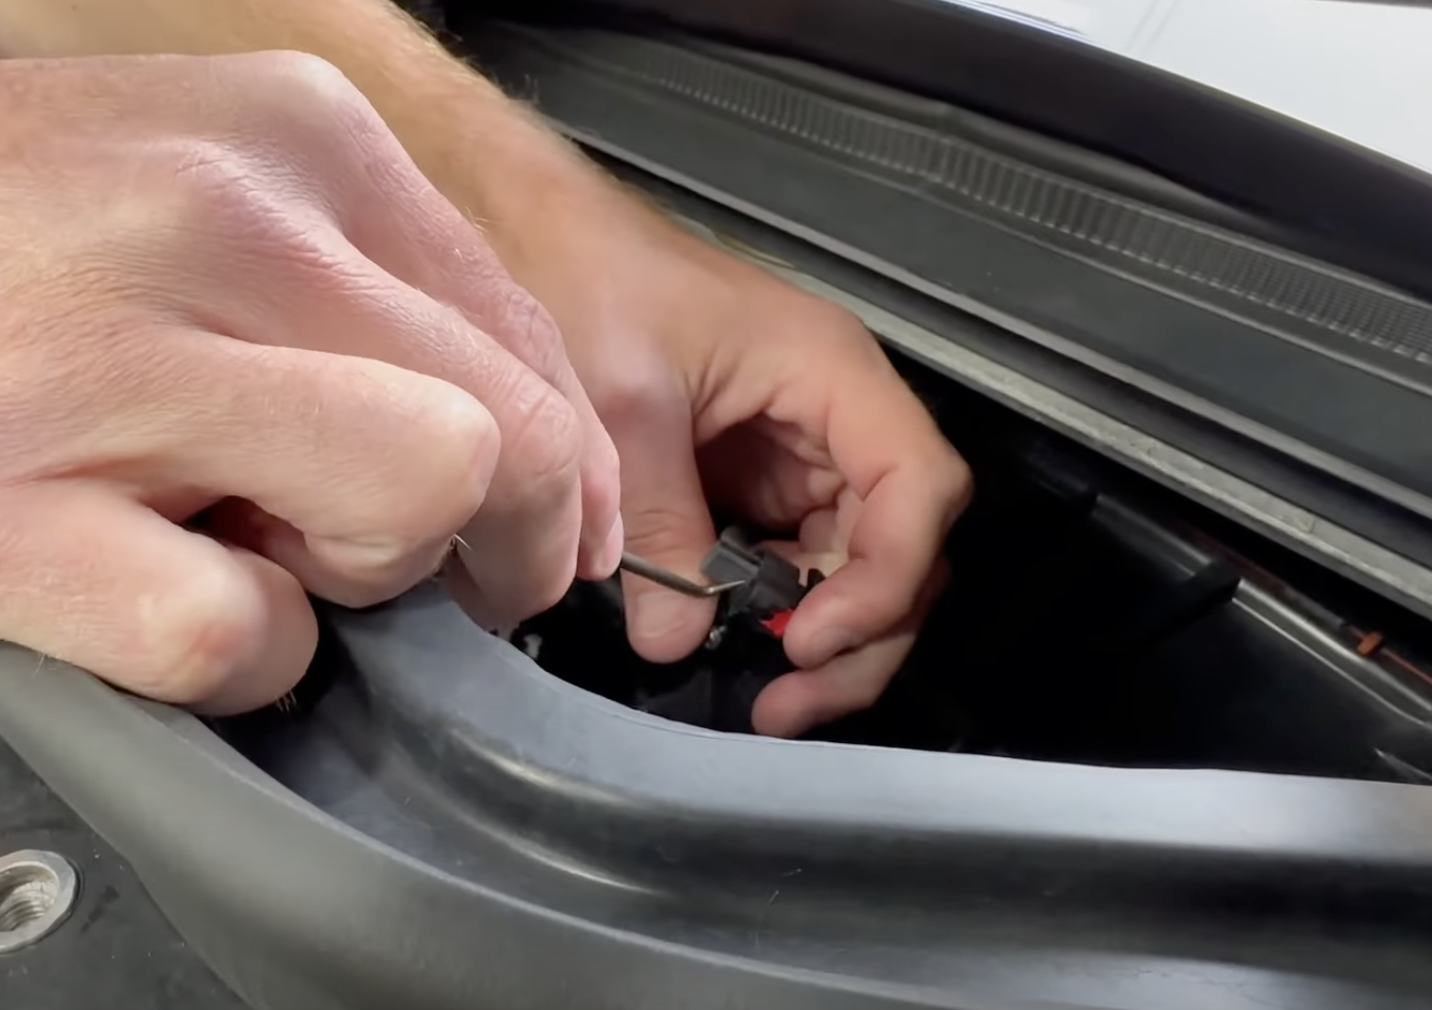
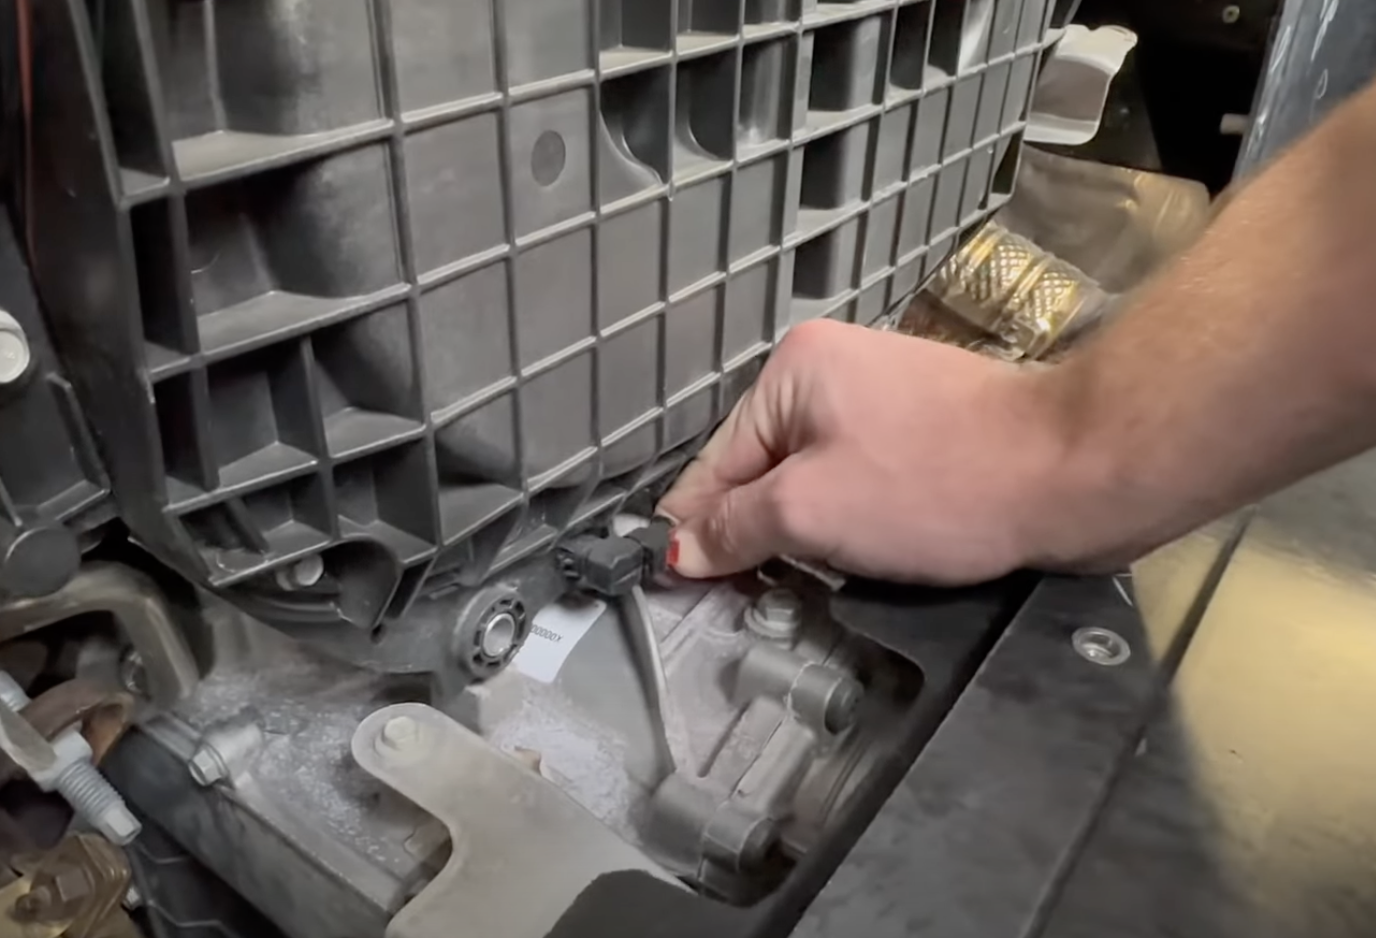
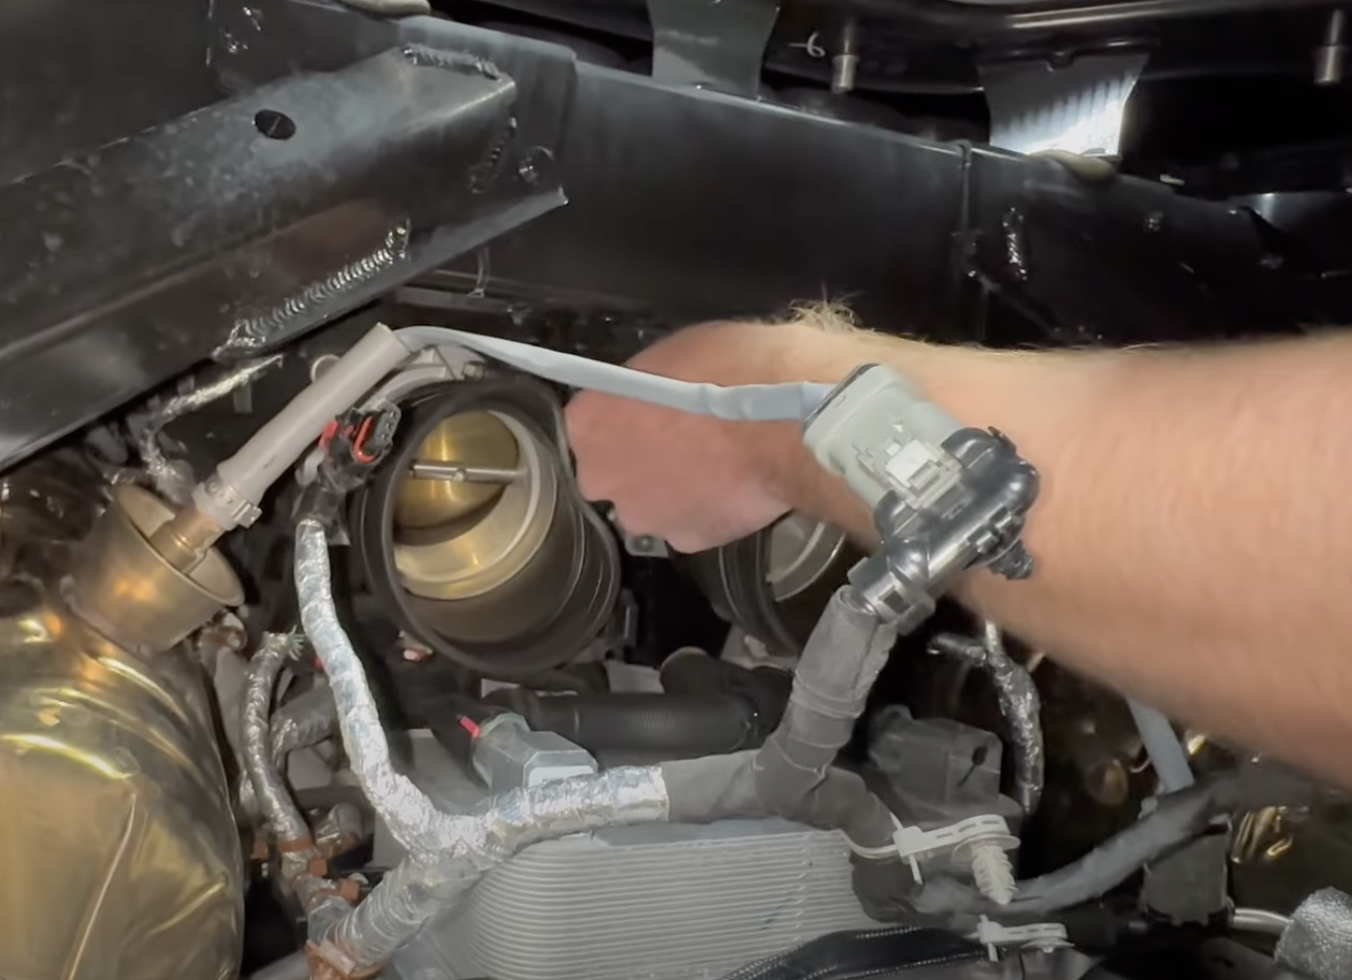
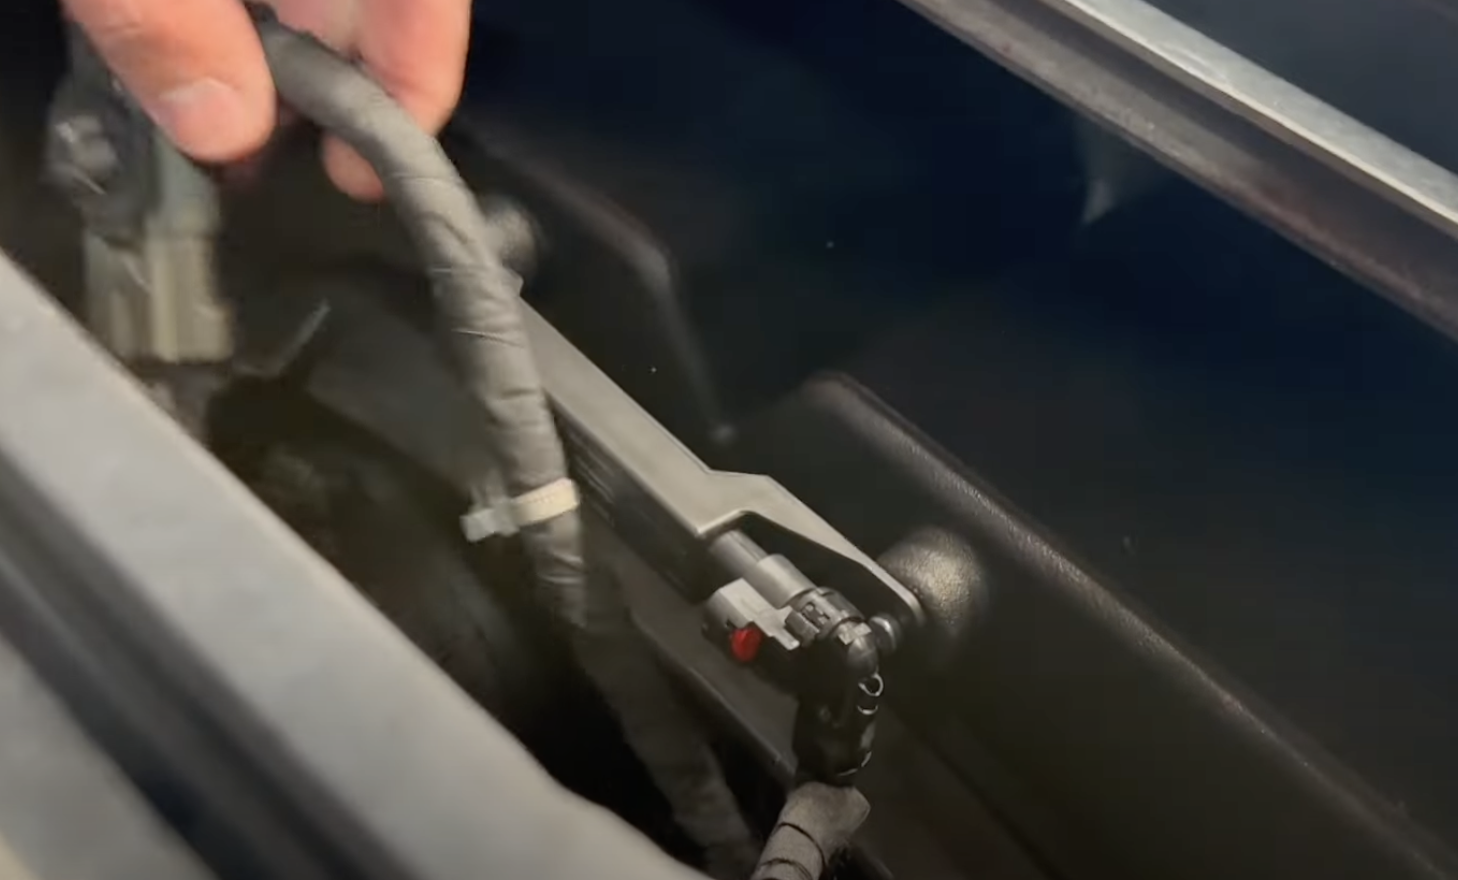
Disconnect and sensor by disengaging the red locking tab and sliding up on the tab with a pick.
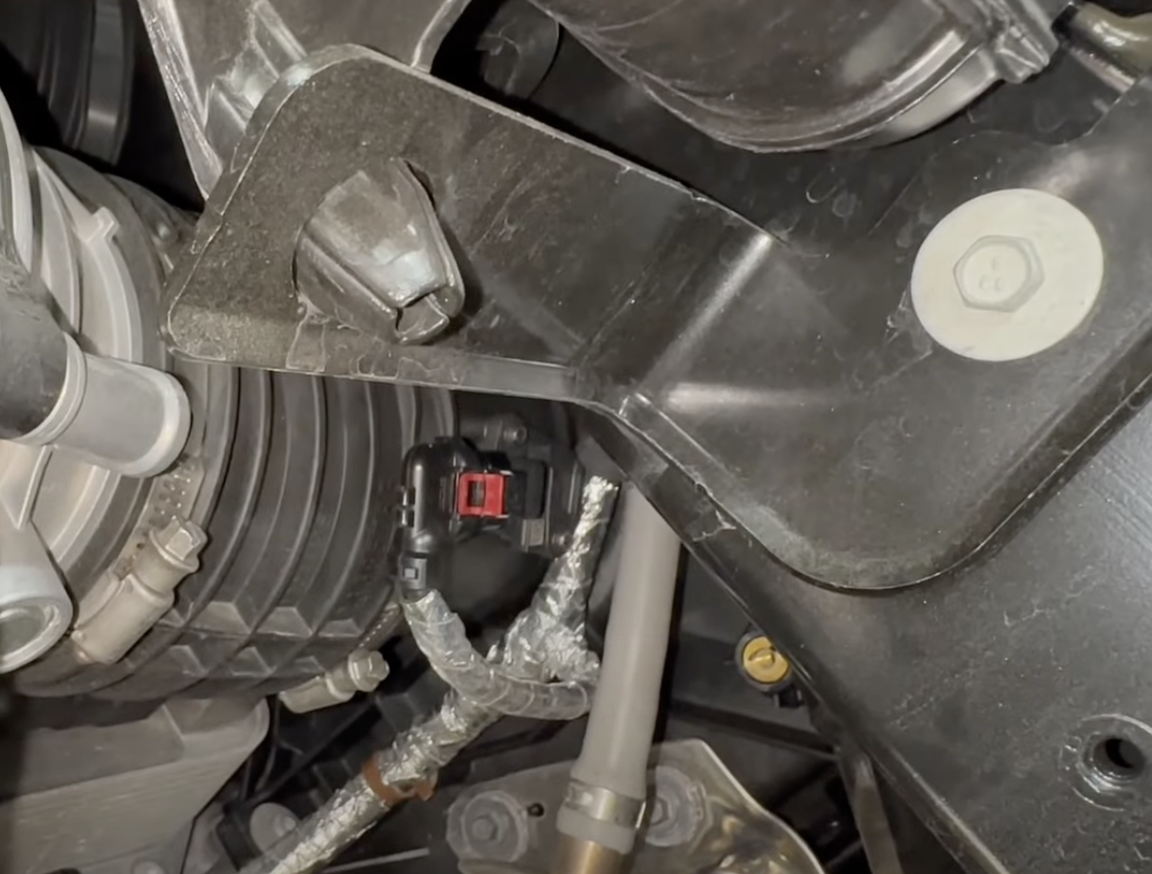
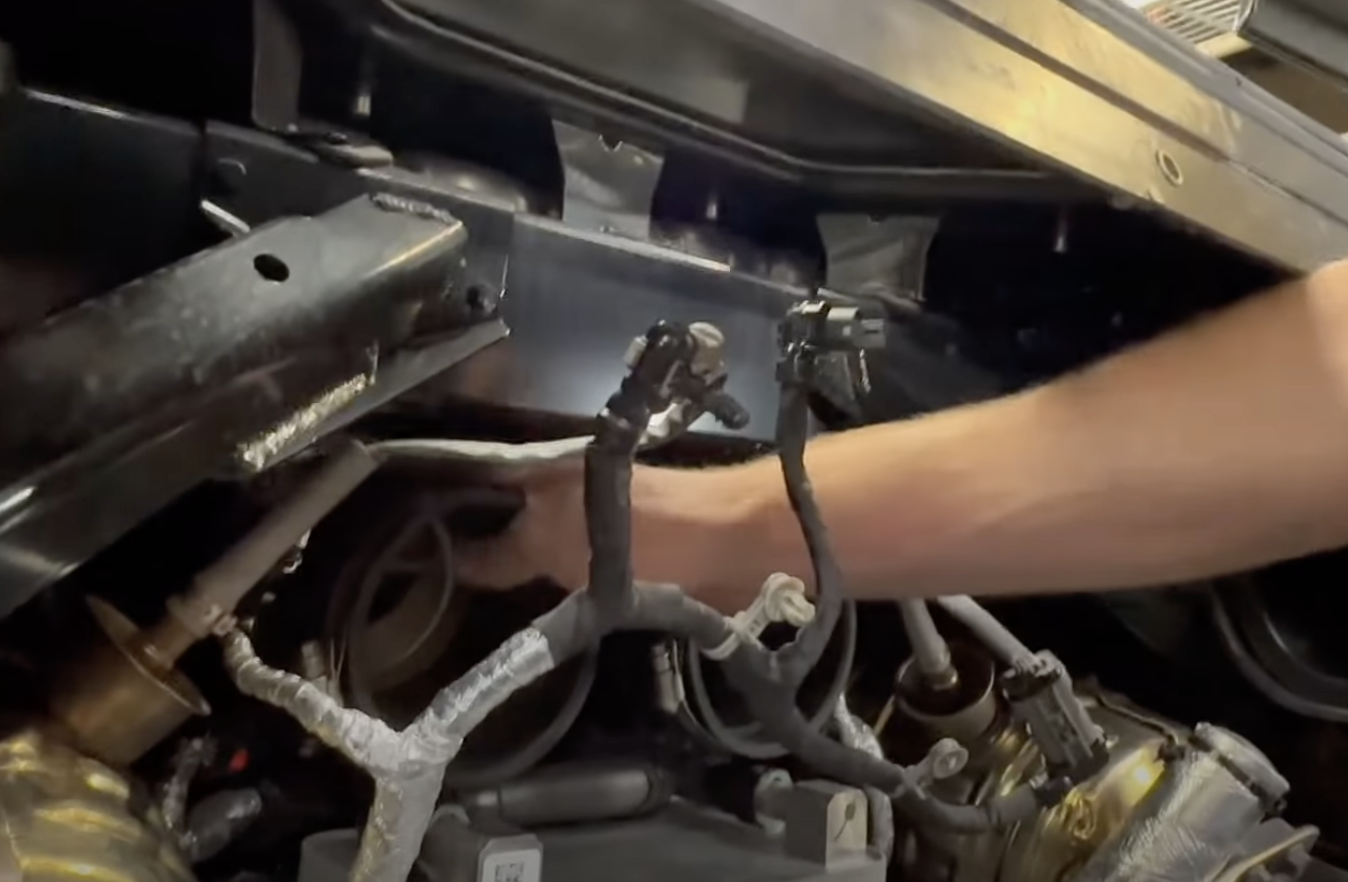
Disconnect the MAF harnesses as seen in the image. To see how to remove, please refer to our install video starting at 2:30.
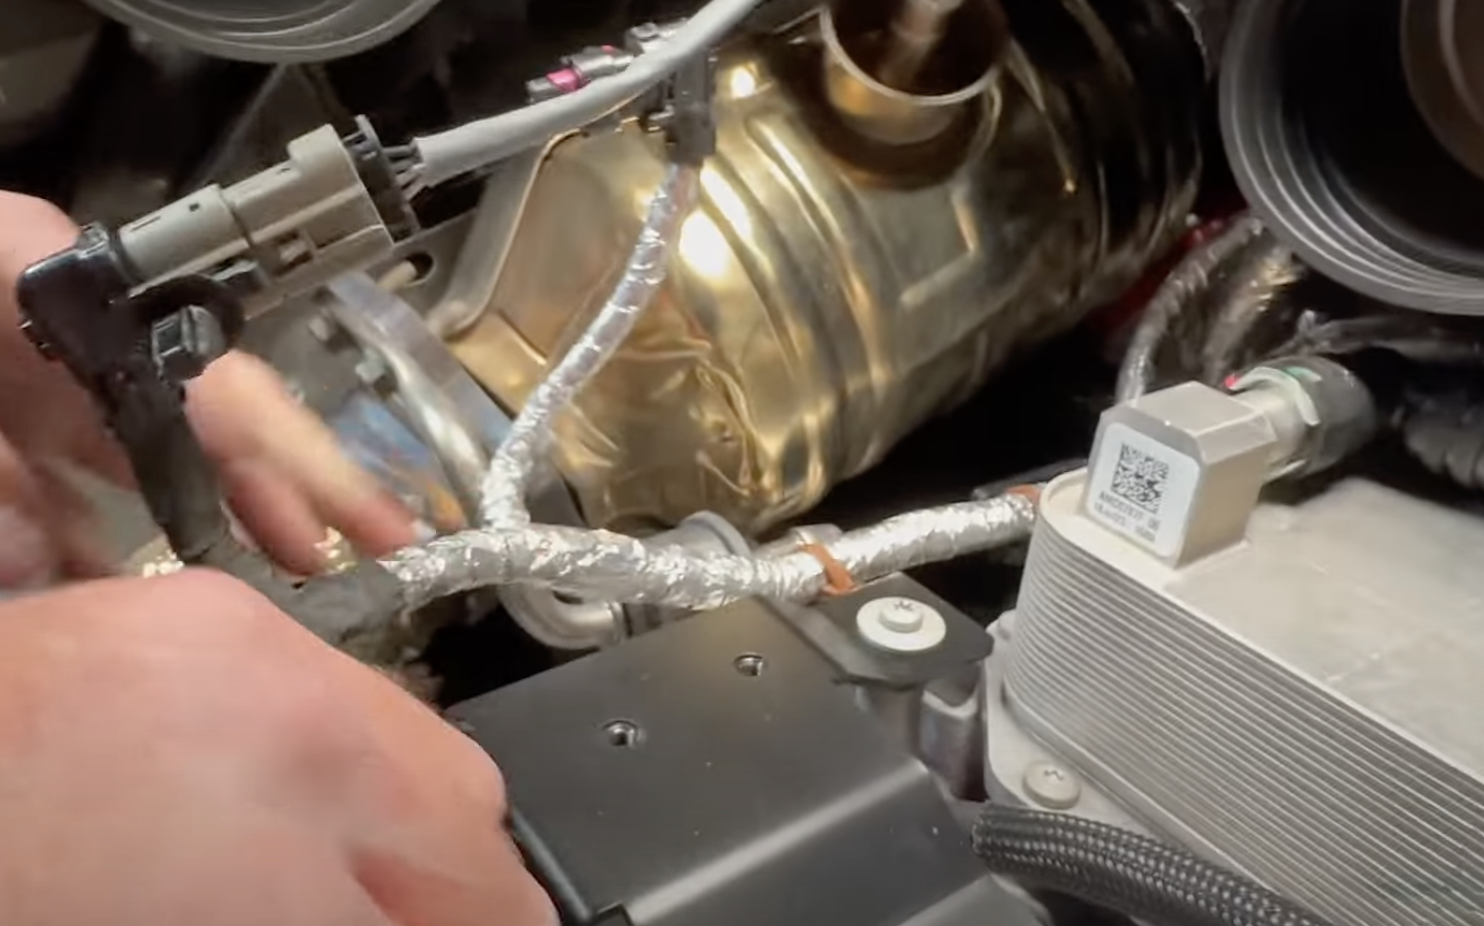
Remove the 02 sensors by unclipping each one.
With a panel popper, remove the two grey push rivets seen in the image.
Remove the two brown/orange push rivets that secure down the bottom harnesses tp the airbox.
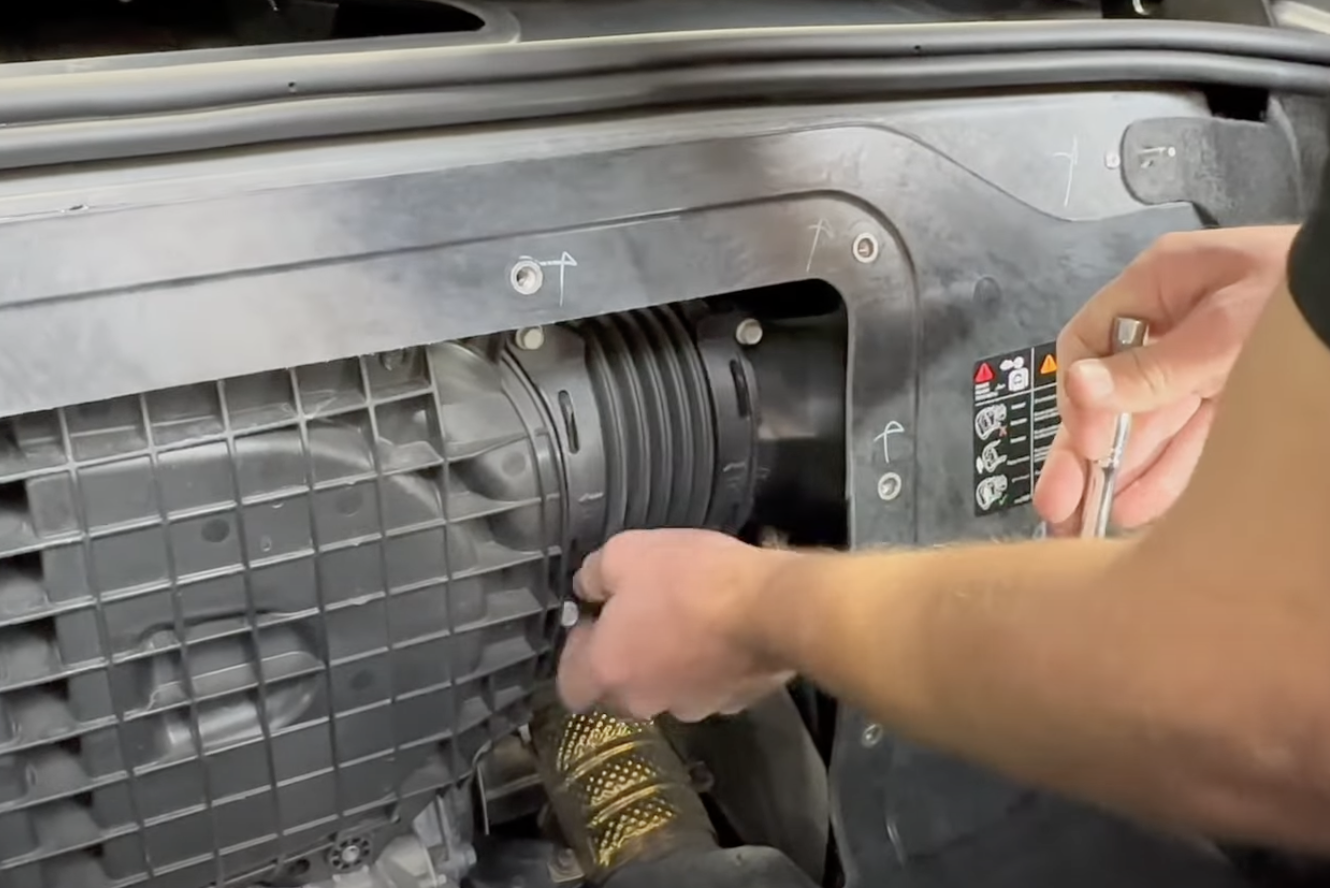
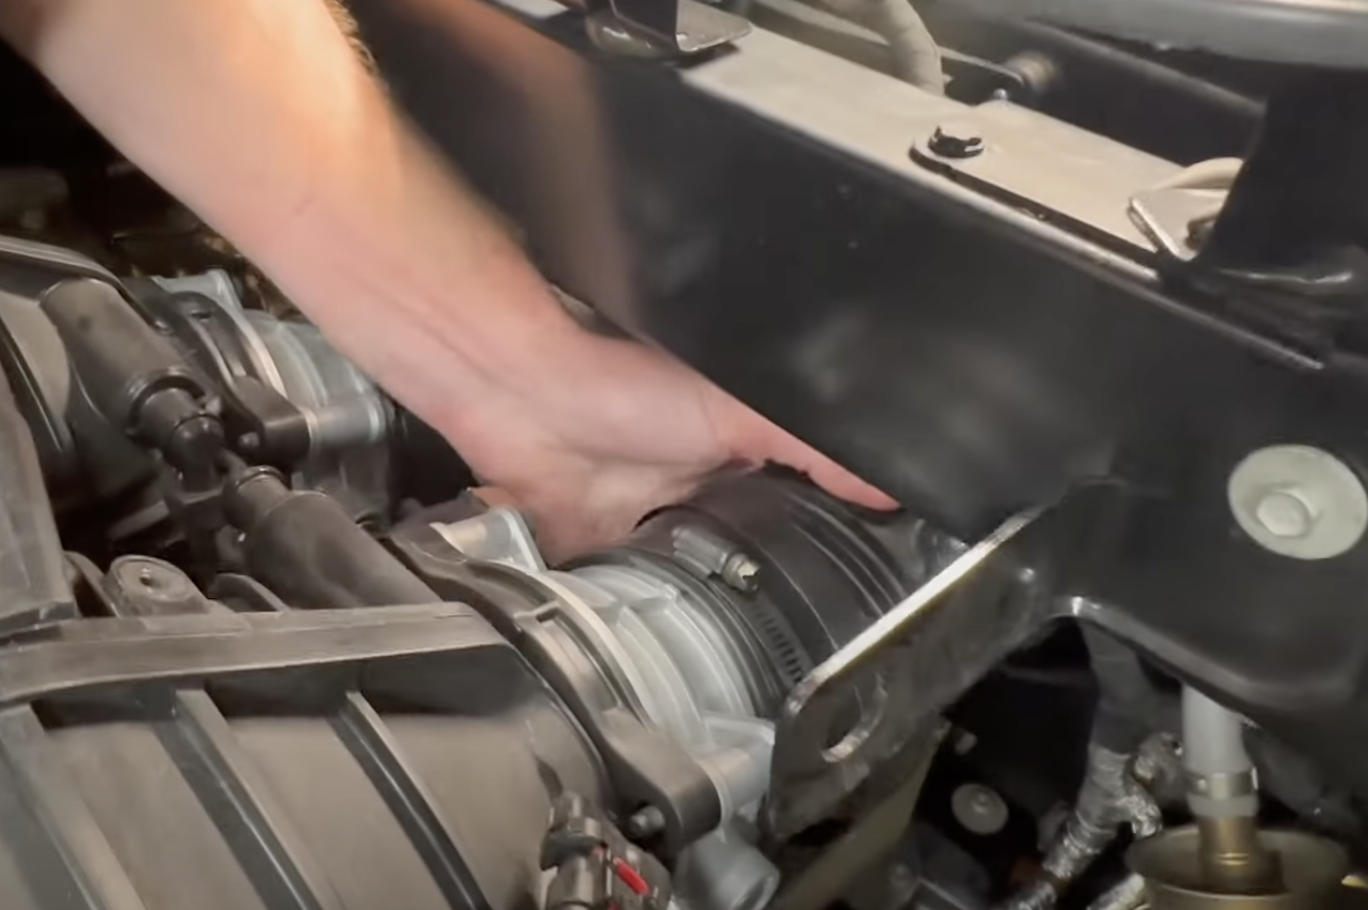
Loosen the hose clamps that are on the couplers.
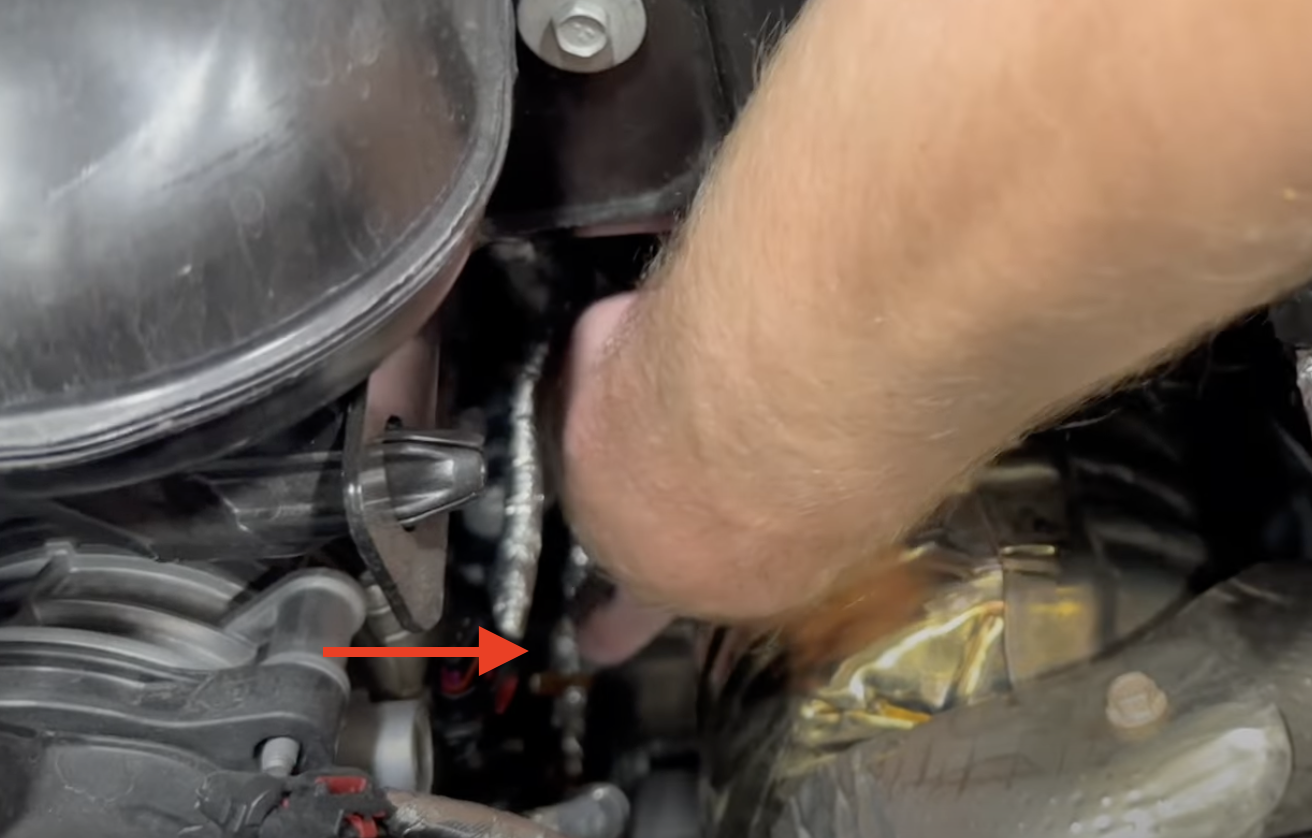
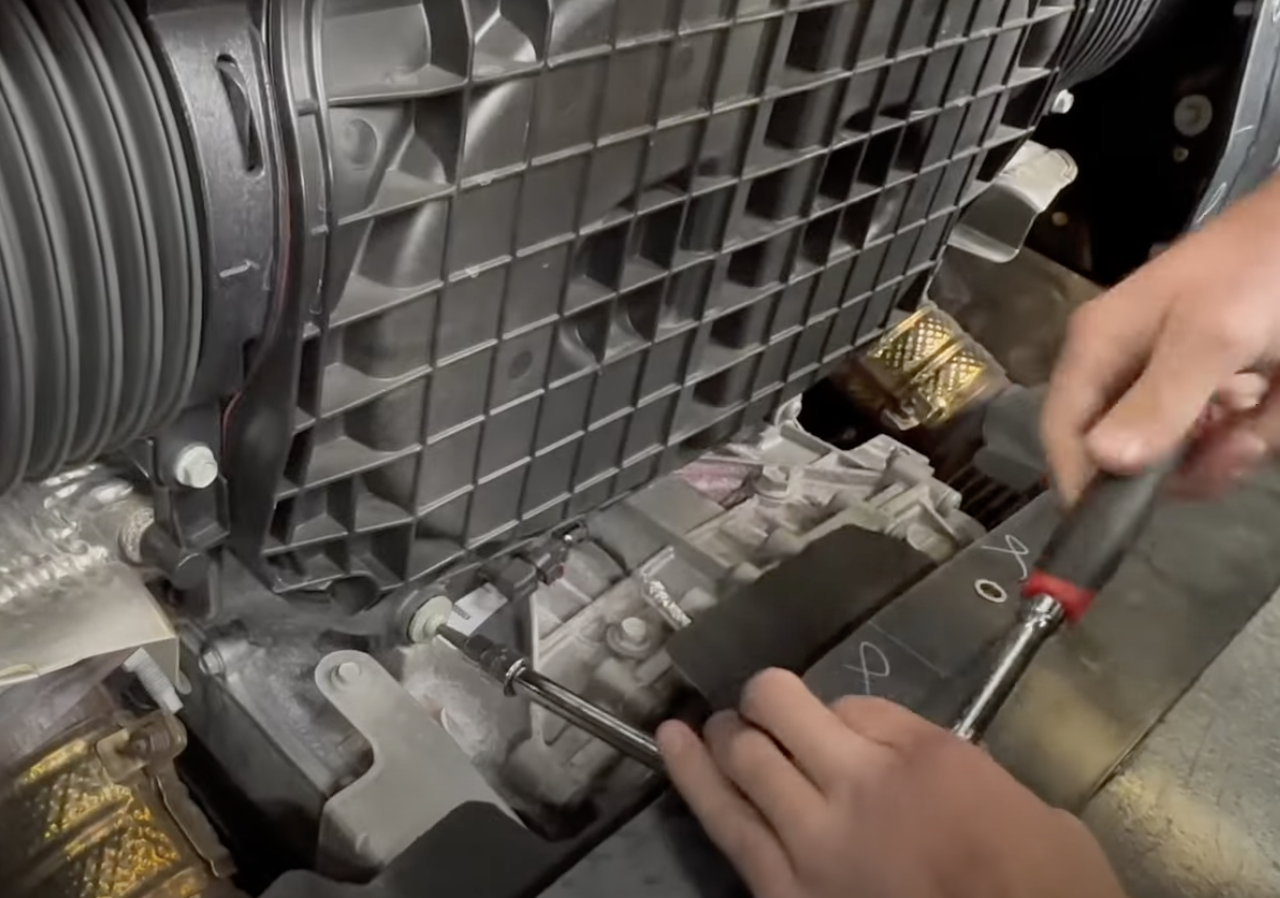
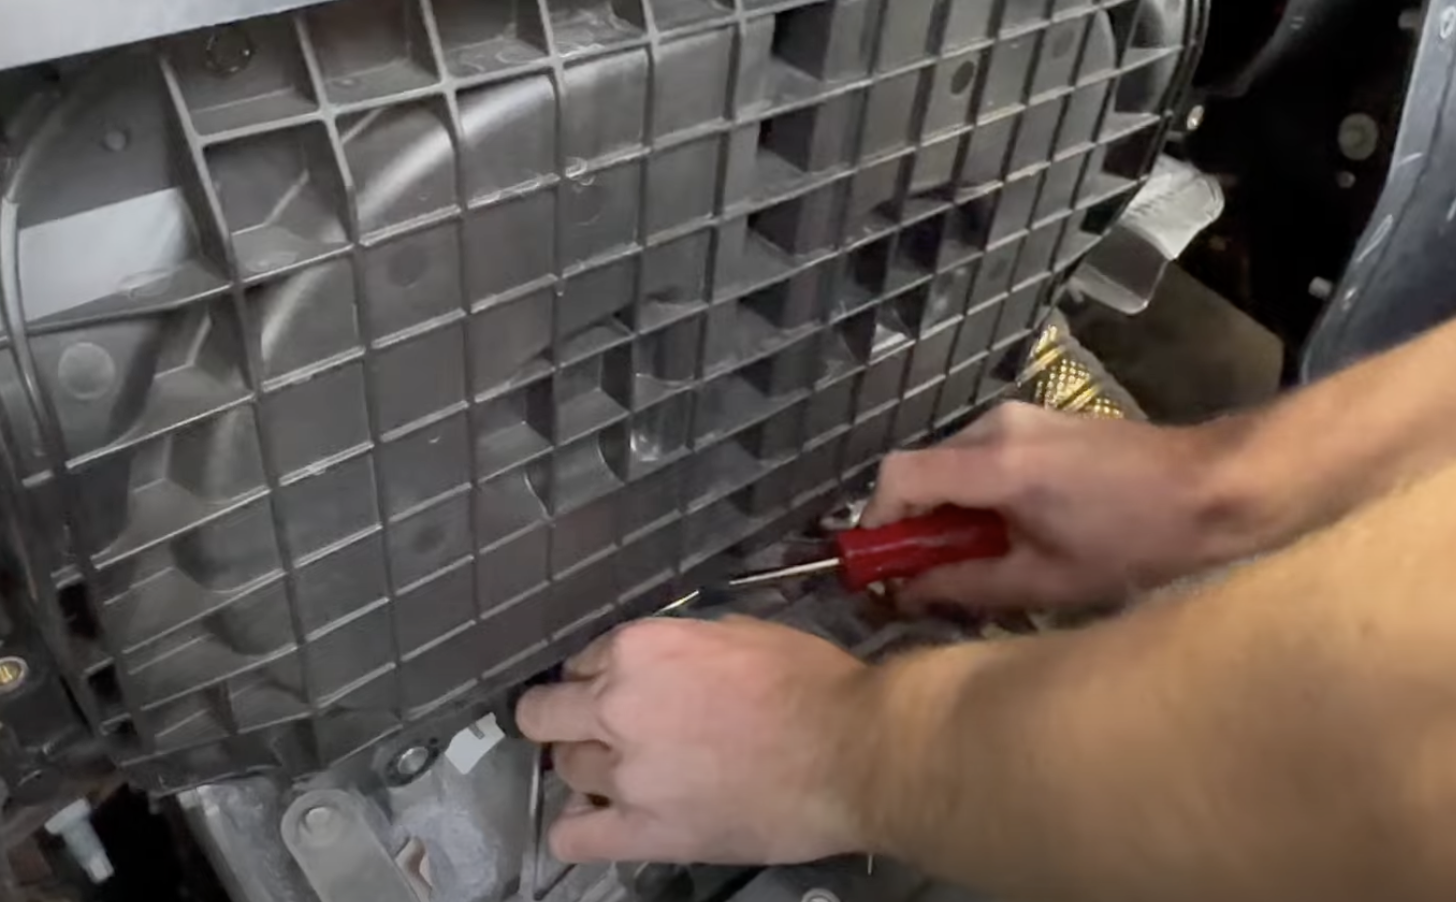
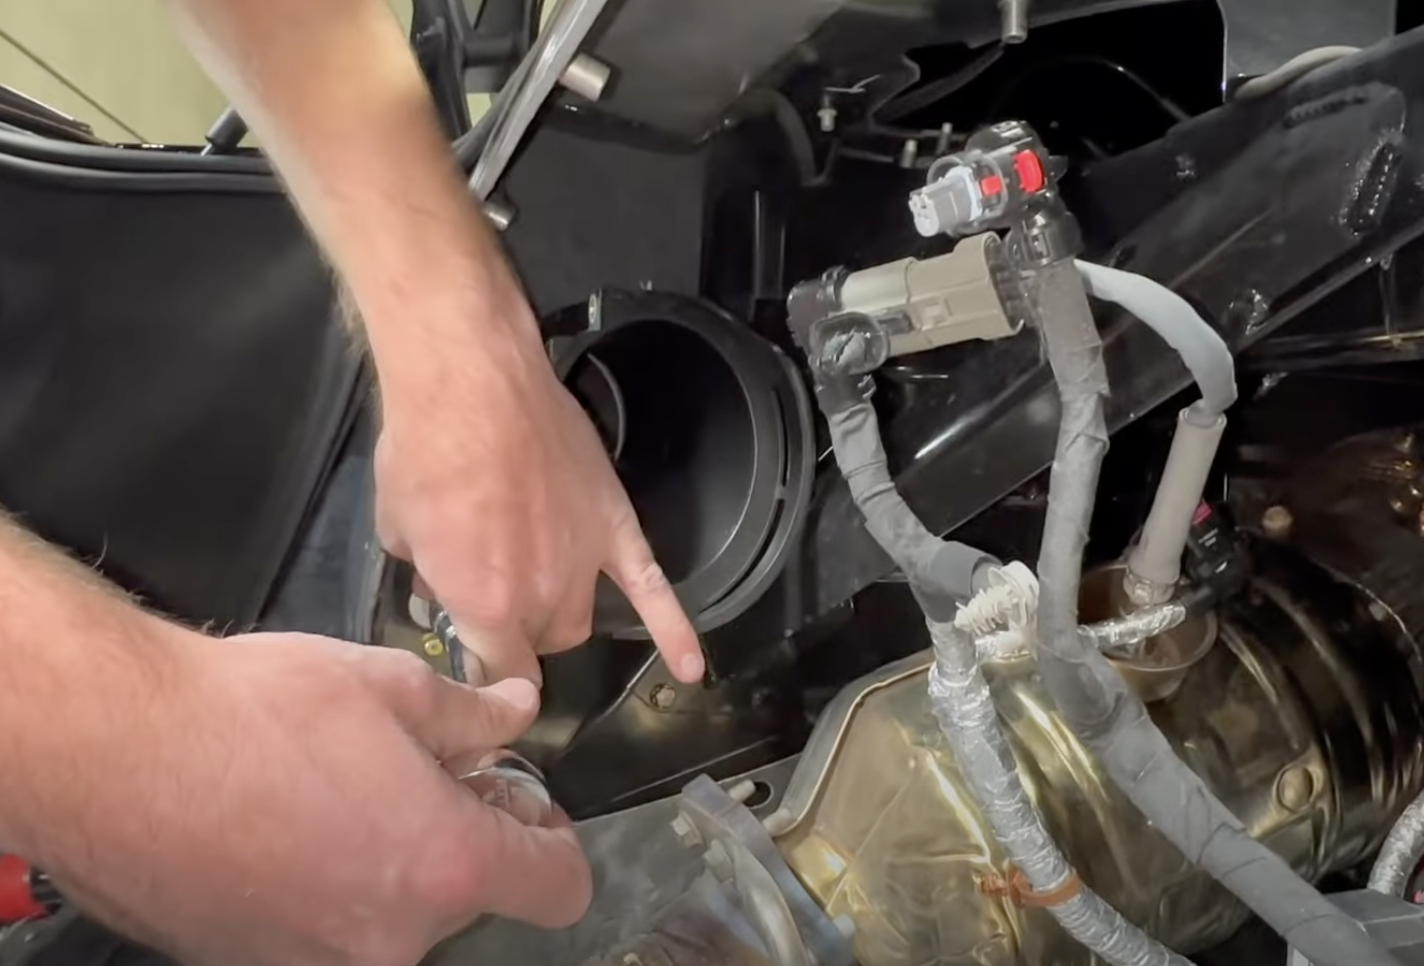
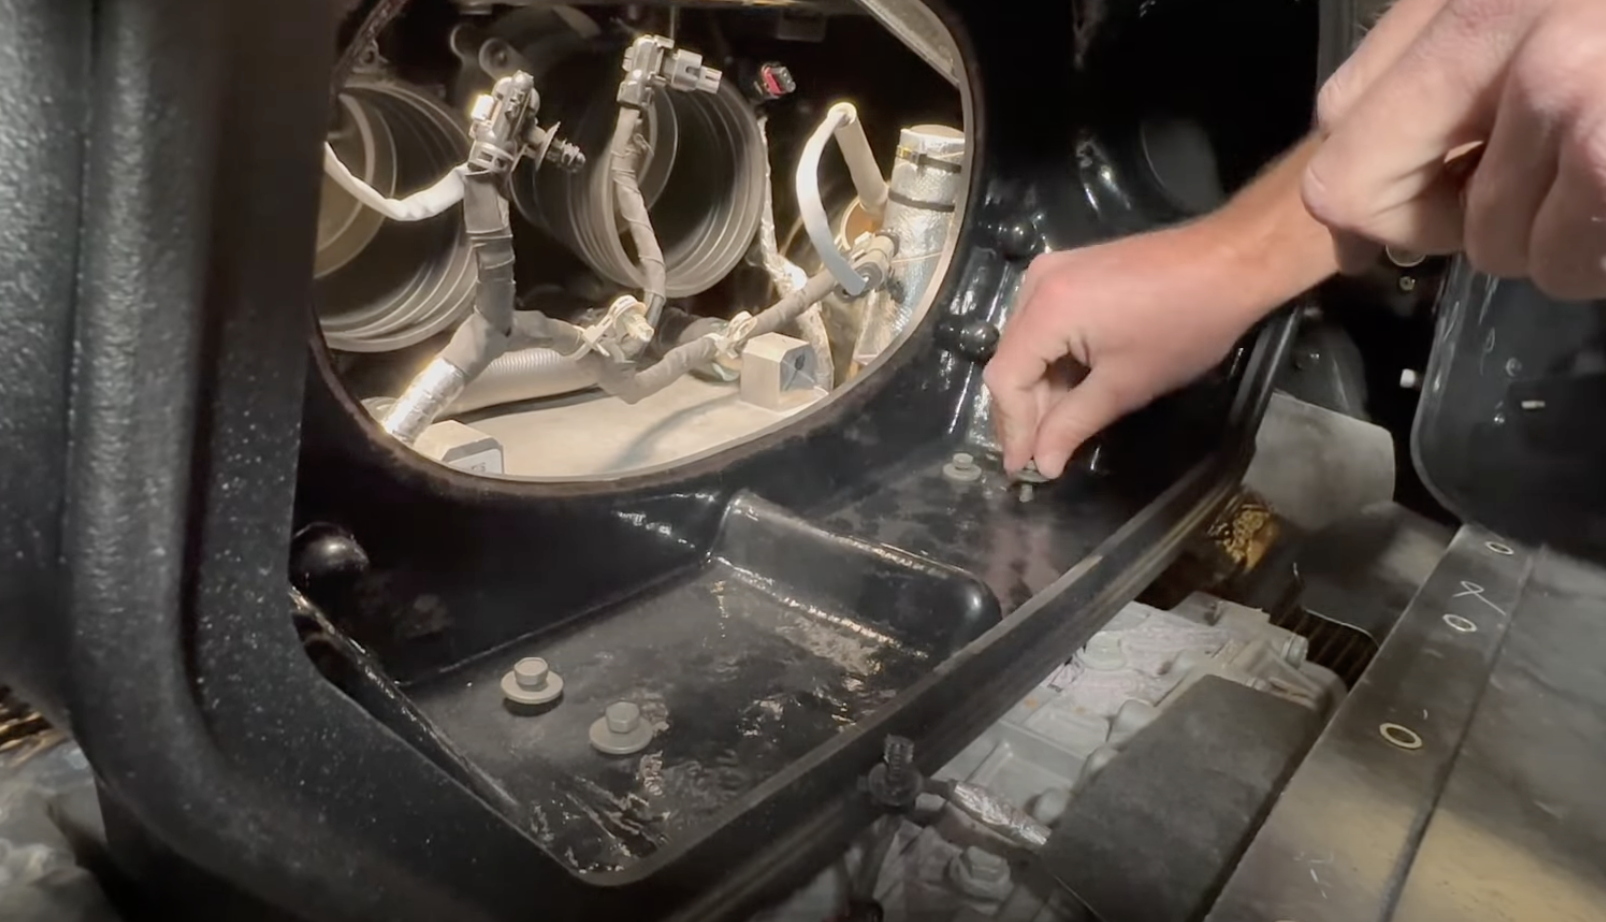
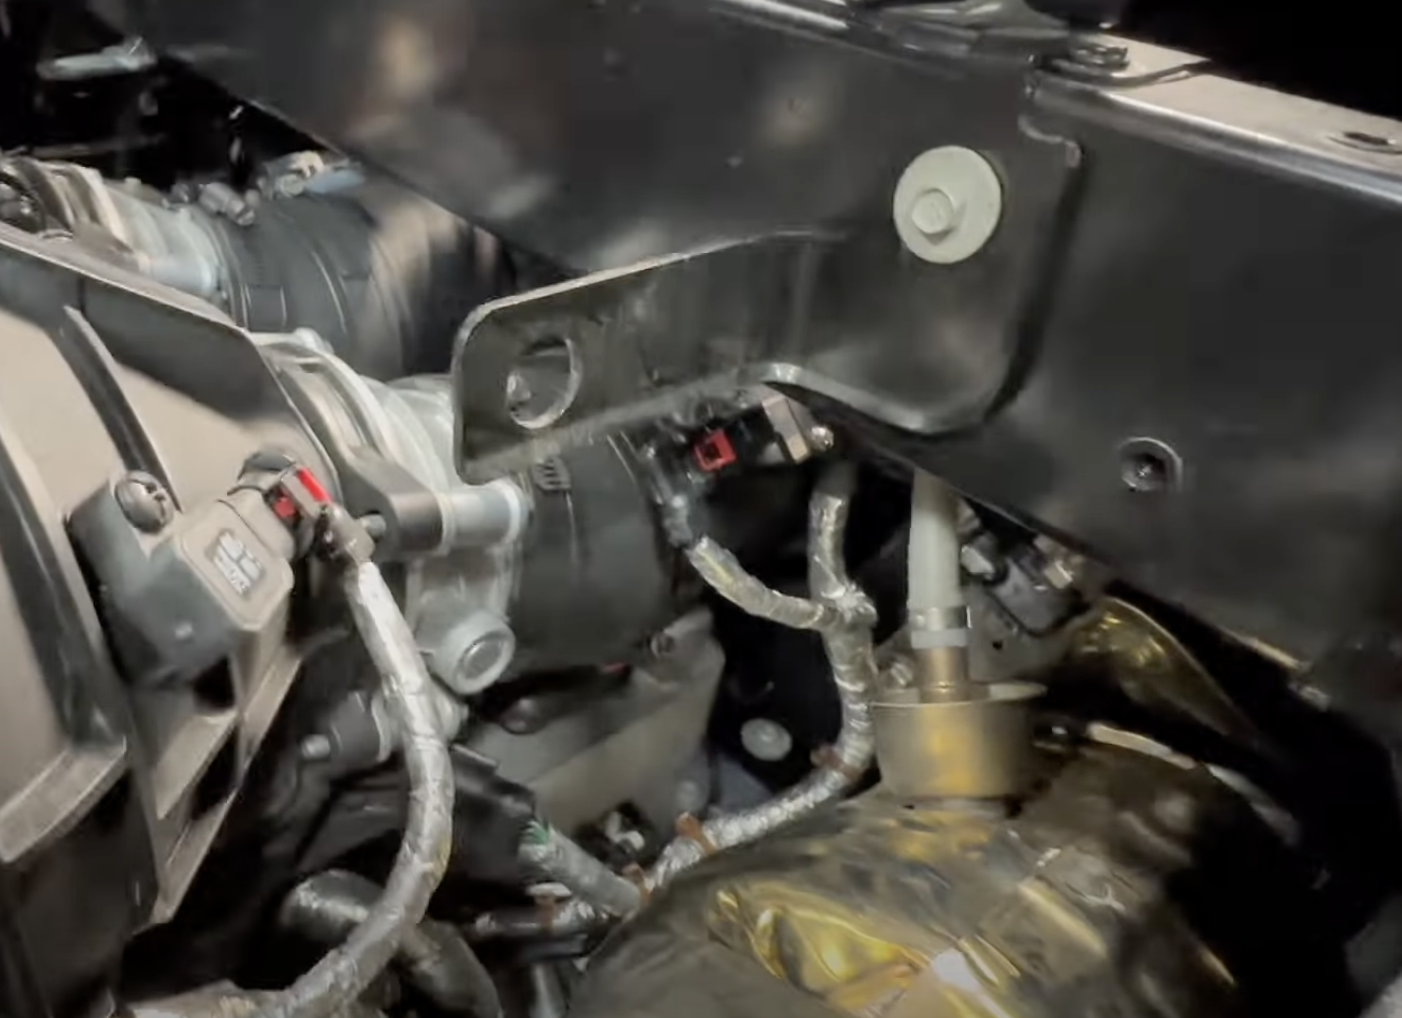
Remove the screw on the drivers side as seen in the image. Do not lose this.
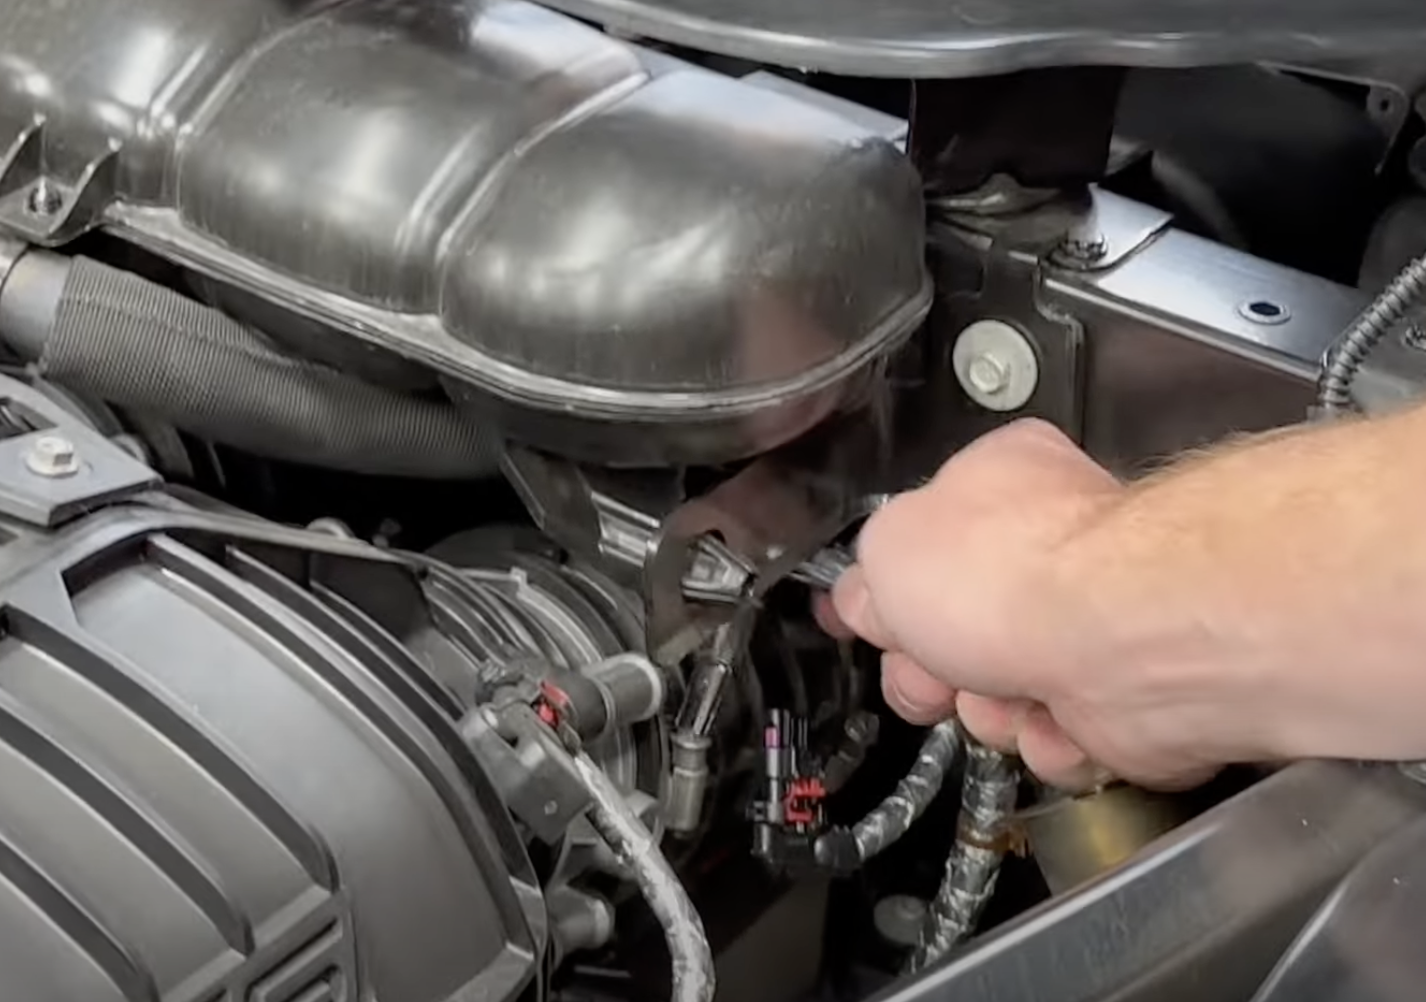
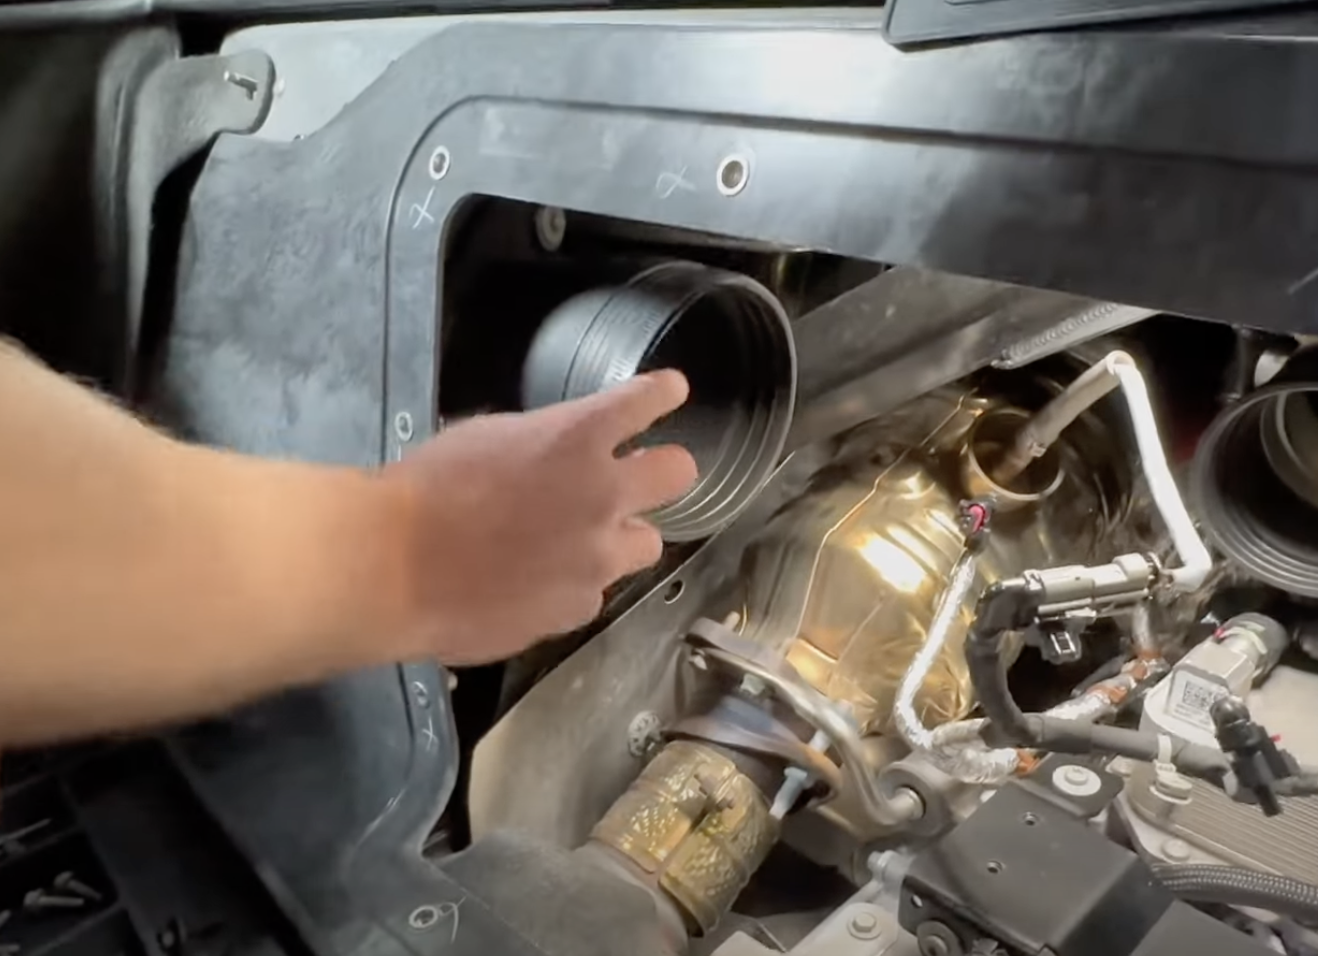
To get to the passenger side bottom airbox mount bolt, remove the canister.

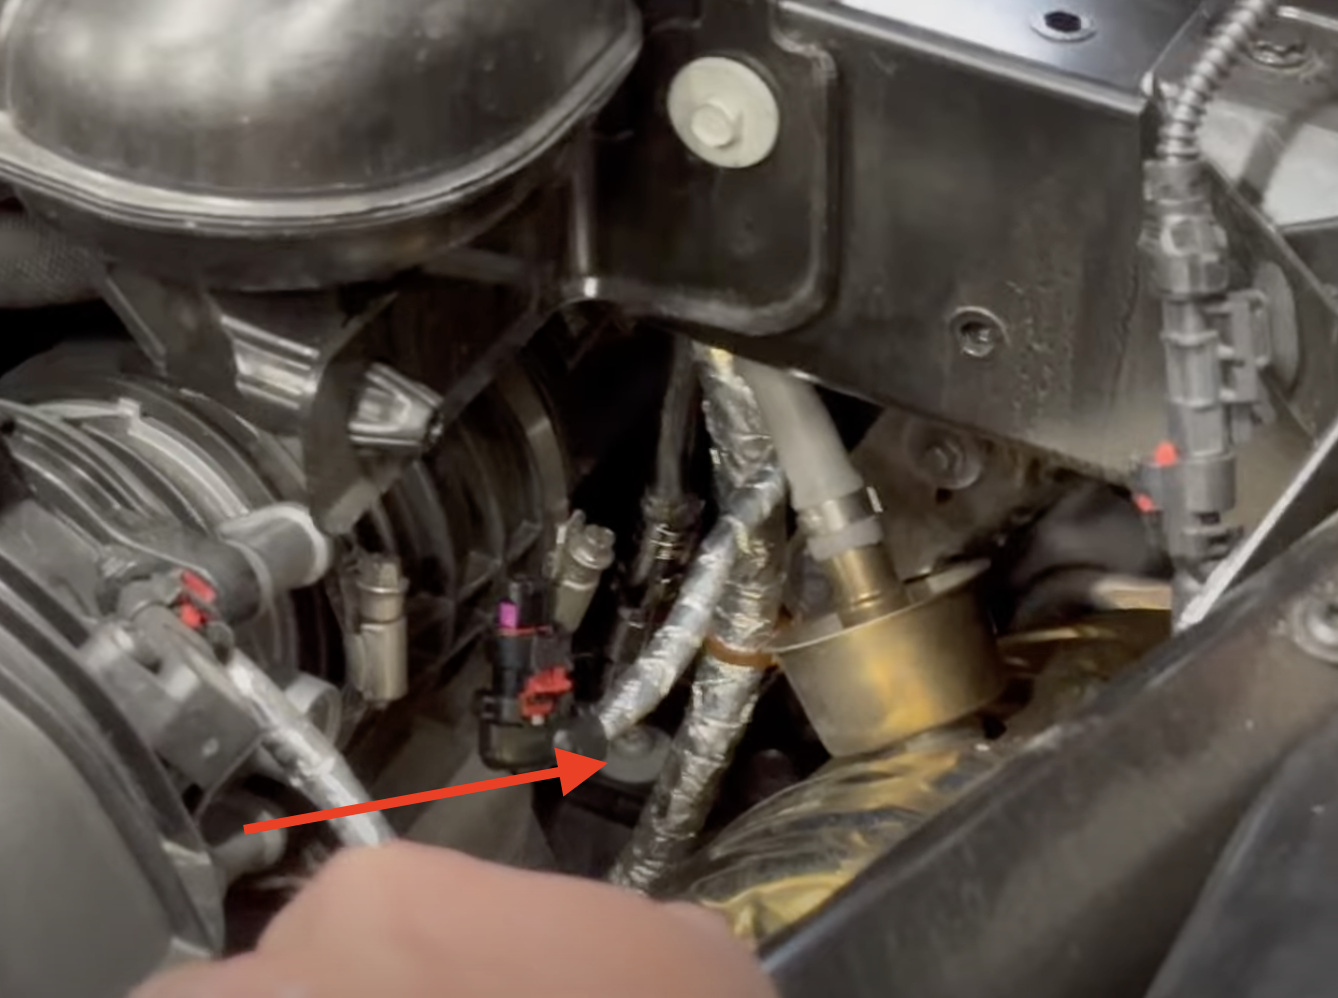
Now remove the bottom bolt once there is clearance.
Now take a magnet or claw tool and remove the bolt. Do not skip this steps, otherwise you will lose the bolt.
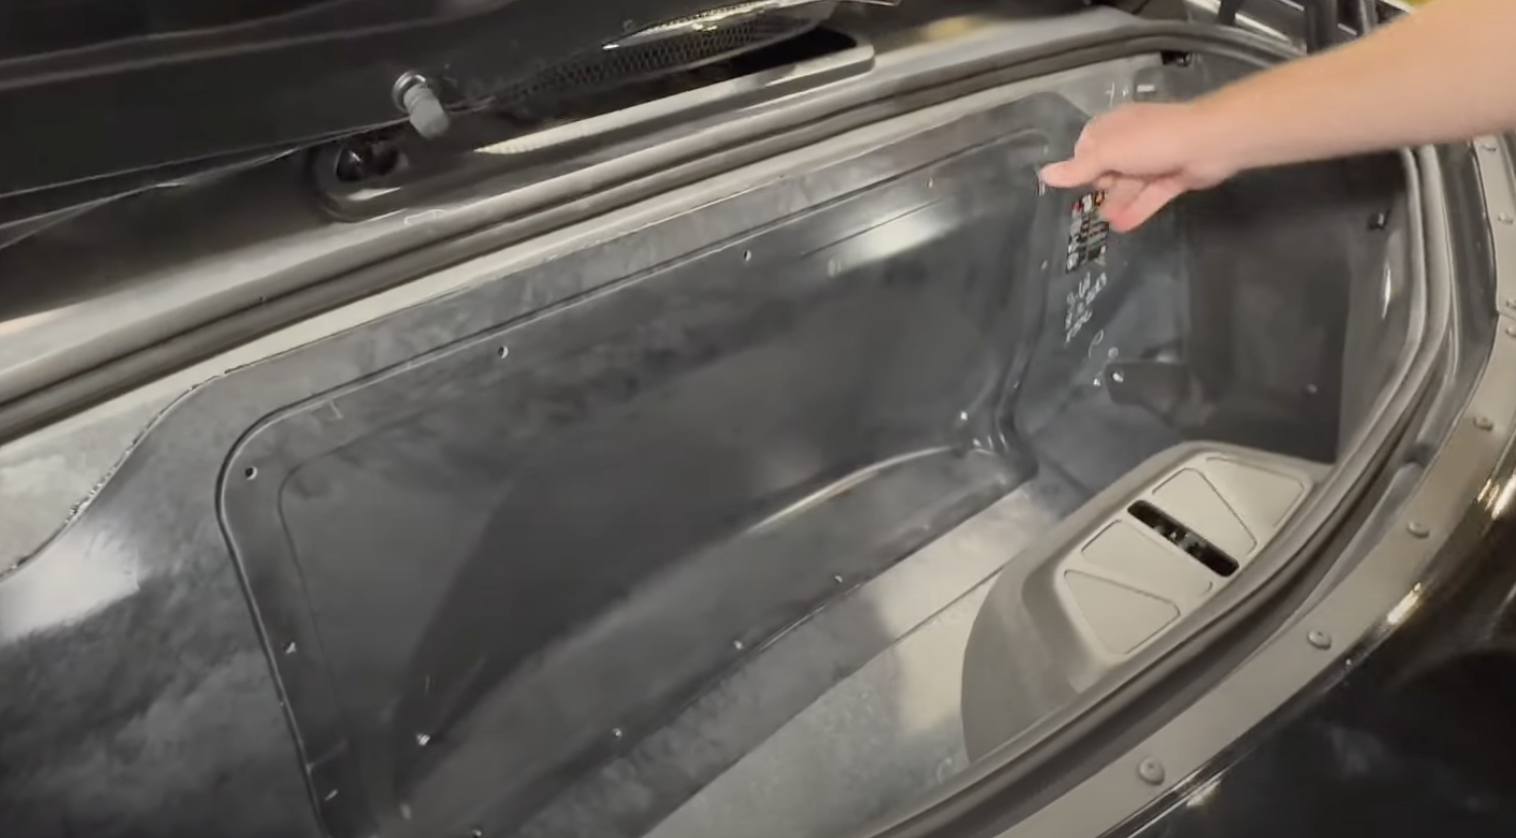
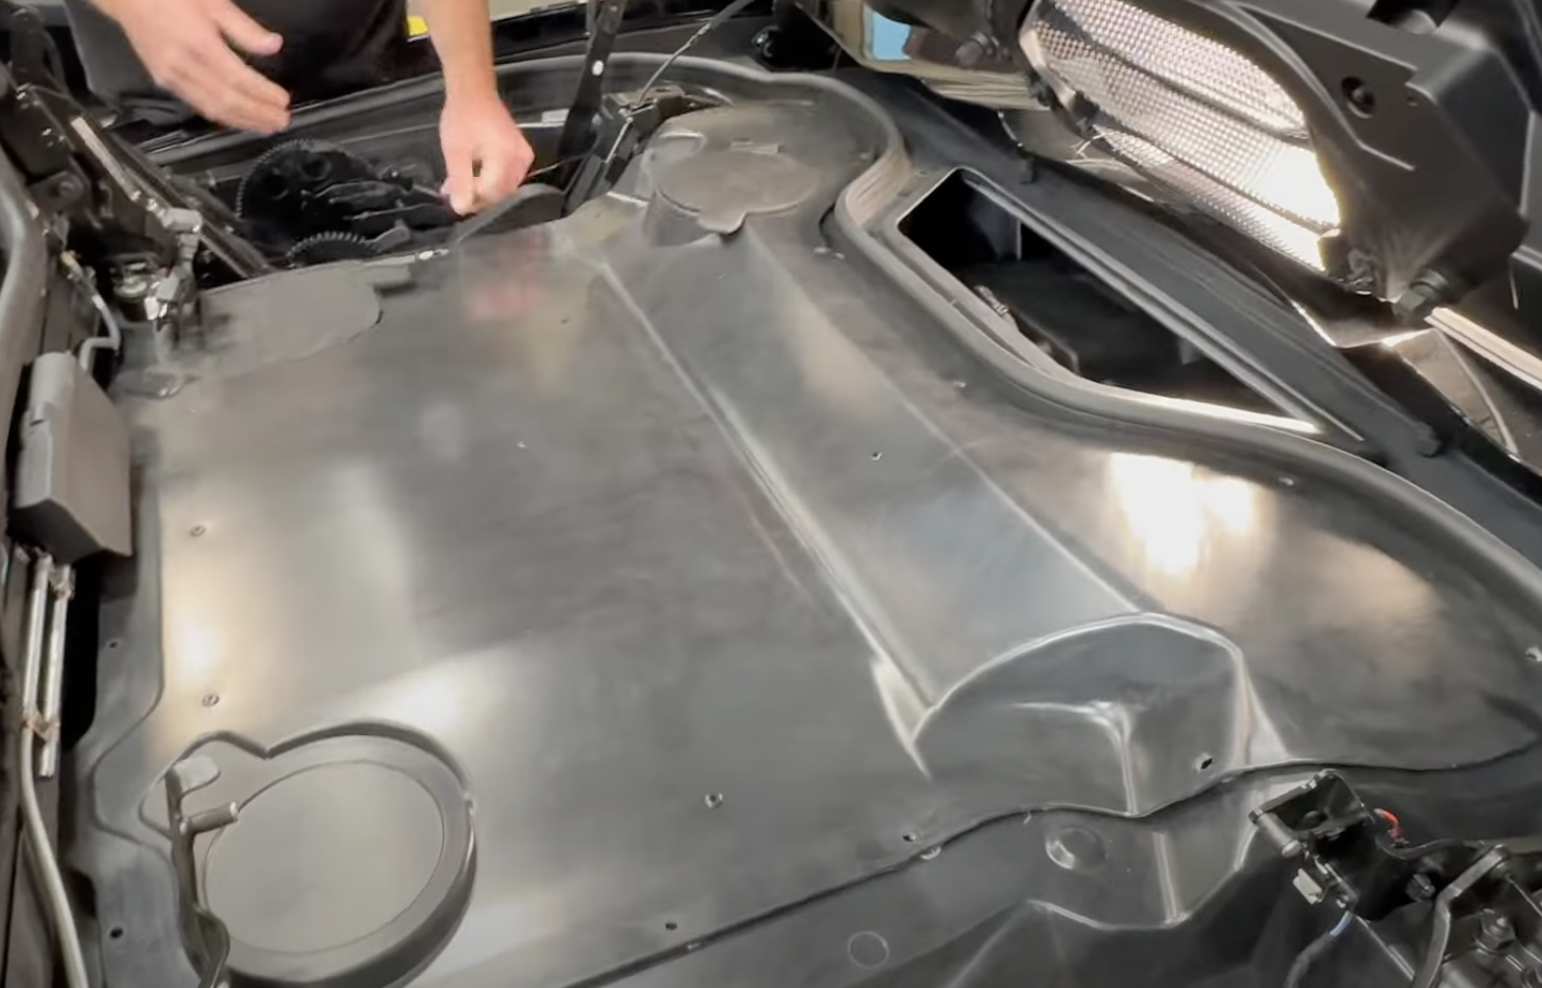
Remove the trunk cover carpet.
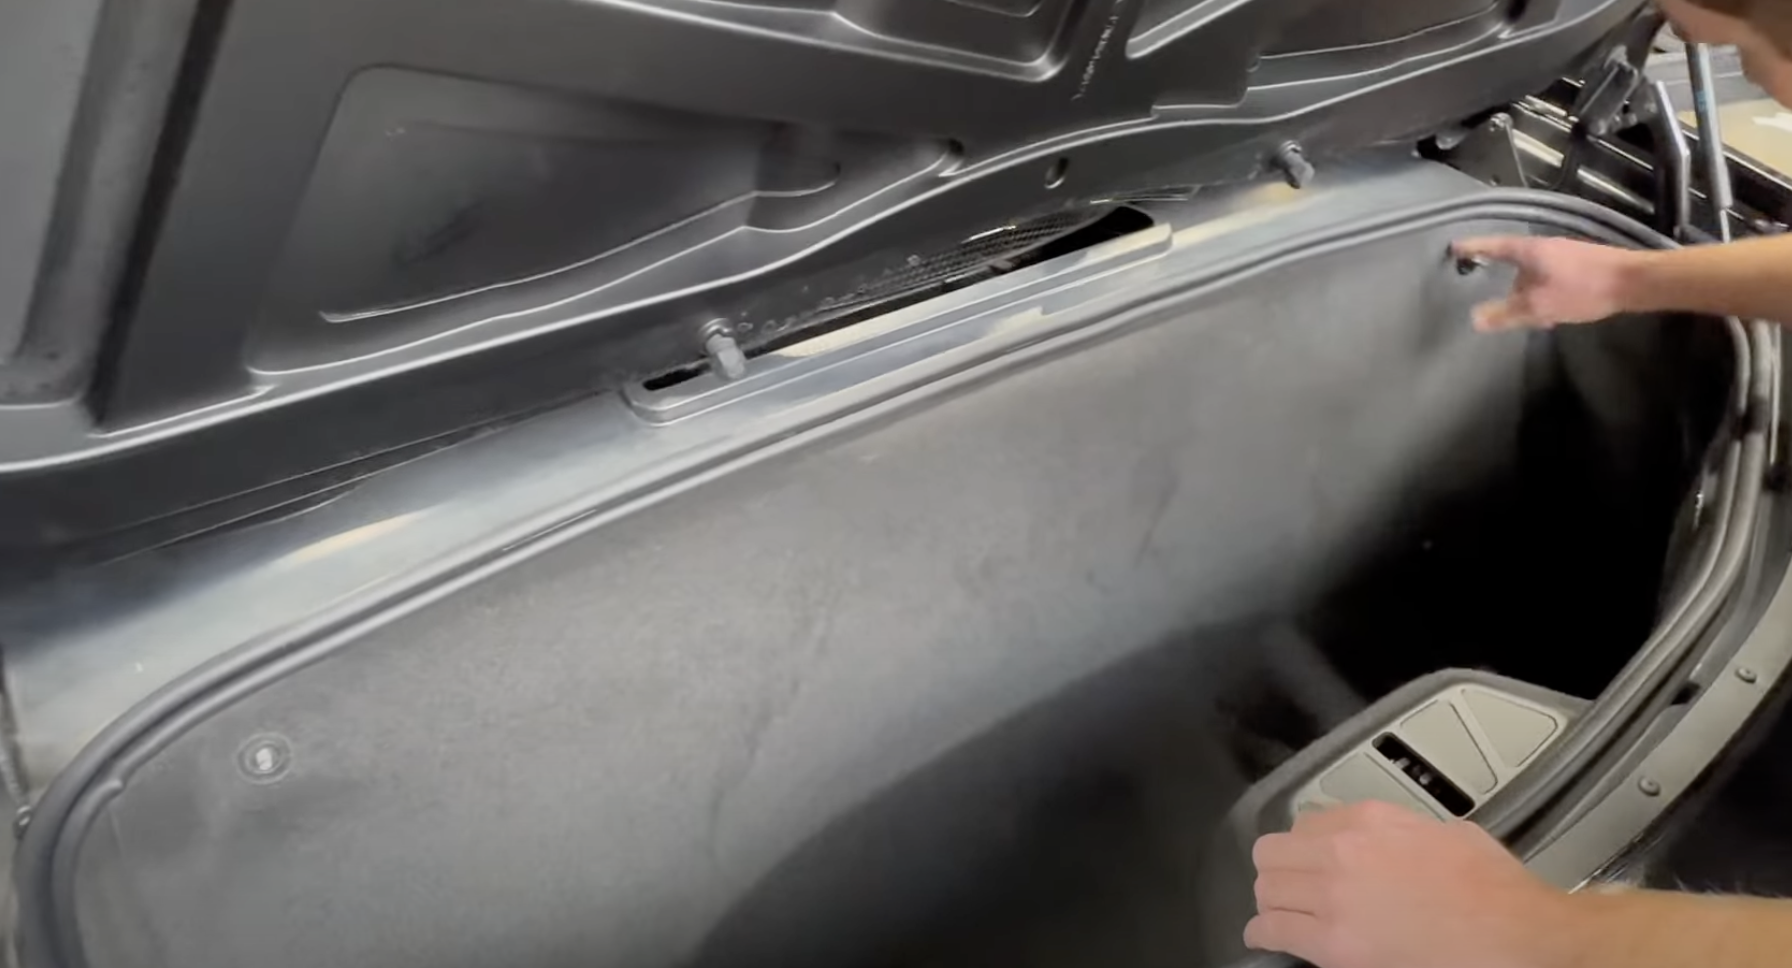
Now remove the screws that hold down the trunk cover.
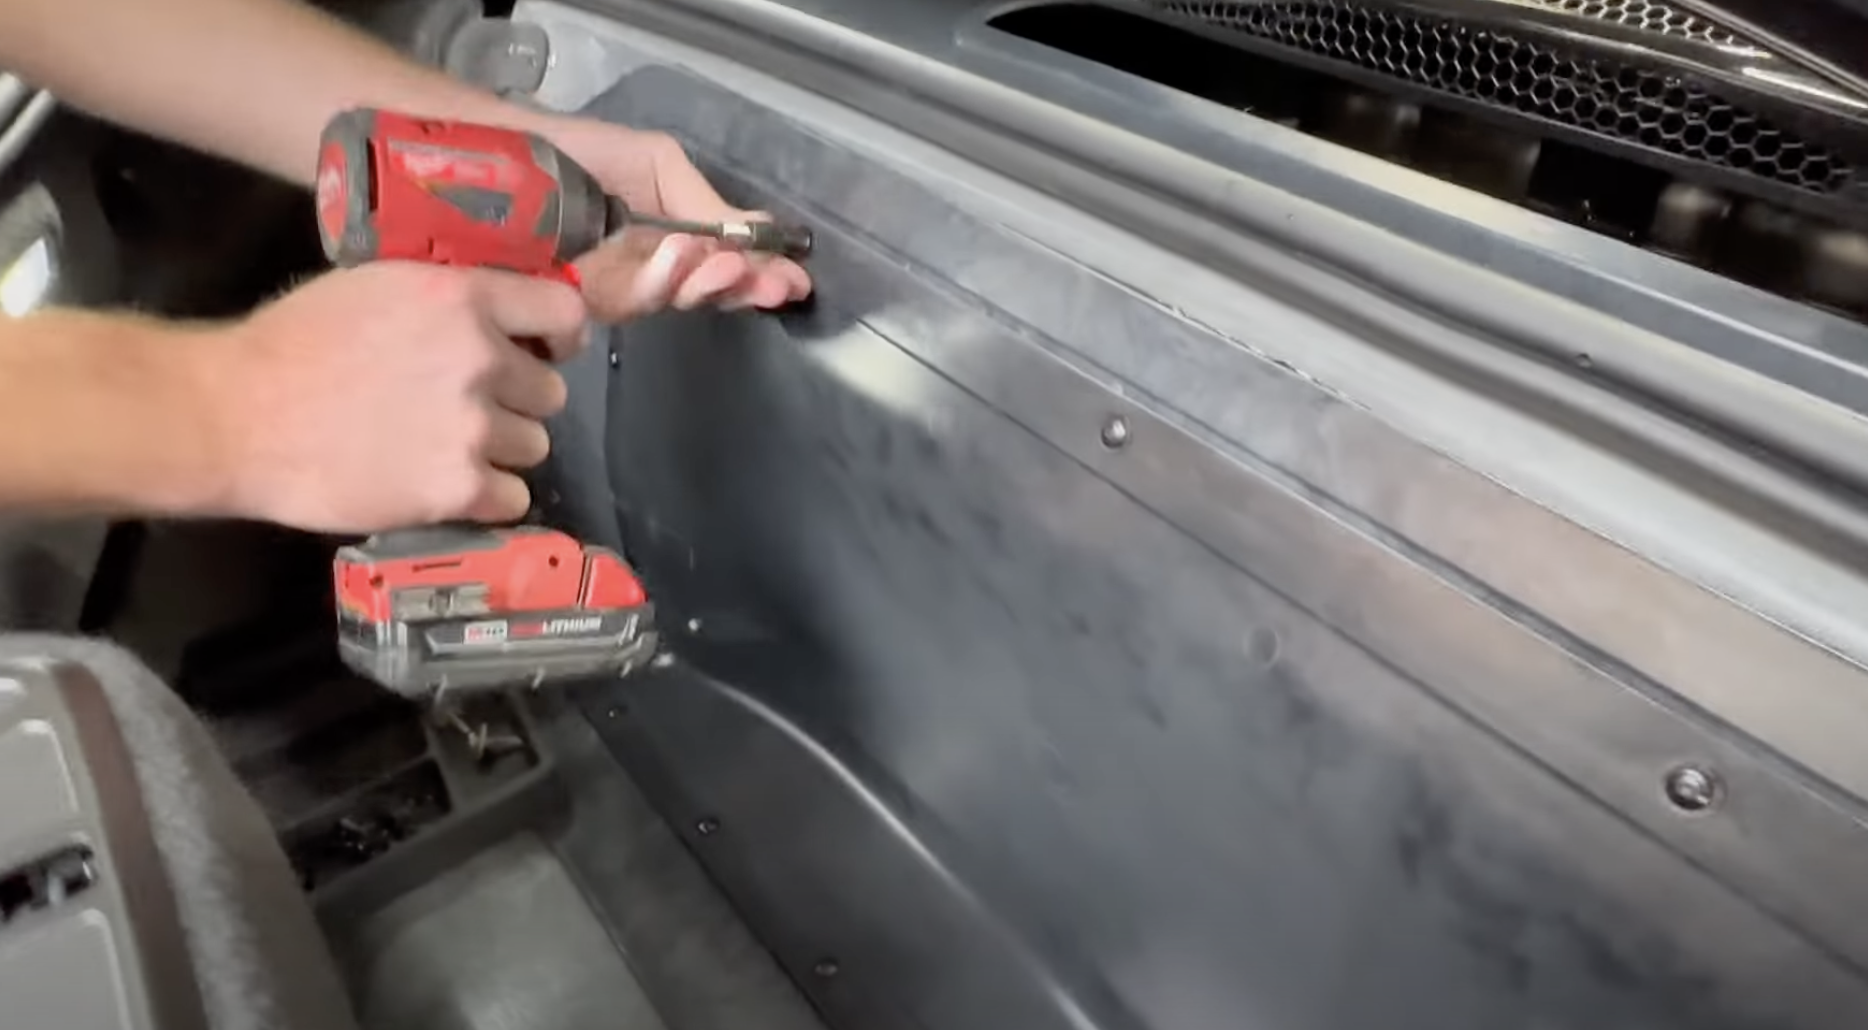
Remove the final two airbox mounting bolts.
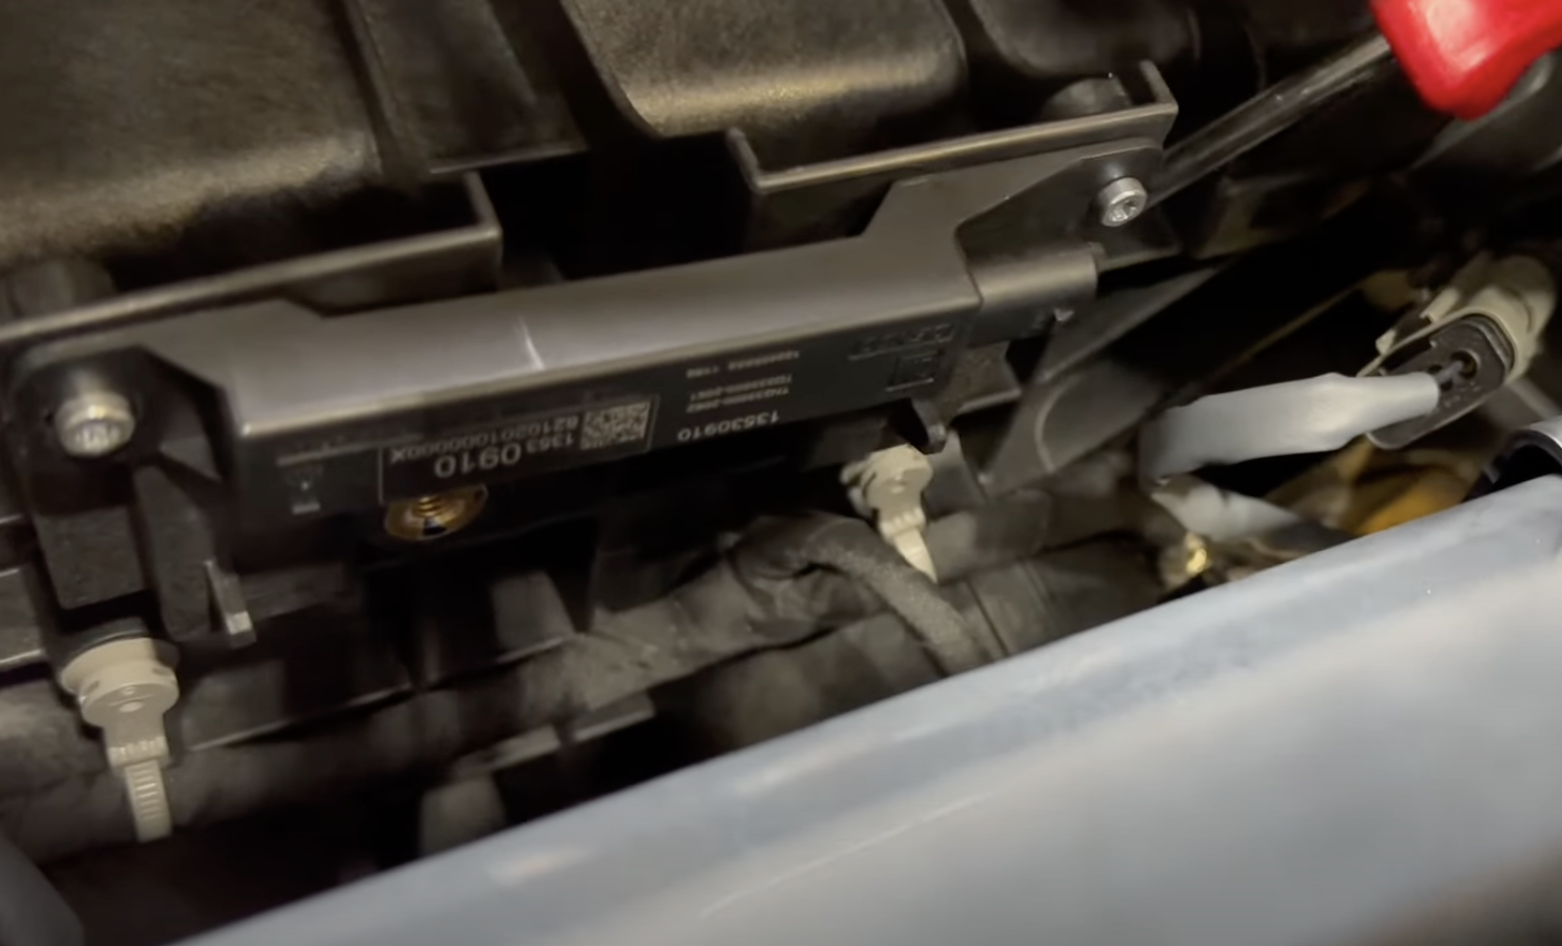
Slide the red clip on the sensor then remove the harness.
Remove all the bolts that hold down the factory scoops.
Remove the last push rivet holding down the bottom of the box.
Remove the passenger side MAF sensor.

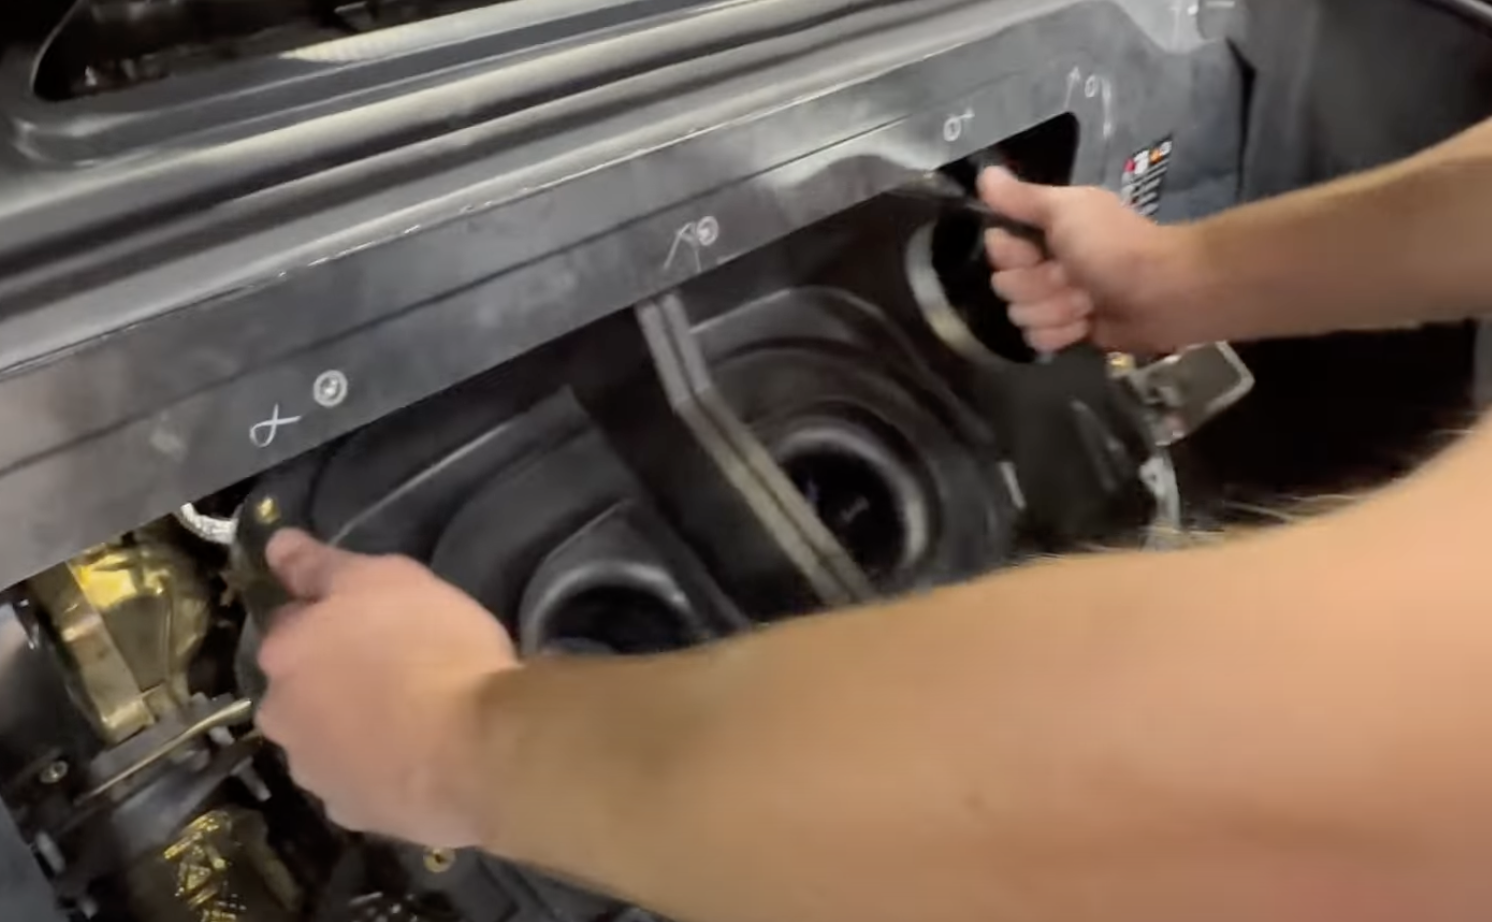
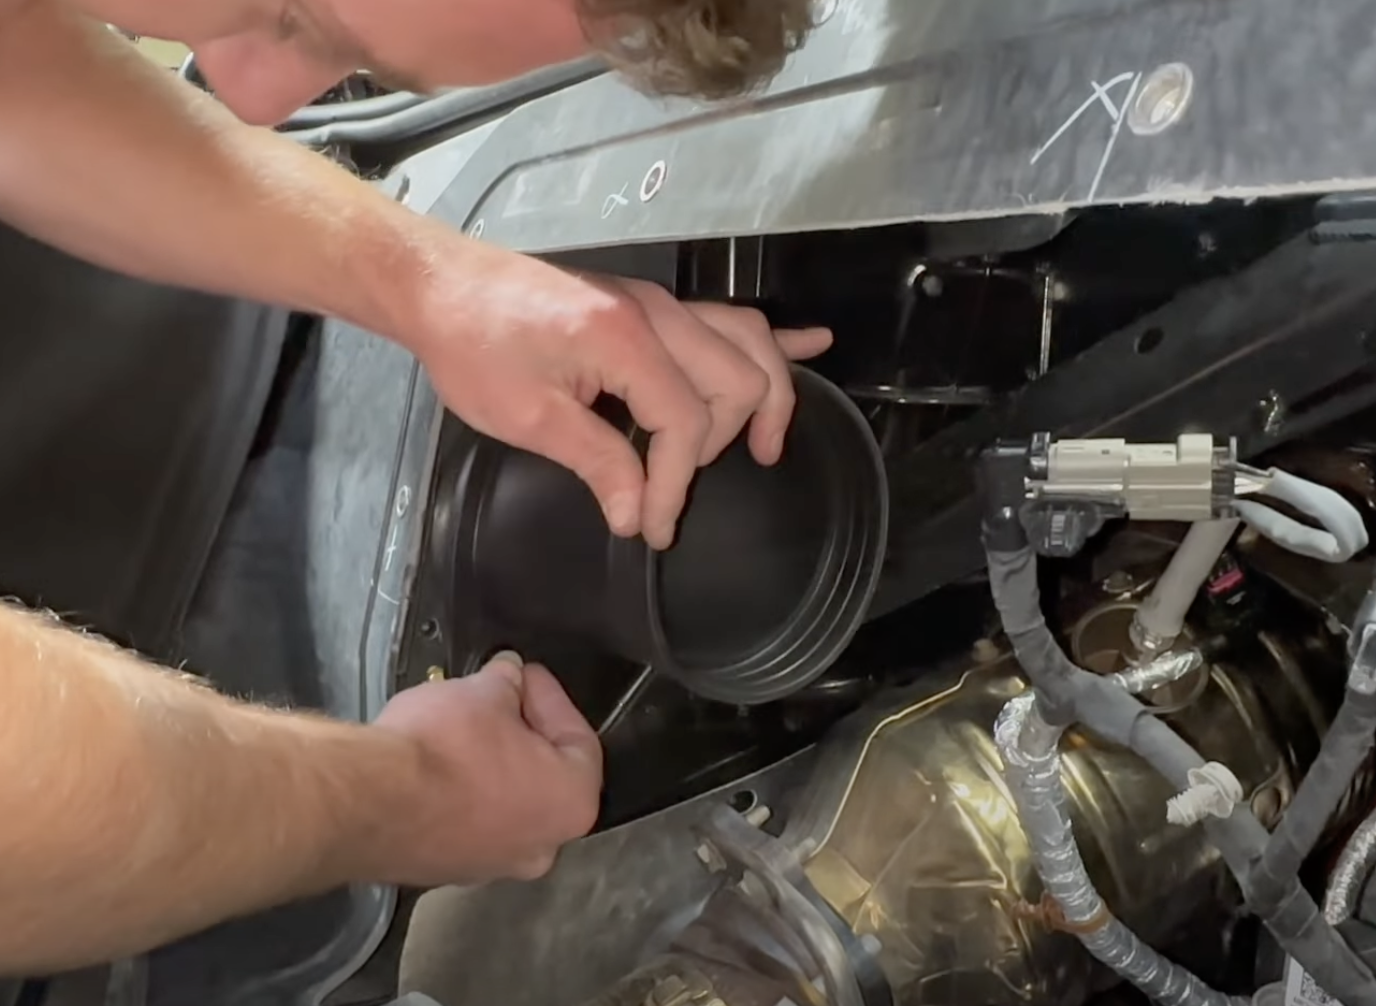
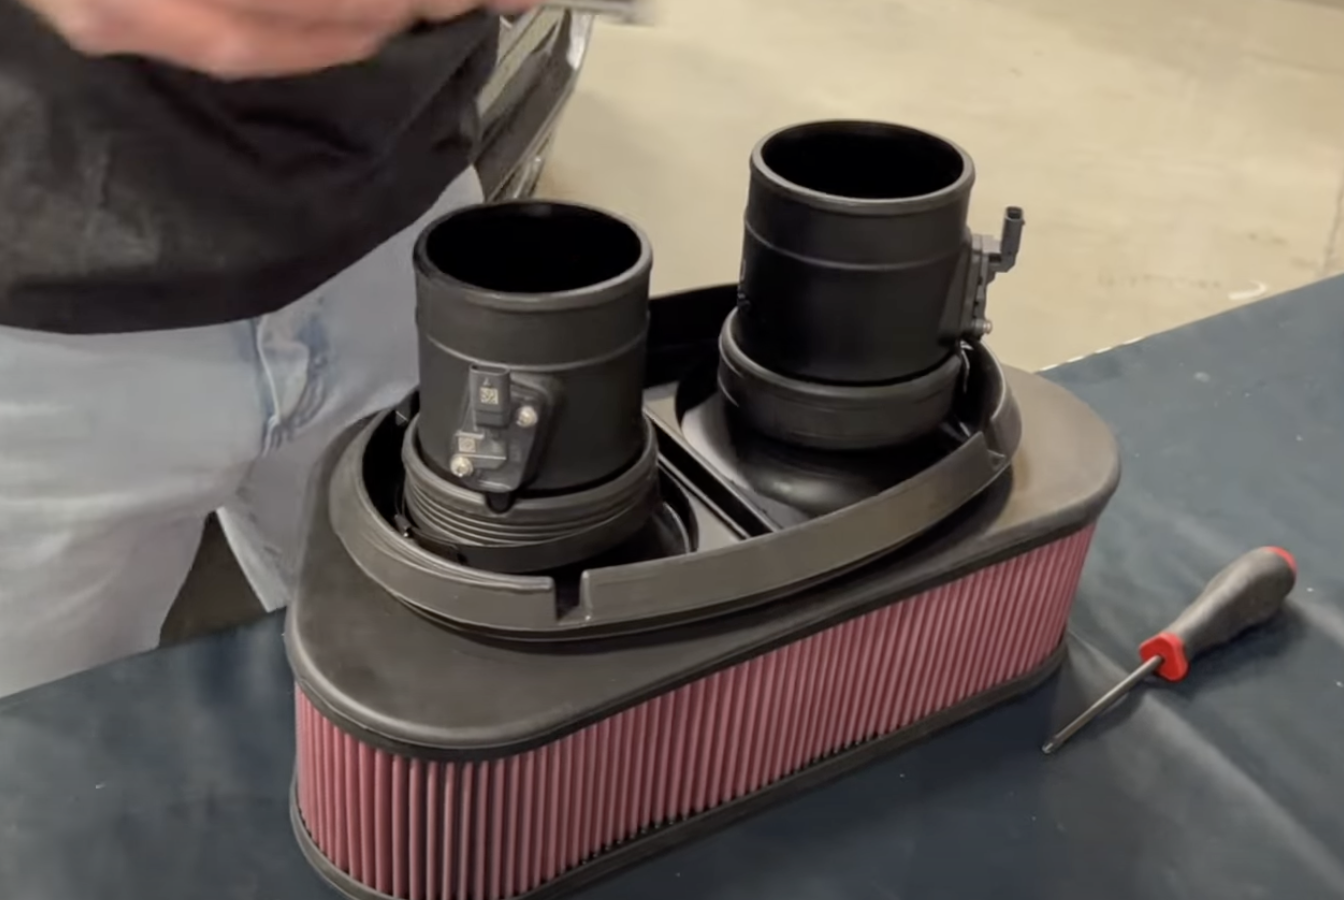
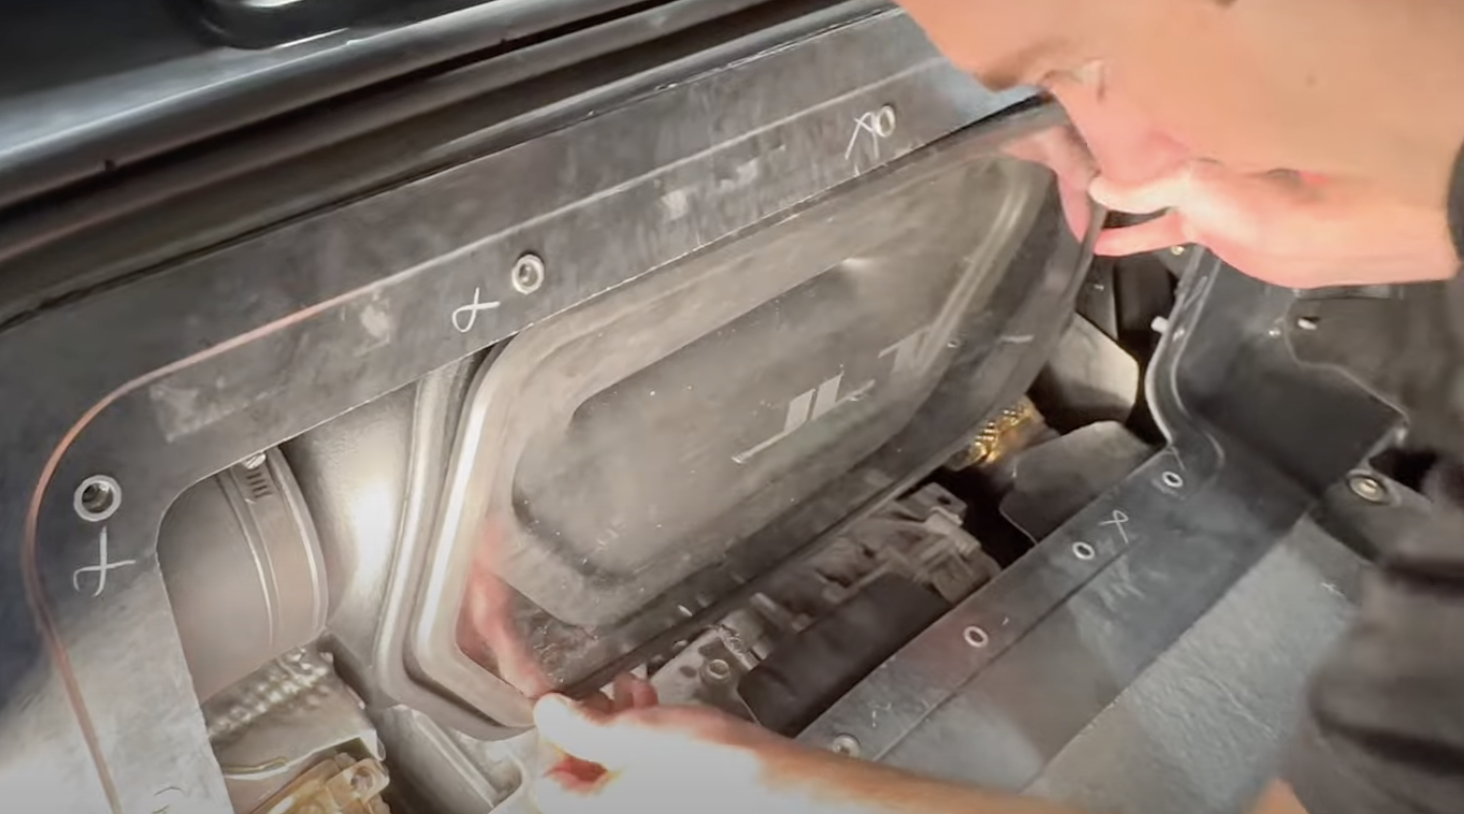
To remove the stock airbox, unclip the lid off the airbox and remove the filters. This will give you the clearance to remove the whole airbox.
Remove both couplers from the vehicle.
Remove the 10mm bolts that secure down the factory scoops. (on both driver and passenger side)
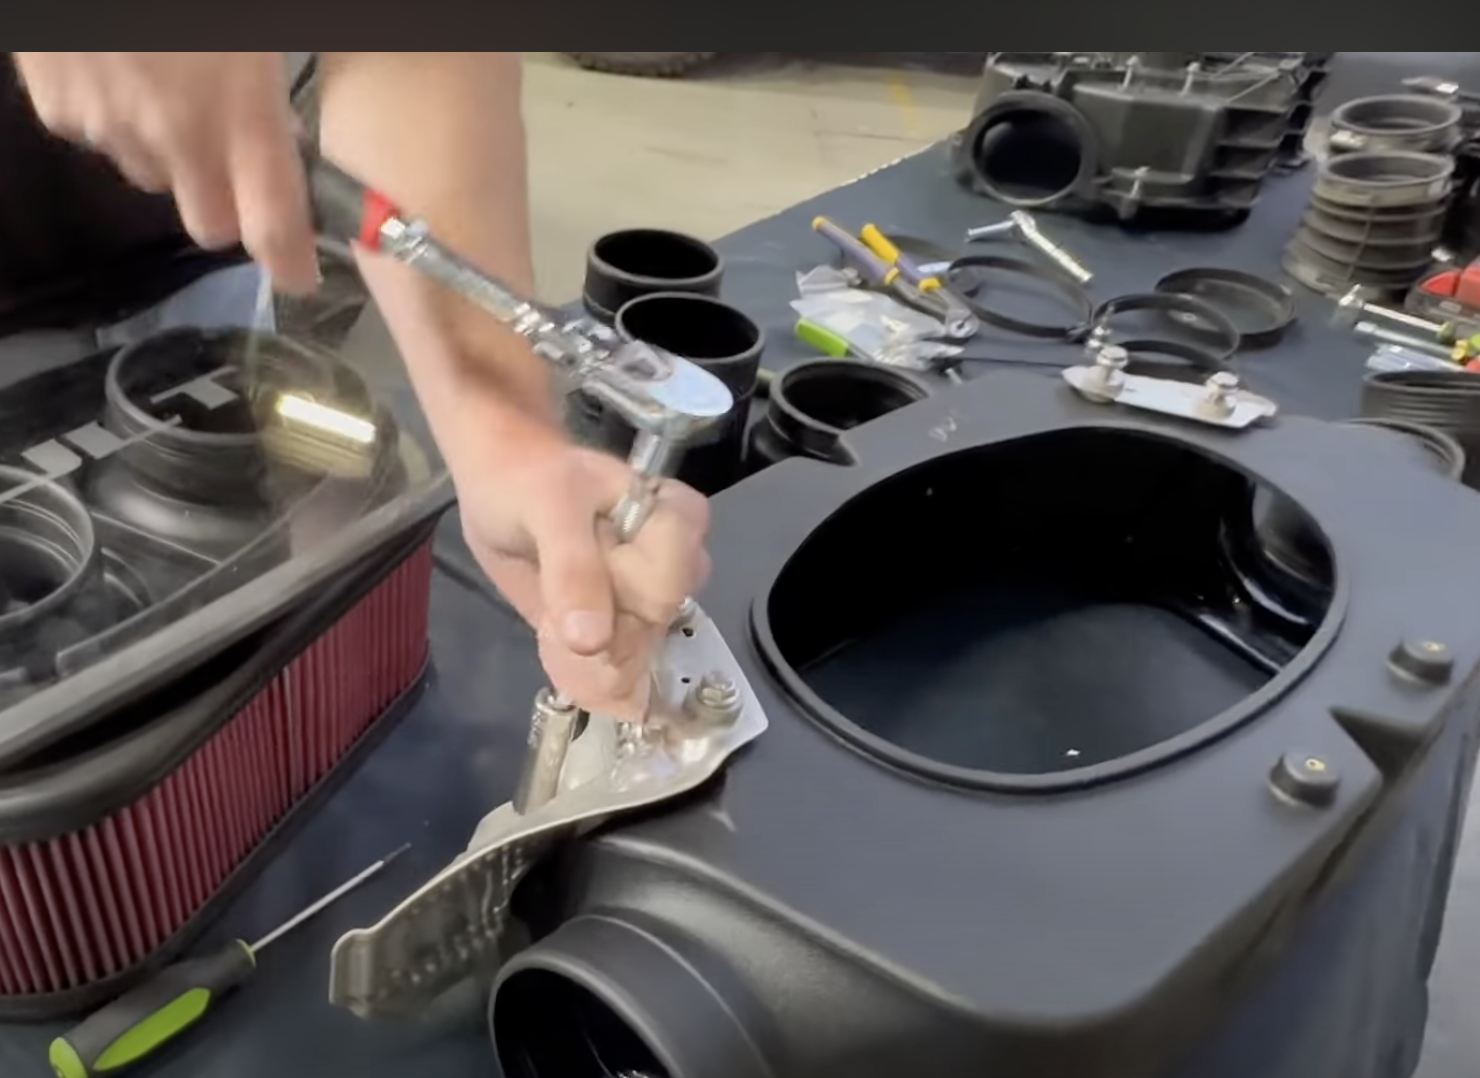
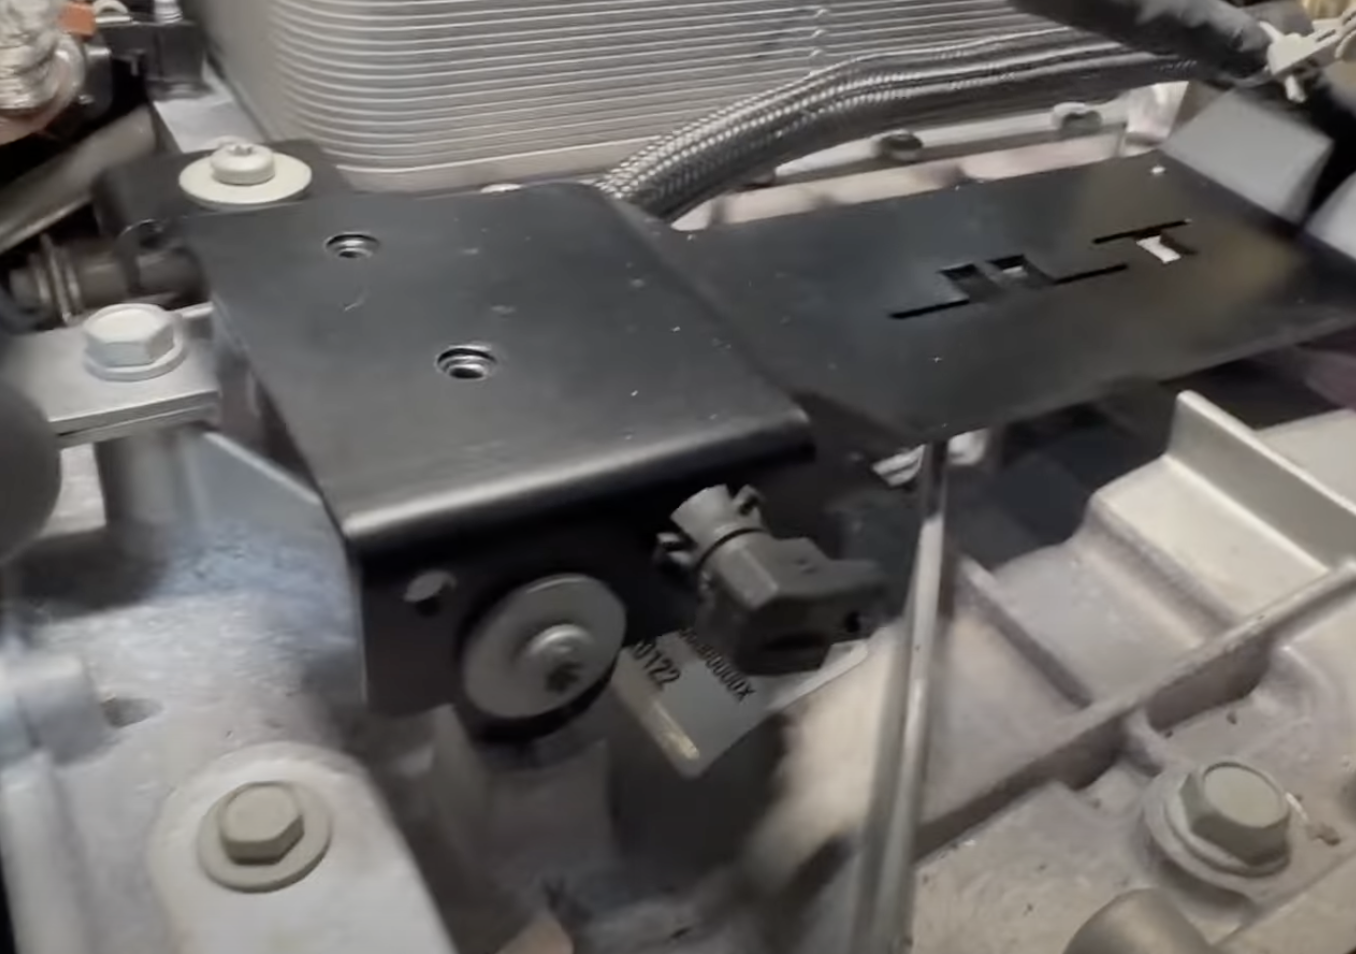
Install the JLT bracket and secure down.
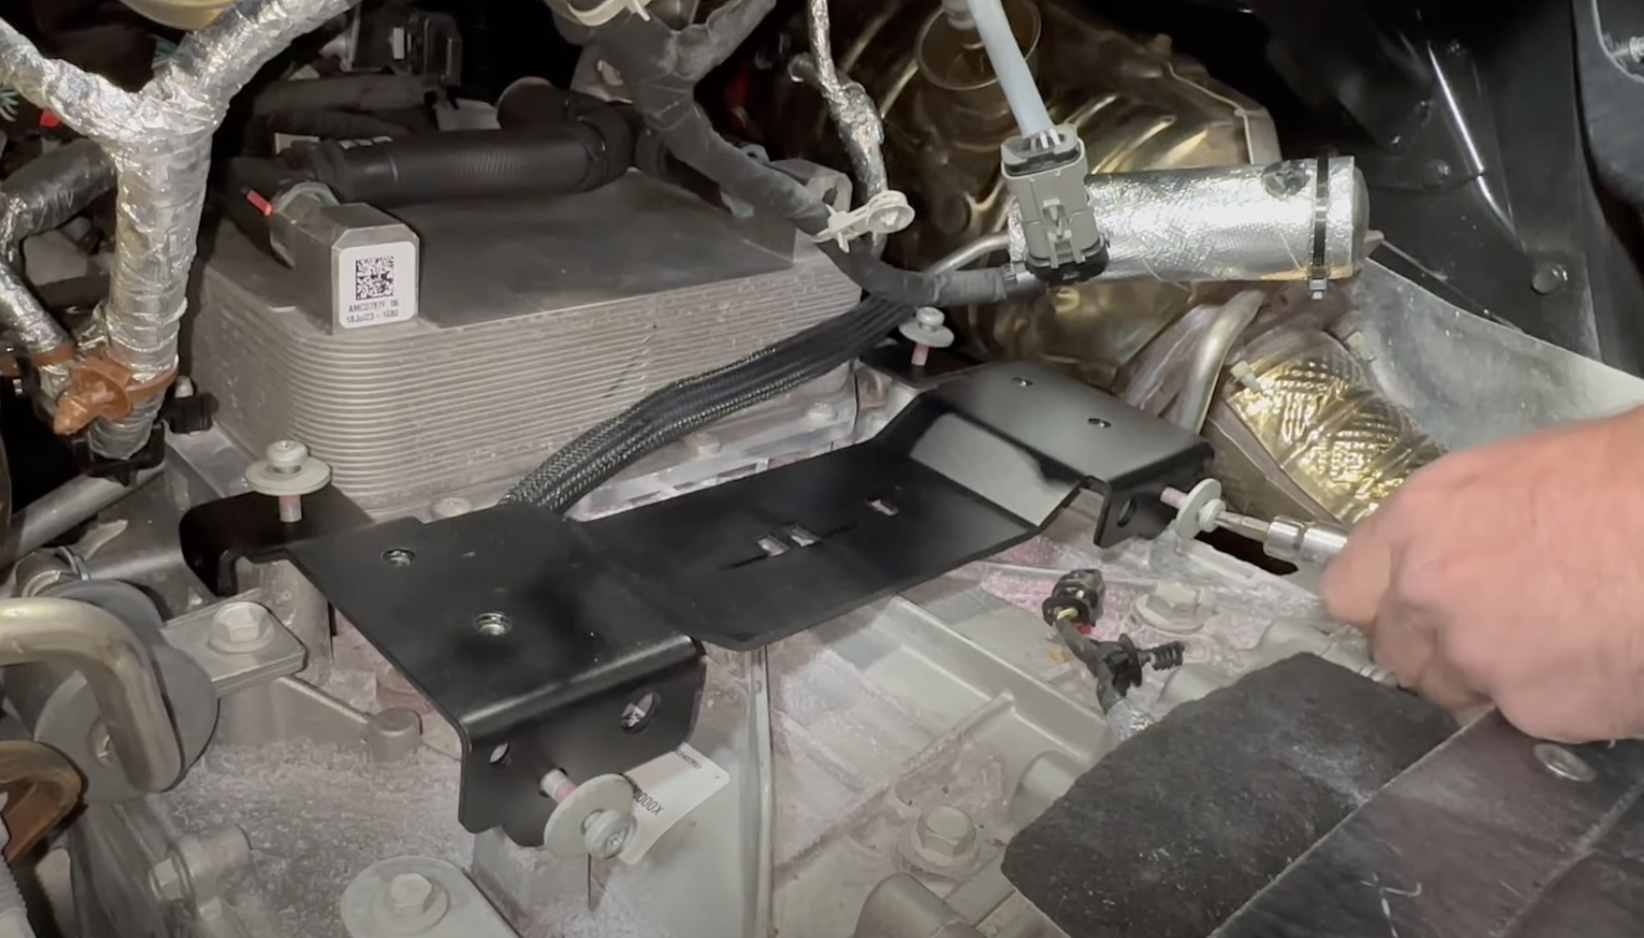
Install the JLT scoops and secure down with the bolts. They will be labeled left and right.
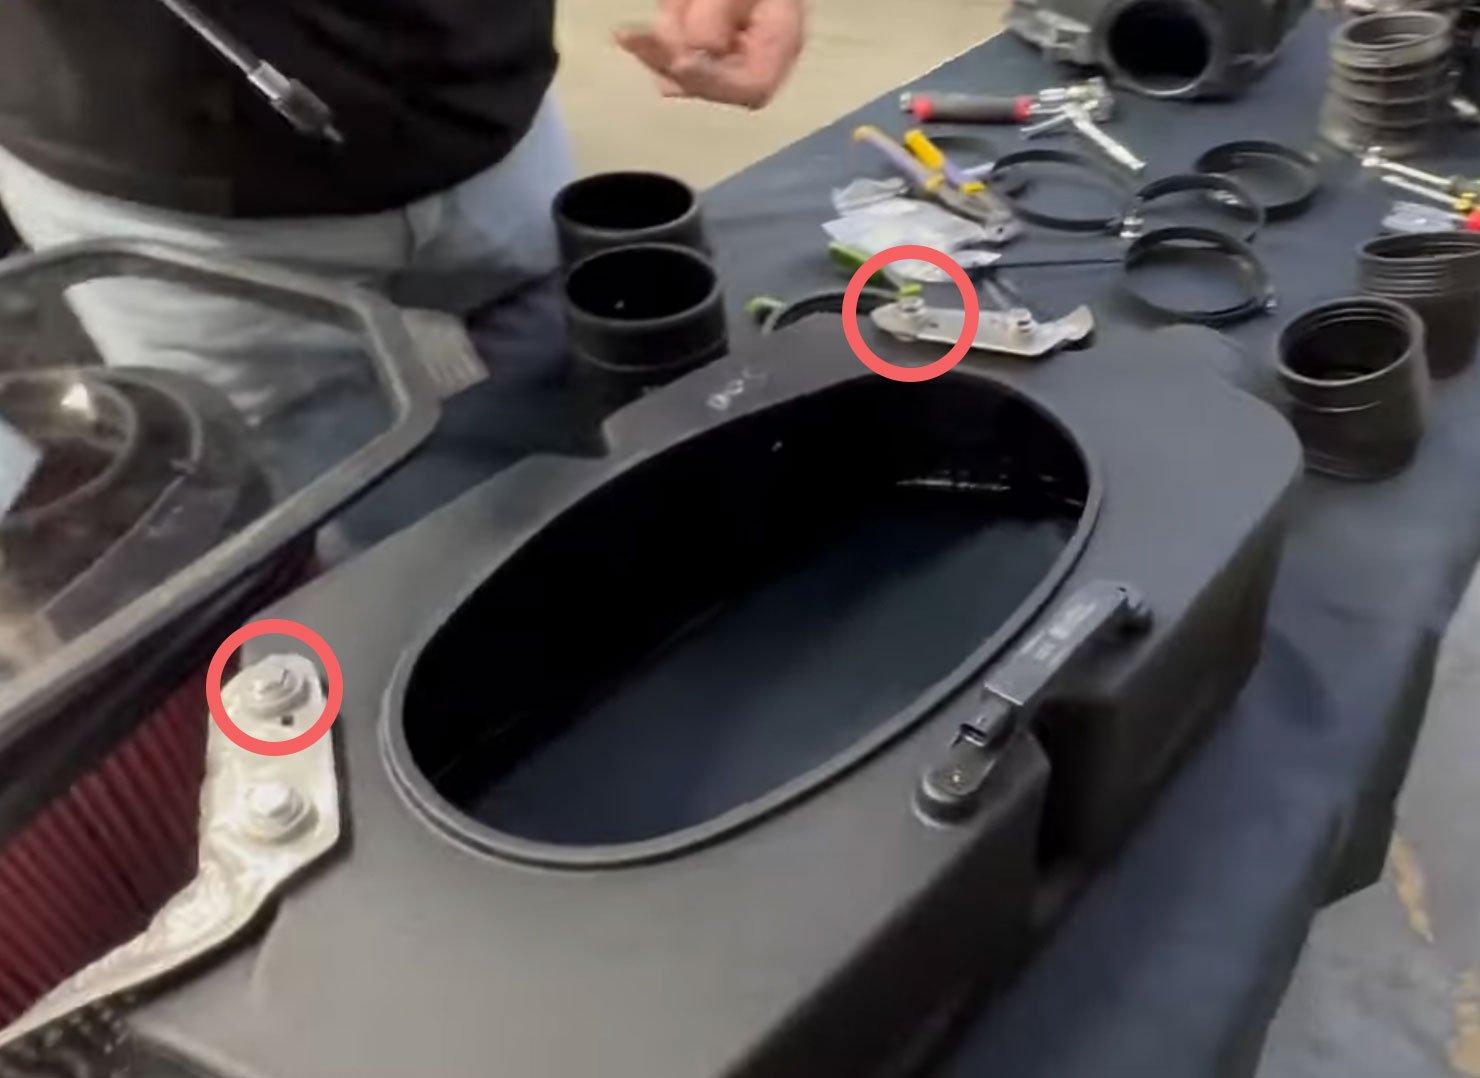
Transfer the heat shield to the JLT airbox.
If you have the Fabspeed High Flow Cats, you will need to leave out the bottom bolt on the heat shields as these would contact the O2 sensor.
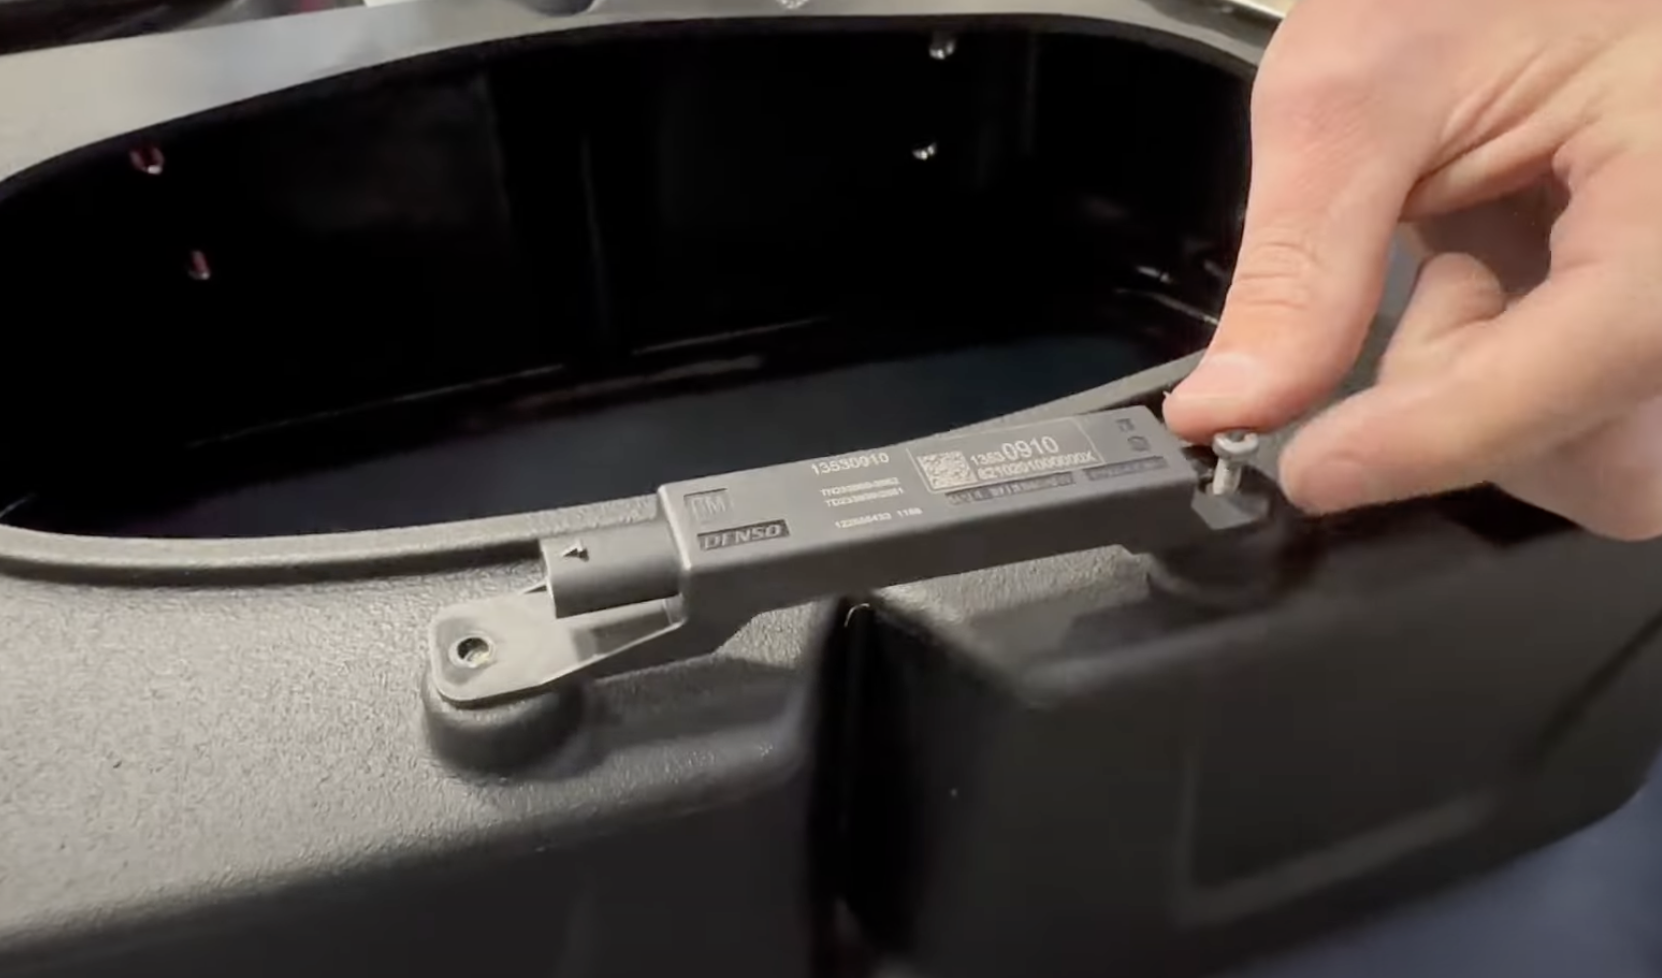
Transfer the gps antena to the jlt airbox.
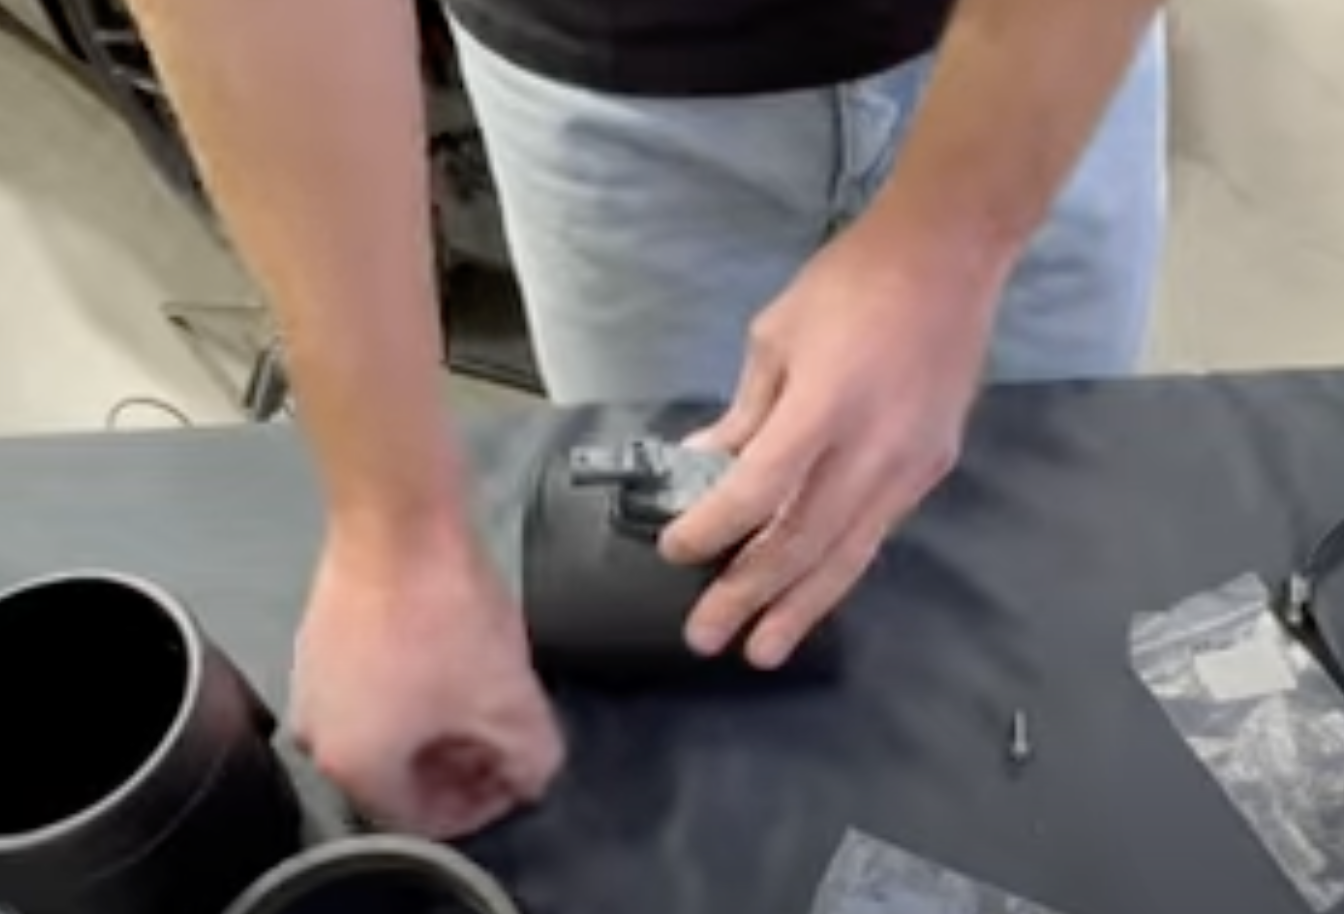
Transfer the MAF sensors and install them onto the JLT tubes.
Install the JLT hose clamps and couplers onto the vehicle.
Remove the sensor from the stock airbox and install it onto thr JLT bracket.
Clip this line back in.
If you broke the brown/orange push rivet, we supply extra.
Install the hose clamps onto the scoops.
Install the JLT airbox into the vehicle.
Install the 10mm into the bottom on the airbox. tighten down
Clip back in the sensor at the bottom of the airbox.

Tighten down the hose clamps that are on the scoops.

Install the tubes into the filter. Then tighten down the hose clamps.
Install the JLT filter into the airbox.
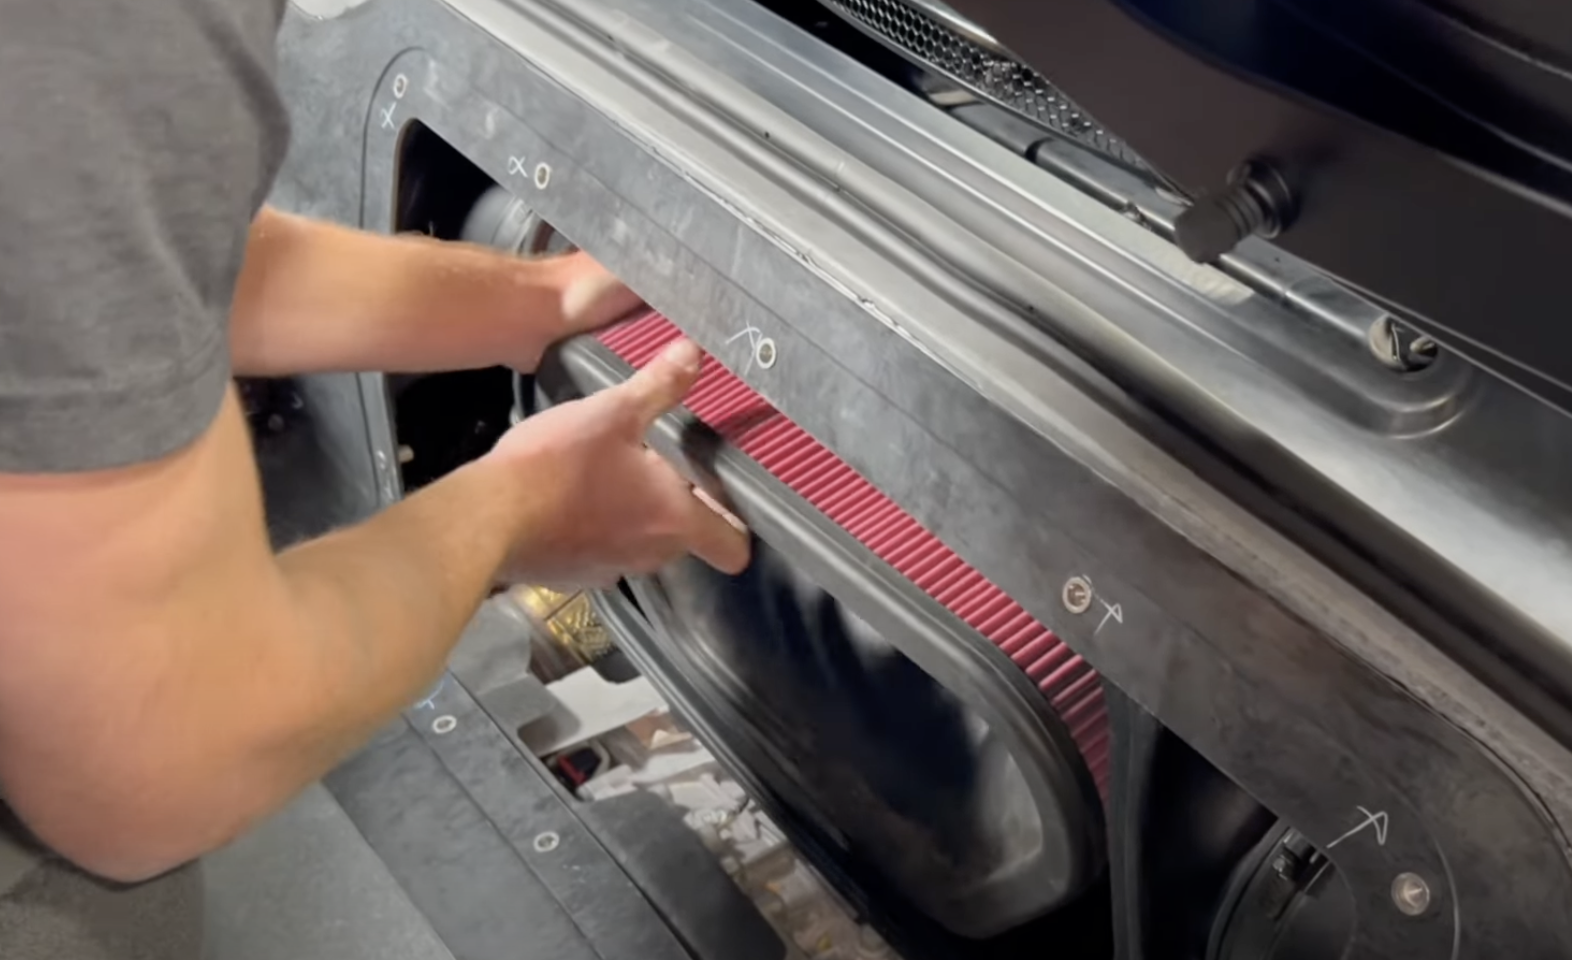
Tighten down the hose clamps on the couplers.
Reconnect the MAF harnesses on both sides on the vehicle.
Reconnect the gps antena.
Reinstall the canister.

Reinstall the coolant tank.
Reinstall the engine cover.
Snap in the JLT clear lid.
Reinstall the trunk cover and carpet.