Step 1
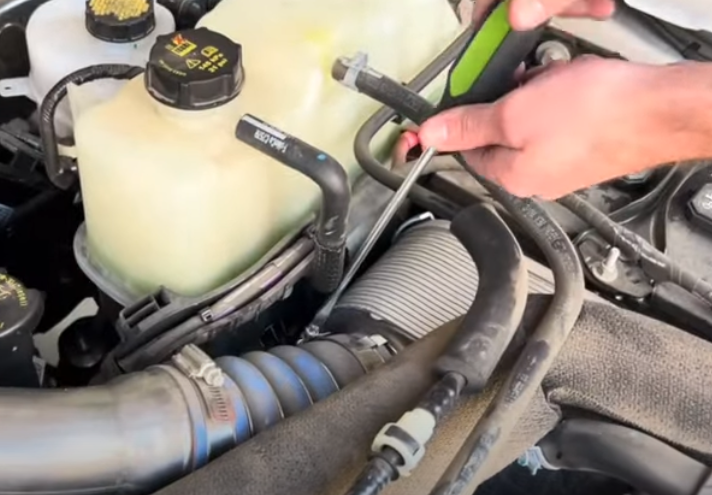
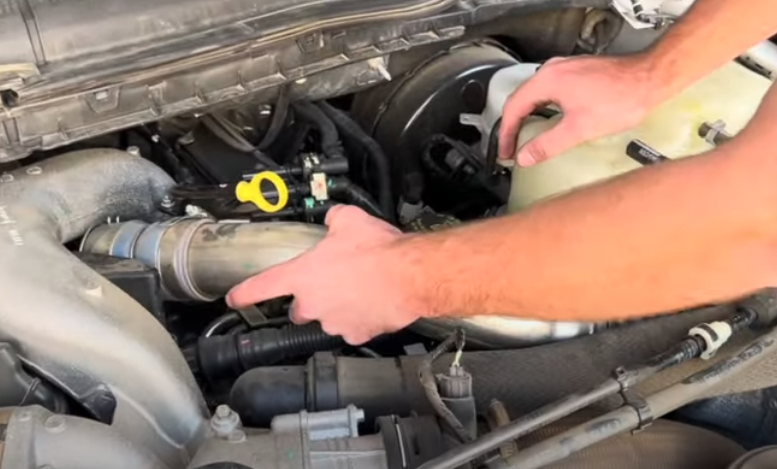
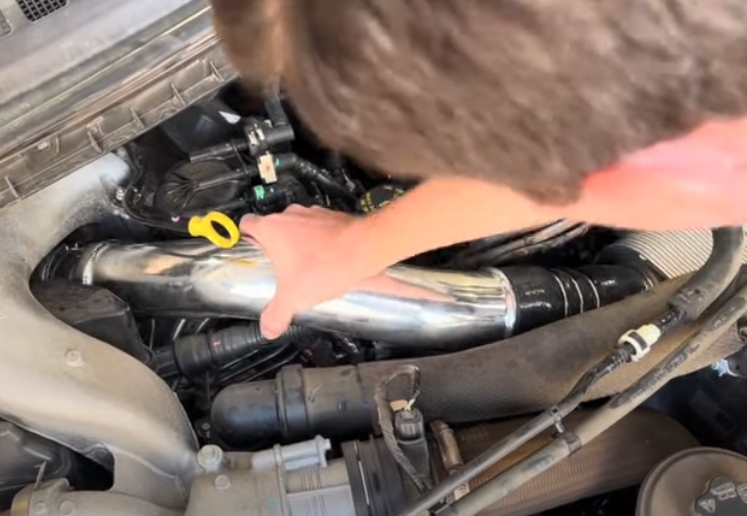
Start by loosening the hose clamp on the intercooler side.
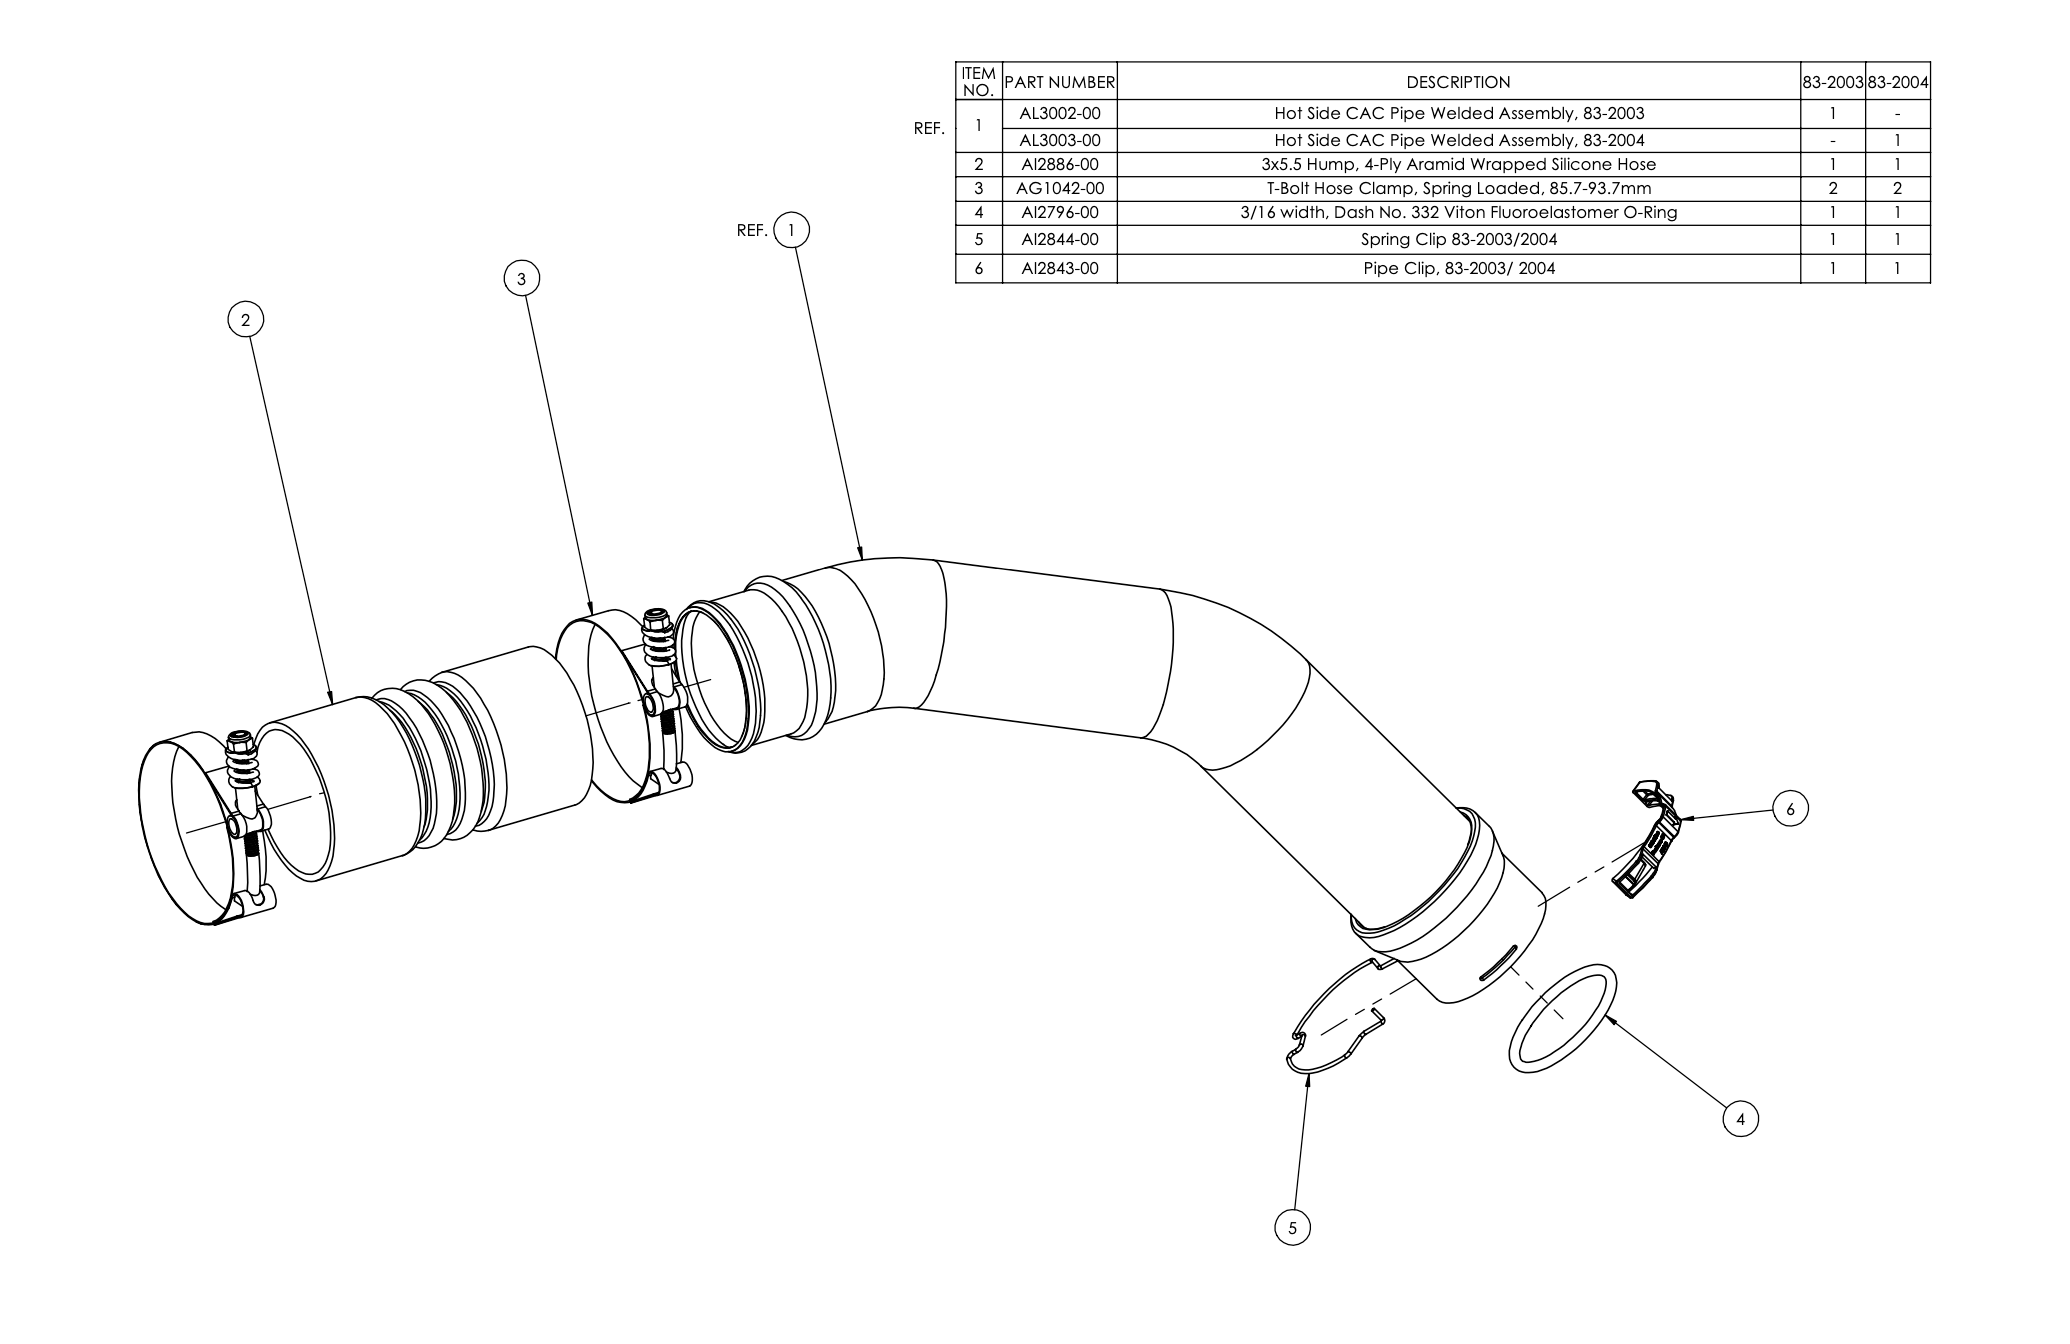
INTERCOOLER PIPE
VEHILCE FITMENT: 2016-2024 6.7L Powerstroke (non-high output), Ford, F250/F350/F450
When removing any turbocharger air intake system components, make sure to cover any open ports to prevent any debris from entering the system. All components need to be inspected and cleaned (if necessary) prior to assembly and installation.
Note: Approximate Install Time: 1 Hr 00 Mins for Kit Installation.
Start by loosening the hose clamp on the intercooler side.
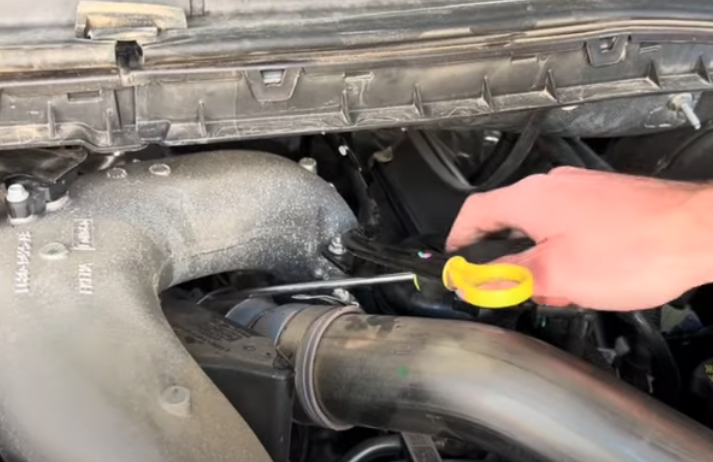
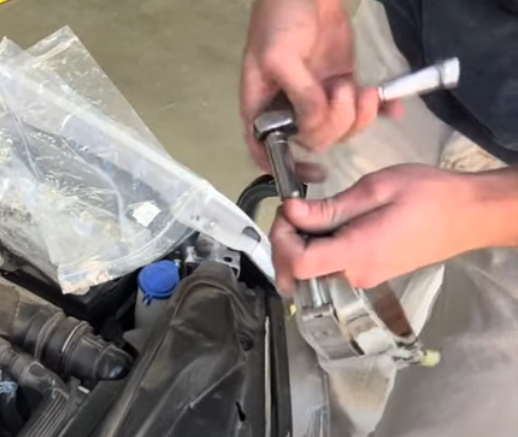
Remove the clip on the top of the intercooler. To remove the clip, pry up on the clip and slide it to the top of the retainer. Repeat for the bottom part of the clip.
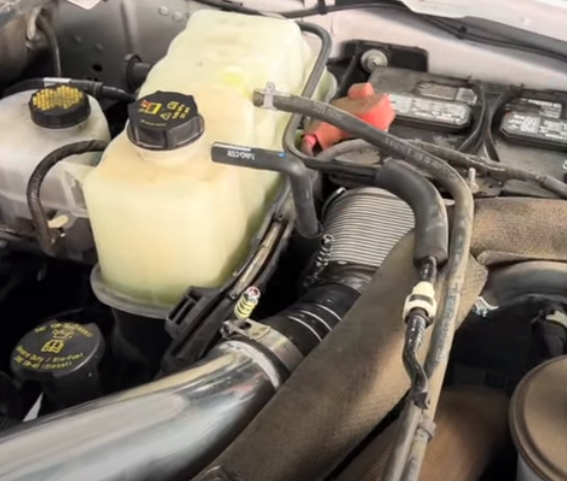
Remove the stock intercooler from the vehicle.
Slide the provided O-ring into the O-ring groove inside the pipe.
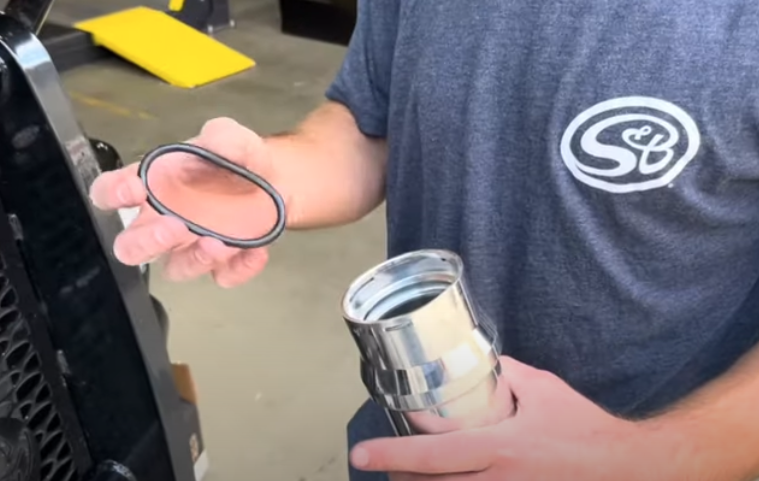
Install the S&B boot onto the intercooler with no hose clamp springs.

Install the new clip onto the S&B intercooler.
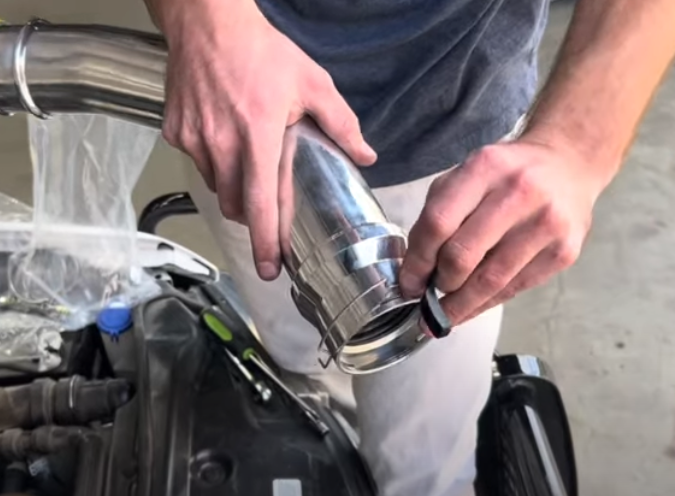
Slightly slide the S&B intercooler onto the collar at the turbo.
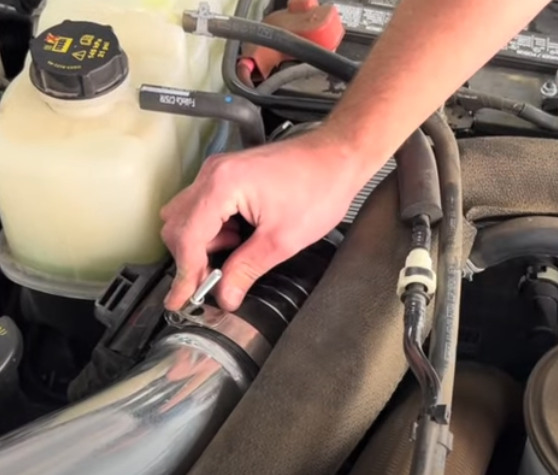
Then connect the intercooler to the boot using a flathead screwdriver and clip the assembly into the turbo. Make sure you hear a click sound when it connects.
Using an 11mm, remove the nuts on the springs in order to make them easier to install.
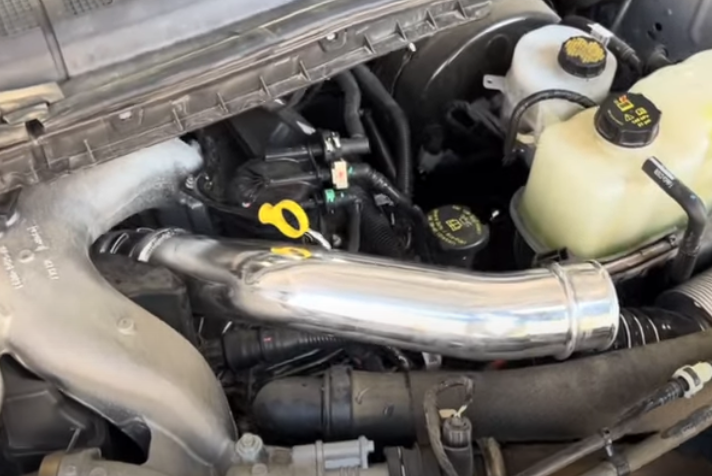
Once both hose clamp springs are broken down, install them onto the boot.
Once the hose clamp springs are installed on the boot, reinstall the springs and nuts then tighten down to 76 Inch-Pounds.
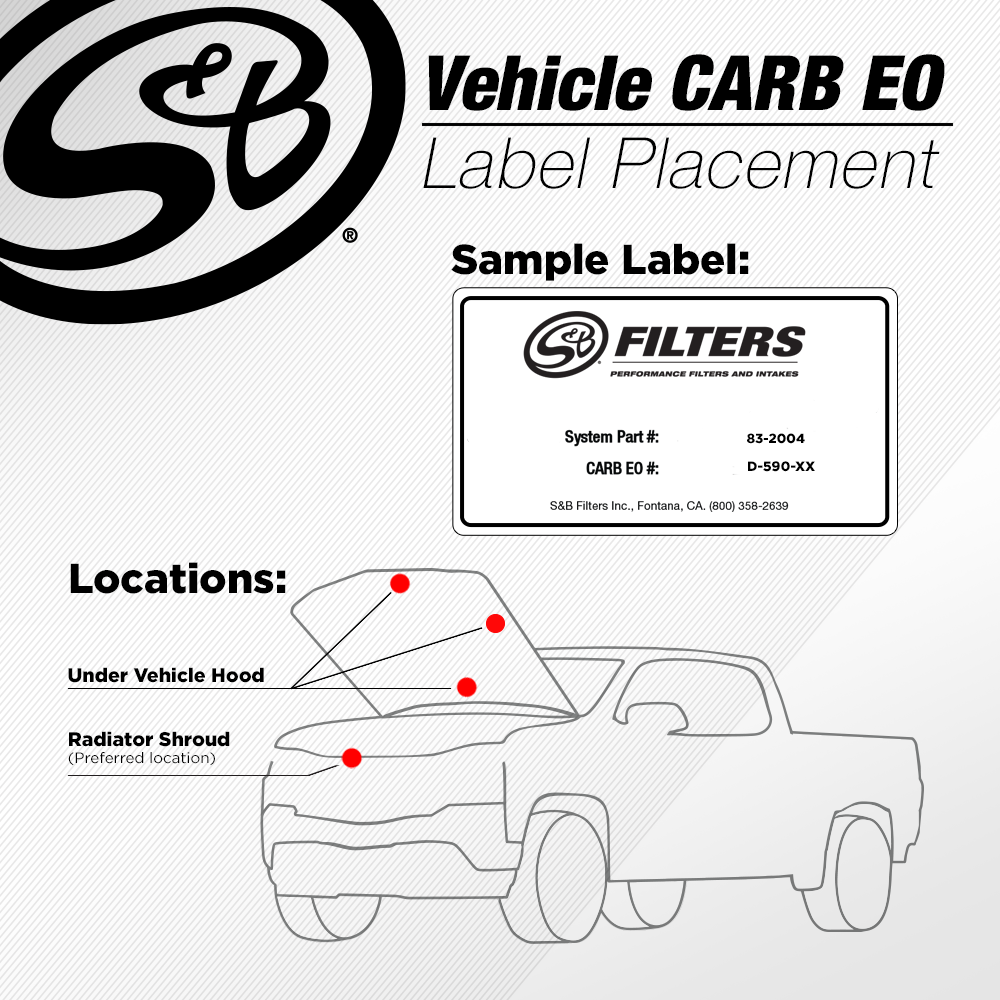
Please affix the included CARB-approved EO label in an area under the hood. We recommend placing it on the radiator shroud, or the underside of the vehicle's hood near the S&B product.