Step 1:
Before you begin: Please let your vehicle sit for at least an hour or two prior to installation in order to let it cool down to prevent burn injury.
Kit may not fit with the following Aftermarket Parts installed:
Body Lift or Lowering Kit
Custom Hood
Aftermarket Radiator
Before you begin: Please let your vehicle sit for at least an hour or two prior to installation in order to let it cool down to prevent burn injury.
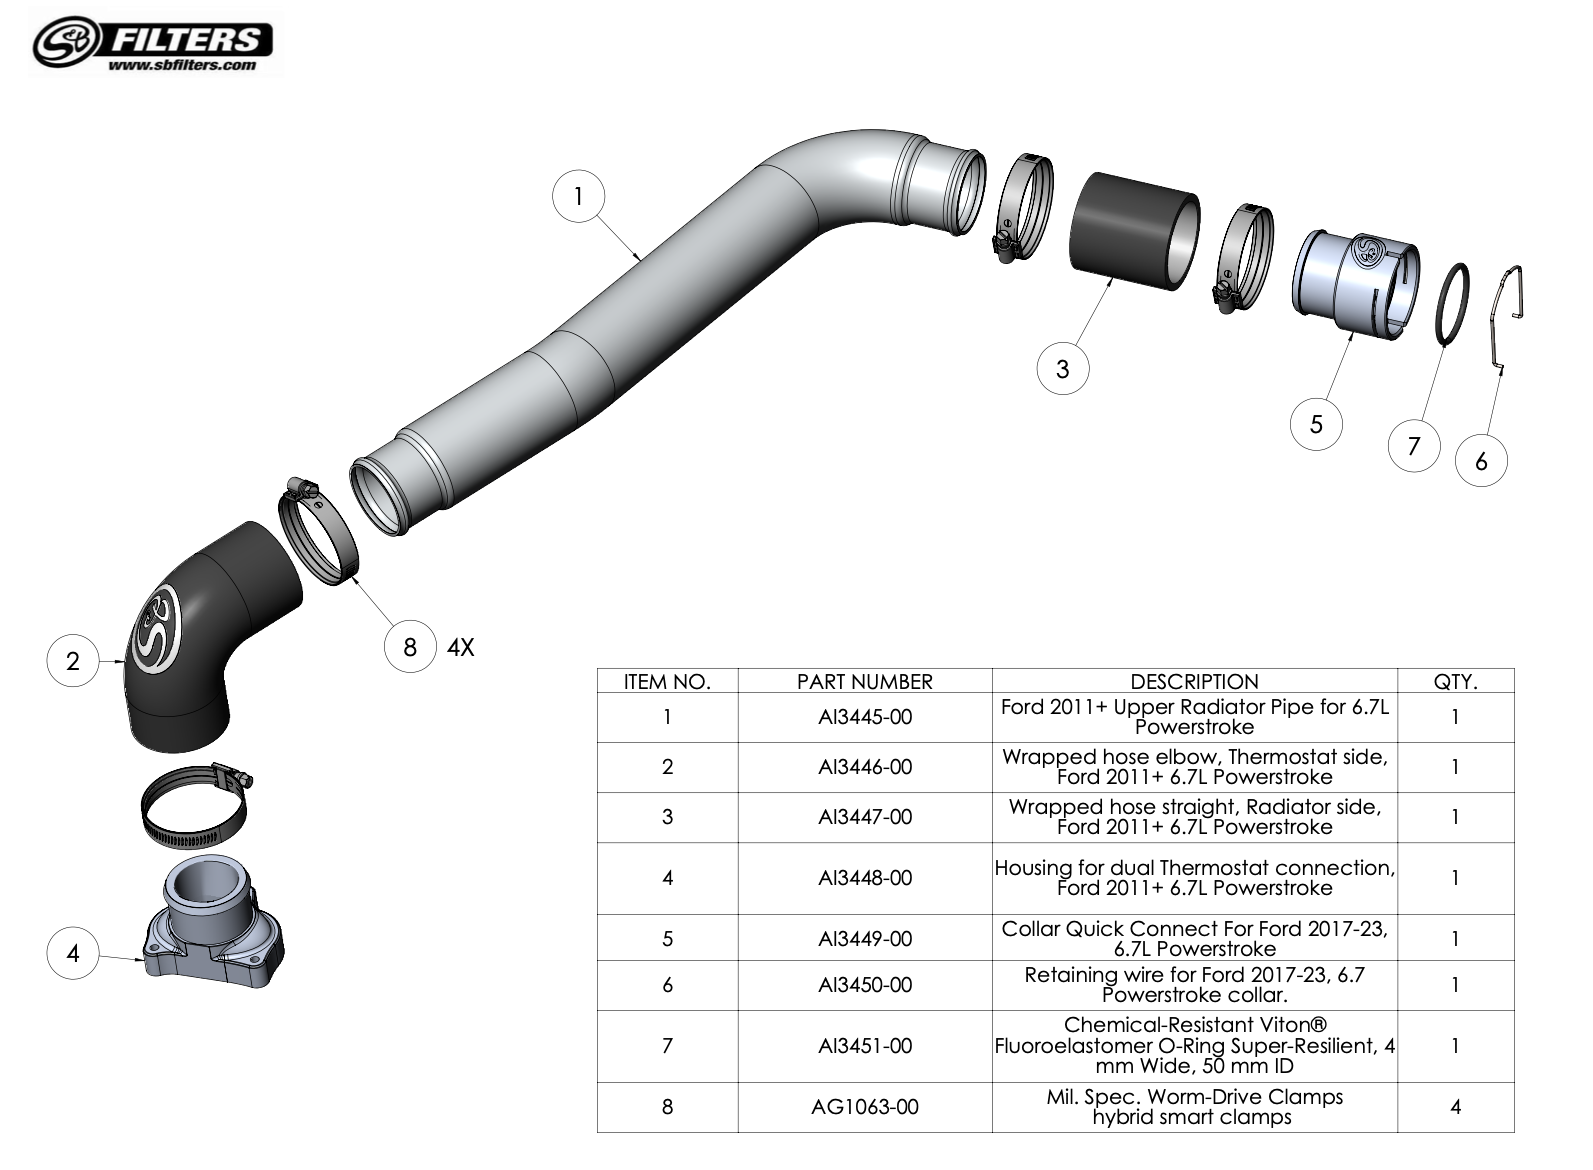
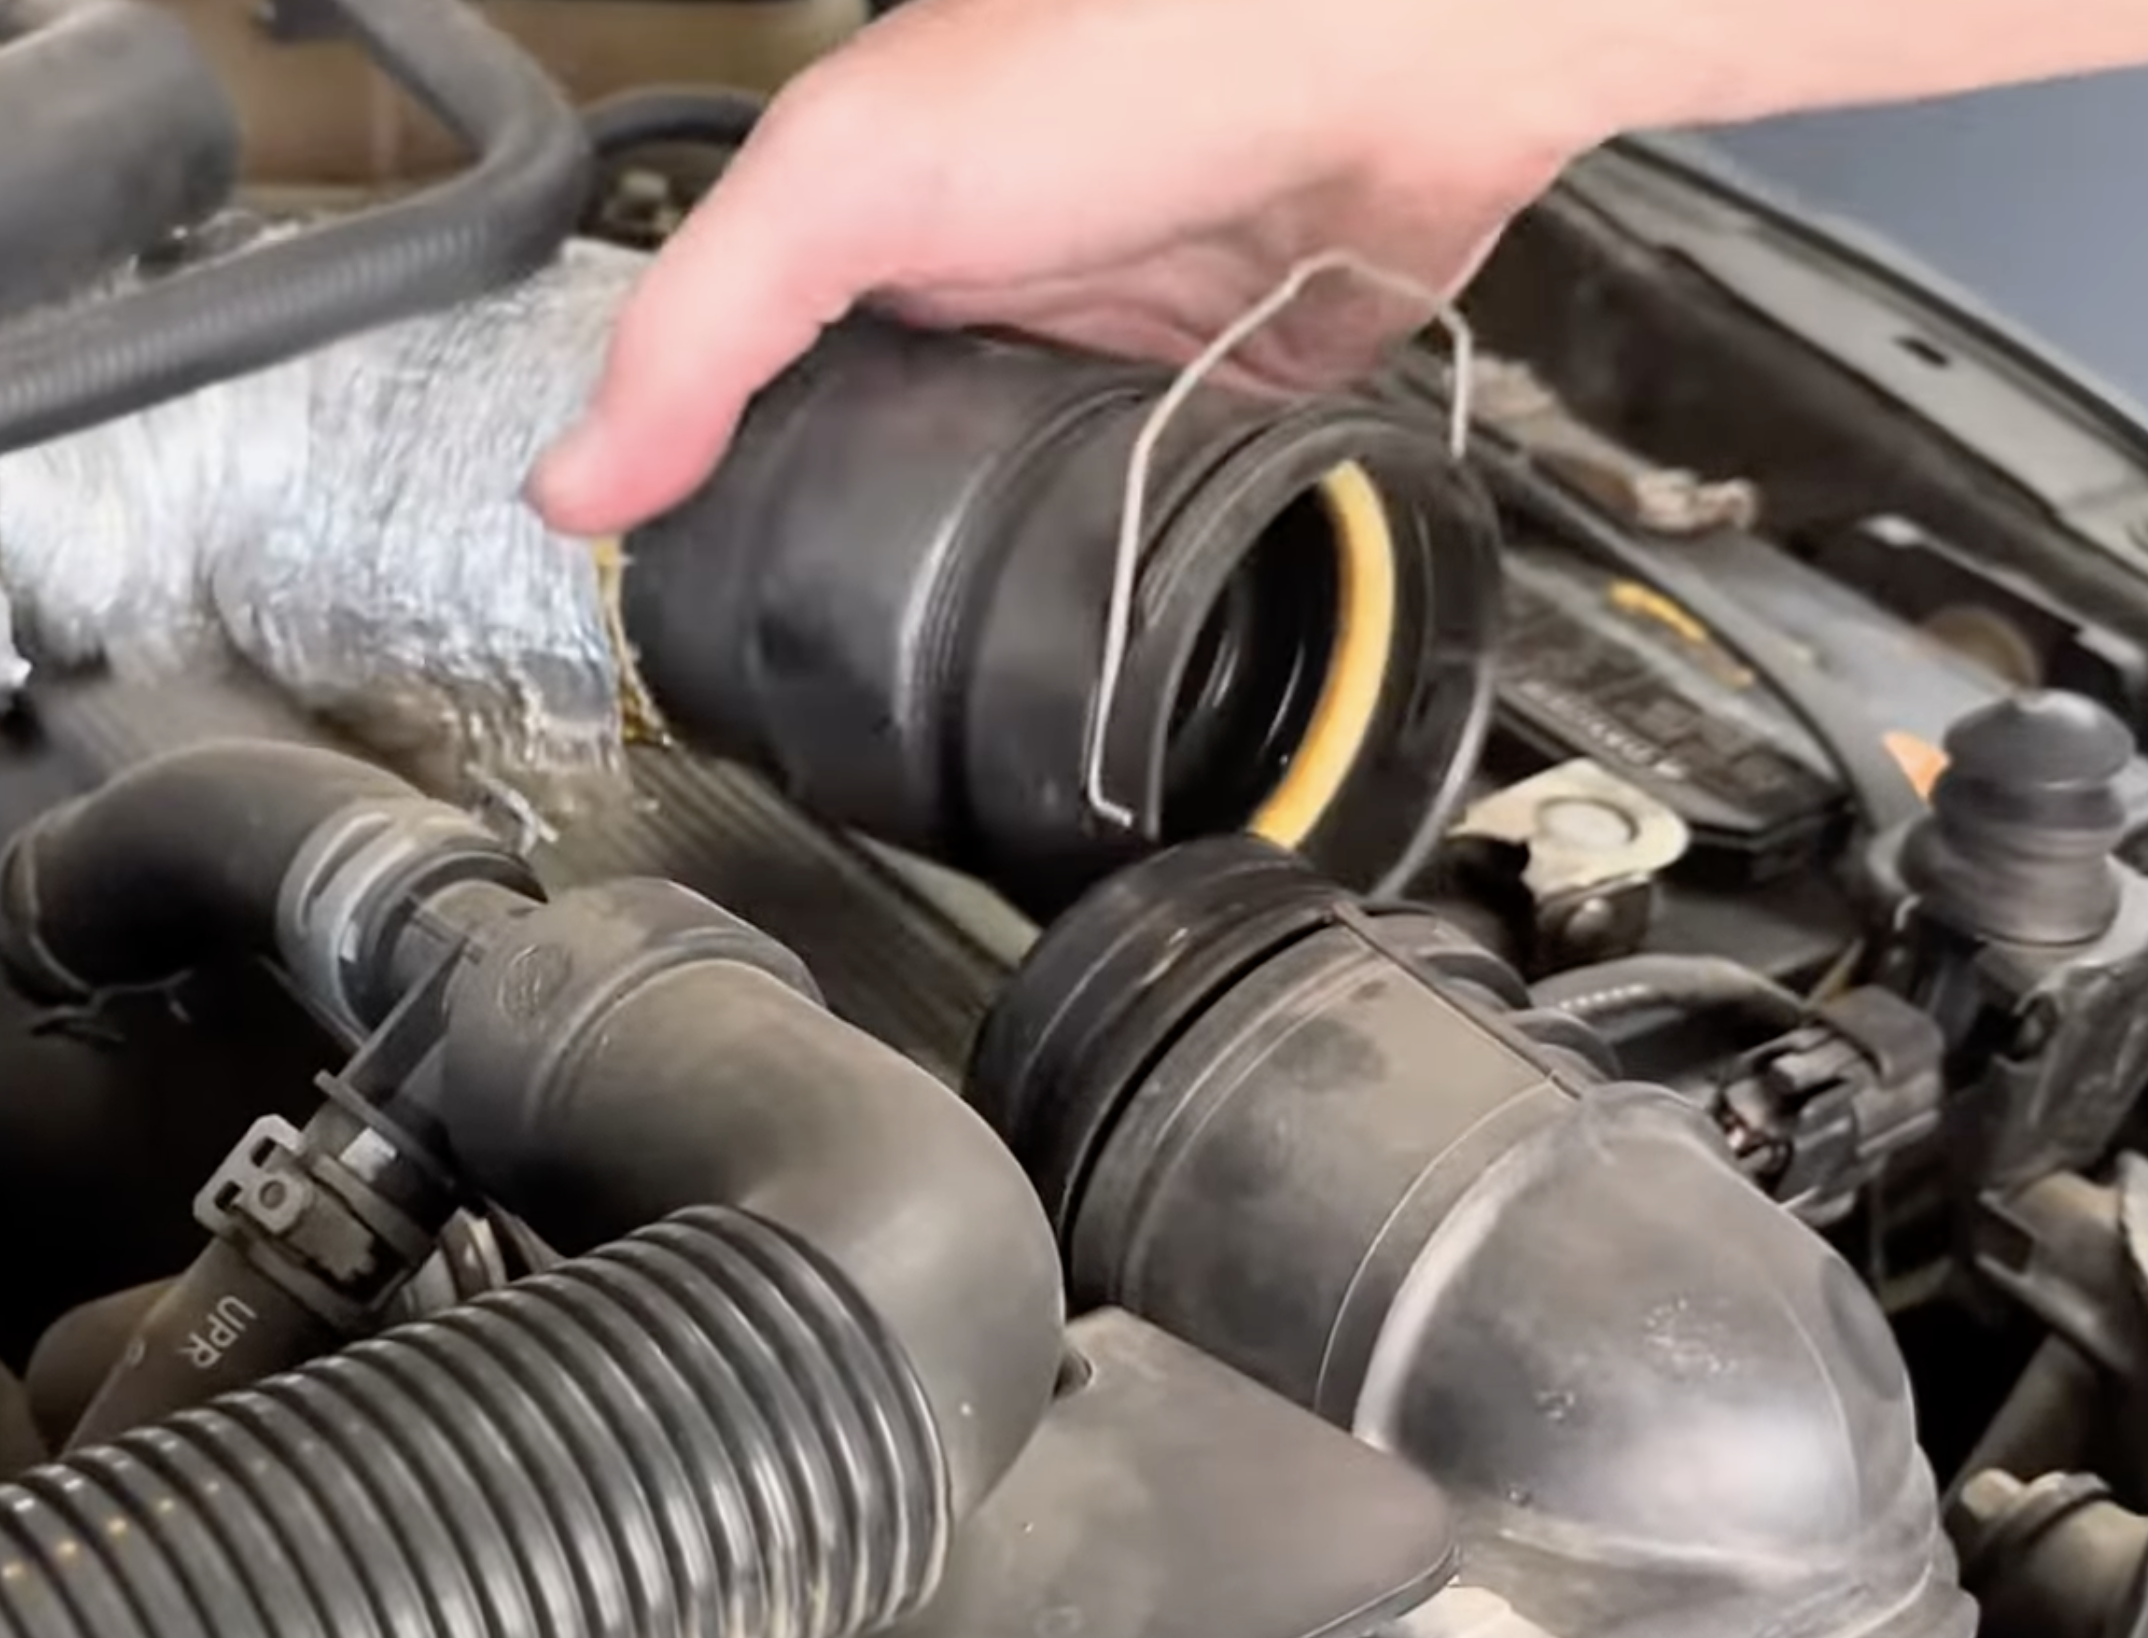
Pry the stock retention clip upward on the OEM collar to disconnect the stock pipe from the radiator.
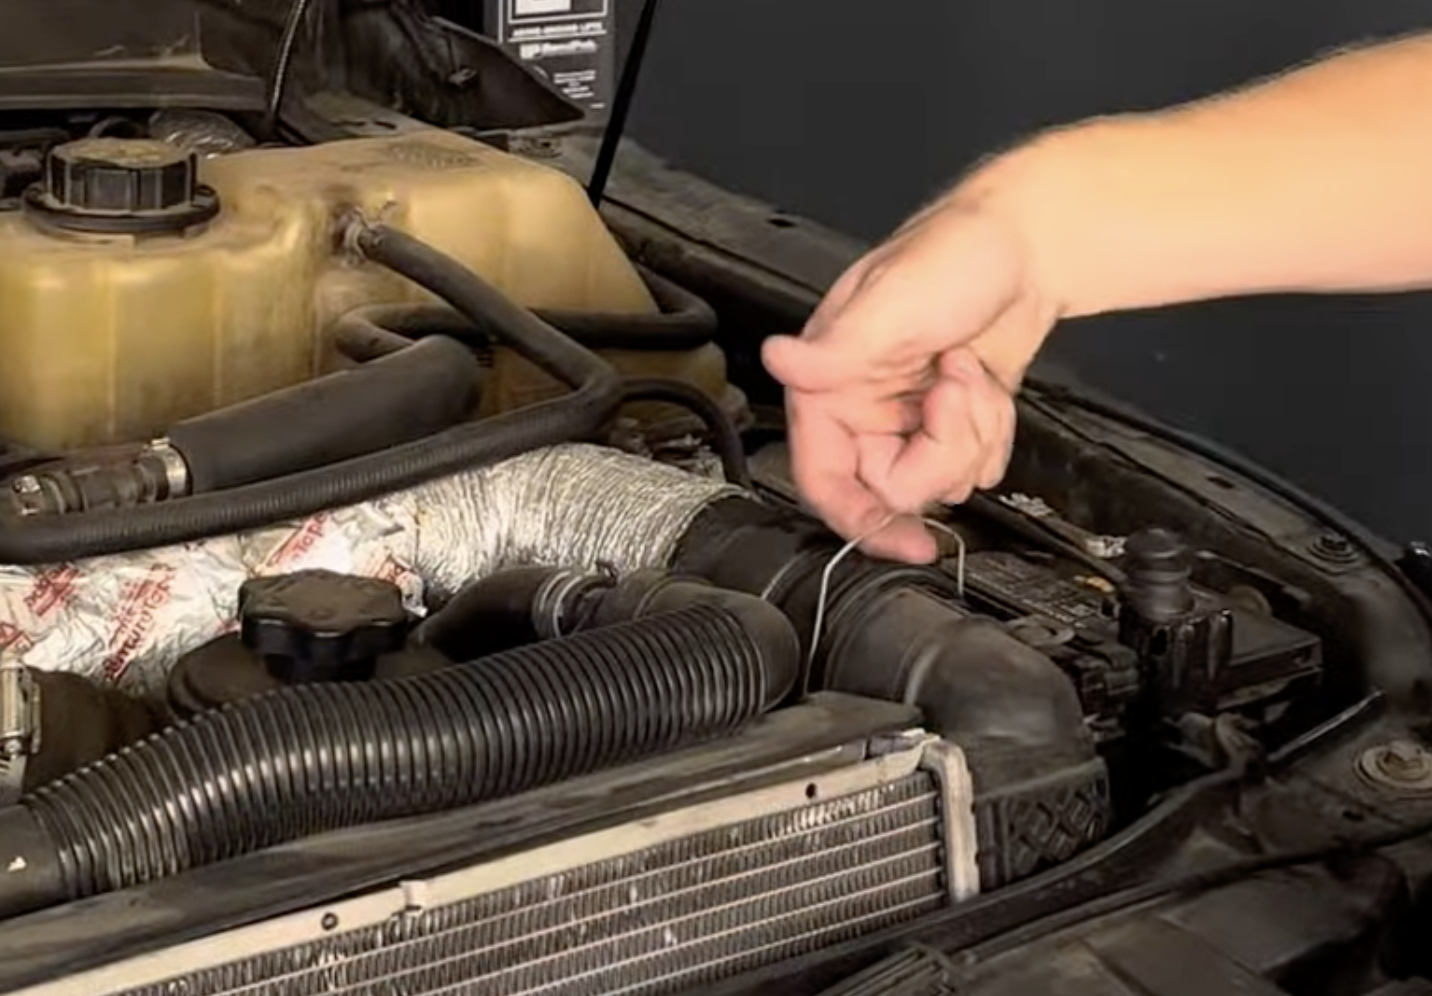
Now that the clip is disconnected, go ahead and disconnect the pipe connected to the driver side of the radiator.
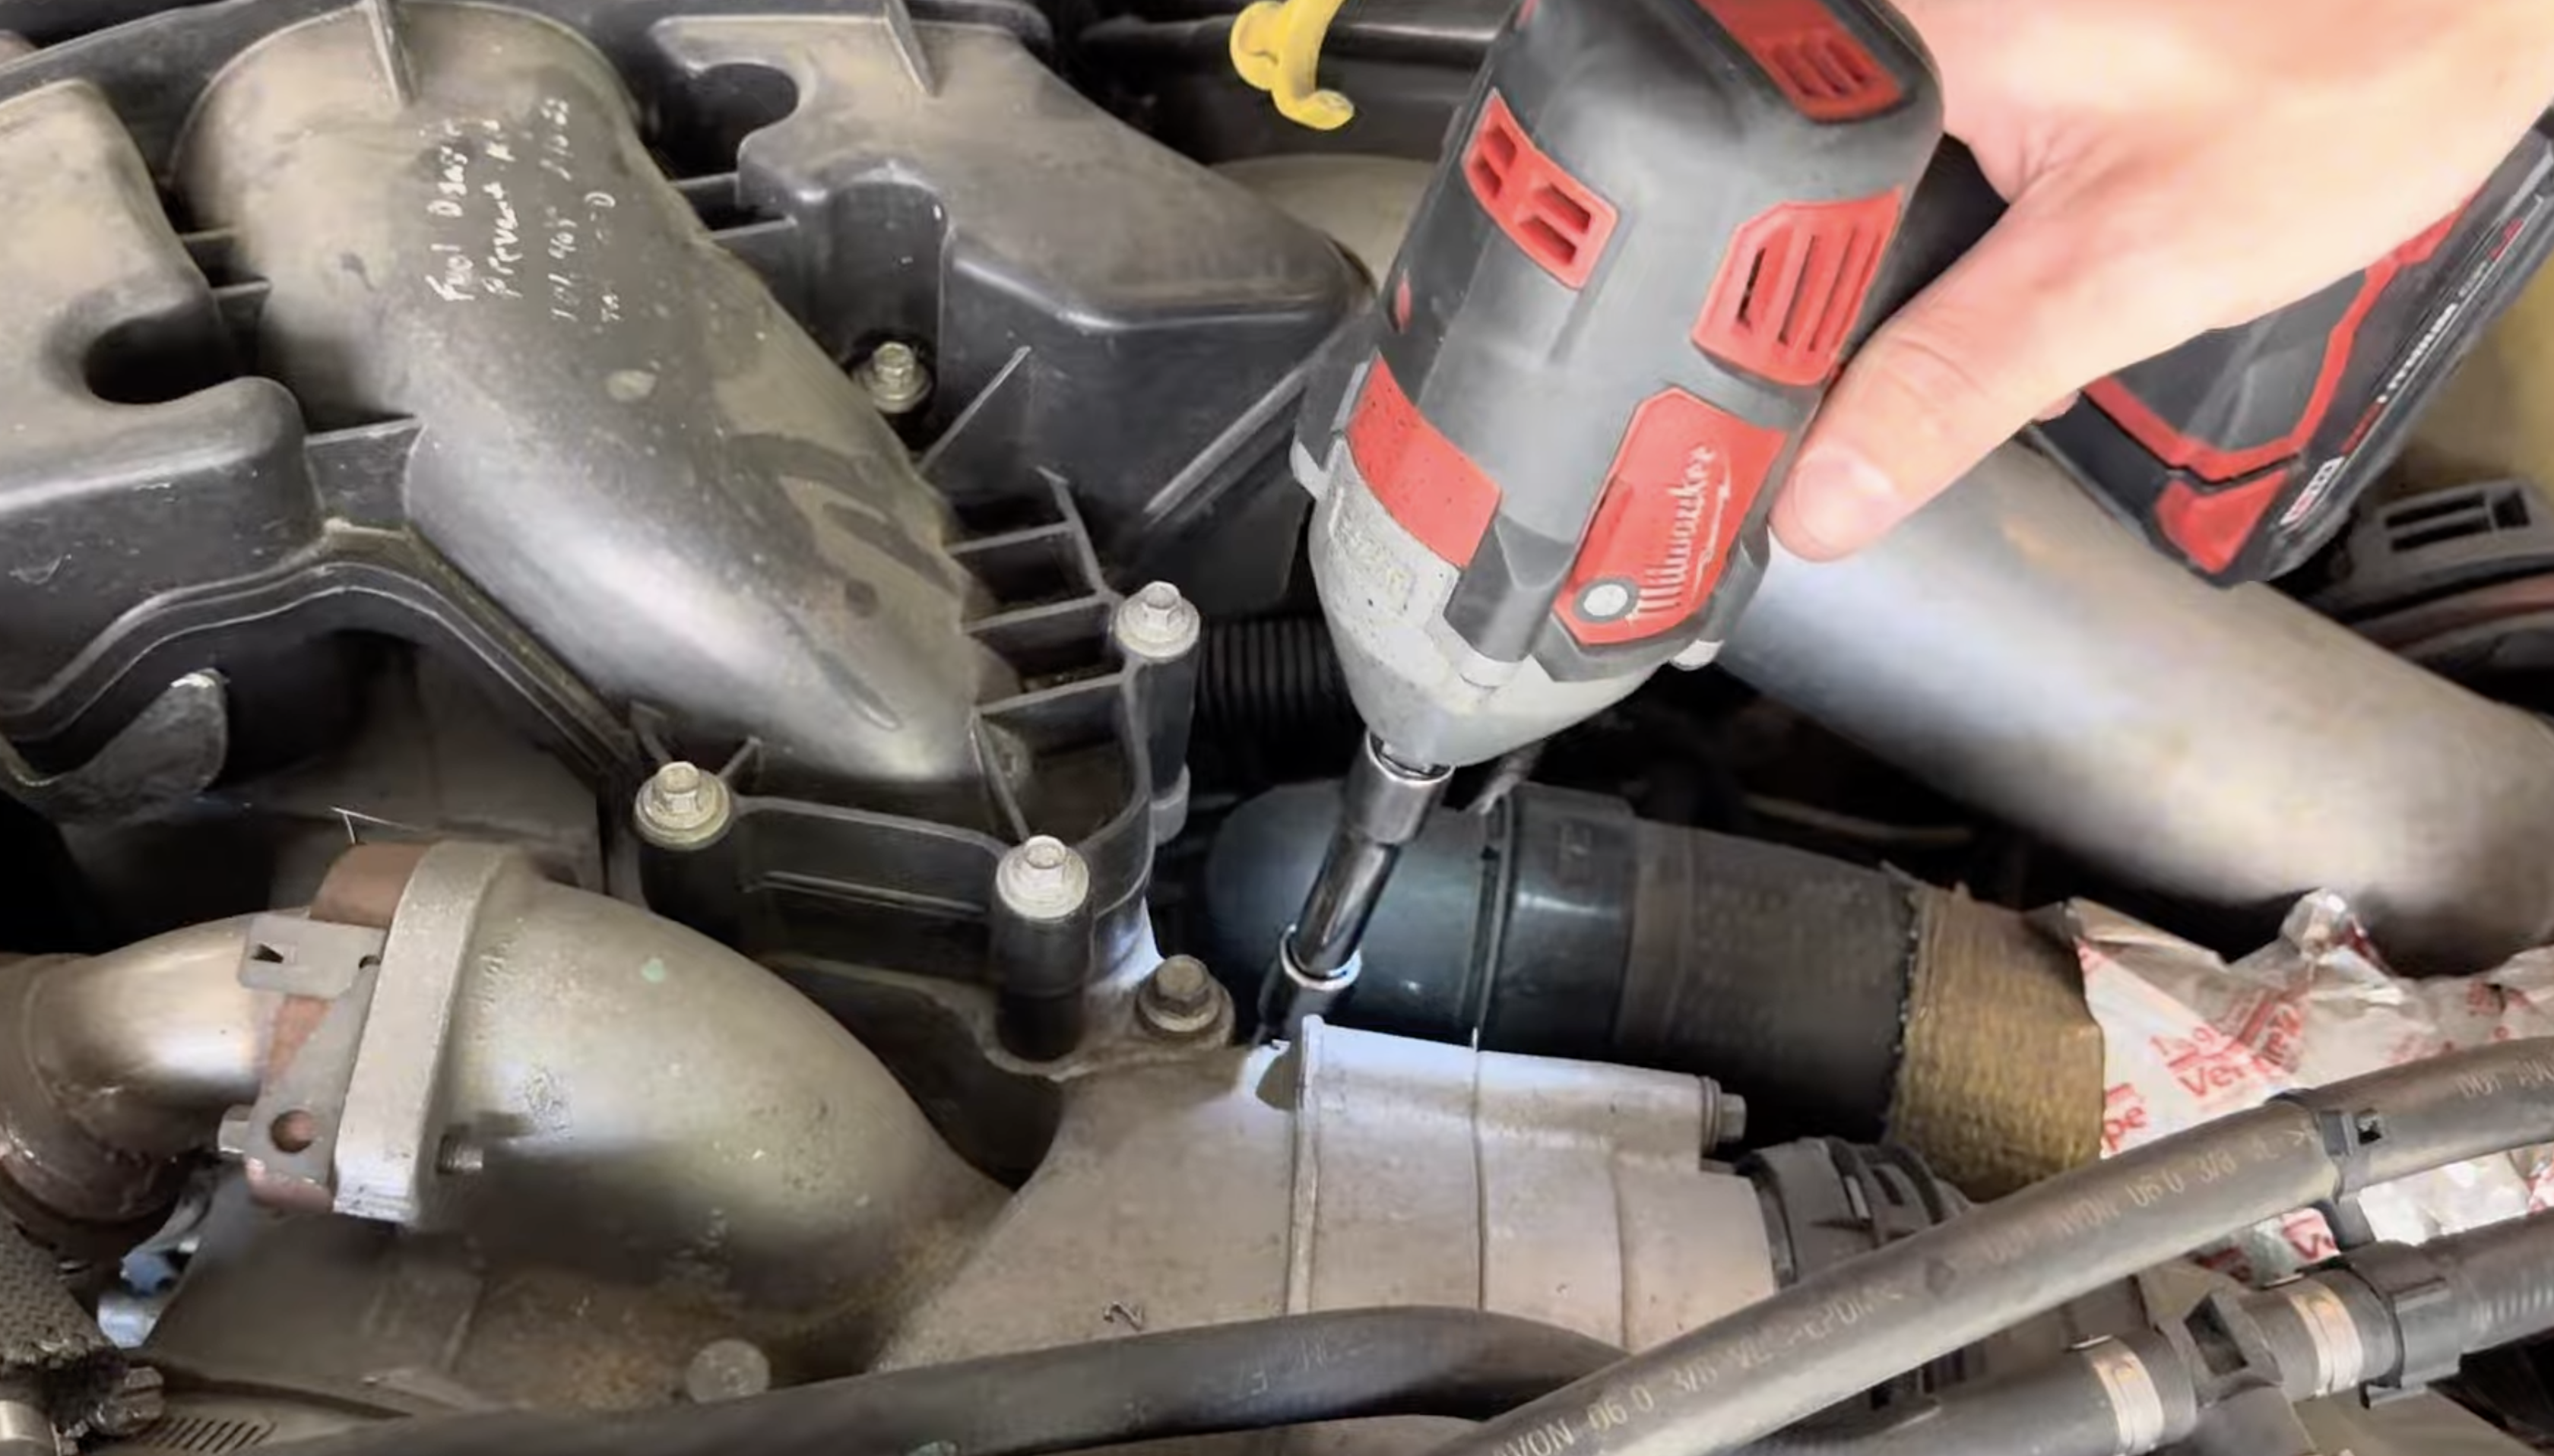
Now, go ahead and unbolt the 3 bolts holding down the stock upper coolant pipes on the thermostat housing. You will need an 8mm socket and extension to do so.
Now, go ahead and remove the factory upper coolant pipe from the engine bay.

To prepare for install, go ahead and drop in the 3 OEM bolts into the mounting locations on the S&B thermostat housing adaptor.
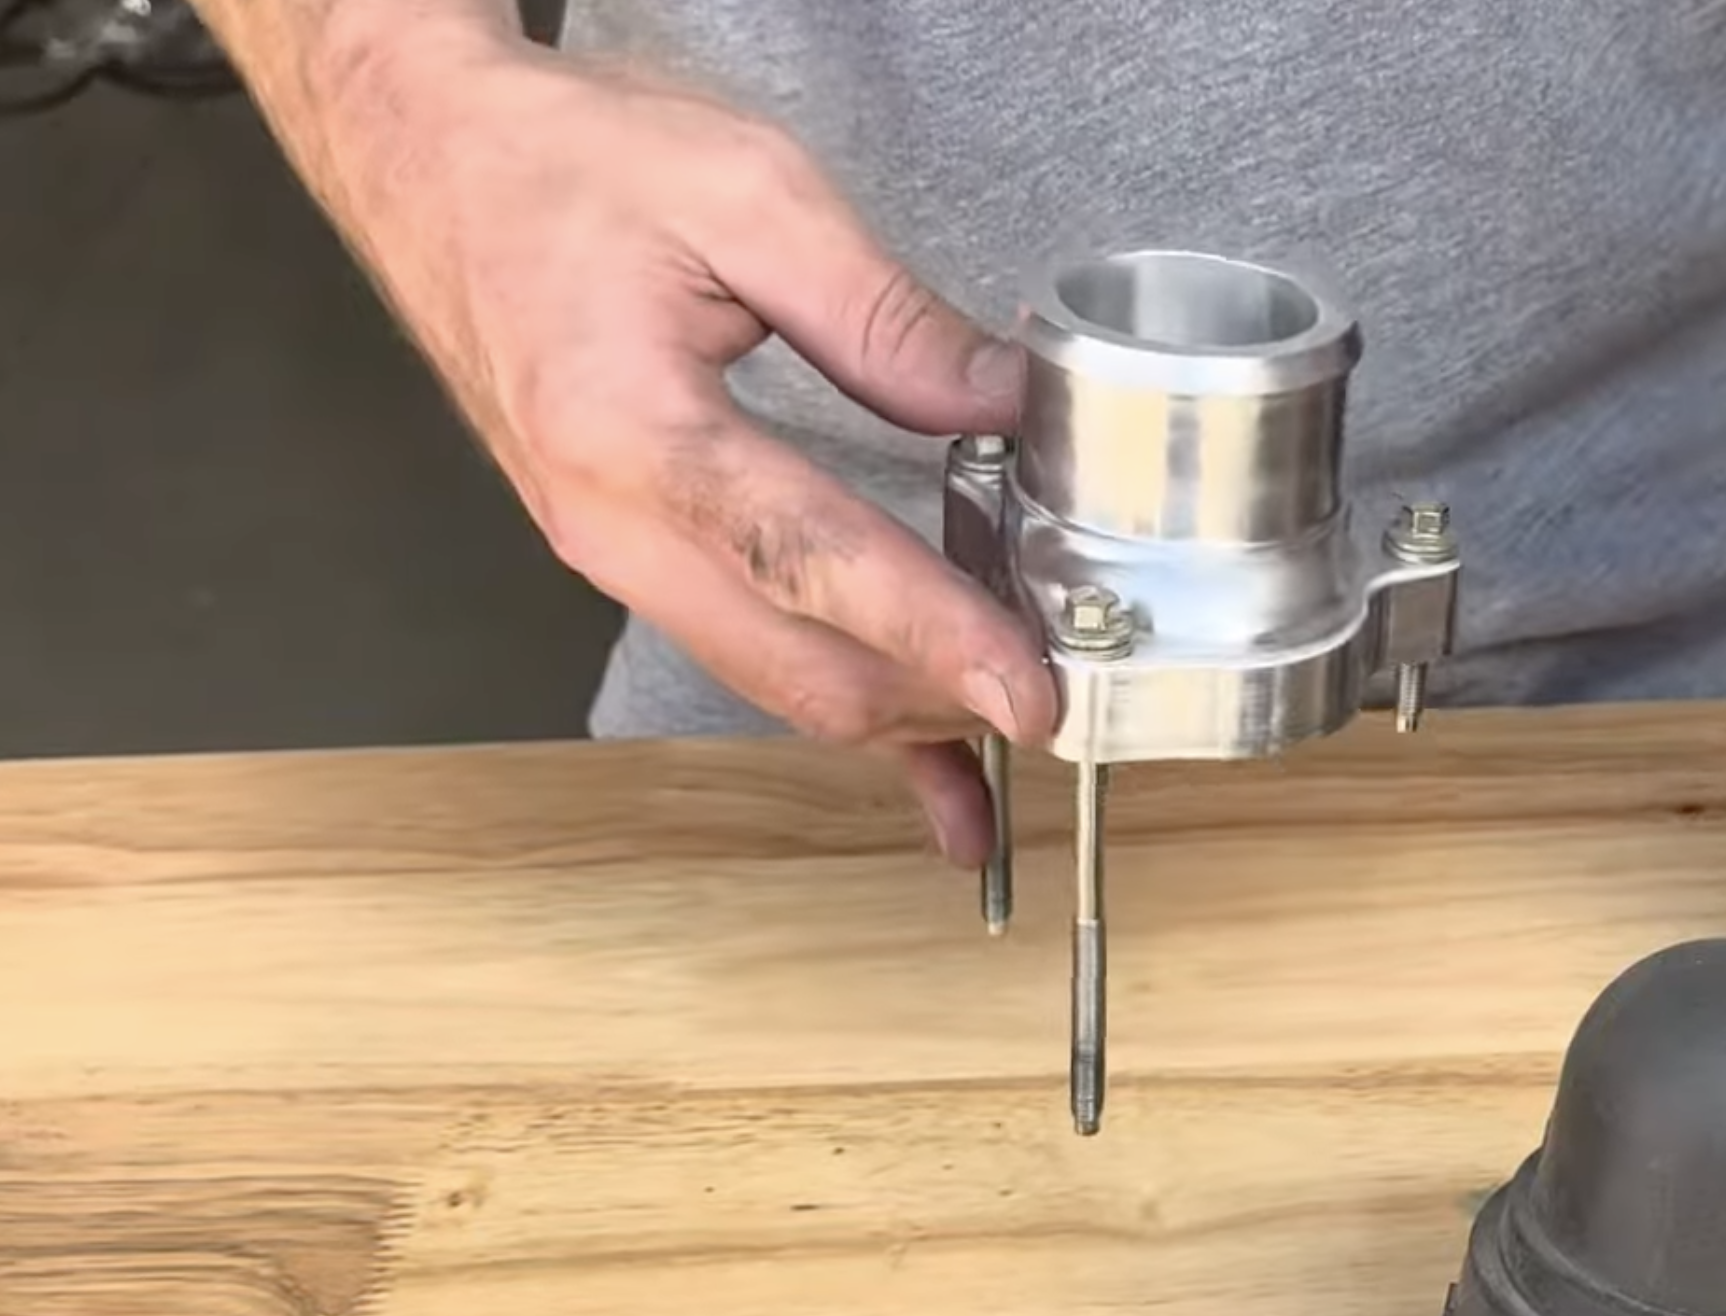
Next, drop in the S&B thermostat housing connector and tighten down the 3 bolts using an 8mm socket and extension.
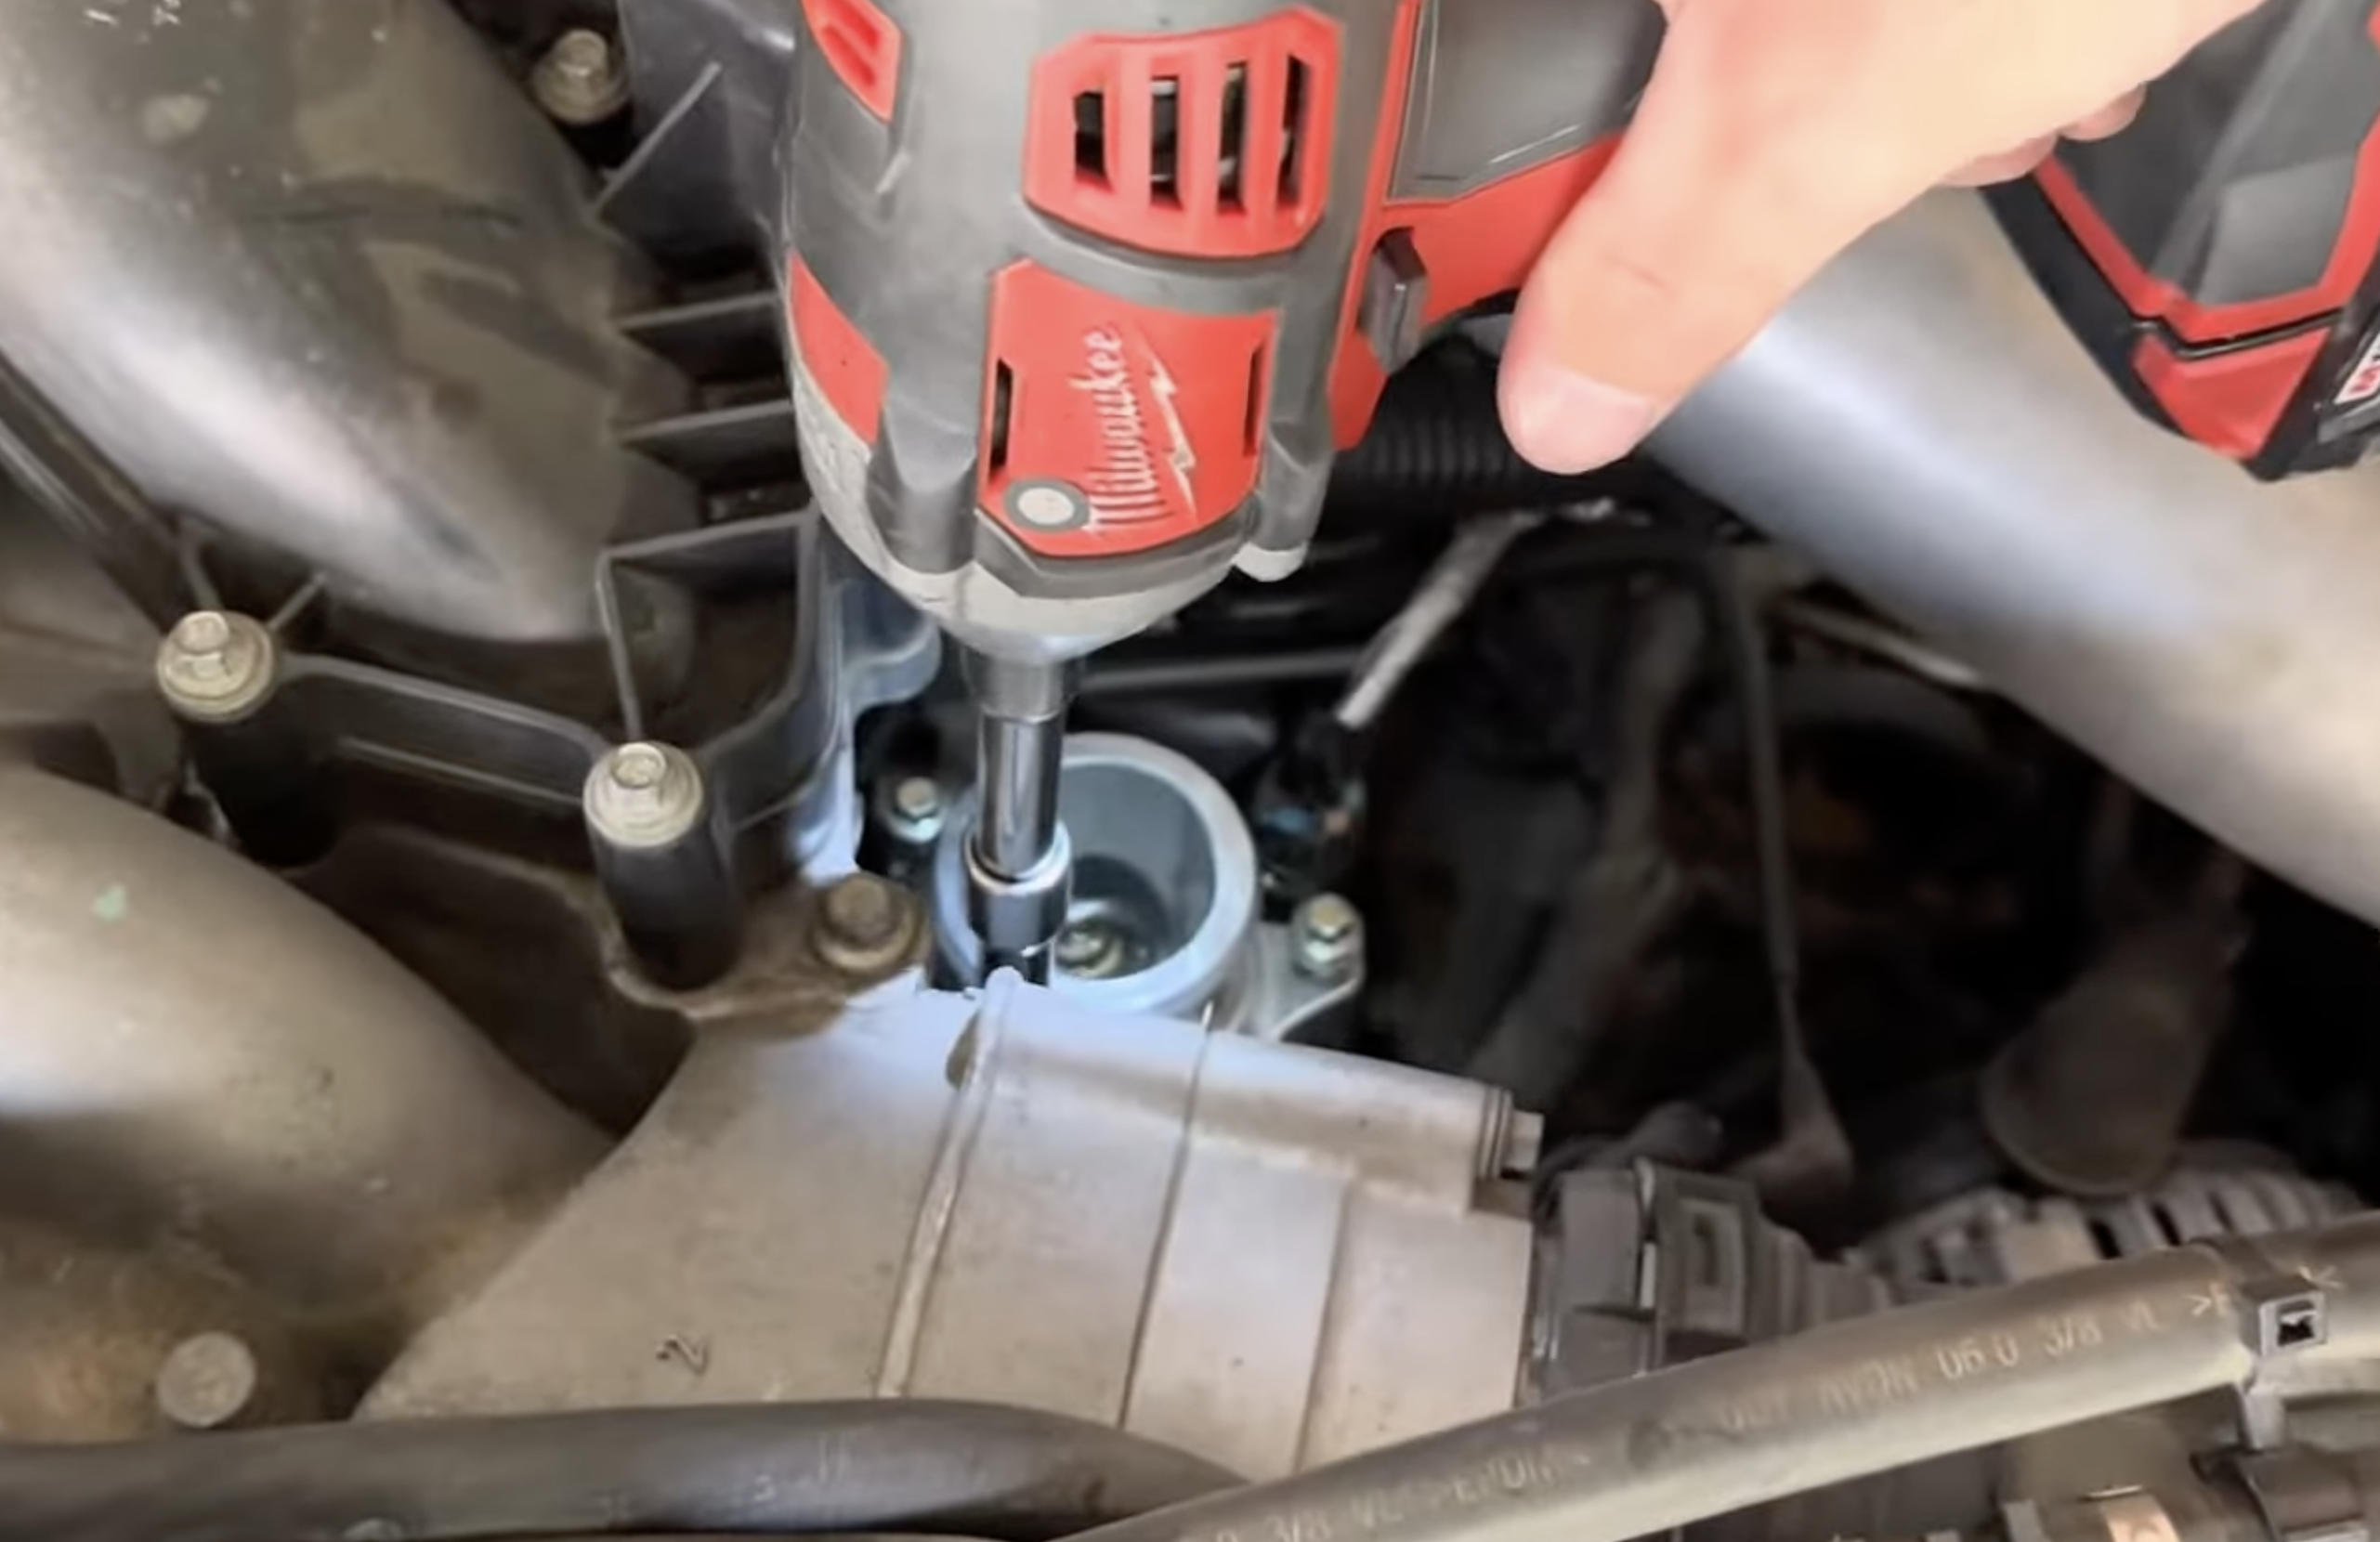
Torque down the (3) 8mm bolts to 89 in. lbs.
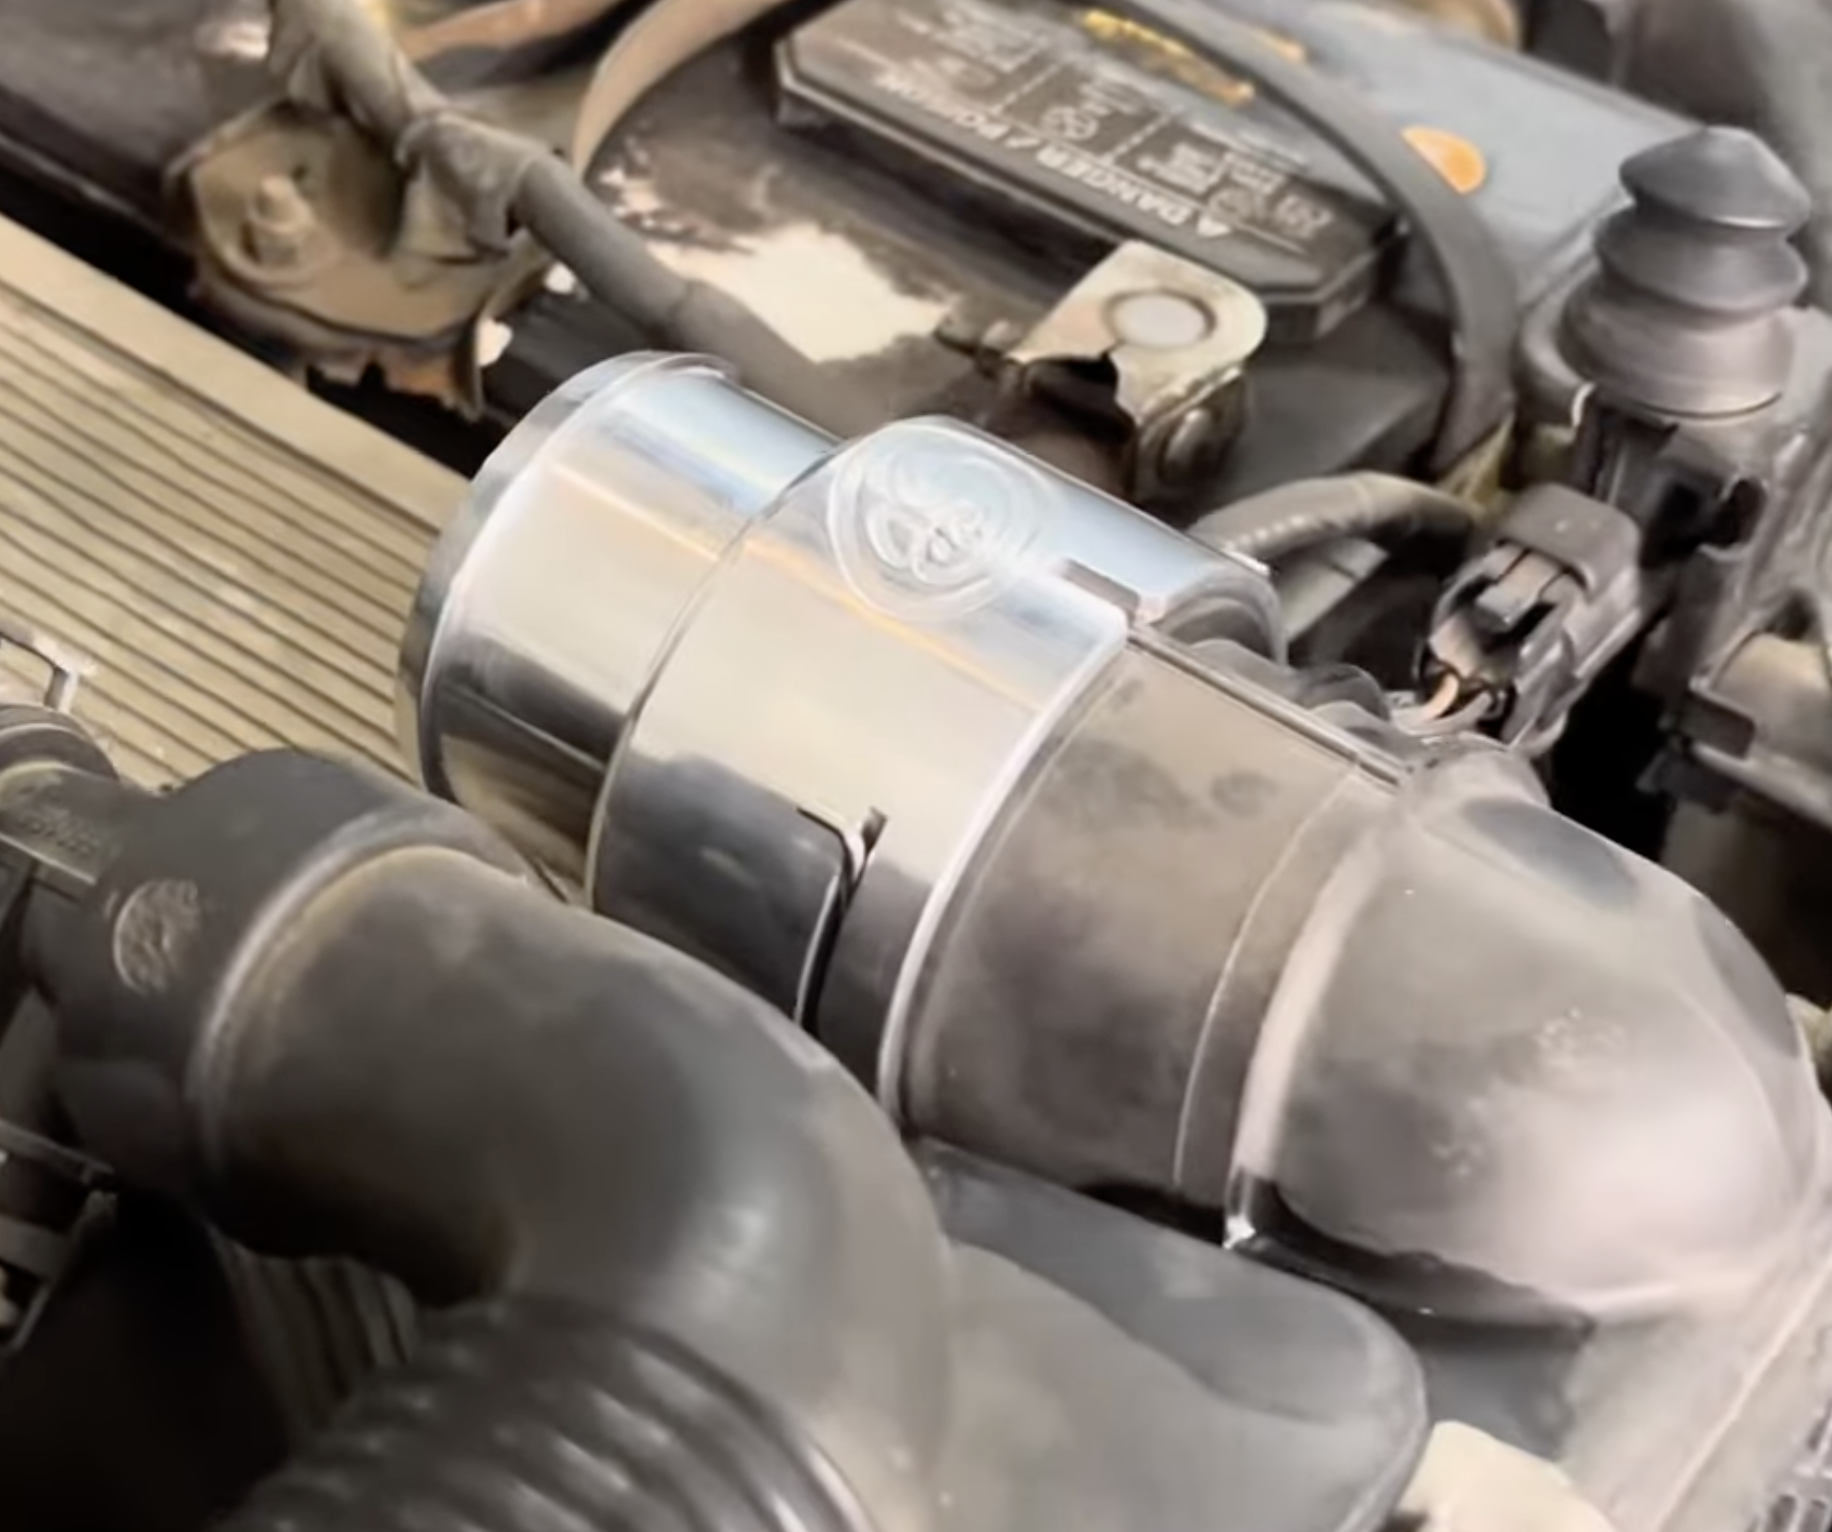
Install the O-Ring into the S&B Quick Connect Collar and then lubricate it with some coolant prior to installation.
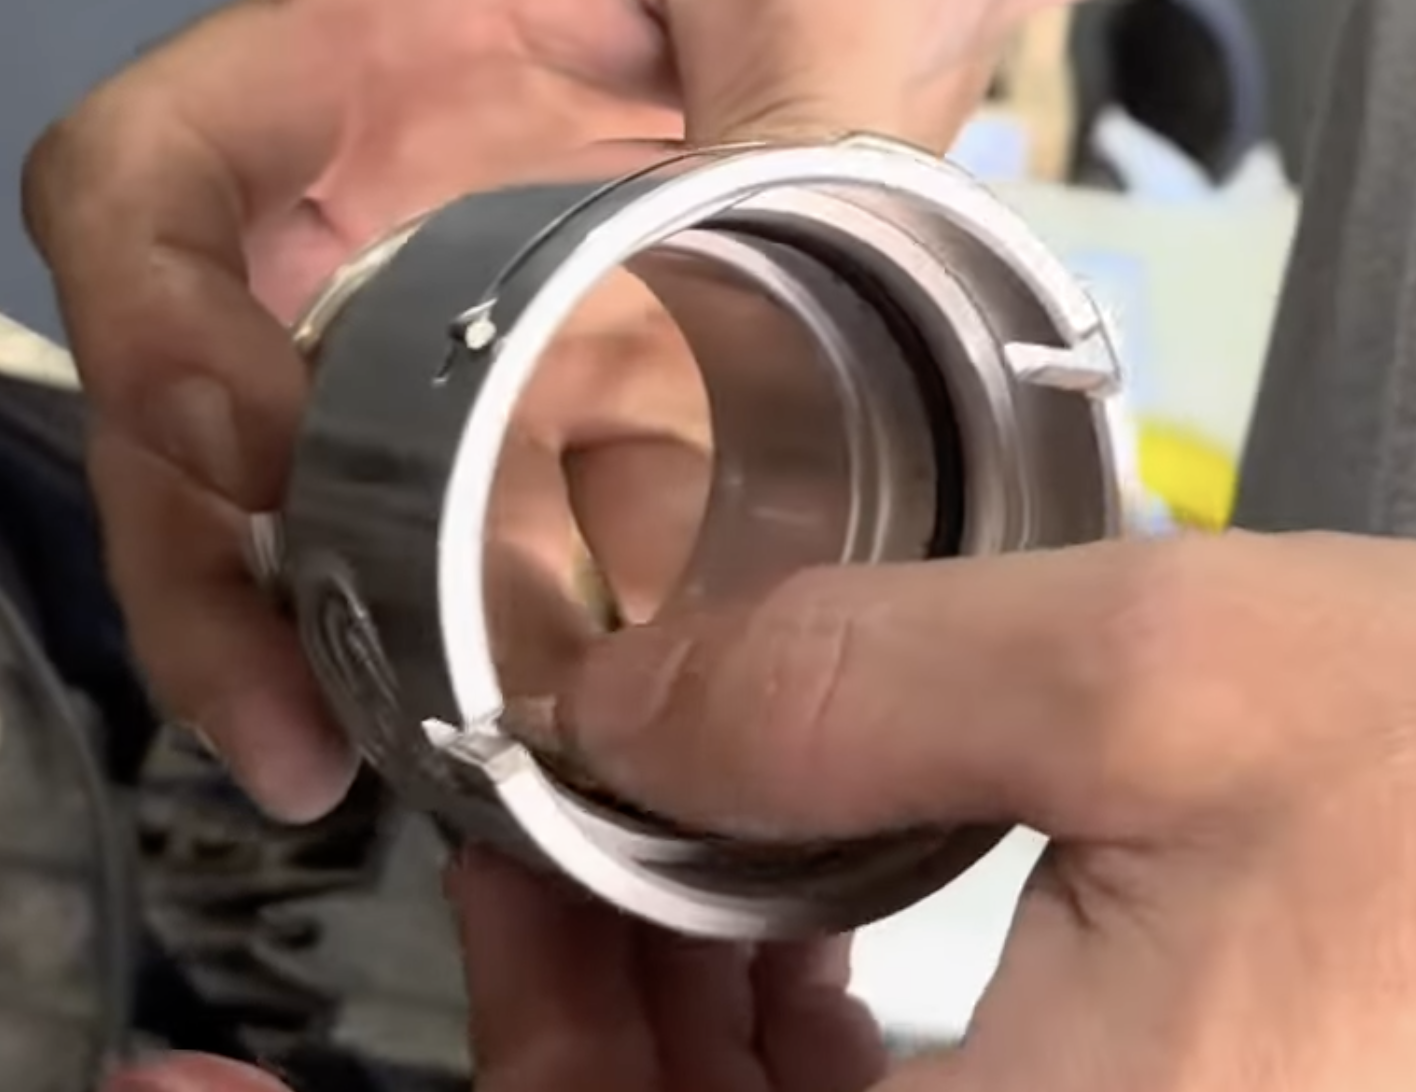
Now, install the Quick Connect Collar onto the radiator. Make sure the S&B logo is facing up, and that the notch in the collar indexes properly. To verify connection, make sure the 2 endpoints of the retention clip are flush against the collar.
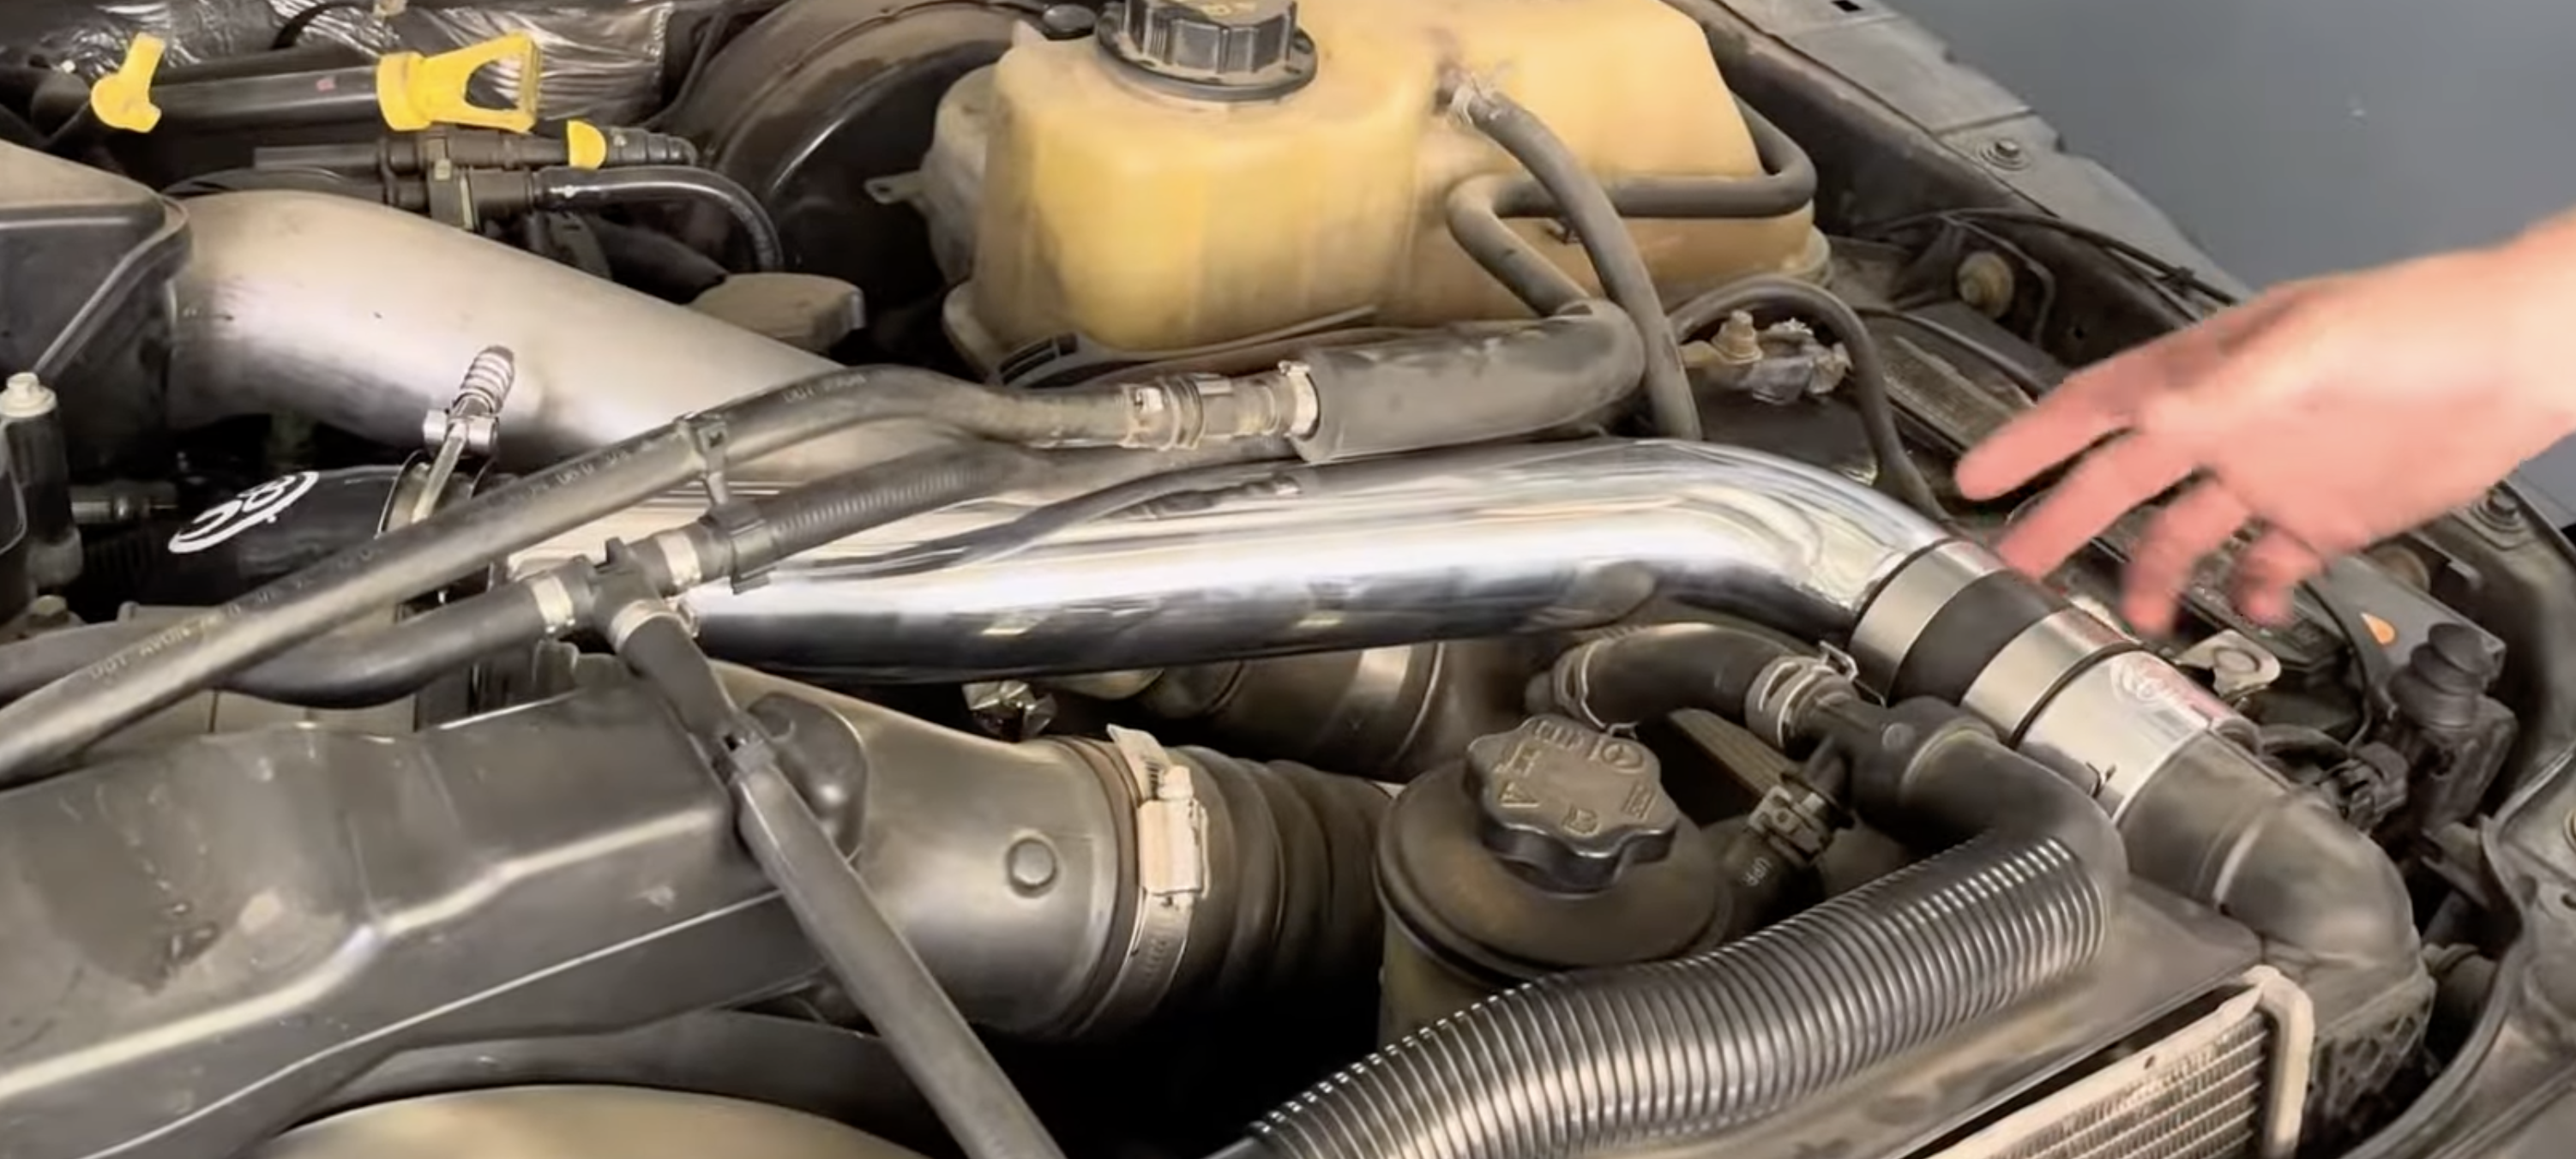
Next, go ahead and dry fit the upper coolant pipe by attaching the 90 degree boot to the thermostat end of the pipe, and the straight boot to the radiator side of the pipe. Then place 2 hose clamps on each boot in preparation for the next step. Once this is done, go ahead and mount the upper coolant pipe assembly as seen to the right.
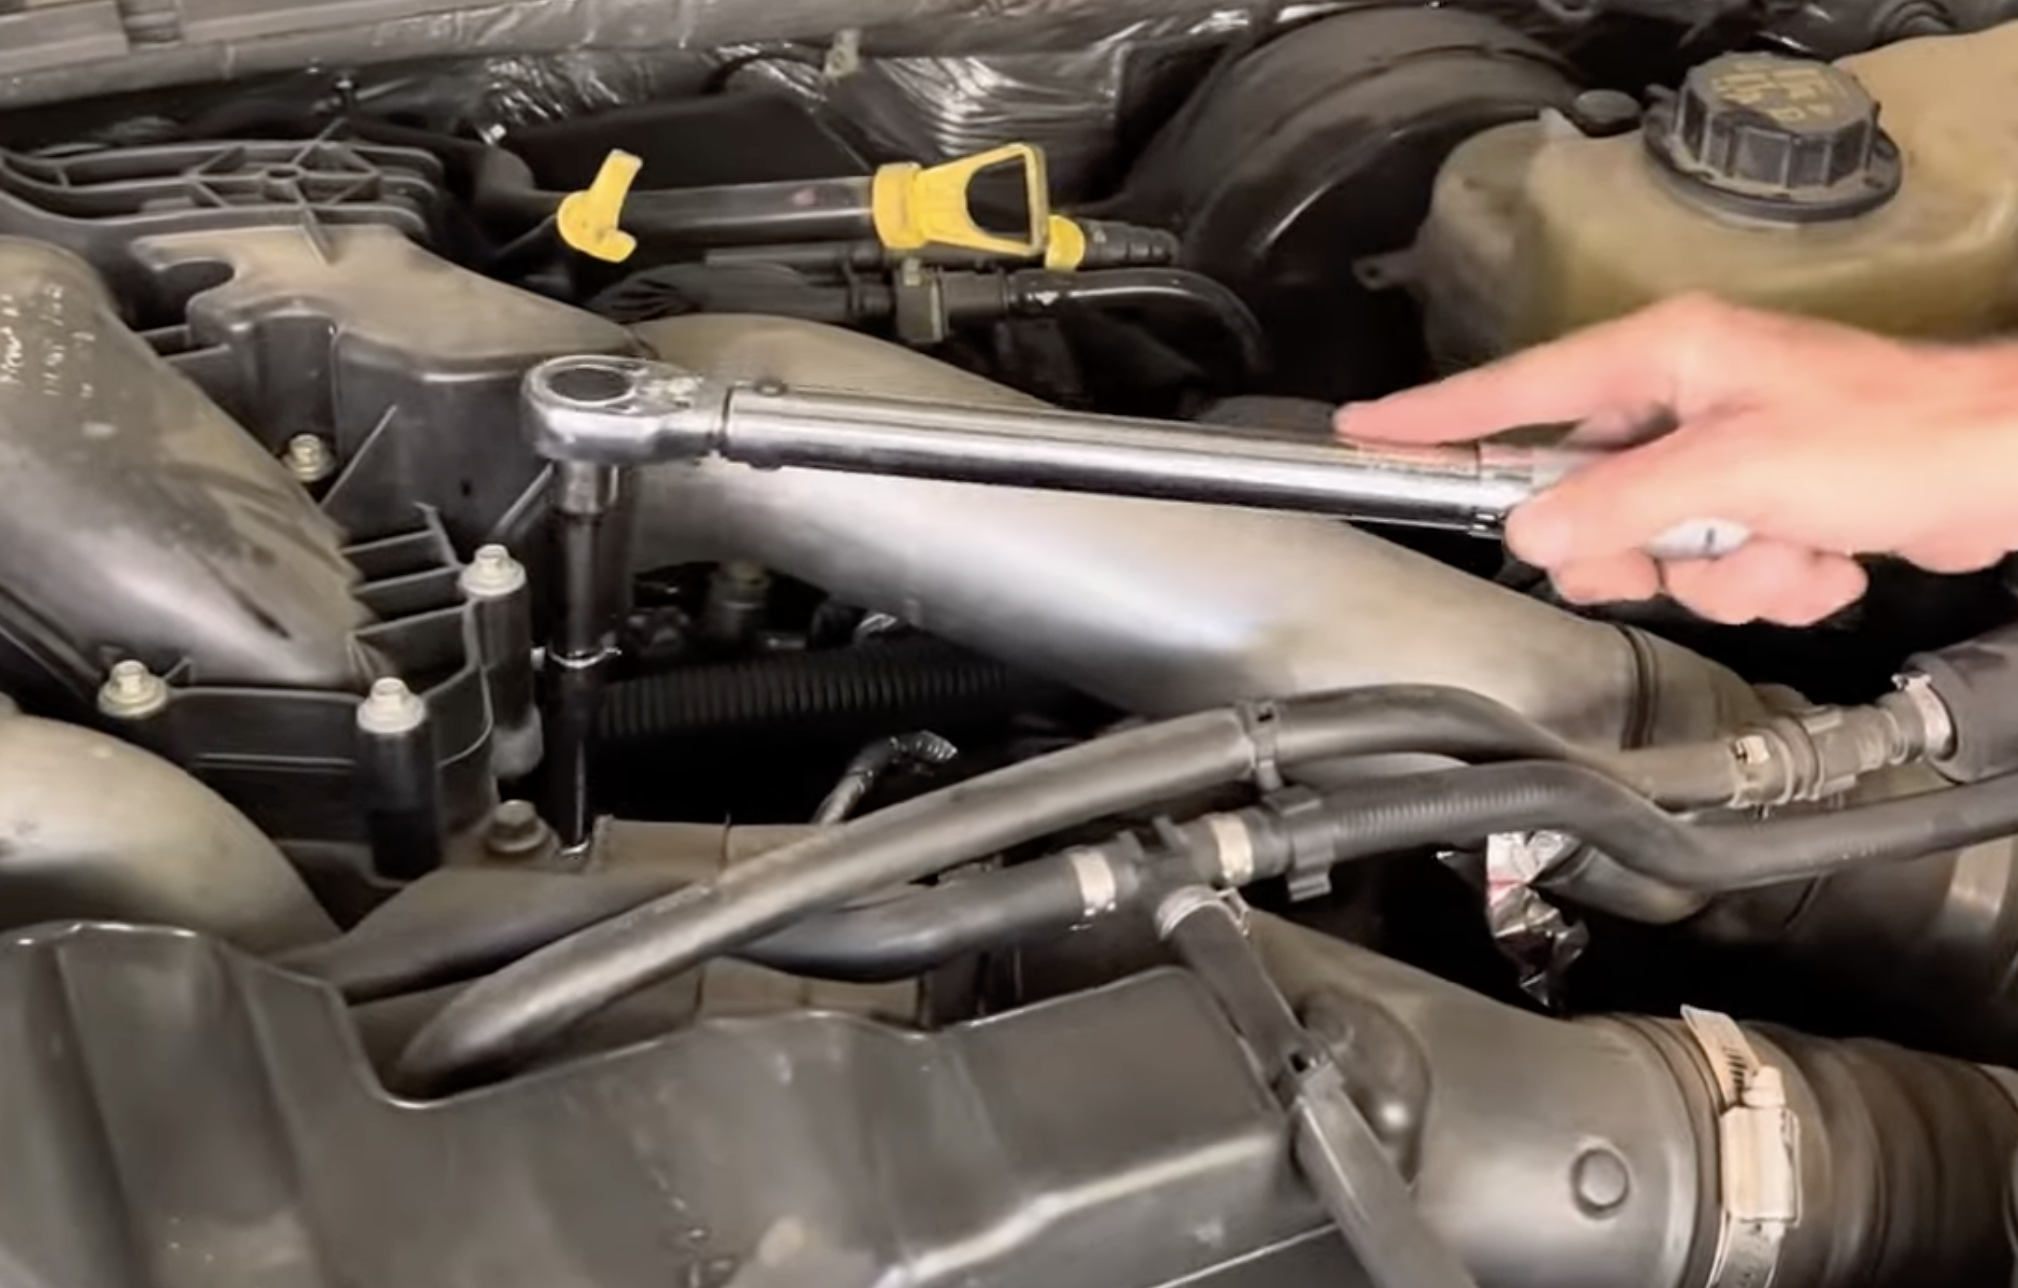
Now, go ahead and tighten and torque down the lower T-clamp on the thermostat side boot to 76 in. lbs..
We recommend removing the coolant pipe for this step in order to make the T-clamps more accessible.
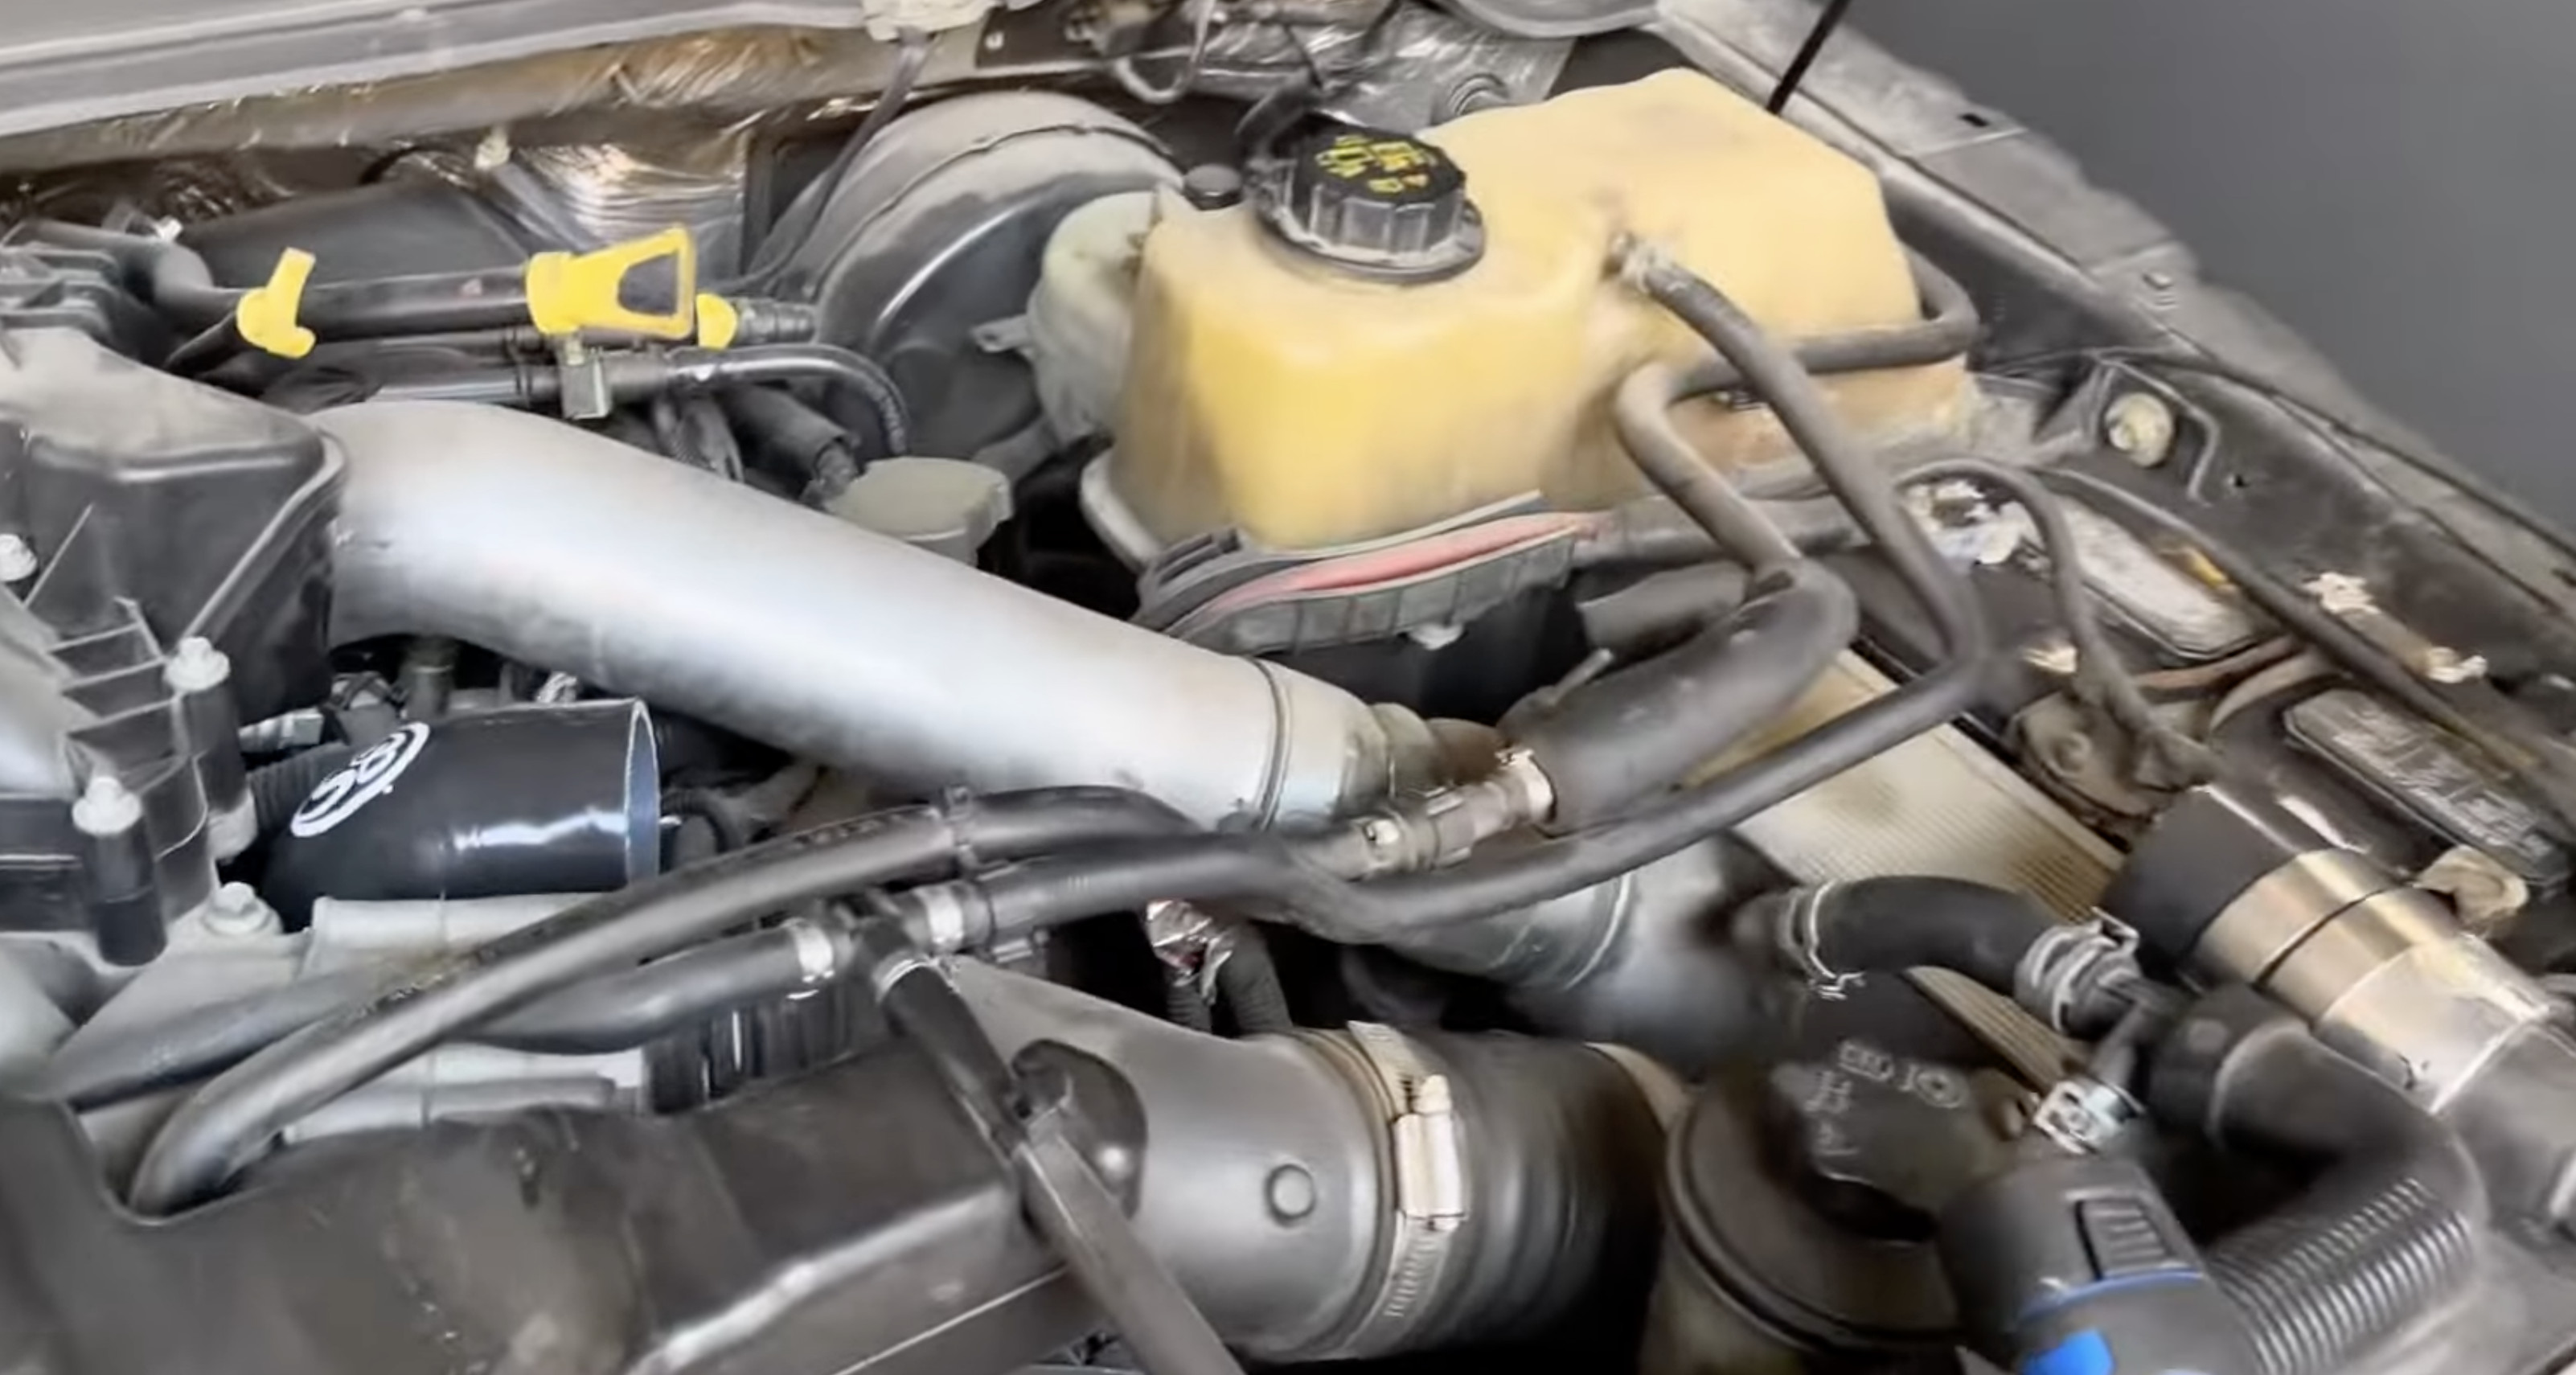
Press the S&B Upper Coolant Pipe into both boots then torque down the upper T-clamp on the thermostat side to 76 in. lbs..
Then do the same for the (2) remaining T-clamps, please torque them down to 76 in. lbs..

Once done, please verify that all connection points are tight and secure. Your installation is now complete.