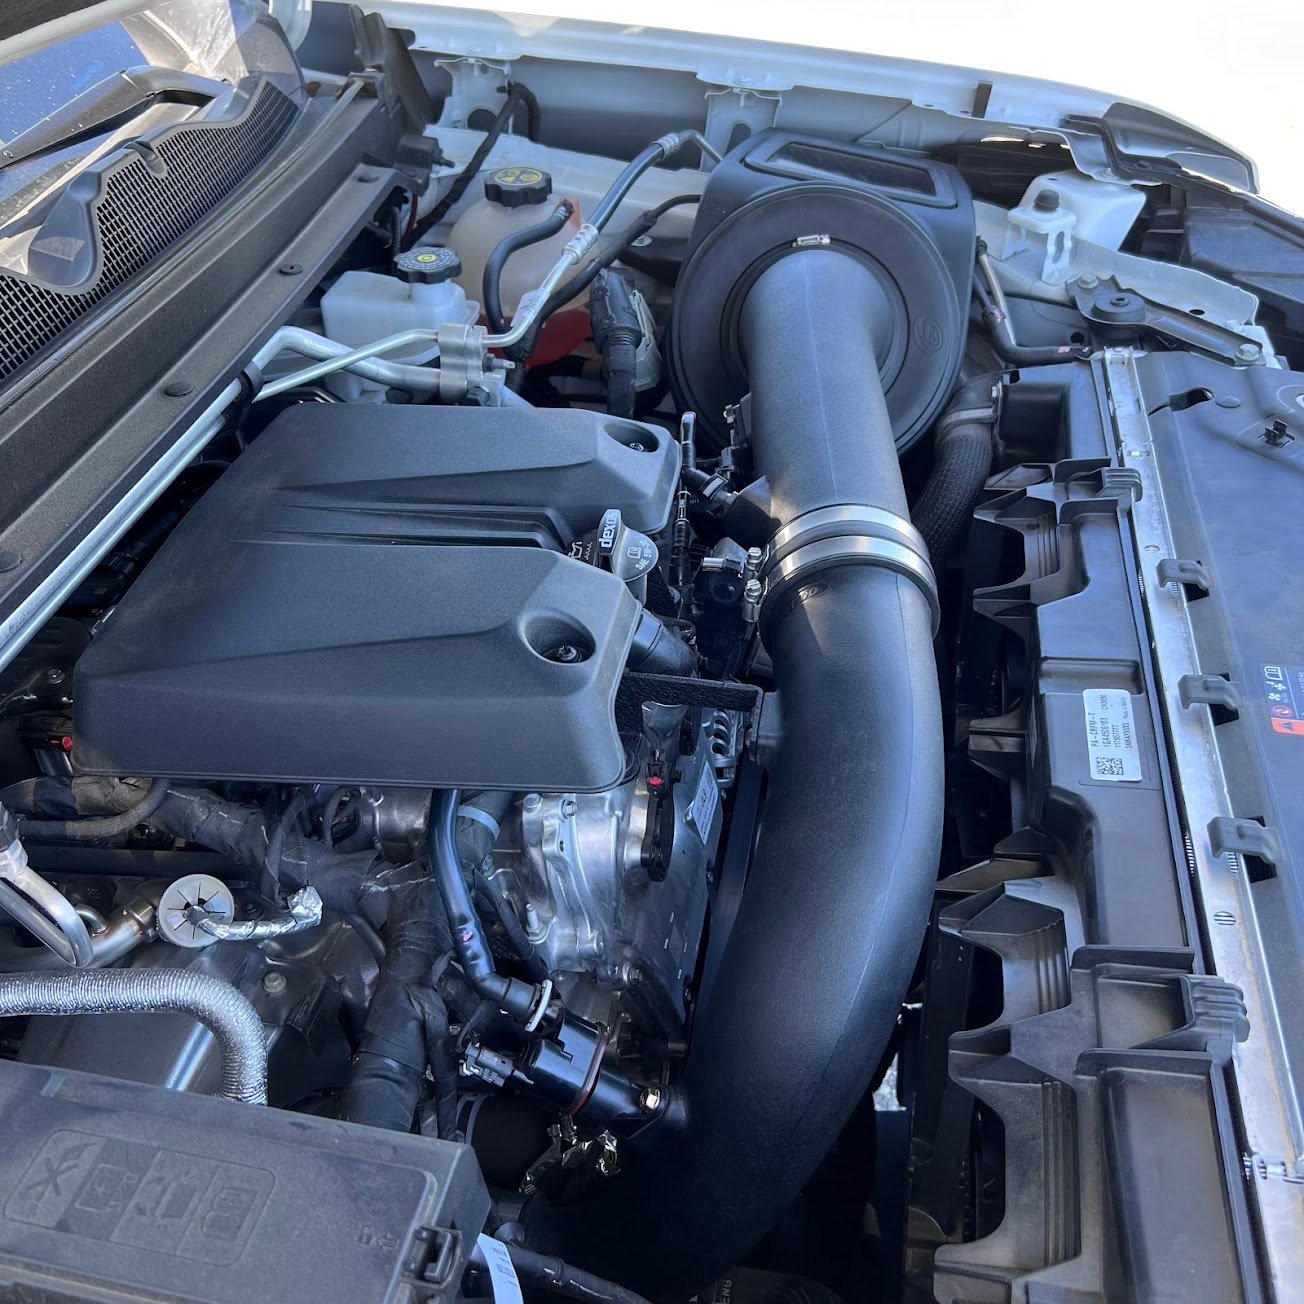
STEP 1
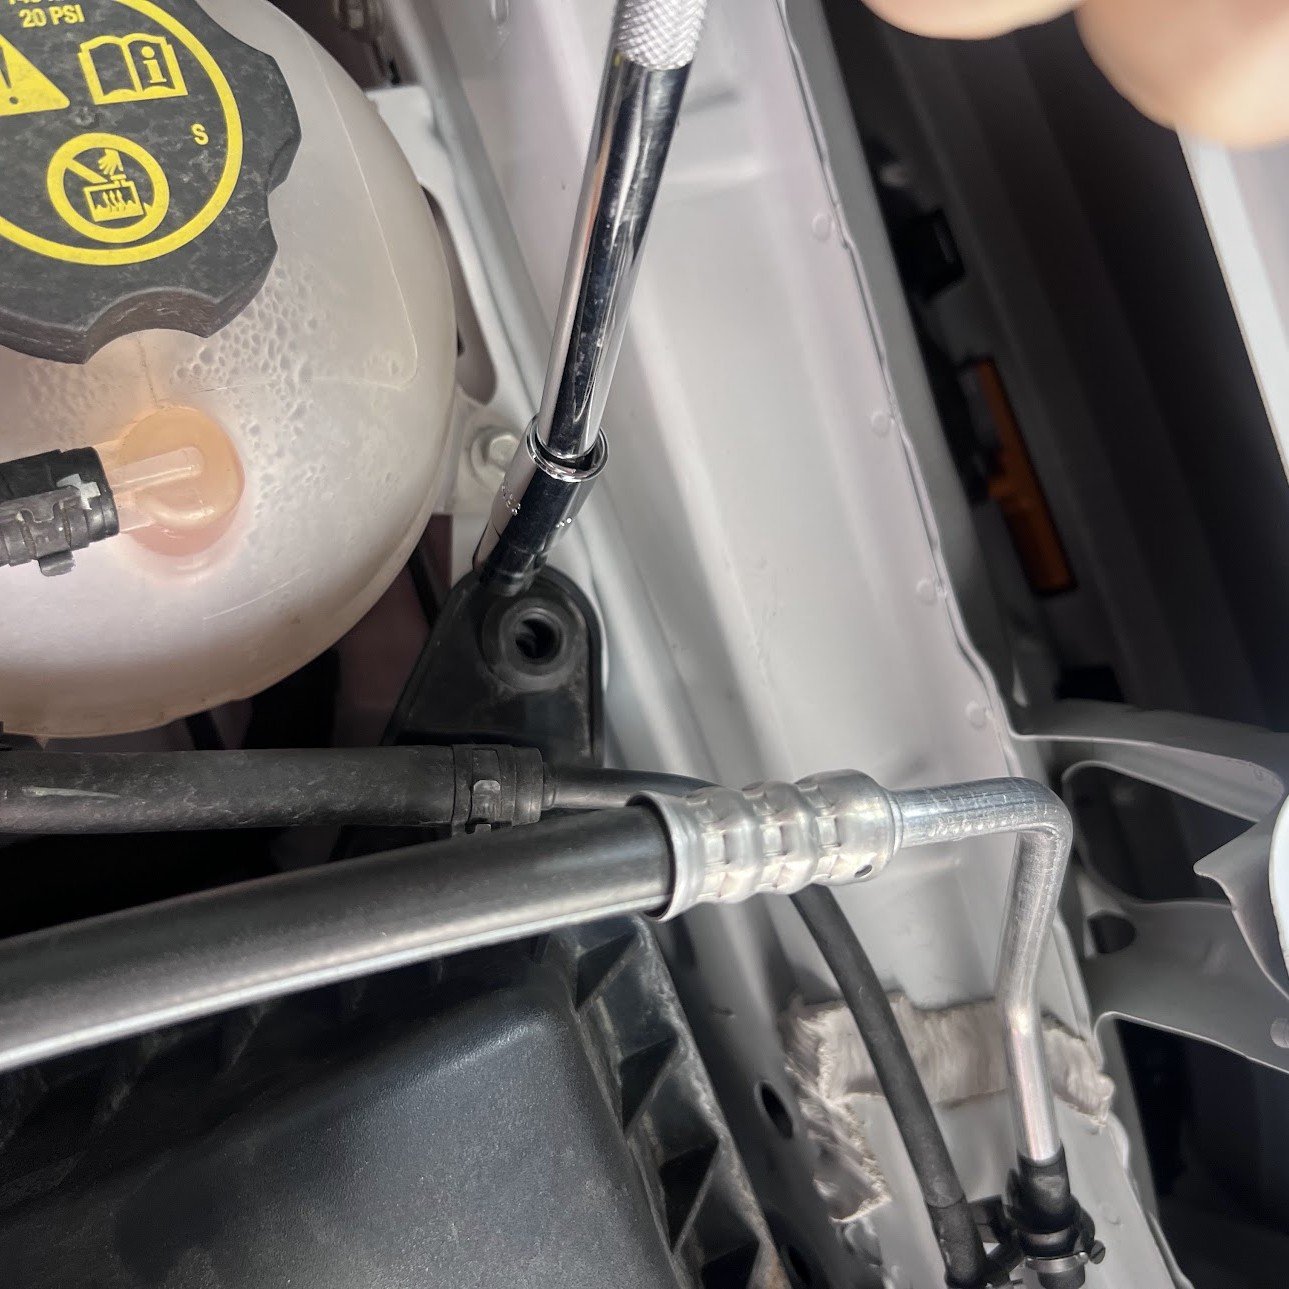
To begin removing the OE airbox, remove the screw fastening the rear of the intake box to the vehicle near the driver side fender.
Please read the entire product guide before proceeding. Ensure all parts are
present. If you are missing any of the components, call our customer support
at (909) 947-0015. Do not work on your vehicle while the engine is hot. Make
sure the engine is turned offand the vehicle is in Park and the Parking Brake
is set.
S&B FILTERS recommends that you keep your OE intake system in the event
it is required in the future.
In order to maintain your warranty, all connections and components must be
checked periodically for alignment and for proper tension on all connections.
Failure to do so may void your warranty.
Use only S&B FILTERS cleaning and oil products to service your filter. Using
any other brand oil and or cleaners on your S&B air filter may void your warranty
Ratchet/Wrench, 8mm & 10mm Socket, Panel Popper, Crescent Wrench, Phillips Screwdriver and Pliers
Note: Approximate Install Time: 1 Hr 00 Mins.
To begin removing the OE airbox, remove the screw fastening the rear of the intake box to the vehicle near the driver side fender.
Next, remove the large harness that is secured to the back of the airbox. It is pushed into the airbox and secured with a rivet, so use a panel popper to pop out the rivet. The rivet will be pushed into the S&B airbox.
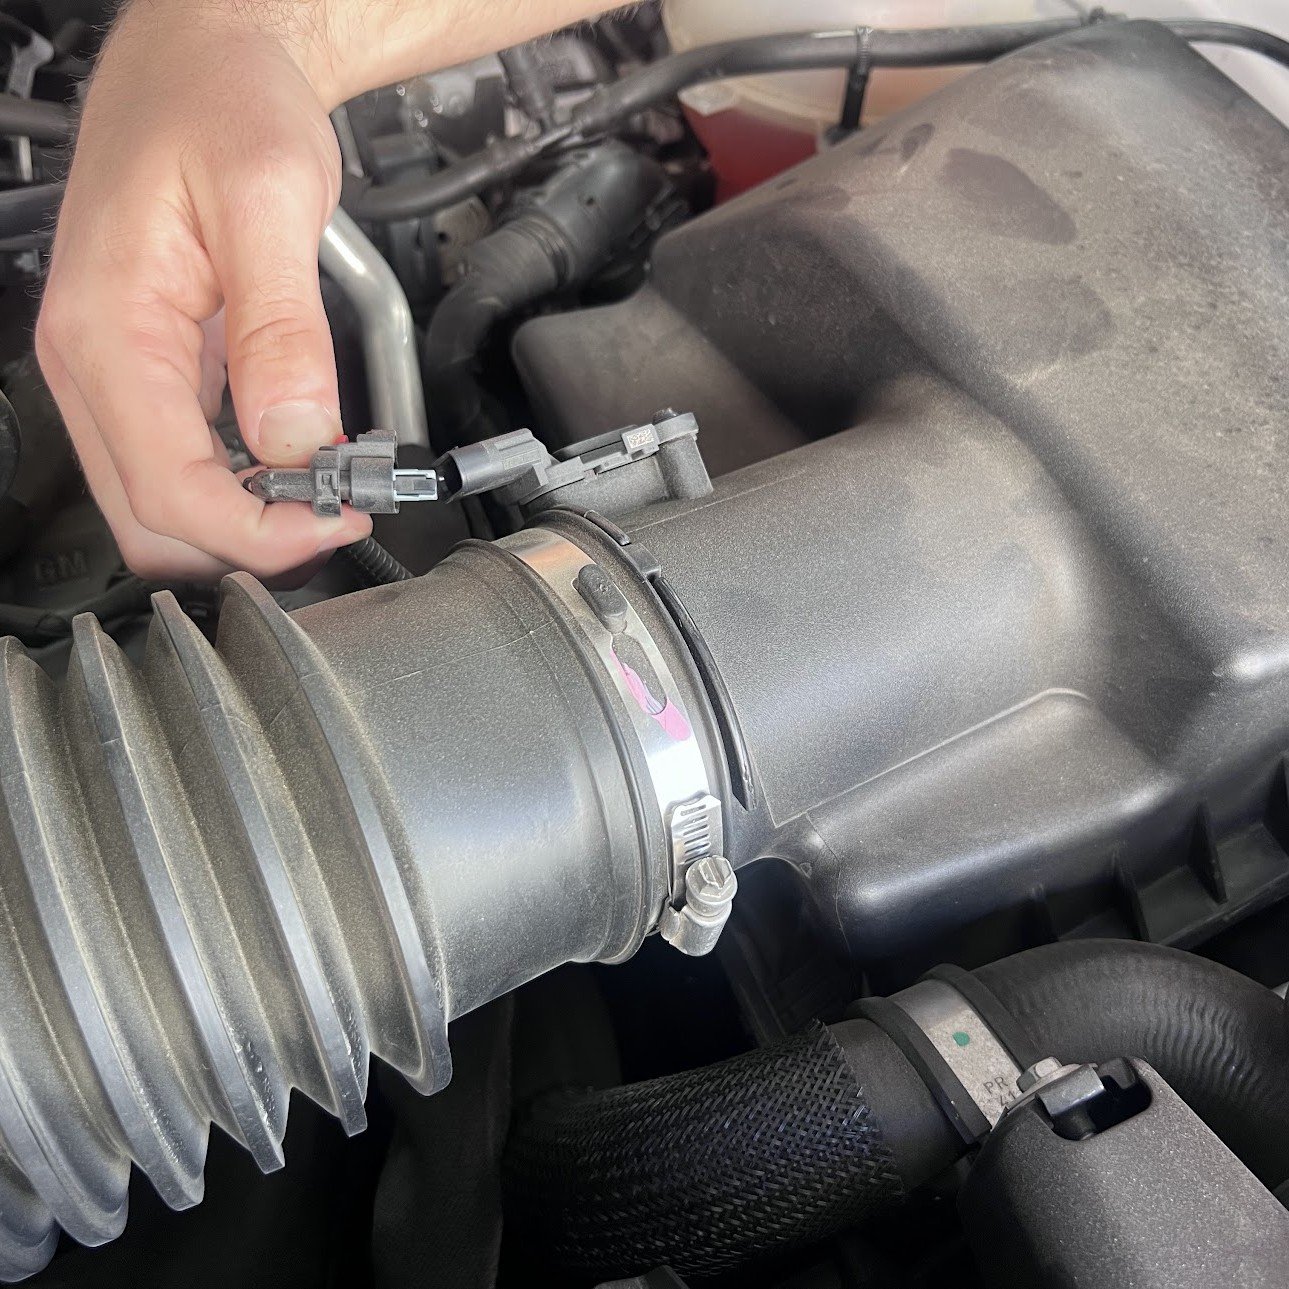
Disconnect the MAF by unlocking the tab and then depressing the lever as you pull it off.
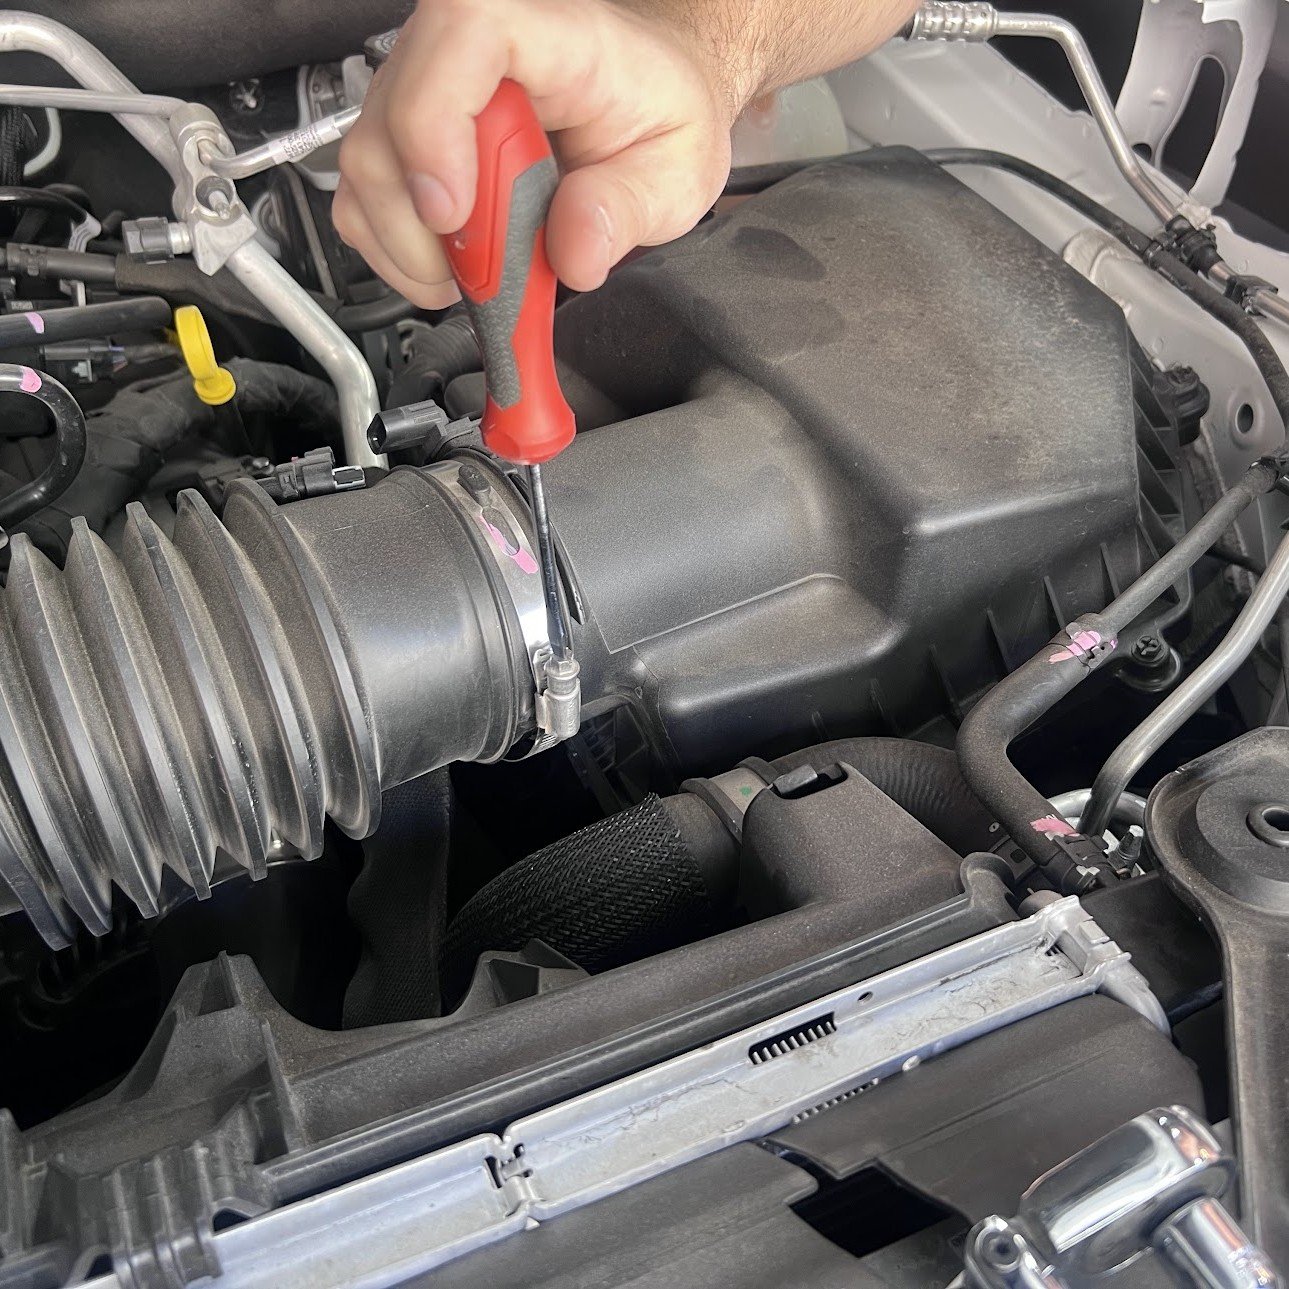
Loosen the hose clamp securing the tube to the intake.
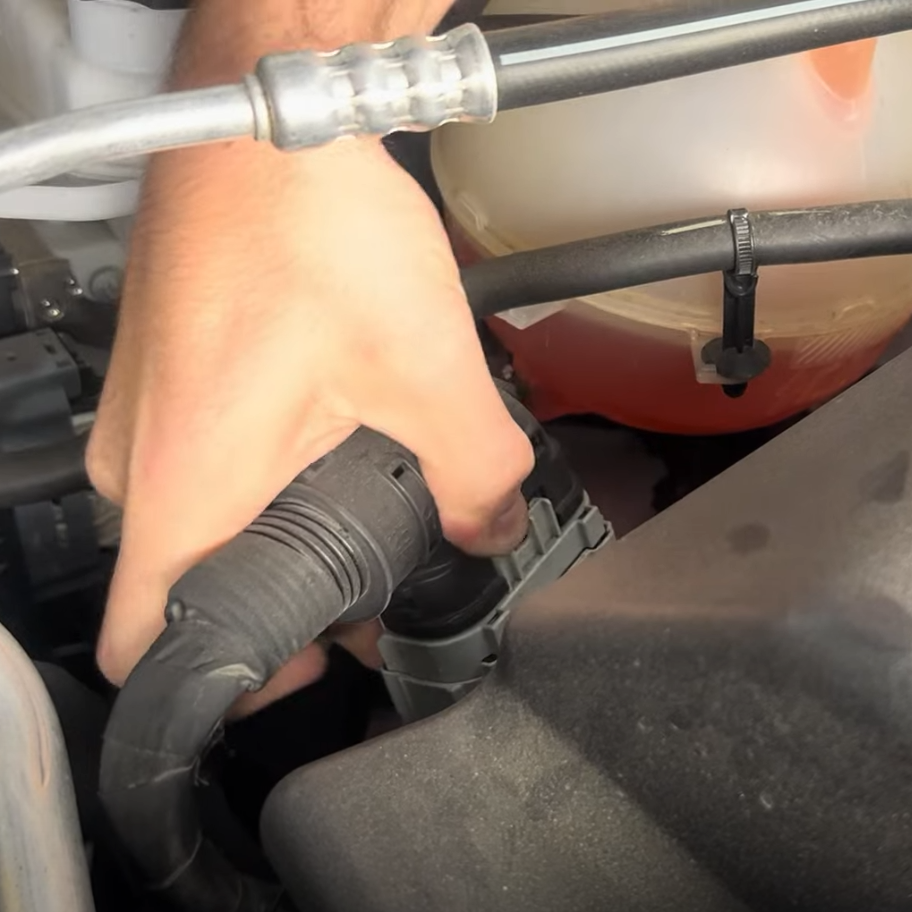
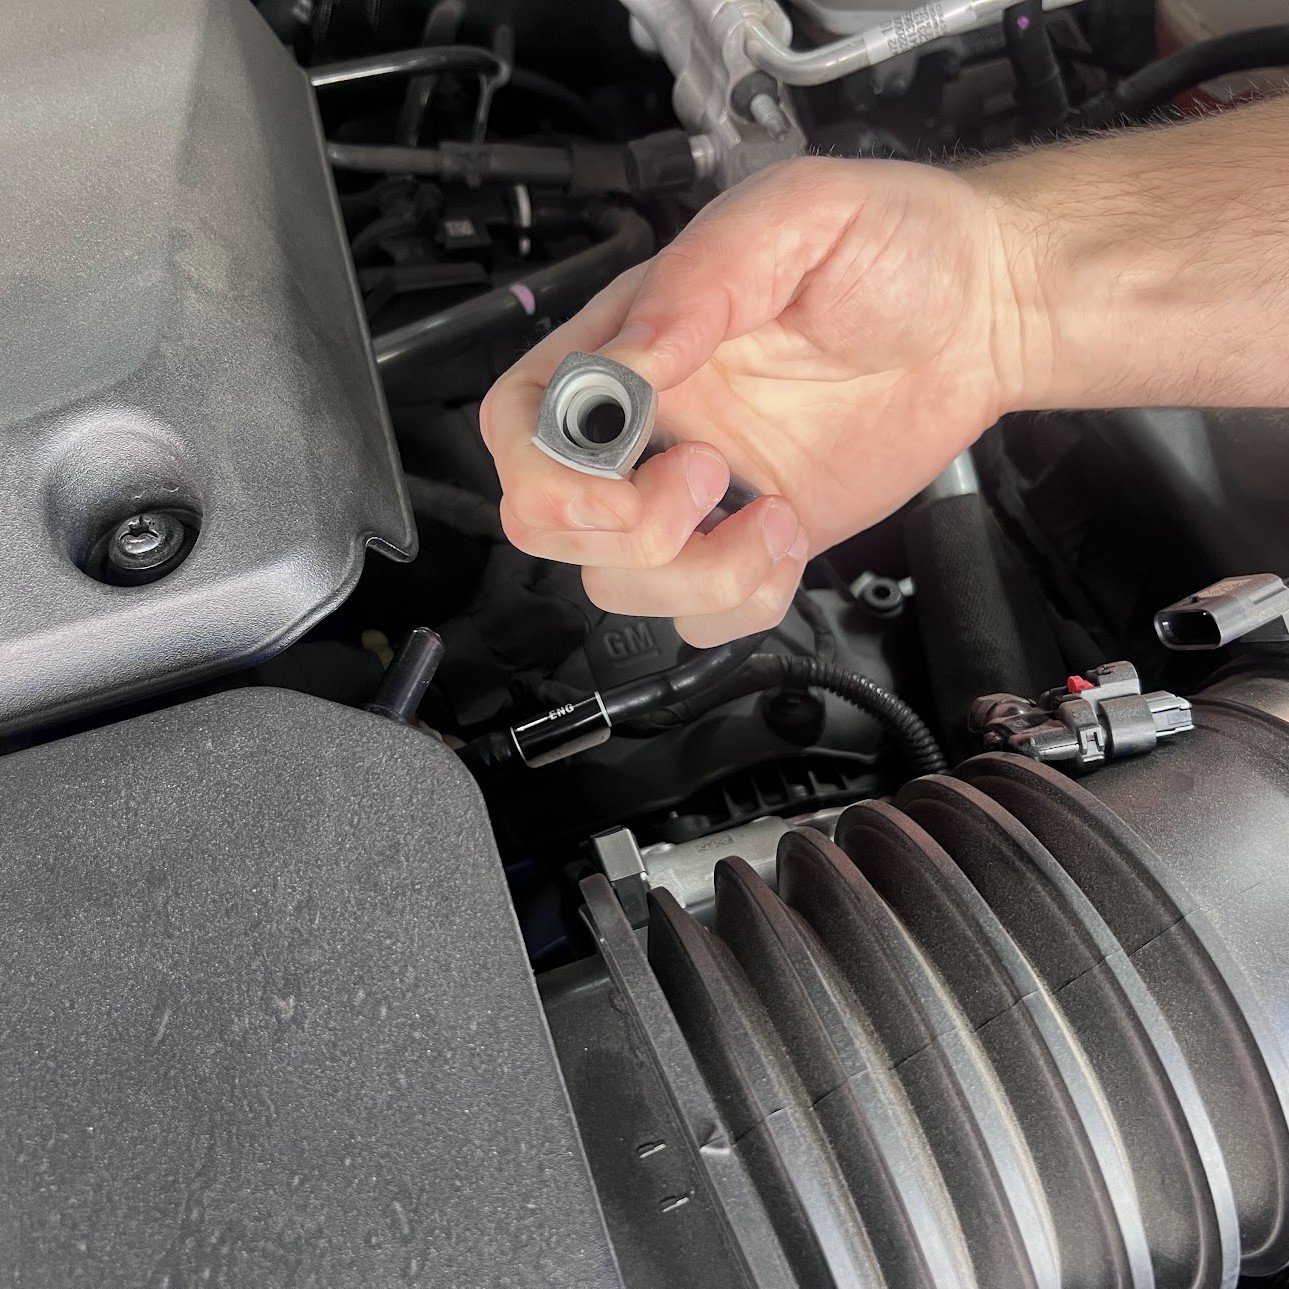
Disconnect the PCV fitting from the intake by pressing on the buttons on the side and pulling it off.
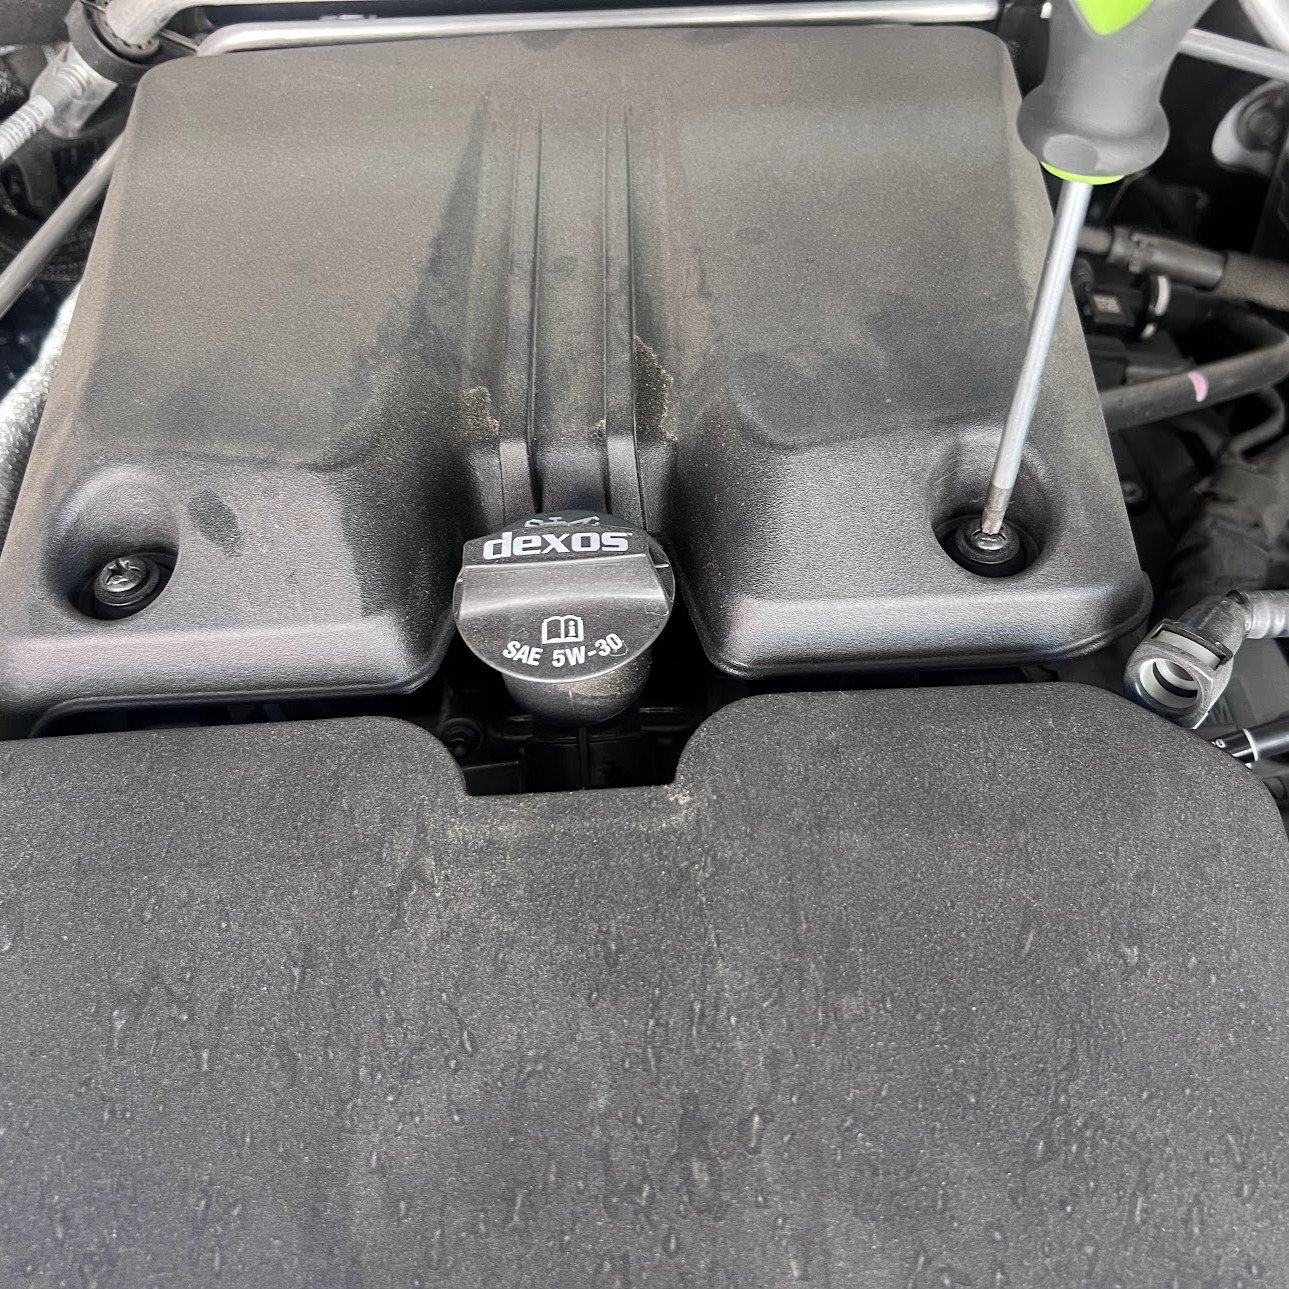
Unfasten the screws securing the engine cover to the vehicle. These screws will be reused later.
Pull off the engine cover.
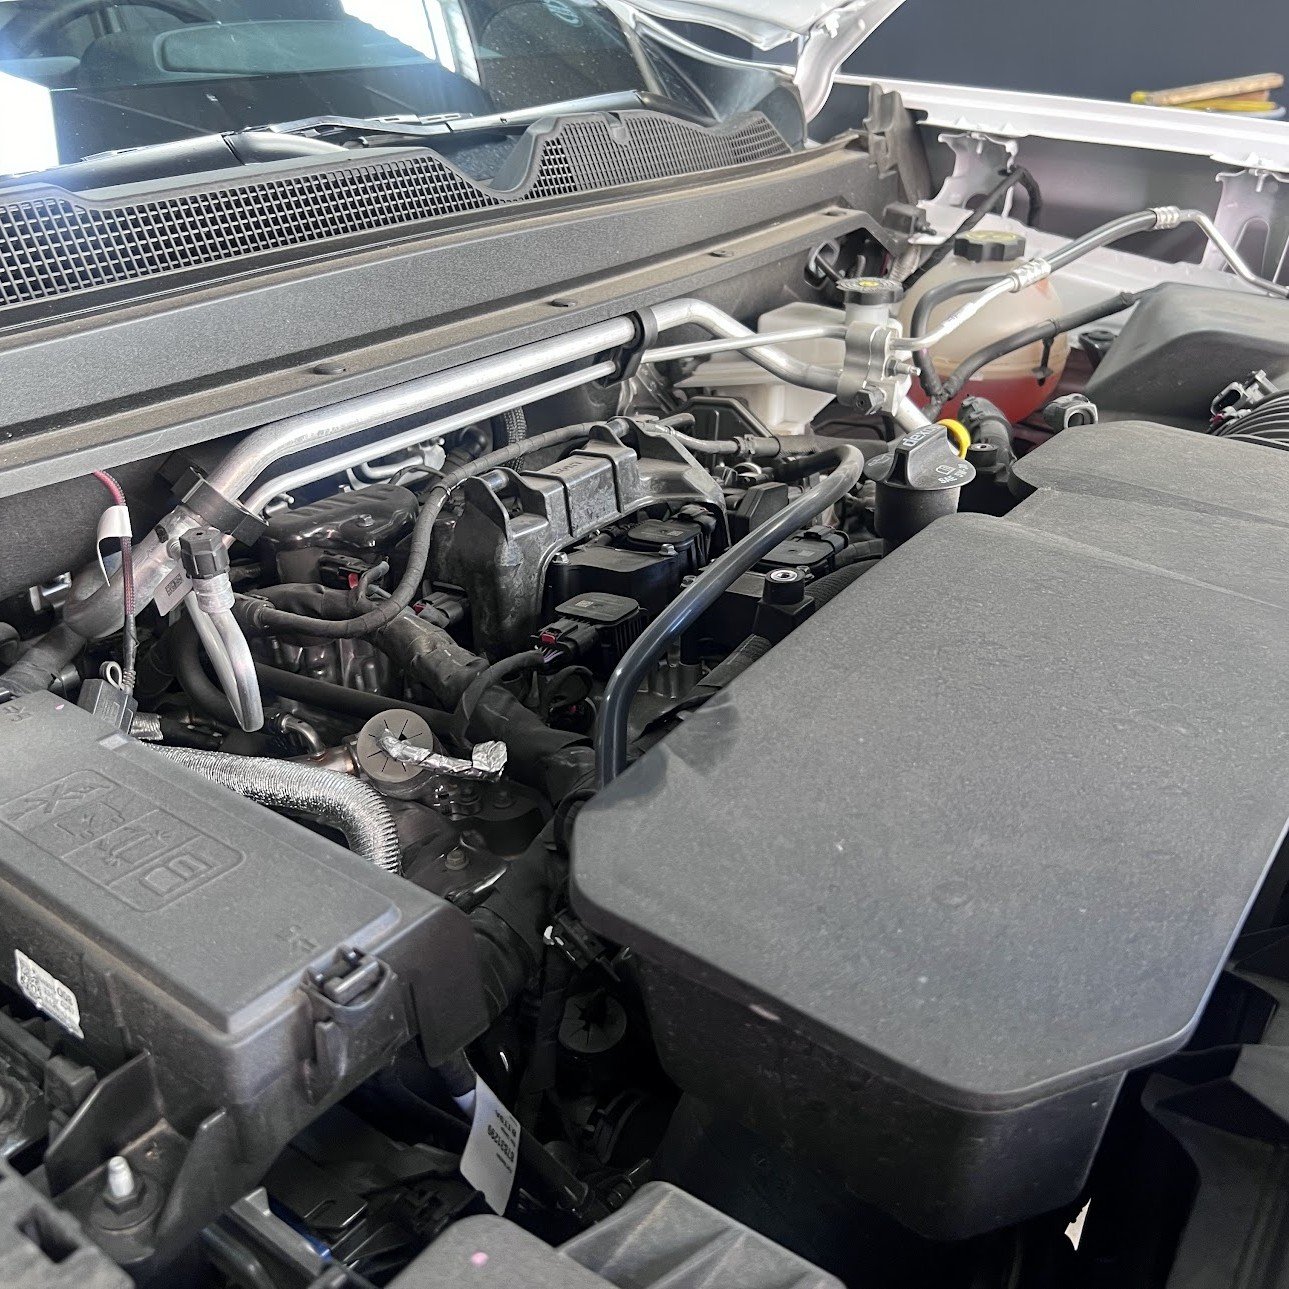
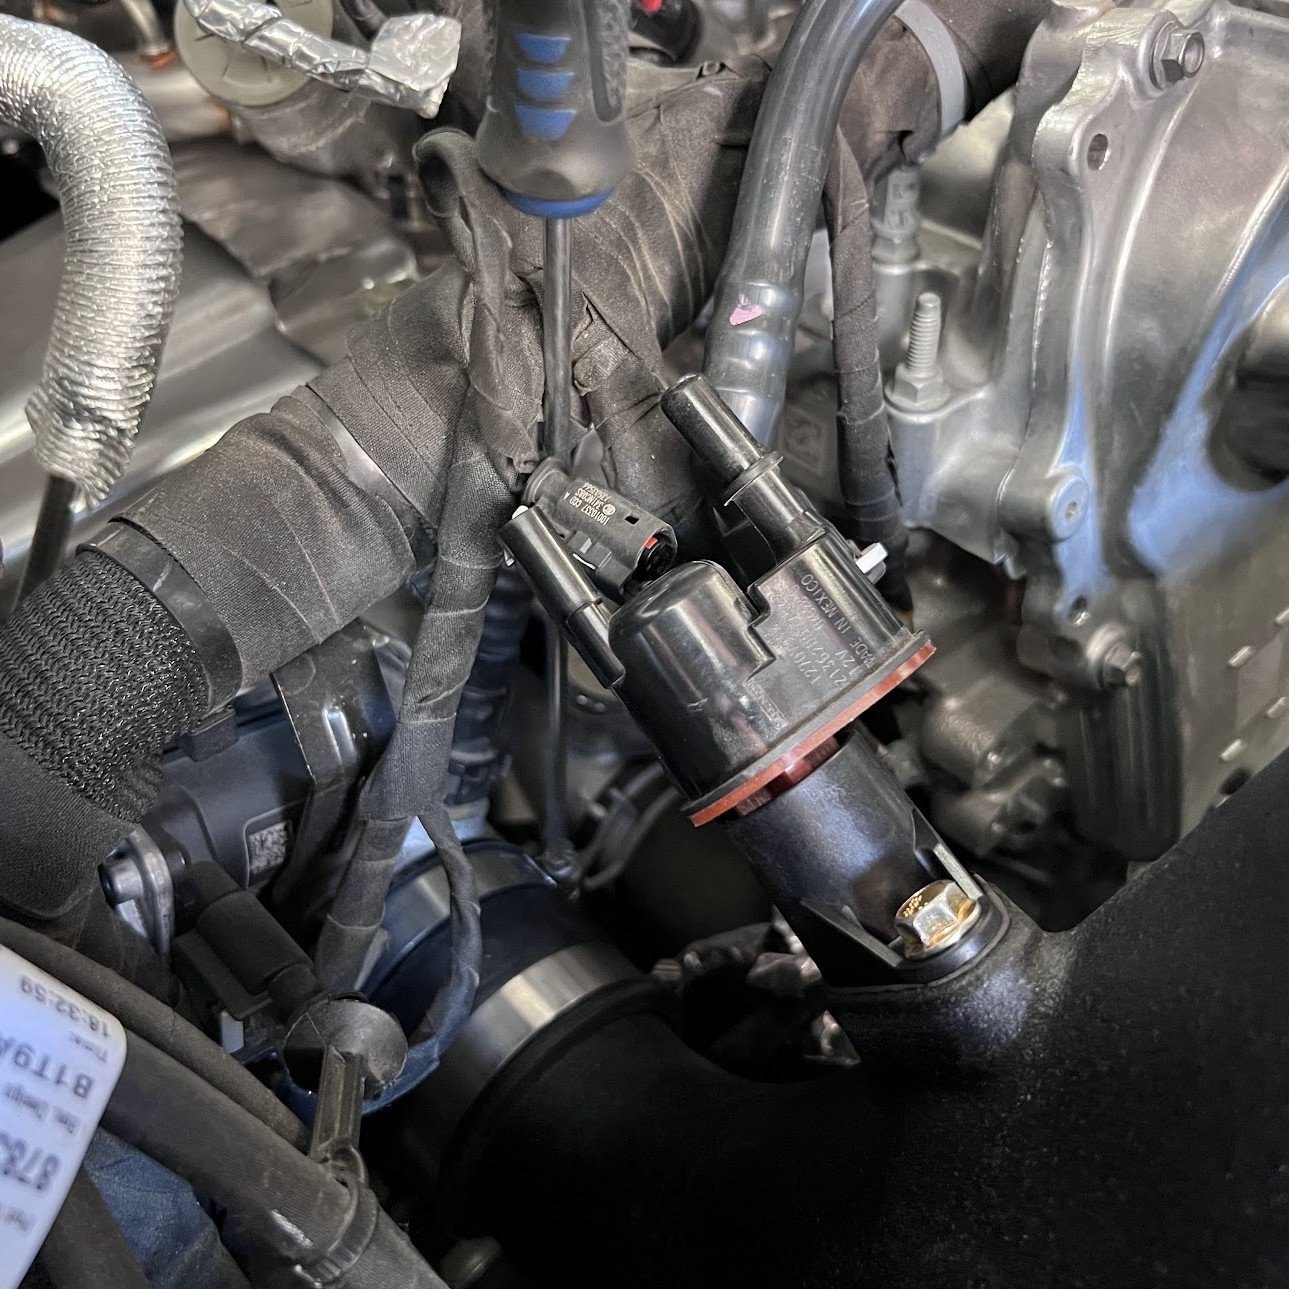
Disconnect the electrical connector on the purge valve that is mounted to the stock intake tube near the throttle body.
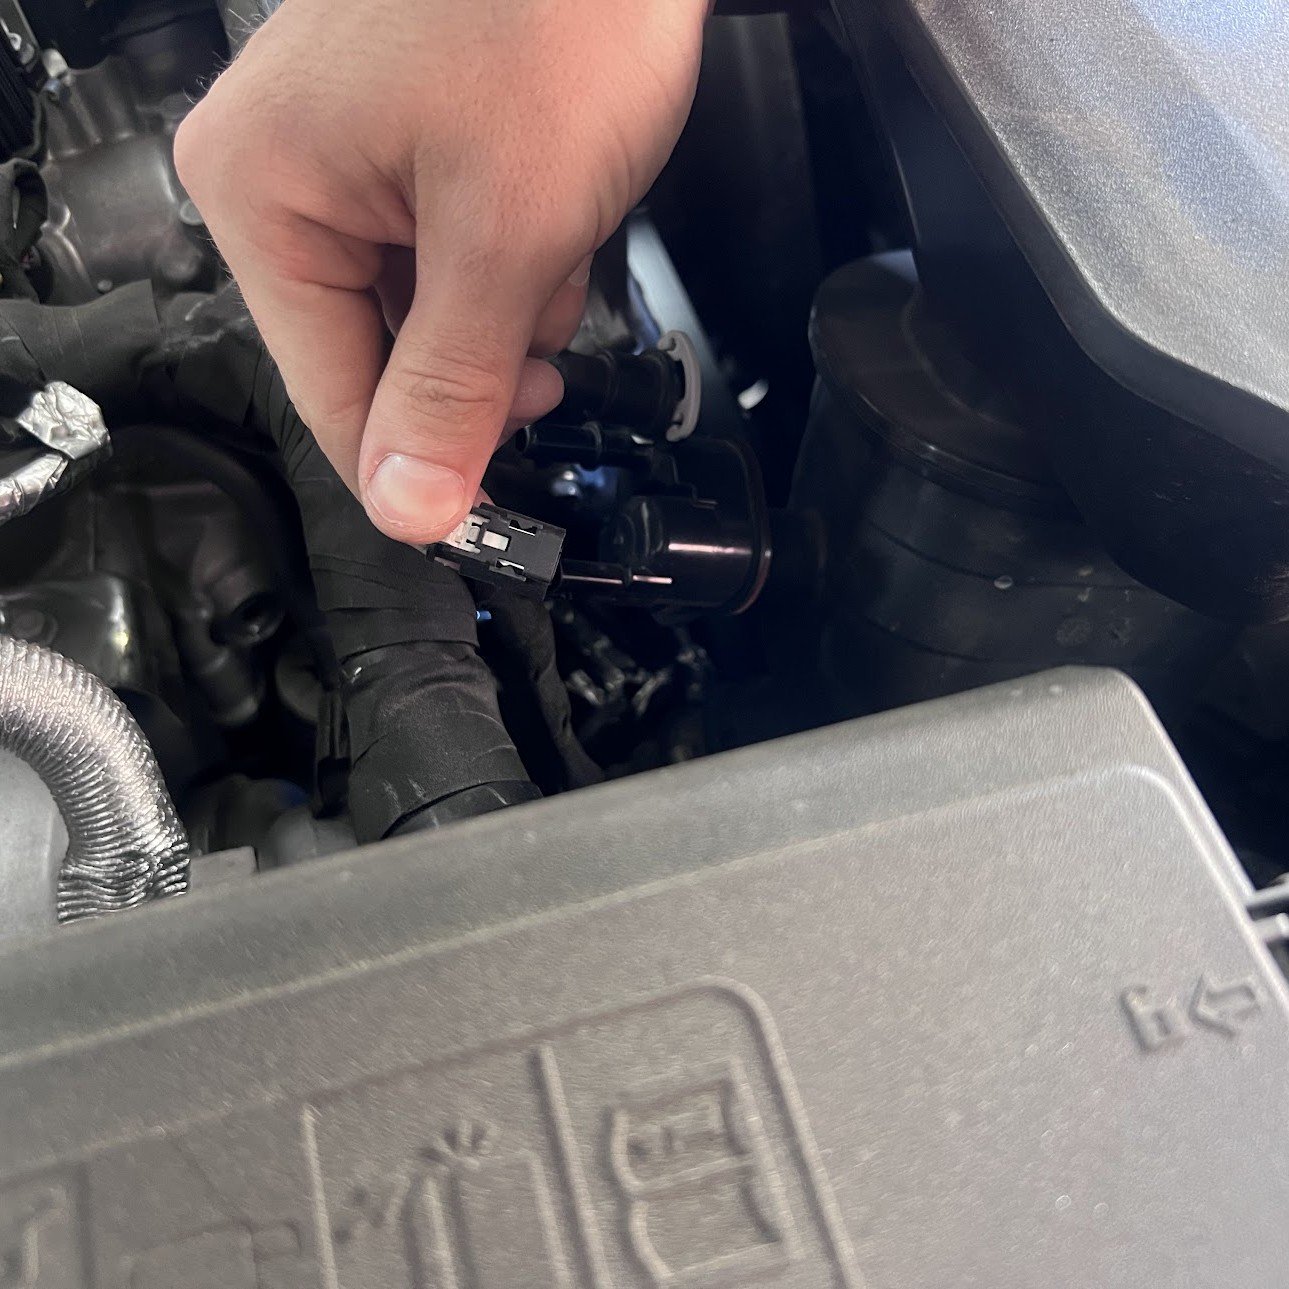
Disconnect the fitting on the purge valve by pressing on the tab and pulling it off.
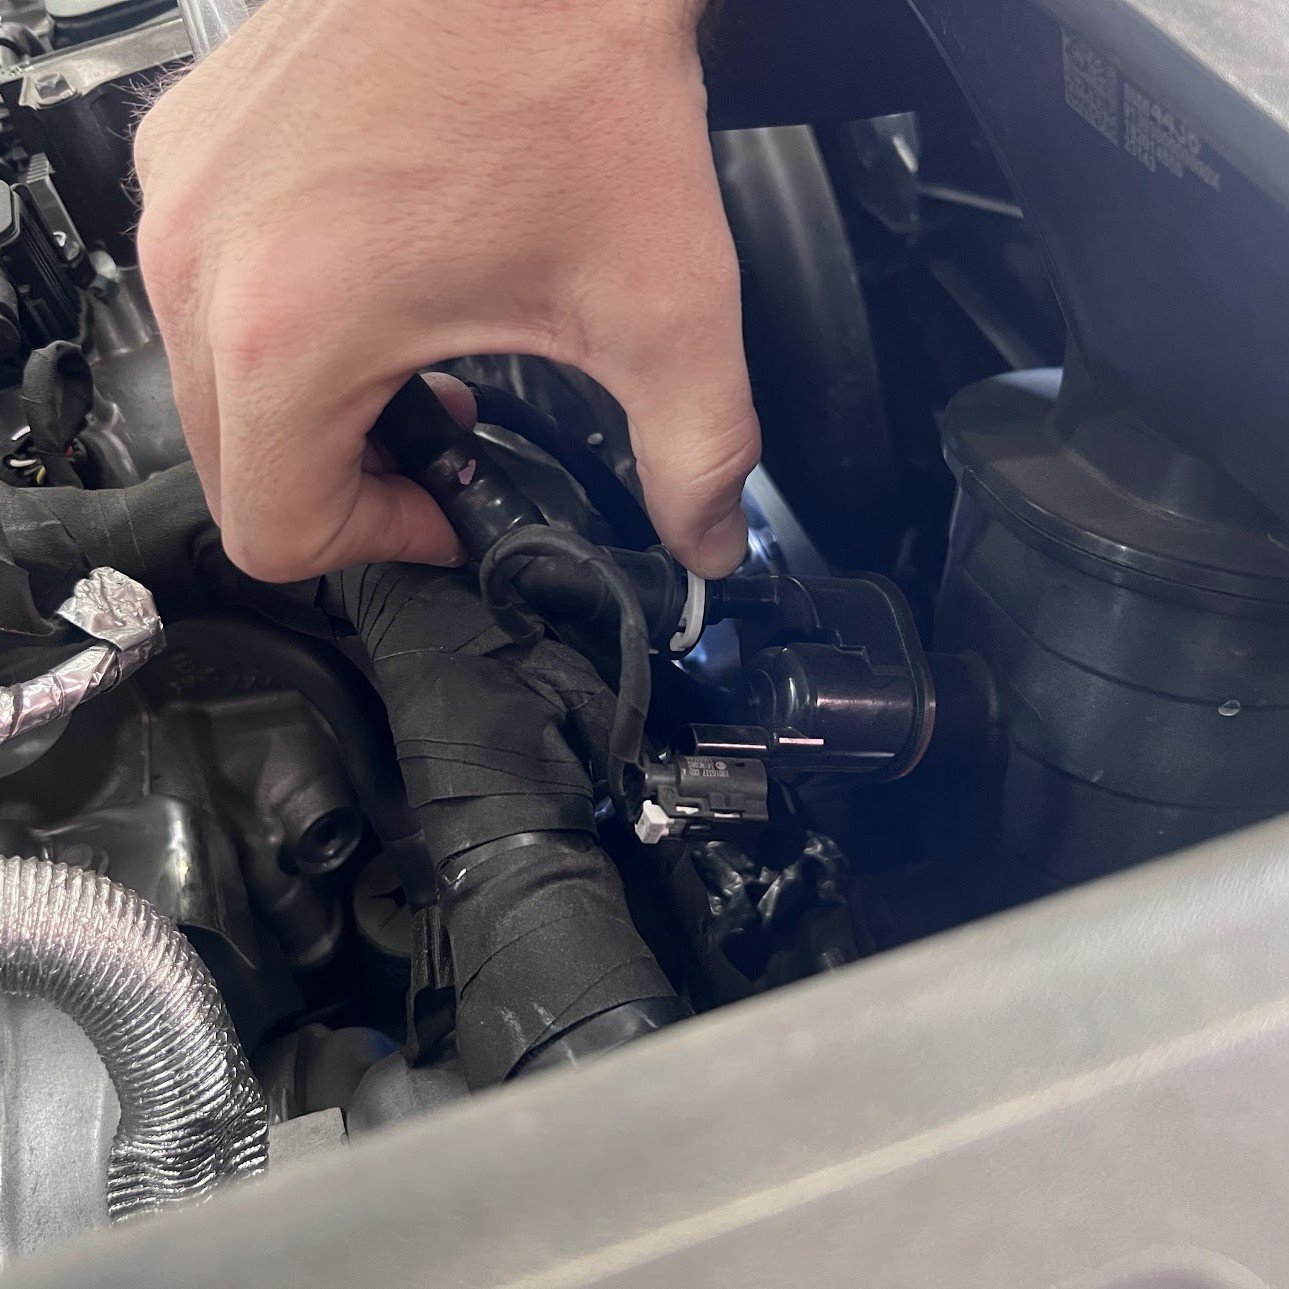
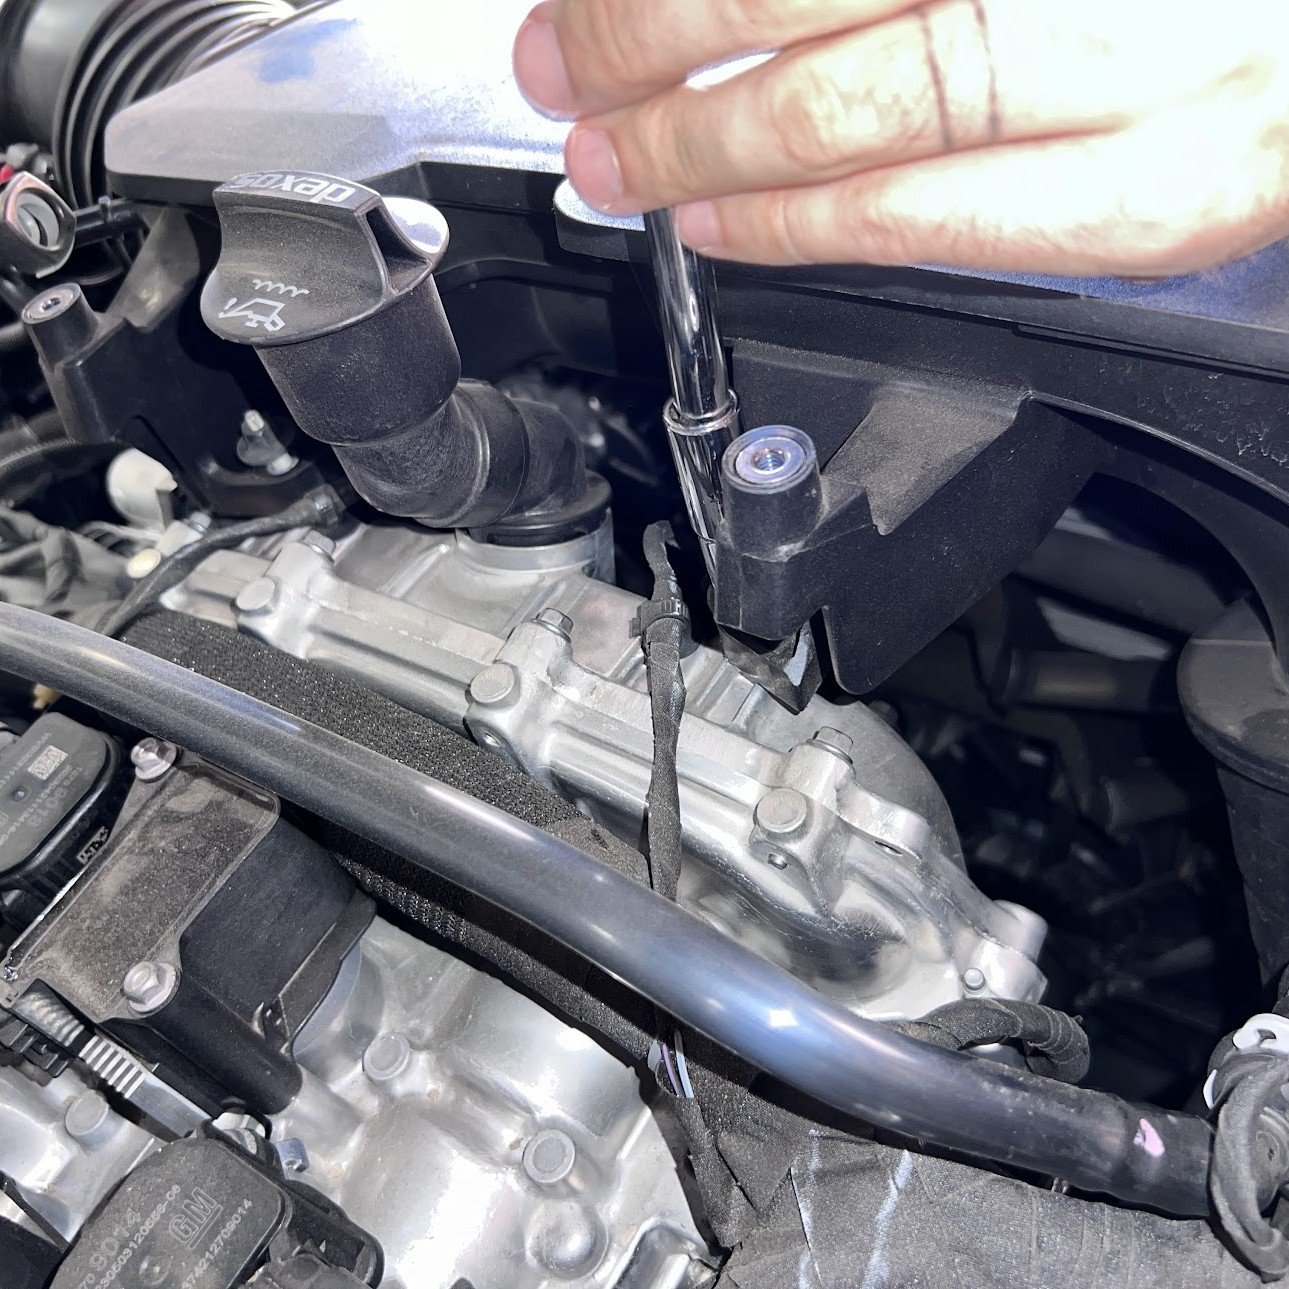
Unfasten the hose clamp securing the OE intake tube to the throttle body using a long flathead screwdriver or a 7mm socket with an extension.
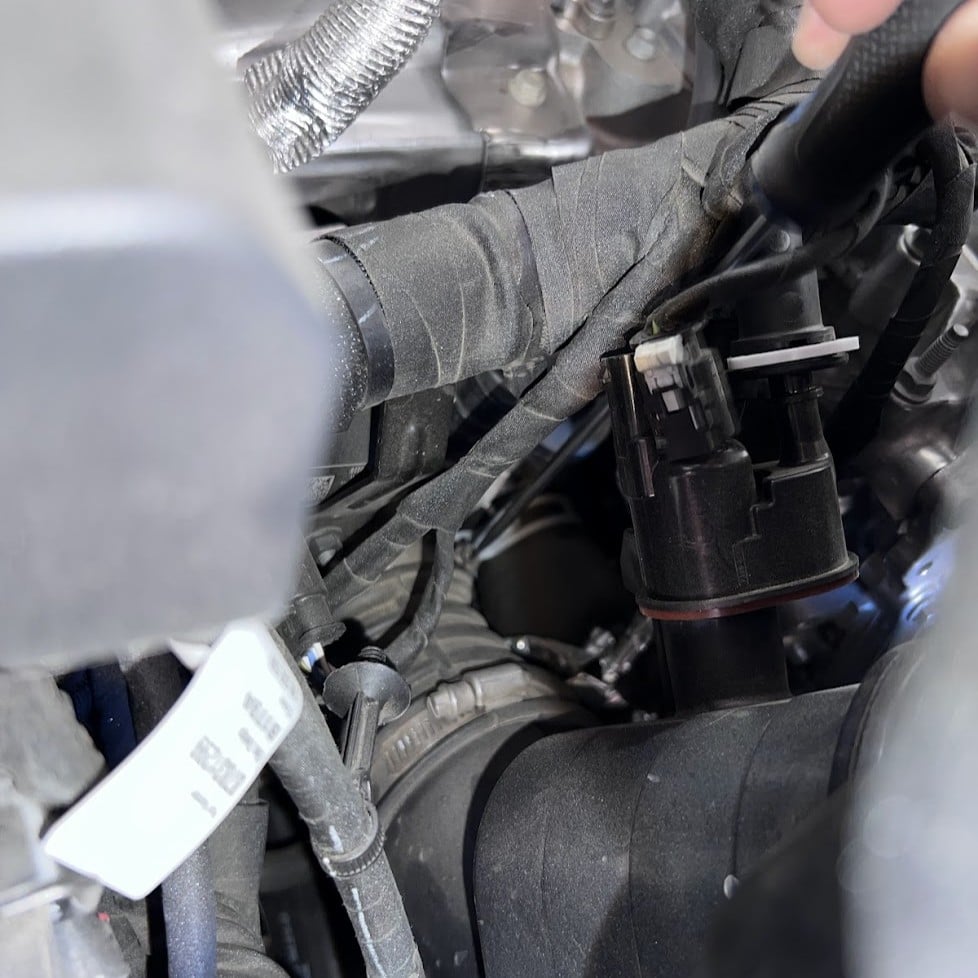
Unfasten the 2 nuts that secure the intake tube to the engine, these will be reused later.
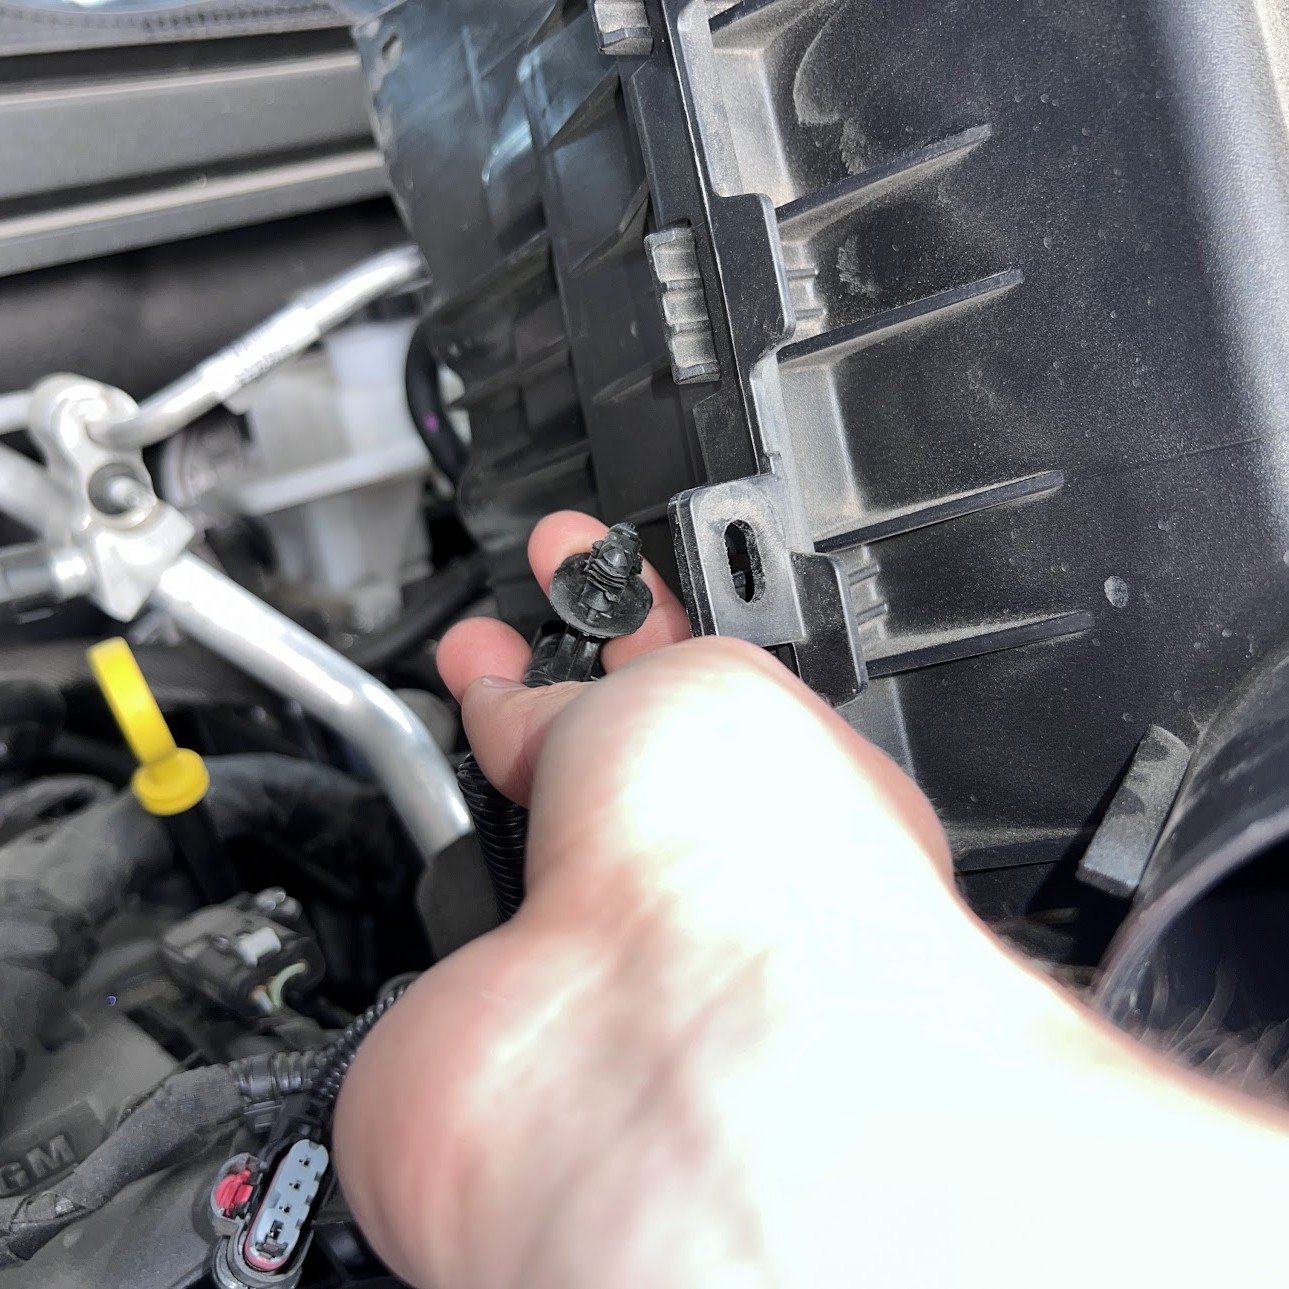
Use a panel popper to disconnect the rivet securing the MAF harness to the OE airbox.
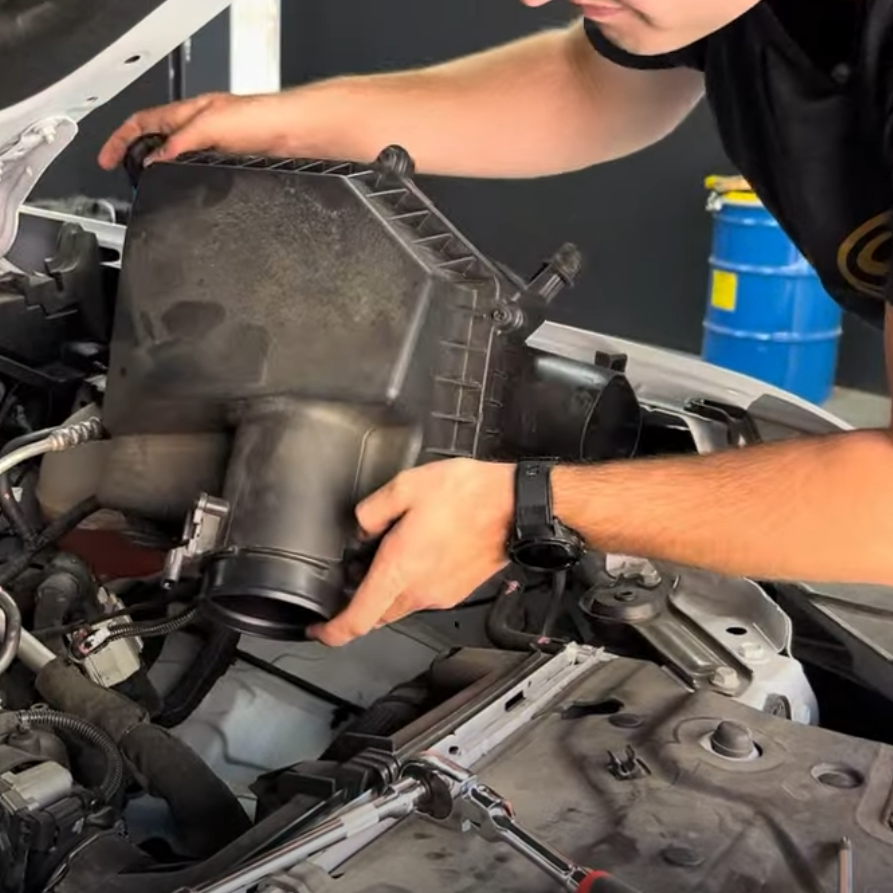
Remove the intake tube and airbox from the vehicle. The tube will need to go straight up at the engine area first to get it clear of the mounting studs. After the tube is removed, the airbox will need to maneuver out from underneath coolant lines to be pulled out.
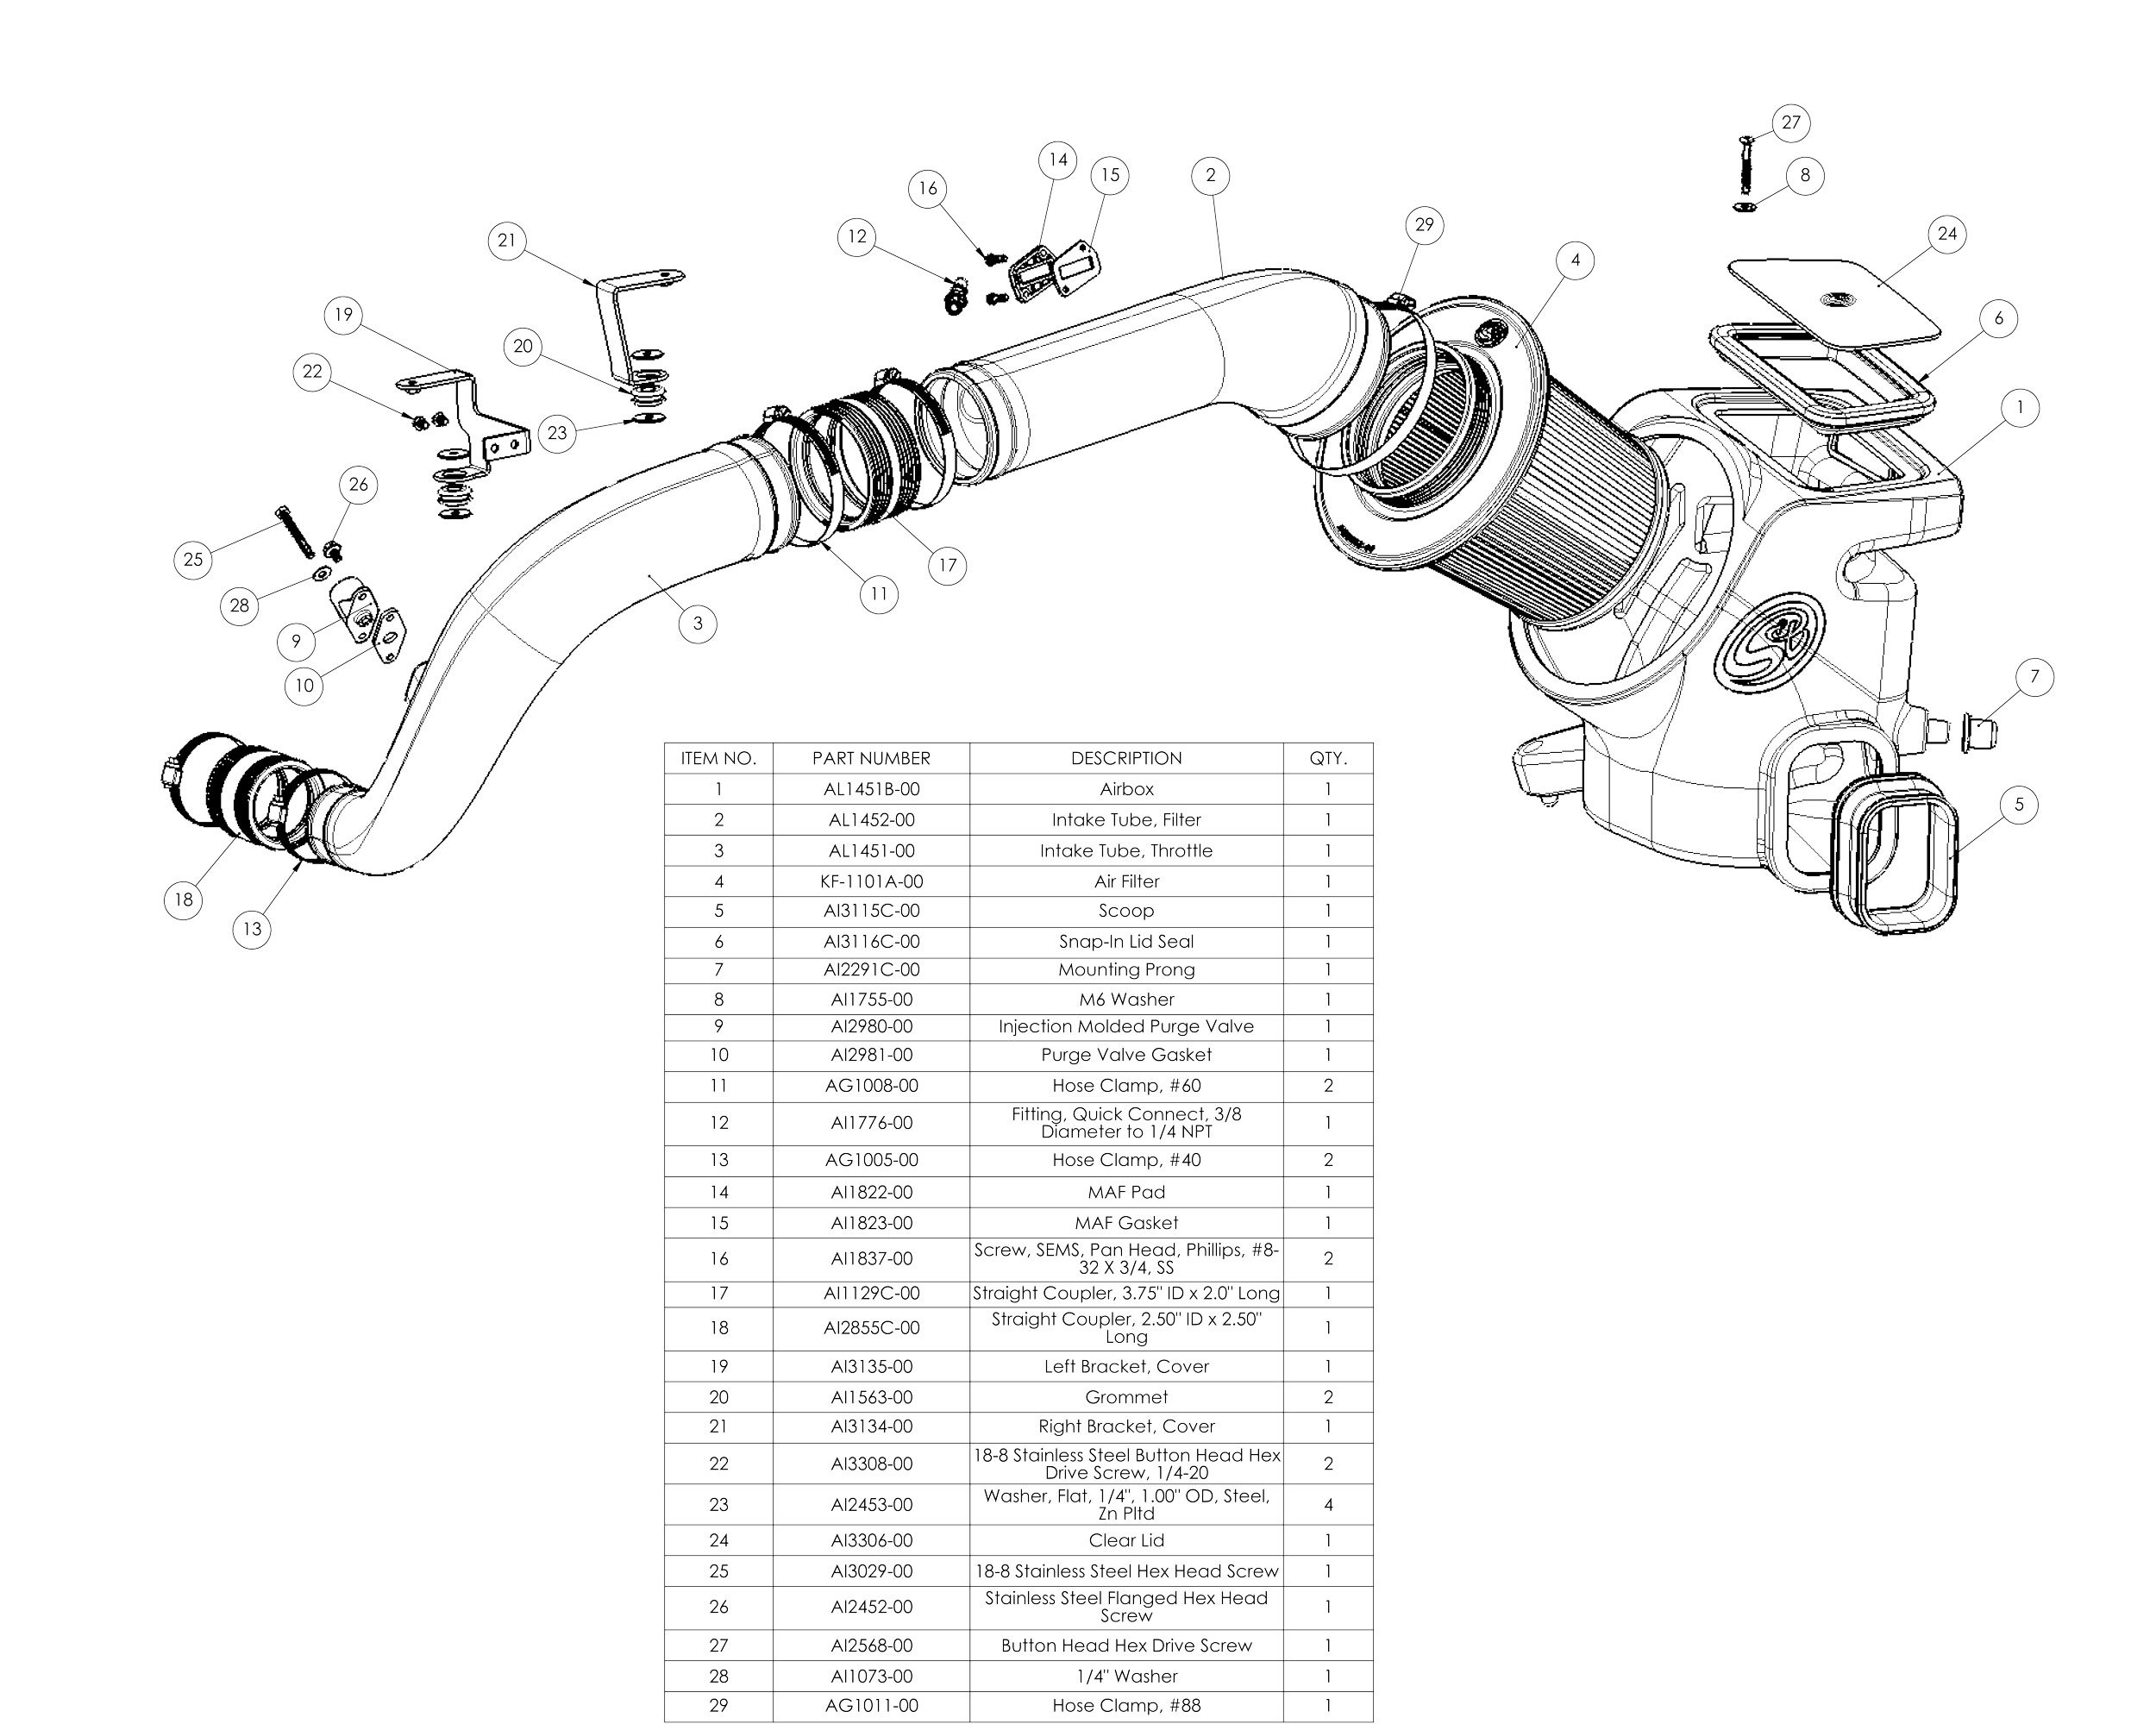
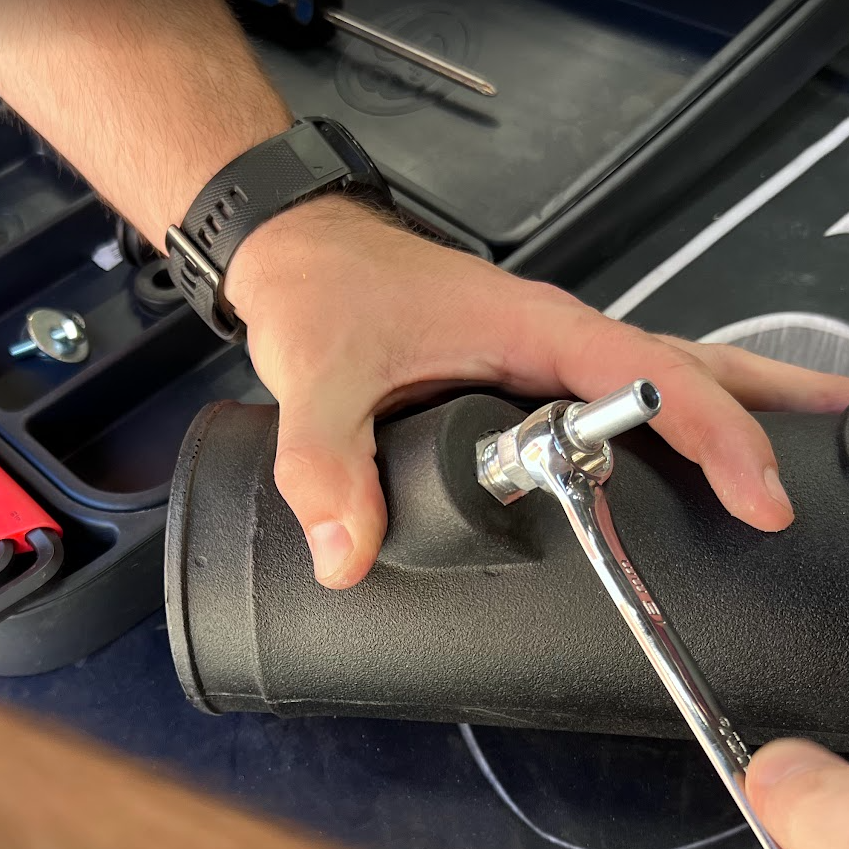
Begin preparing the intake tube that connects to the filter by fastening the supplied PCV fitting to the tube.
Then, start transferring the stock MAF sensor by unfastening it with a Torx from the OE airbox.
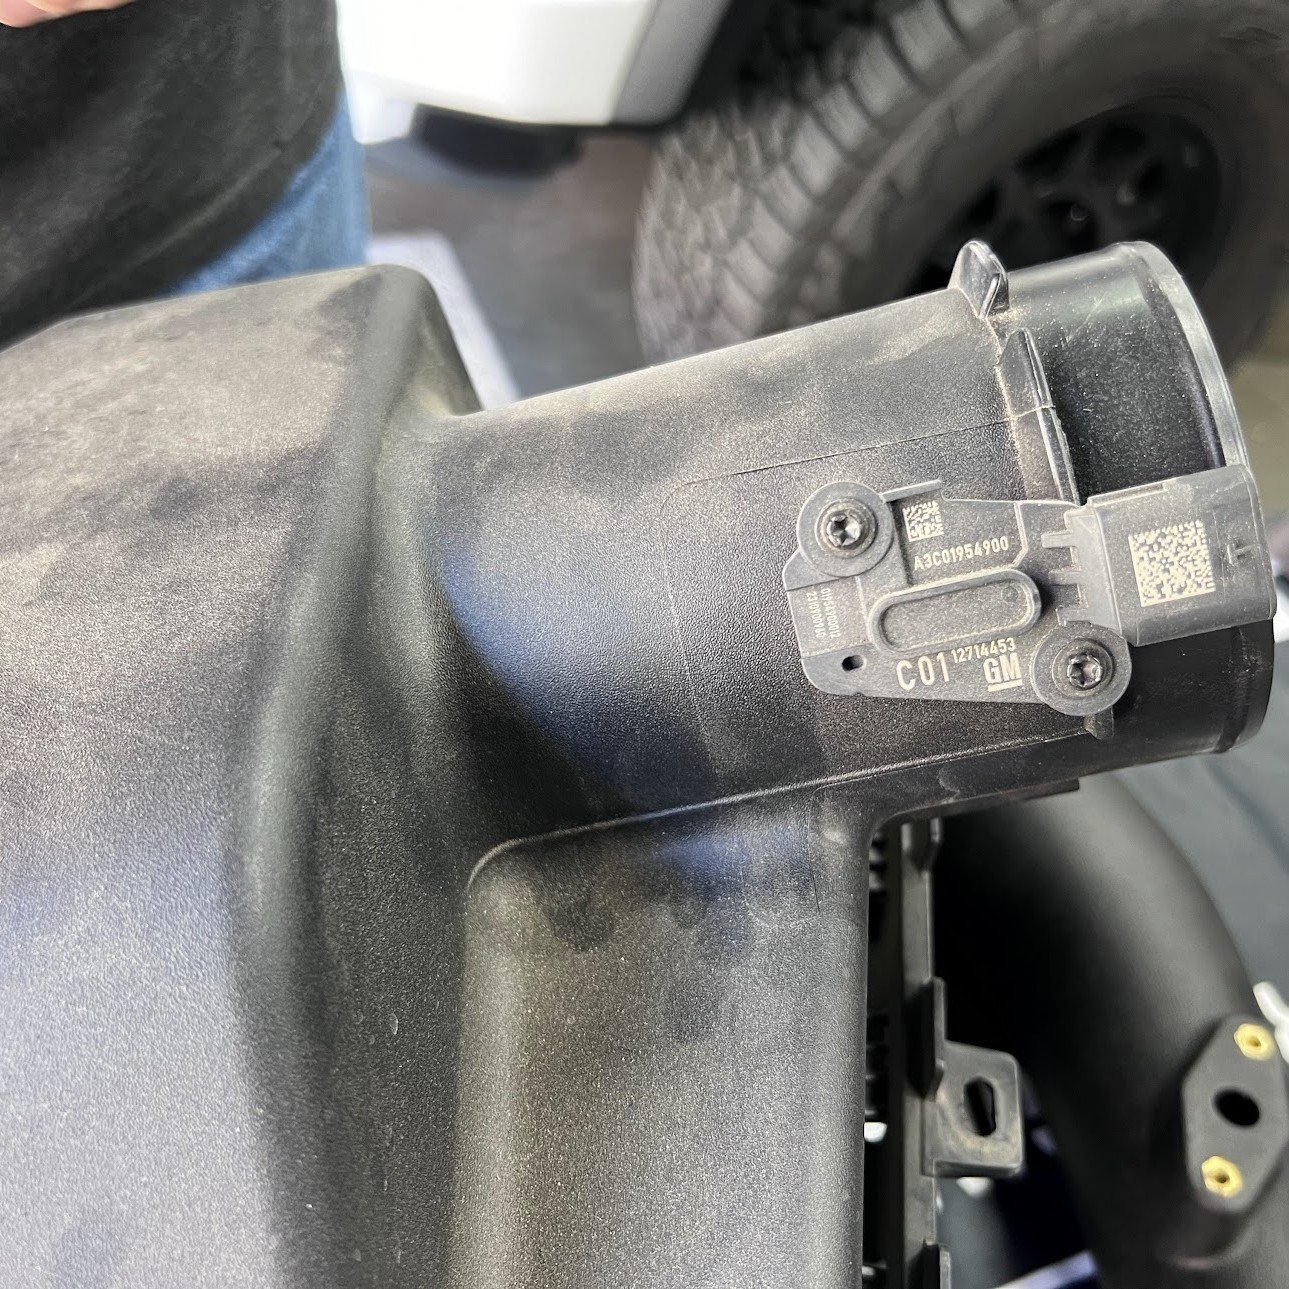
Next, place the MAF on the supplied hard plastic adapter piece. Then, put the foam gasket in between the tube and adapter piece and secure it with the supplied screws as pictured. The intake will throw a check engine light if the foam is not stalled correctly.
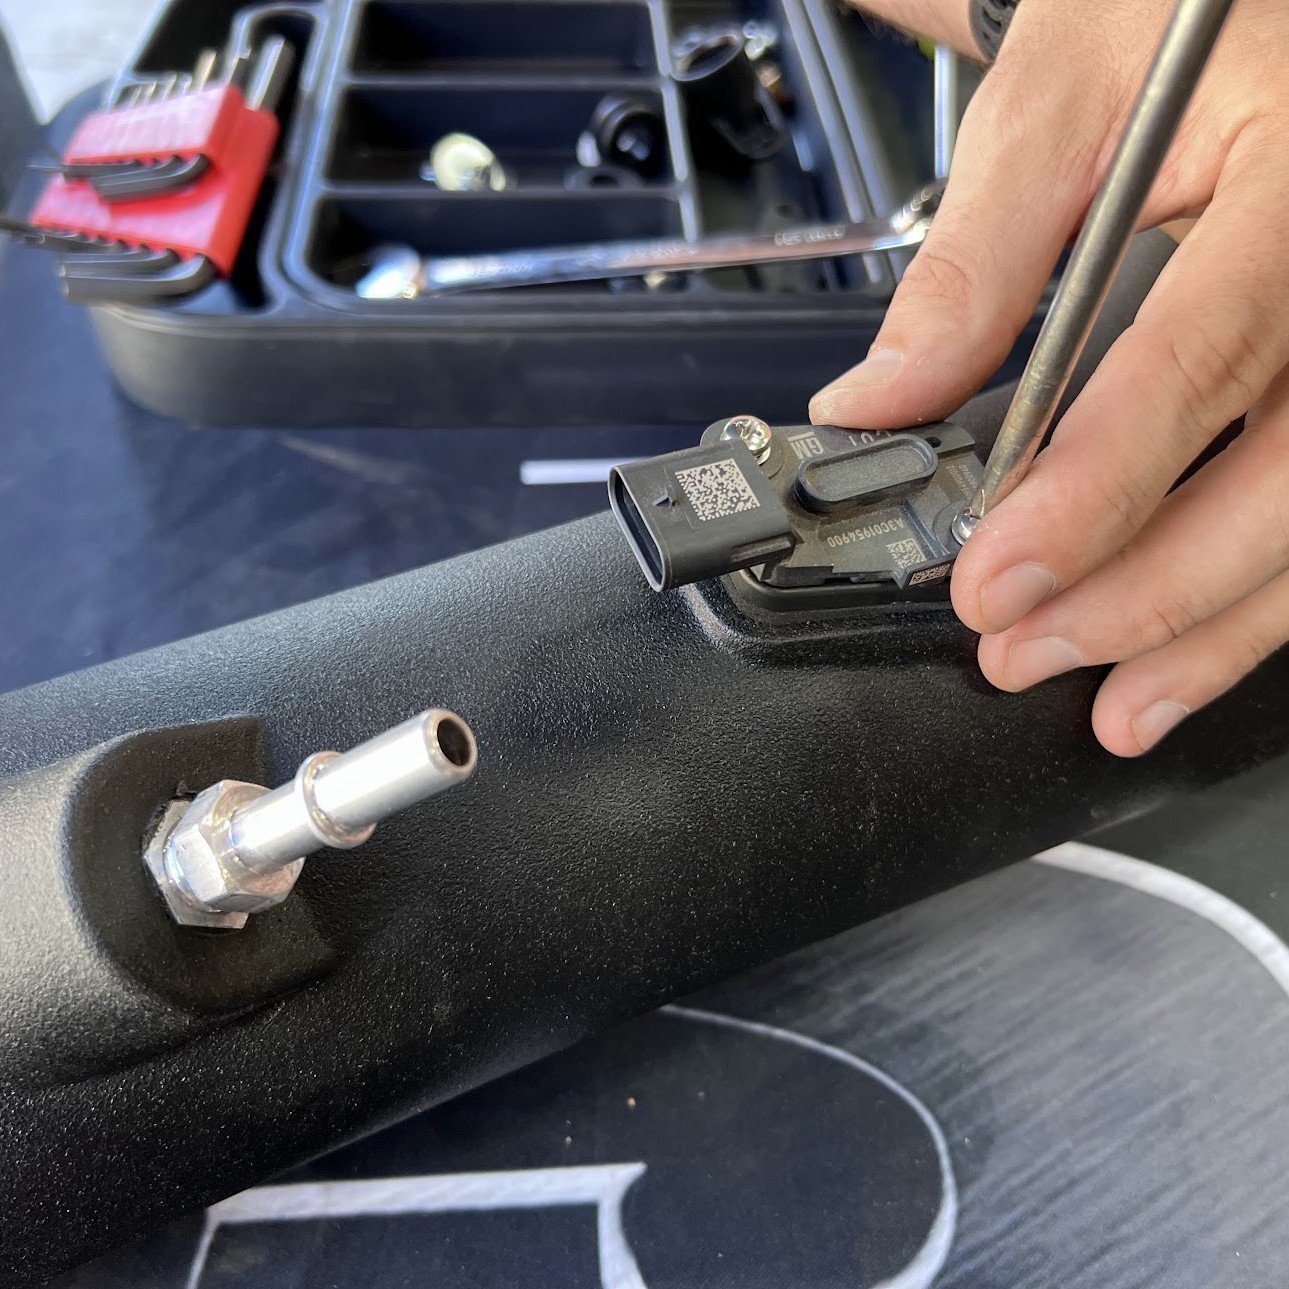
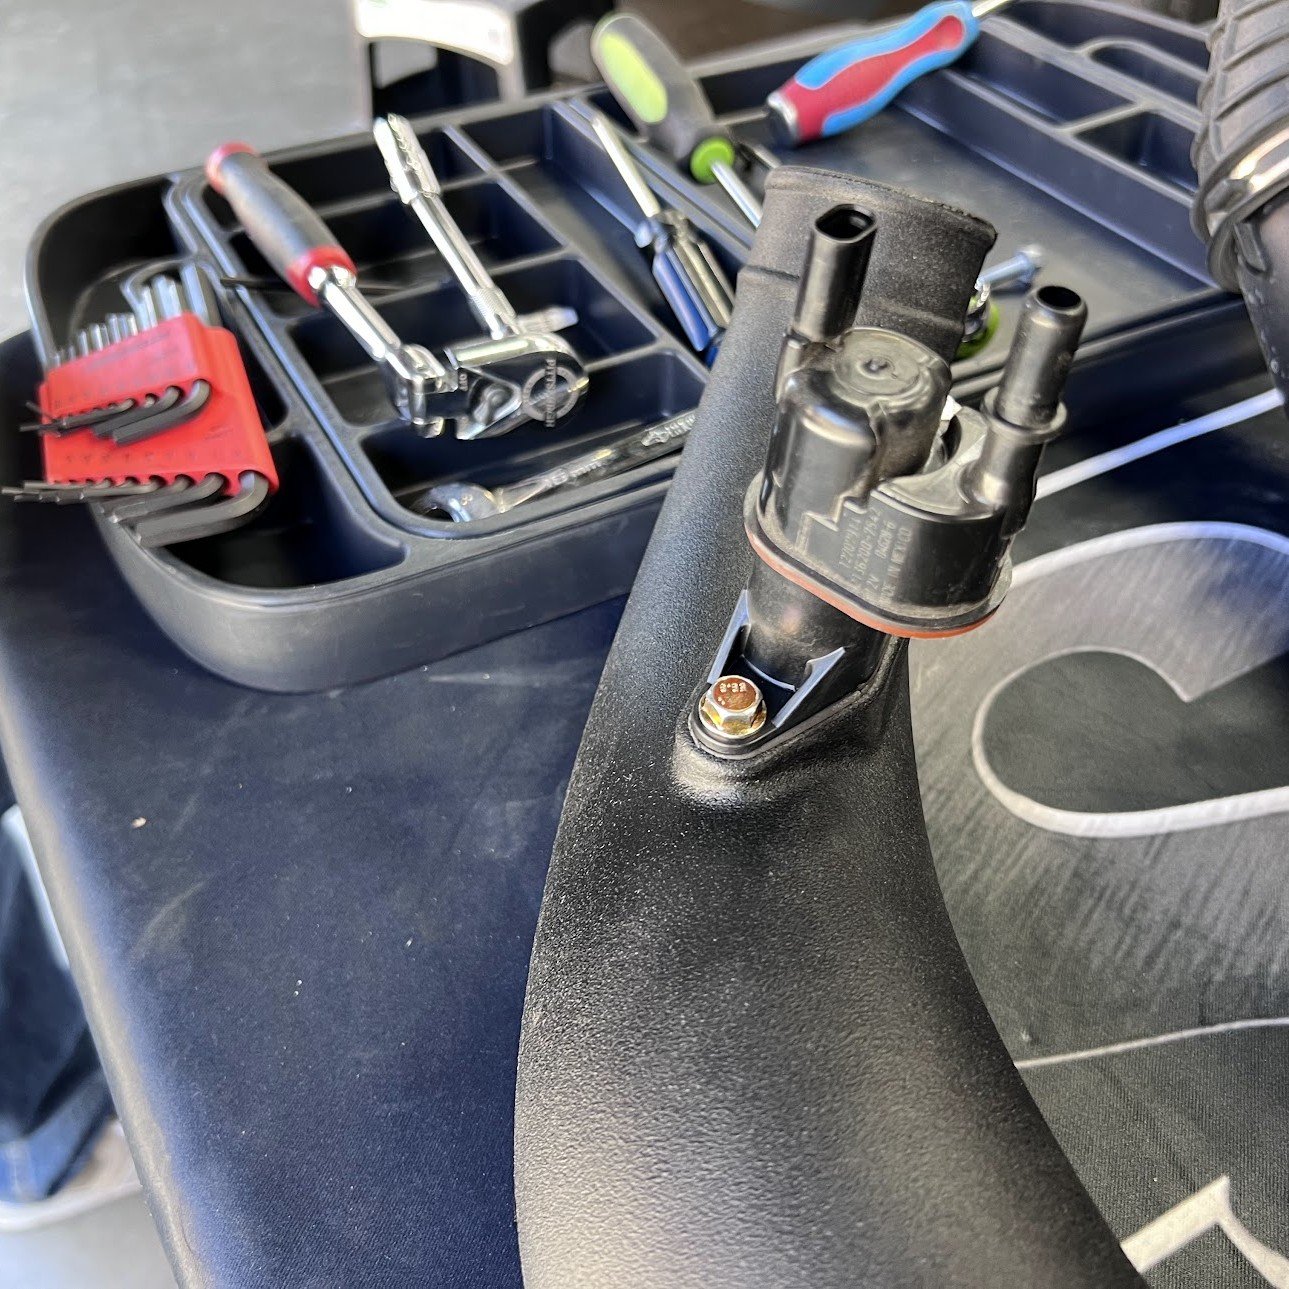
Prepare the curved intake tube by unfastening the purge valve from the stock intake tube, and then fastening it to the supplied adapter piece with the foam gasket sandwiched between the tube and the adapter using the supplied 2 screws as pictured. The intake will throw a check engine light if the foam is not installed between the adapter and tube.
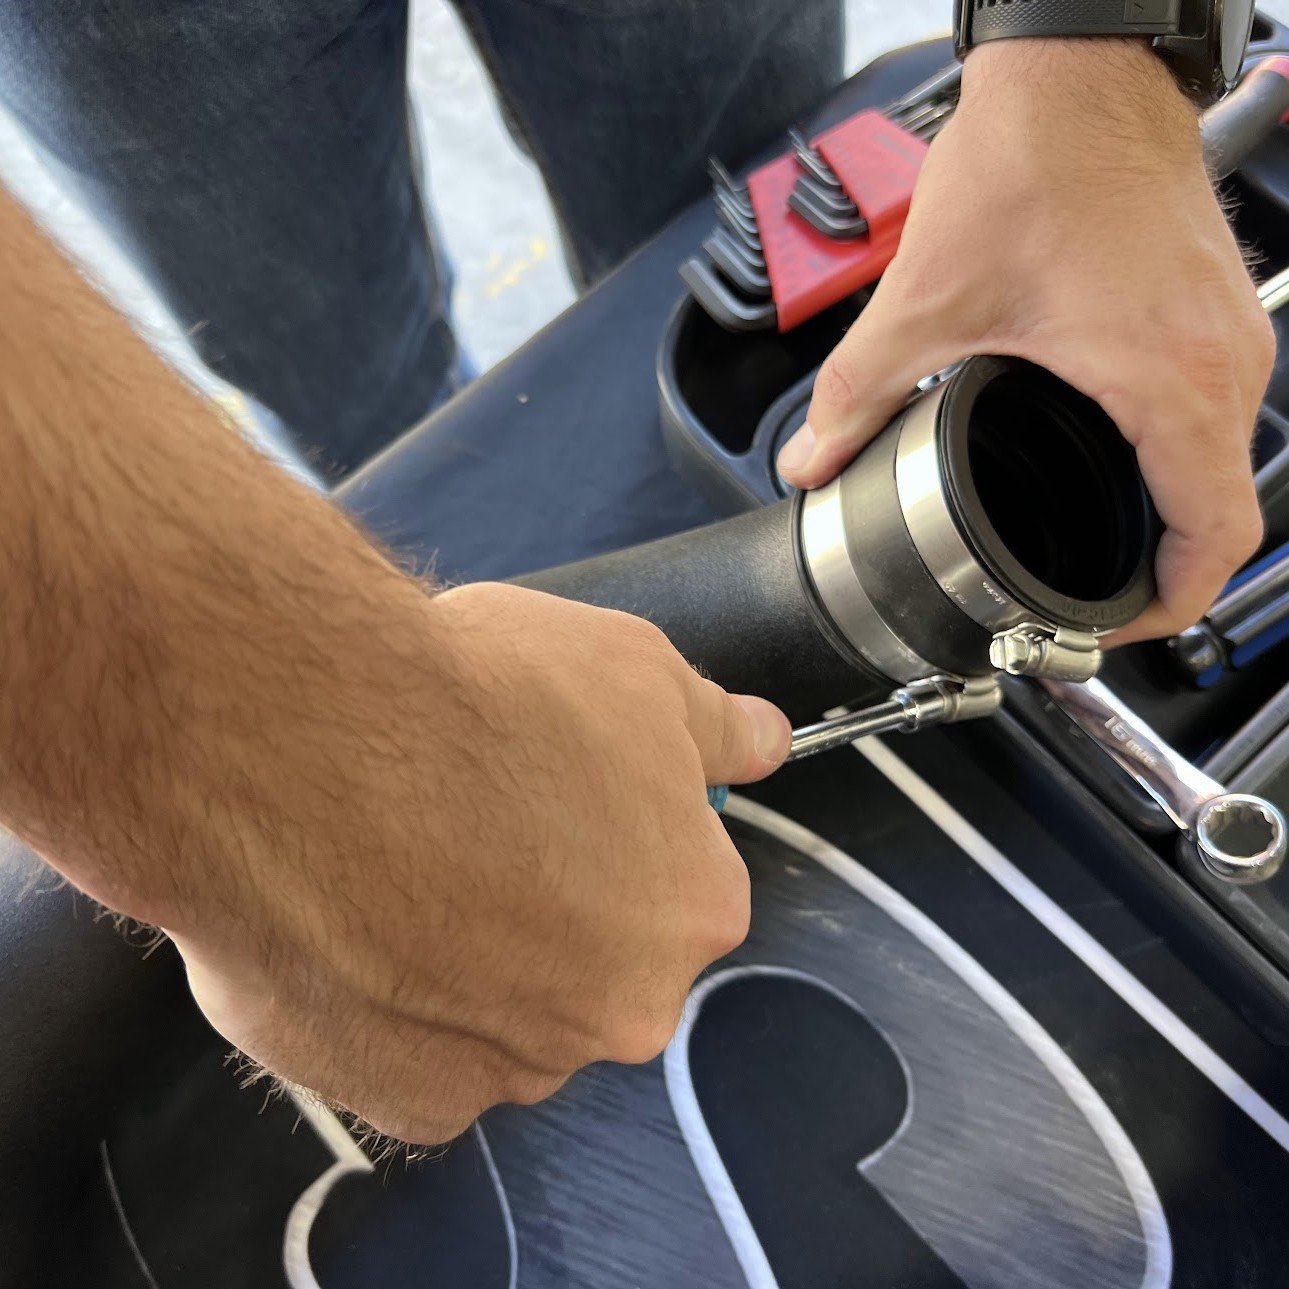
Add the smaller coupler to the curved intake tube and fasten the hose clamp to the tube. Put the next hose clamp loosely on the coupler to allow it to fit over the throttle body.
Add the supplied grommets and front scoop to the airbox.
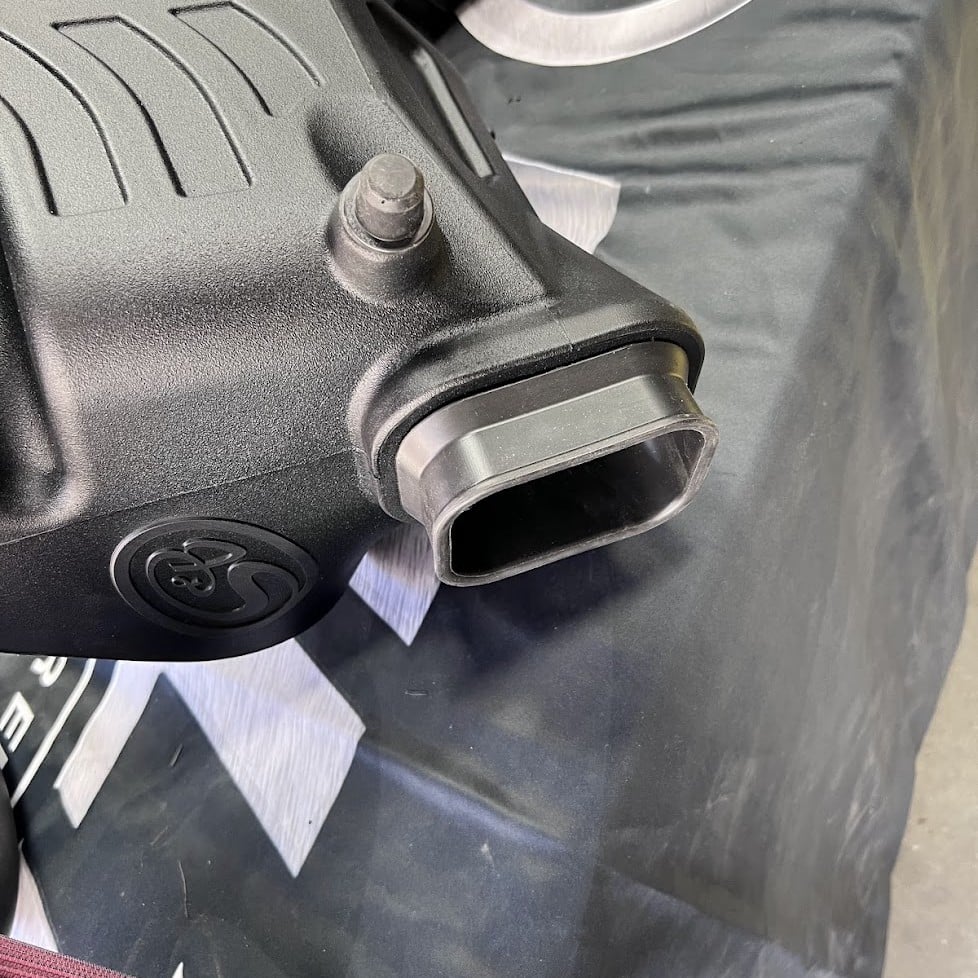
Install the airbox into the vehicle along with the filter, making sure that the rubber air inlet fits over the stock scoop. Be careful that the grommets do not fall off of the box.
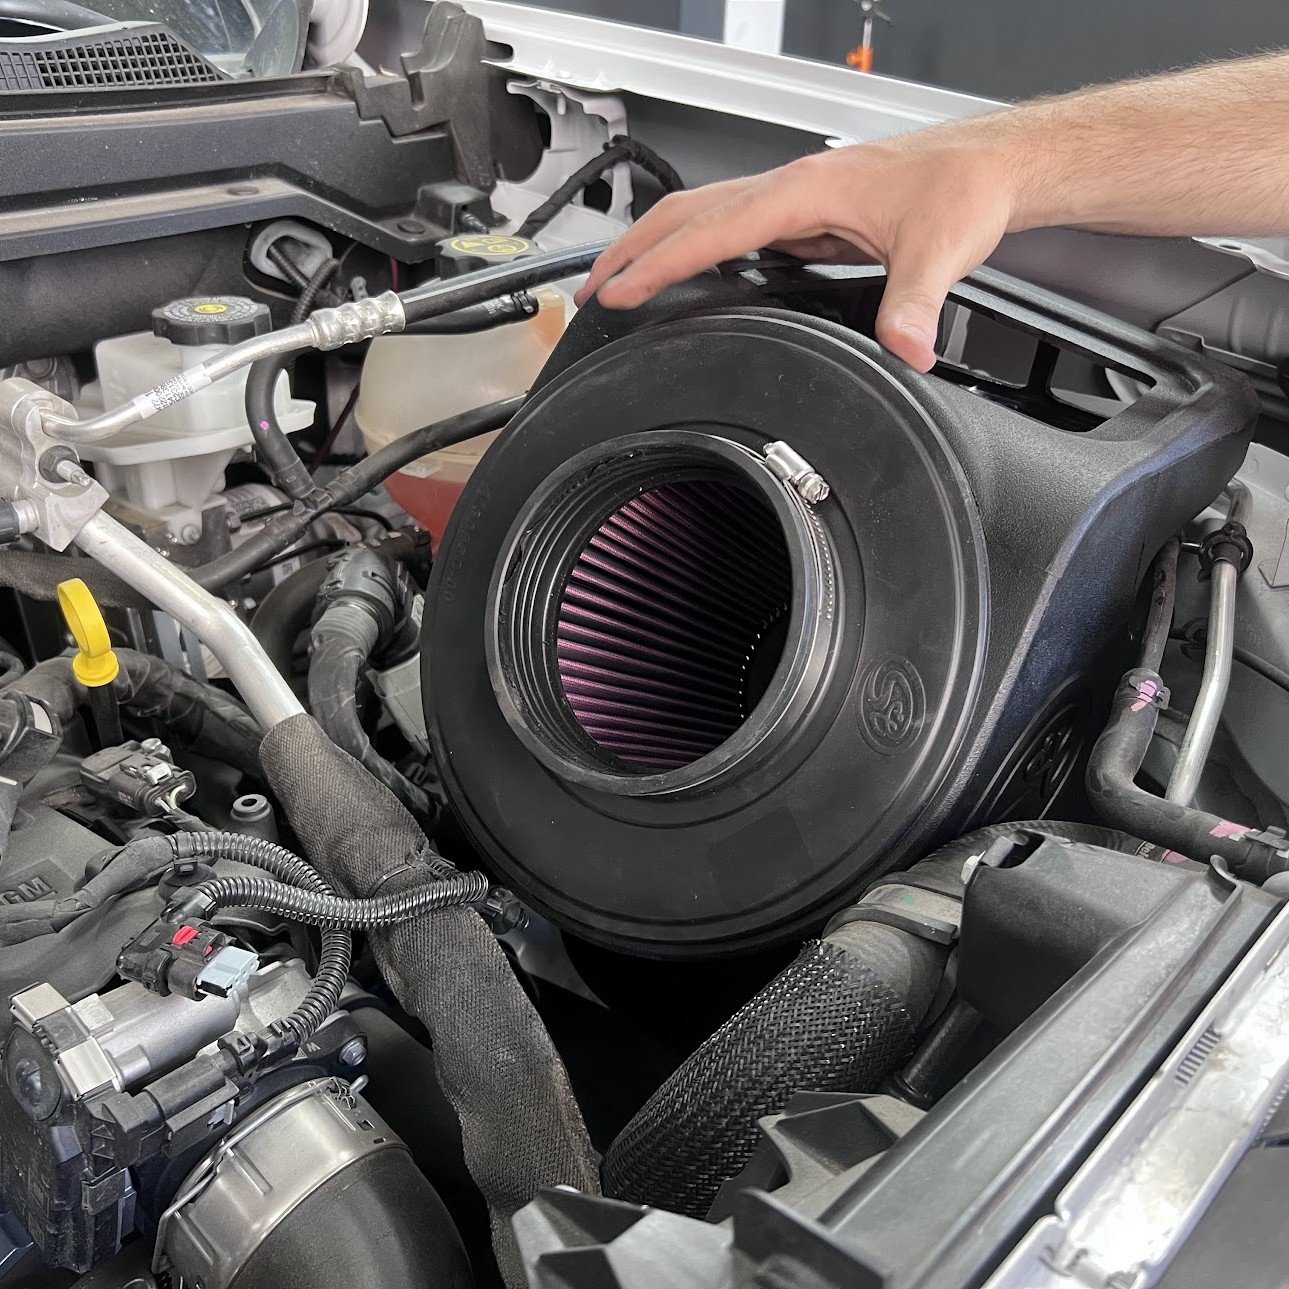
Install the curved intake tube into the vehicle, fitting the coupler over the throttle body.
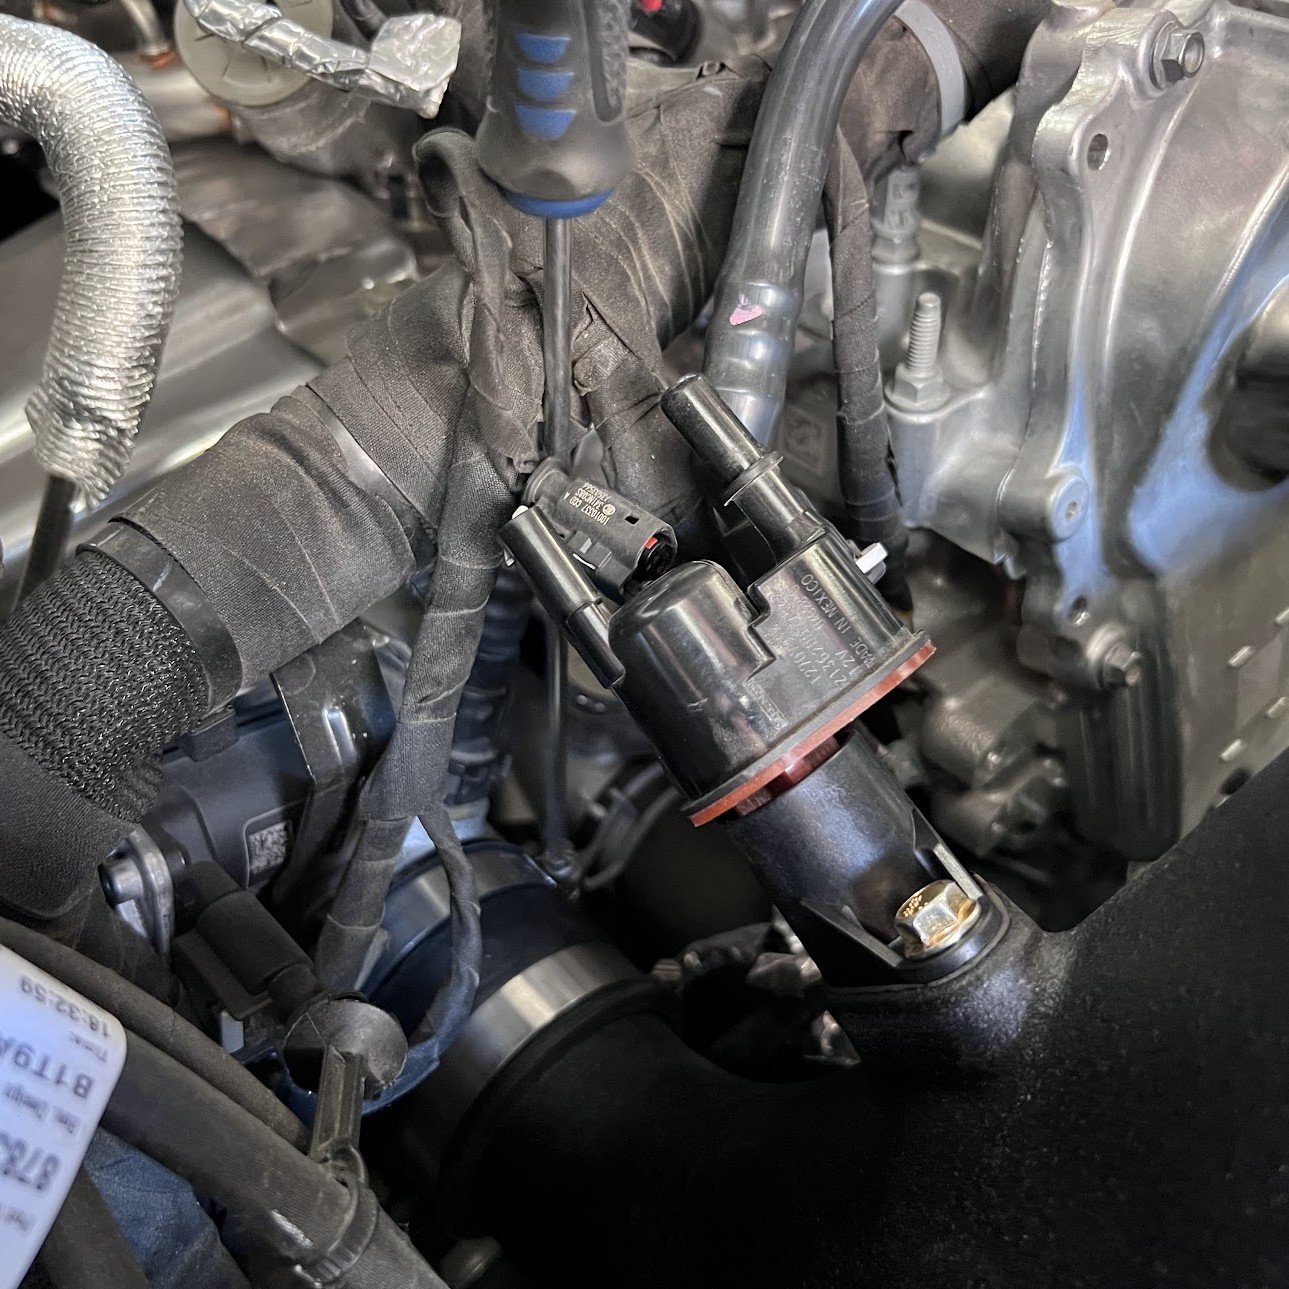
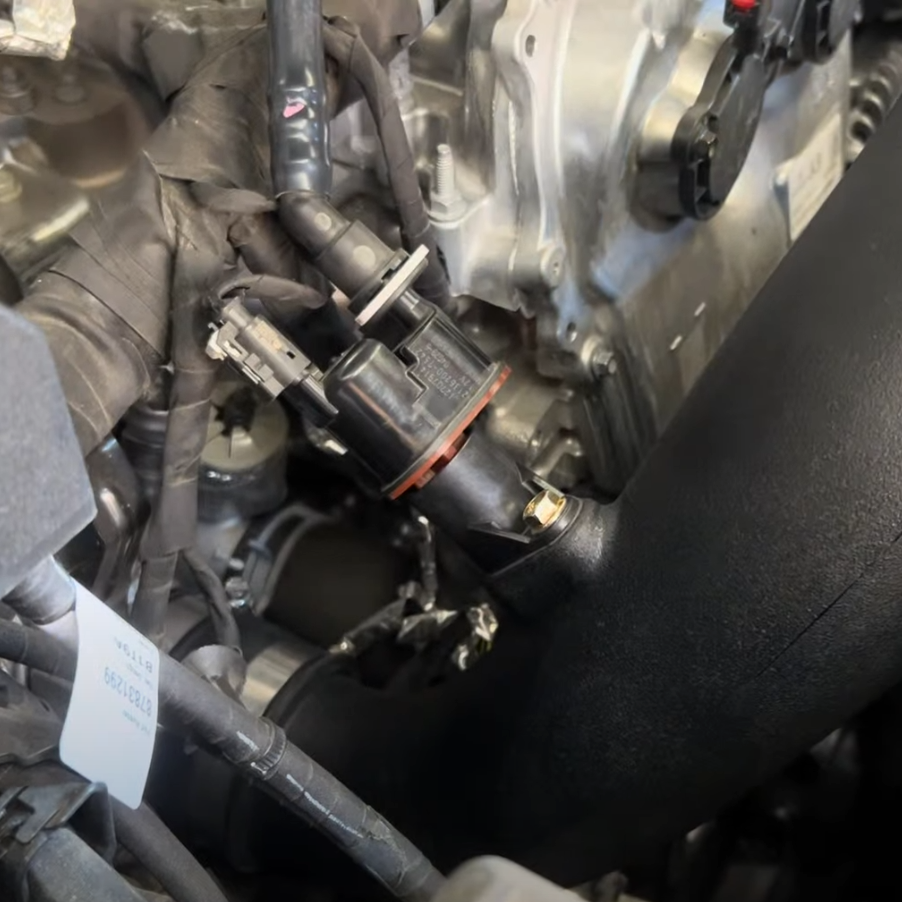
Connect the quick connect and harness on the purge valve, making sure that they are locked.
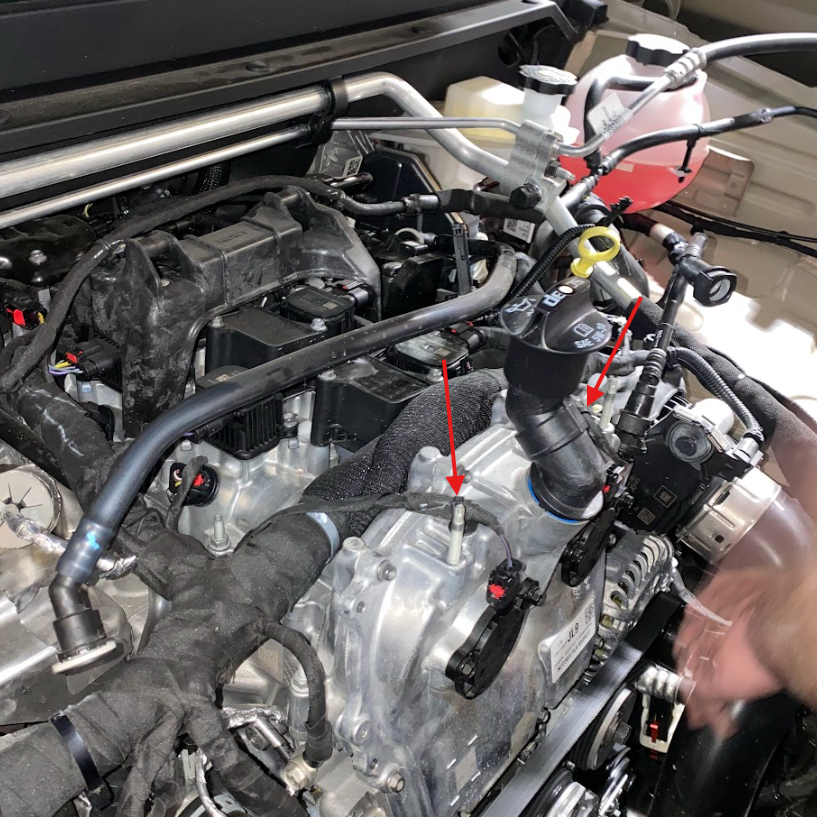
Disconnect the two push rivets by the mounting studs of the vehicle to allow the supplied brackets to sit correctly.
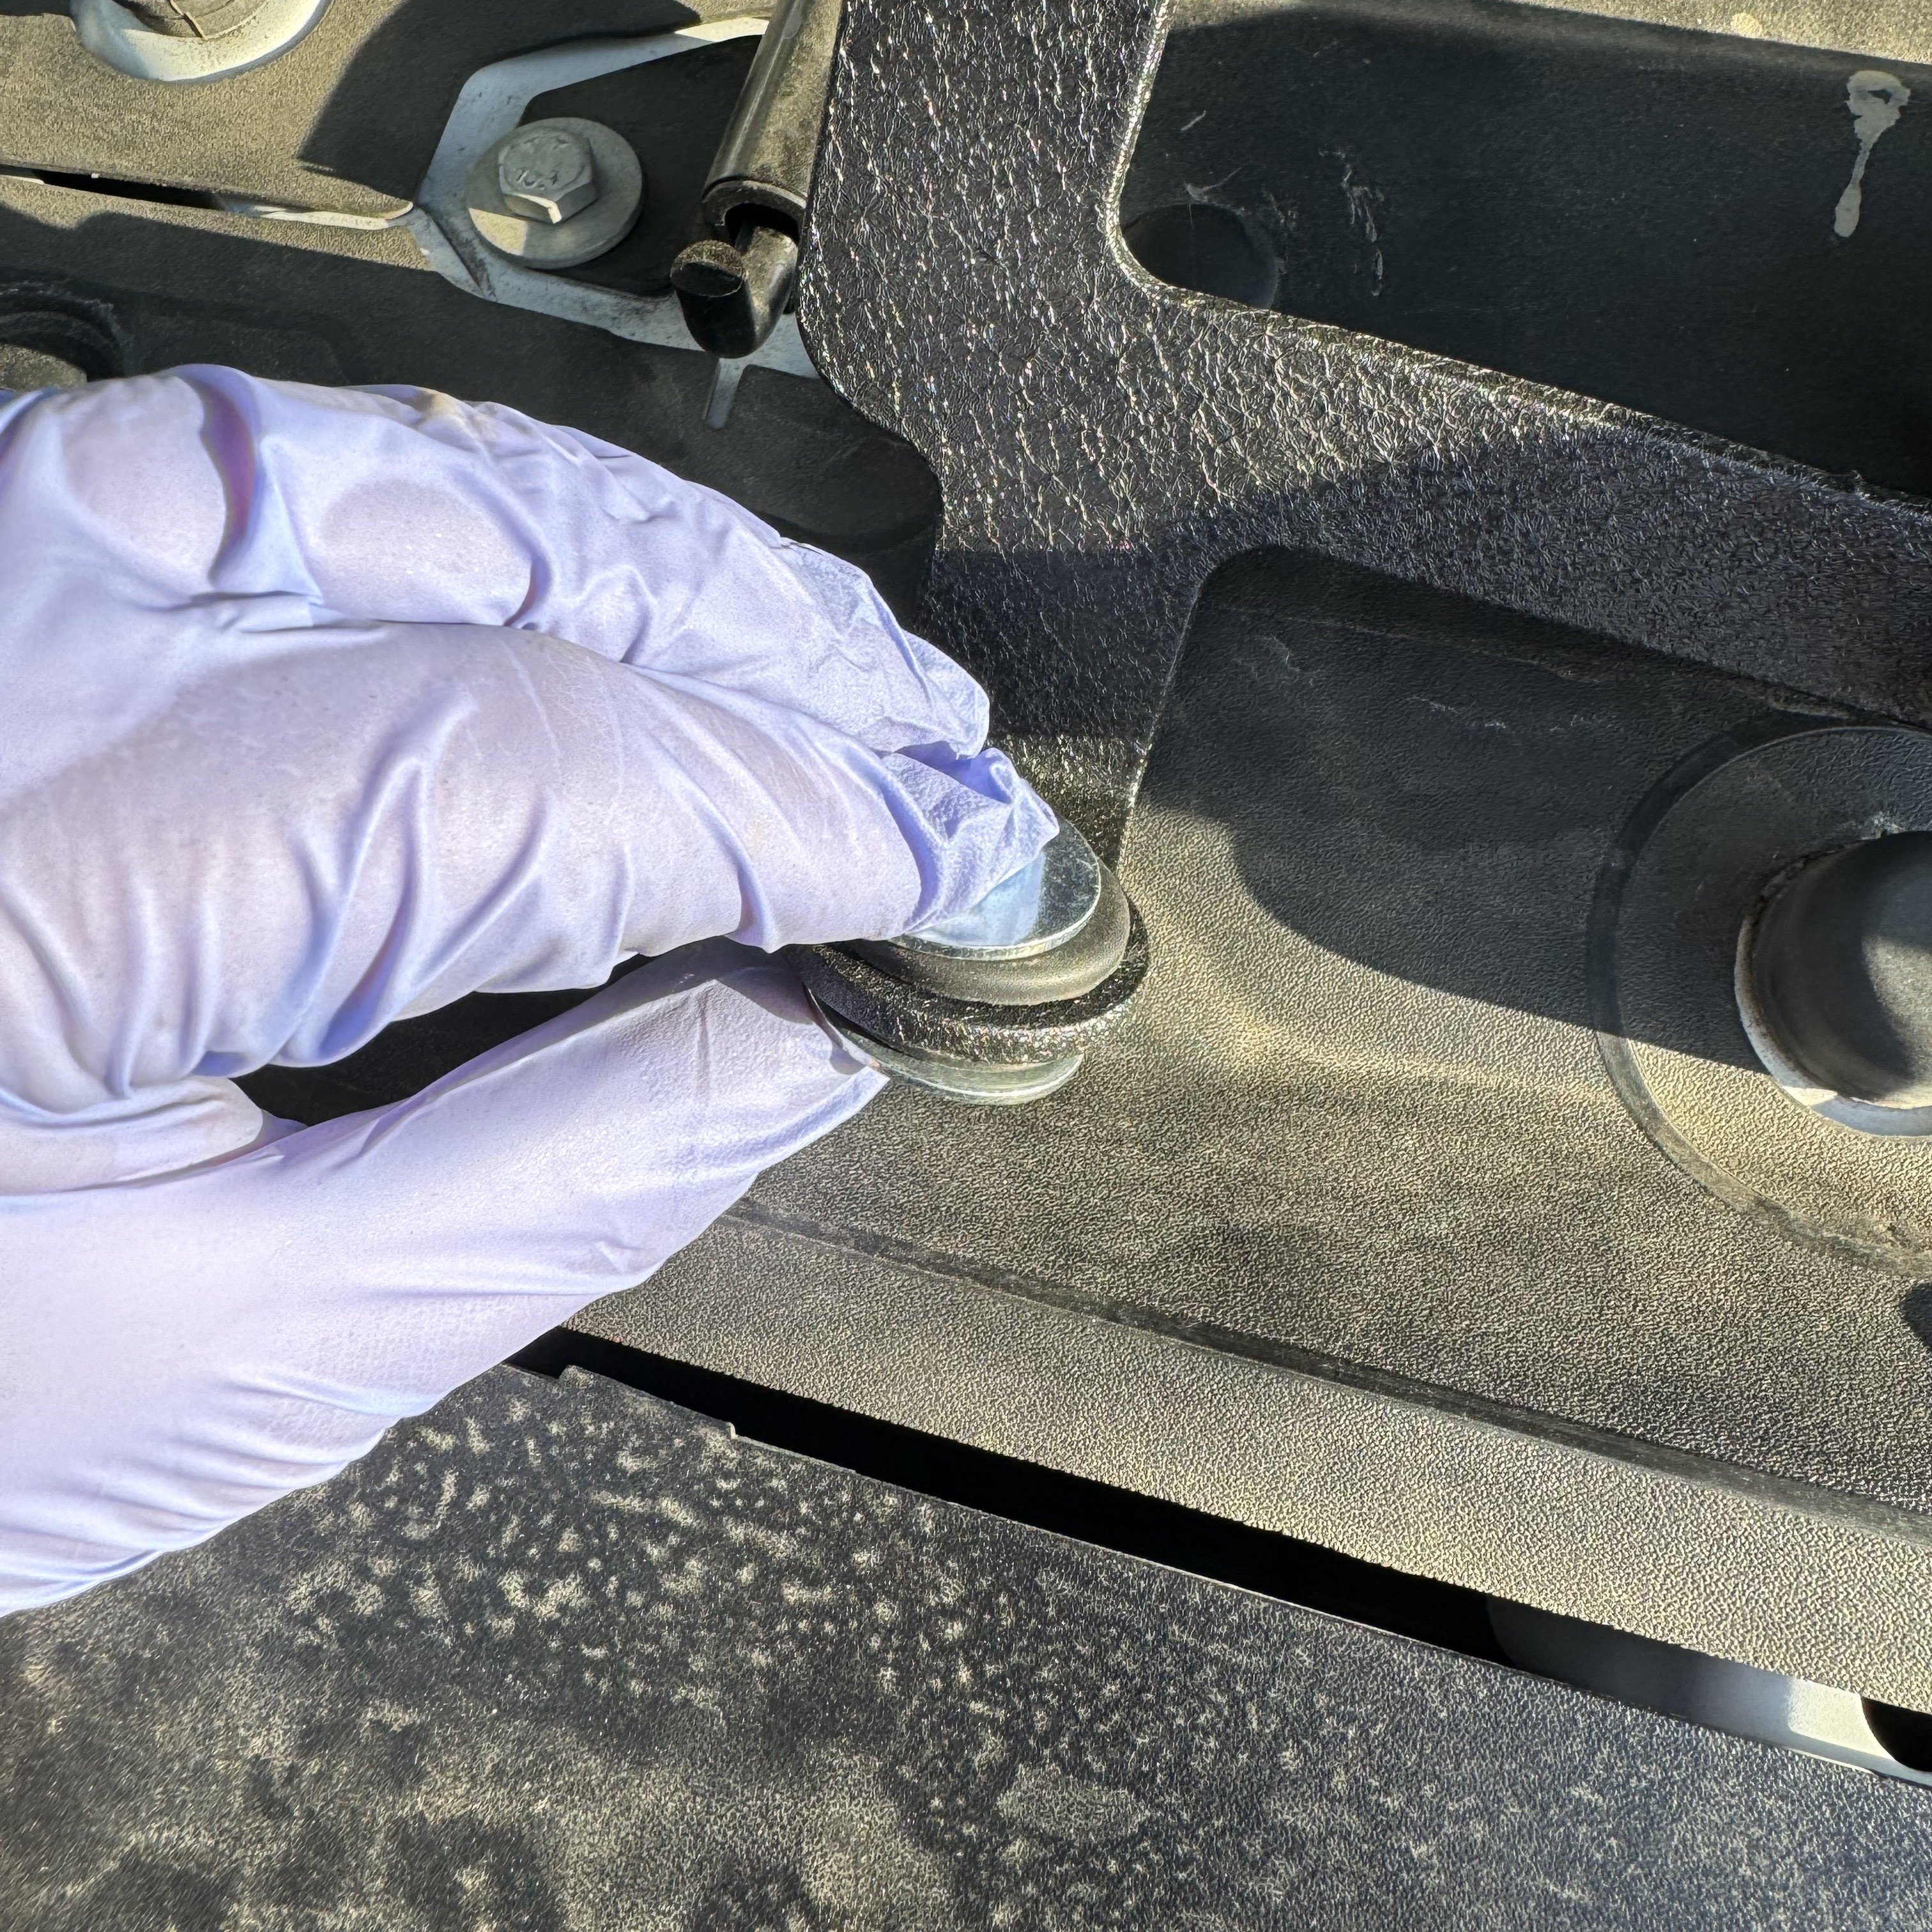
Prepare the supplied S&B mounting hardware by placing the grommets in the large hole and then sandwiching this grommet with the two large washers.
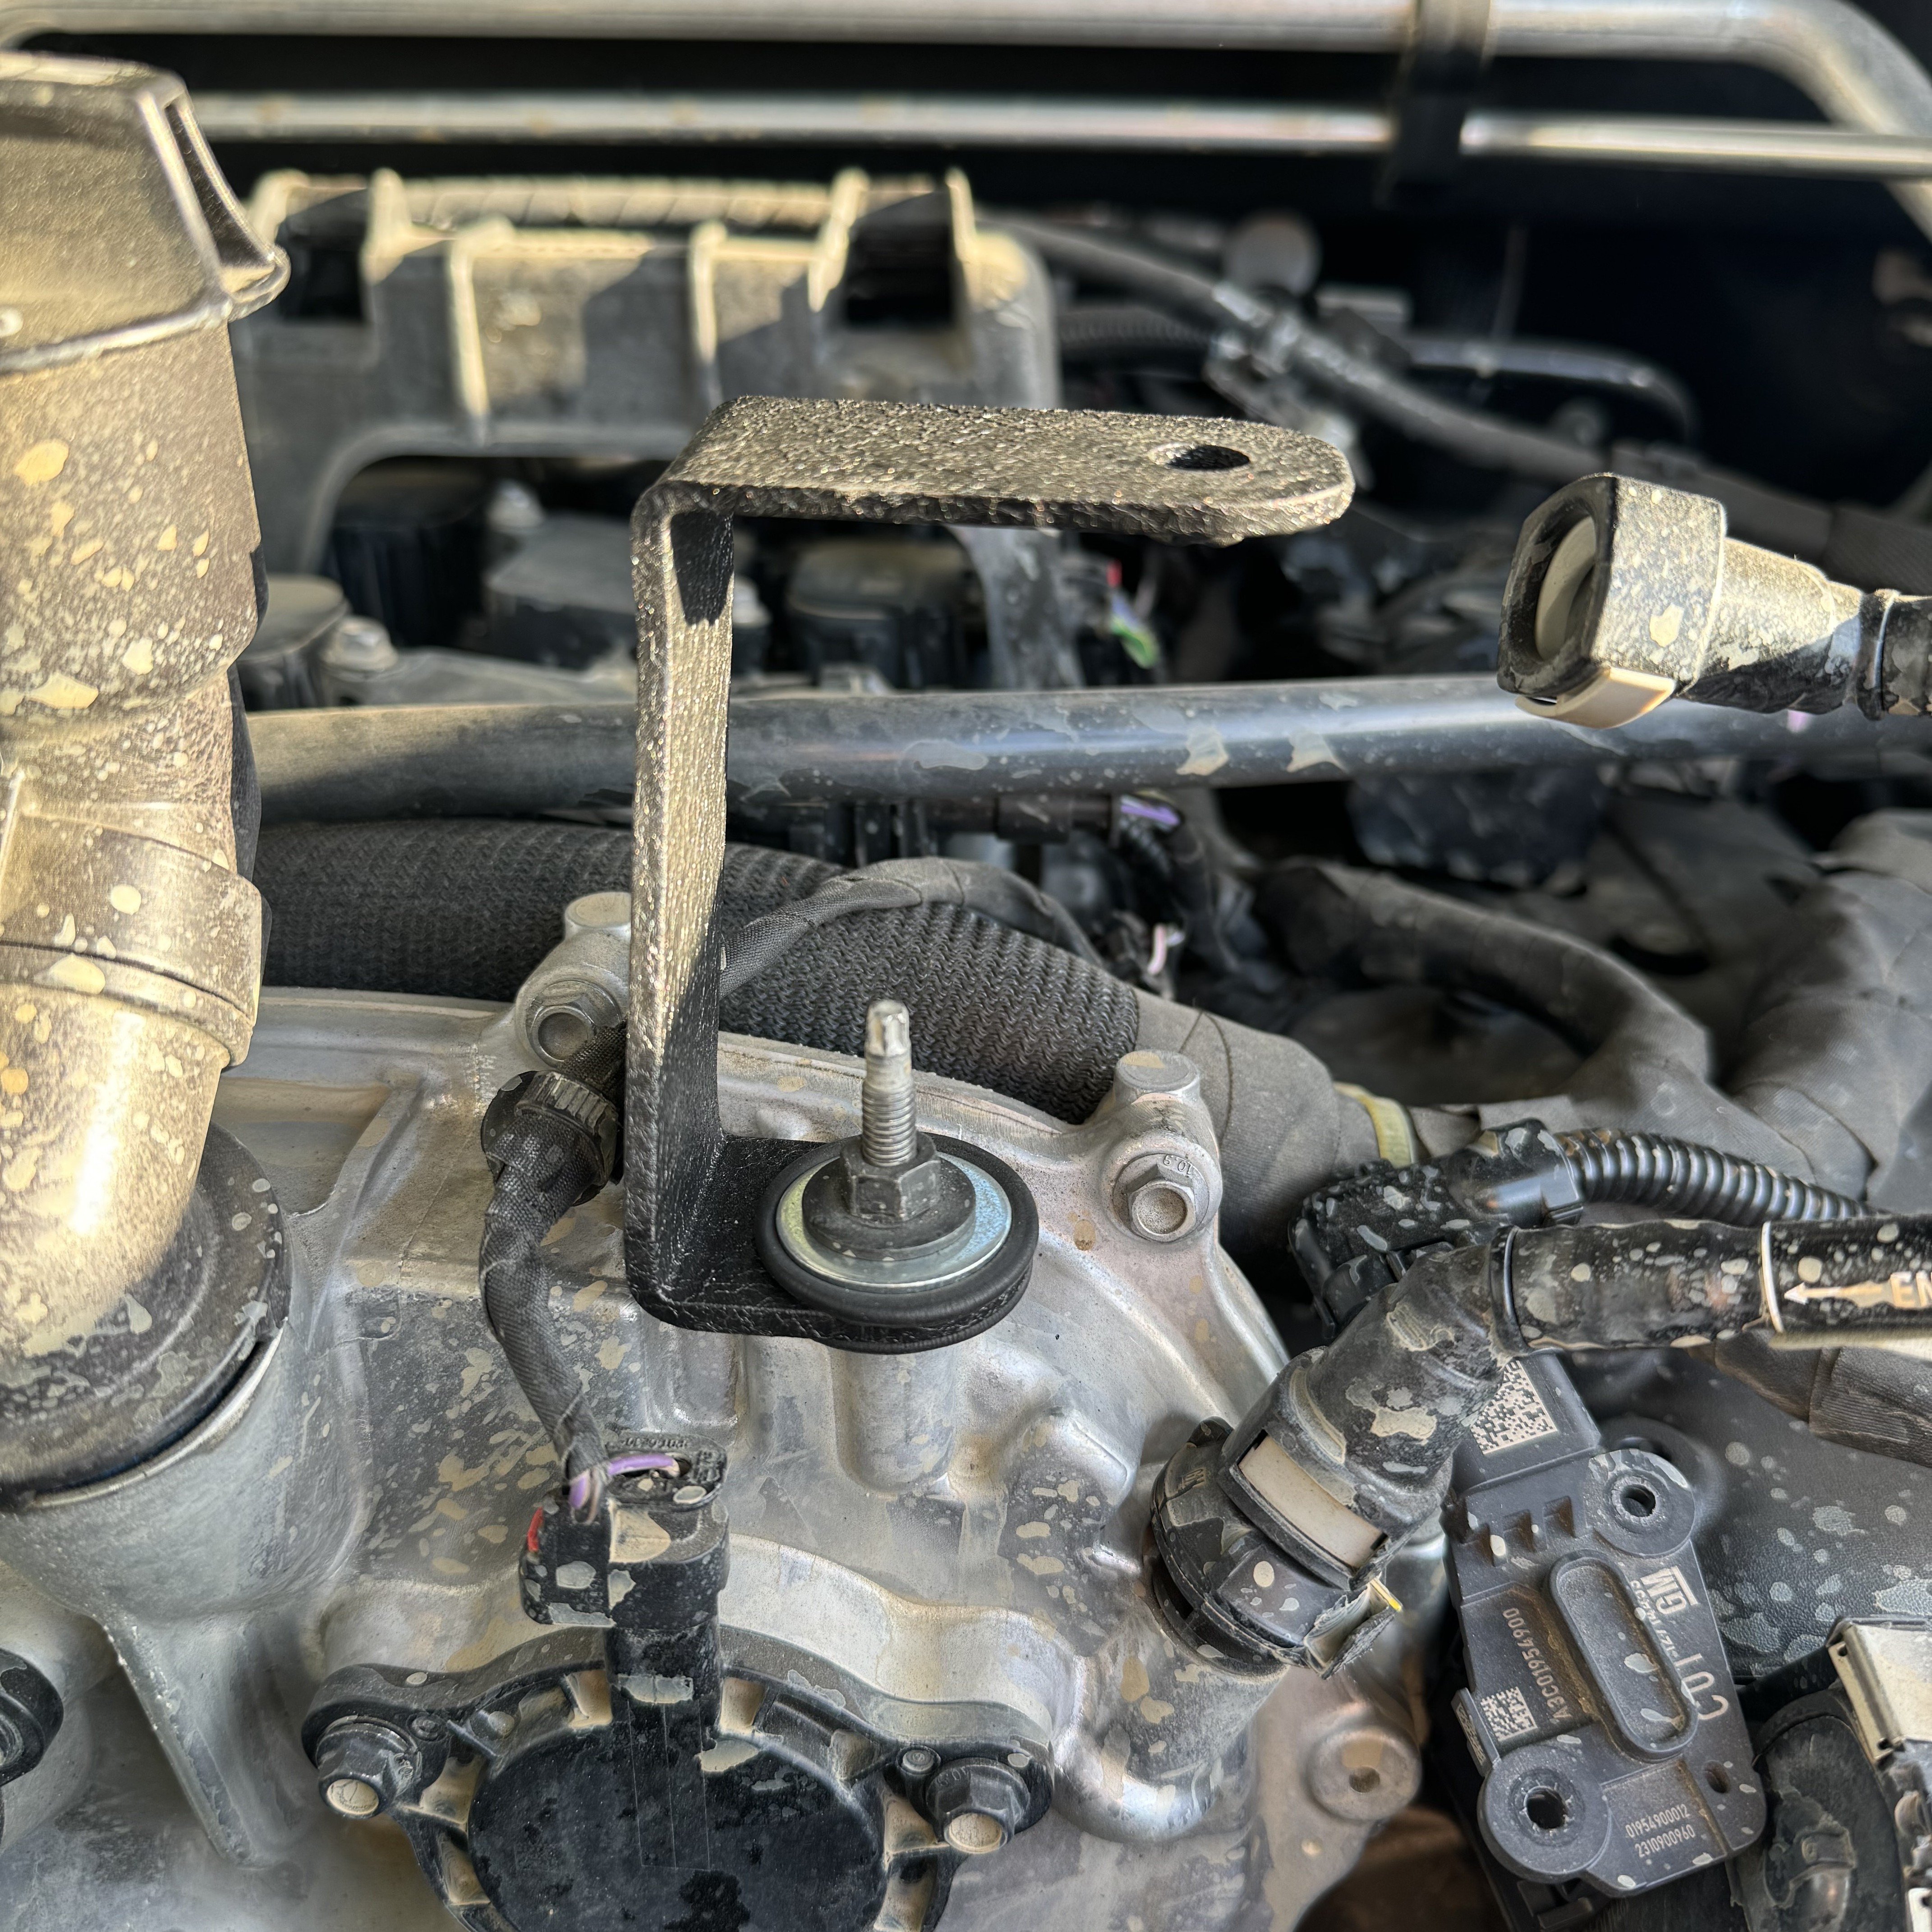
Install the driver side bracket as pictured on the engine mounting point. This one will only fasten to the engine cover. Loosely tighten.
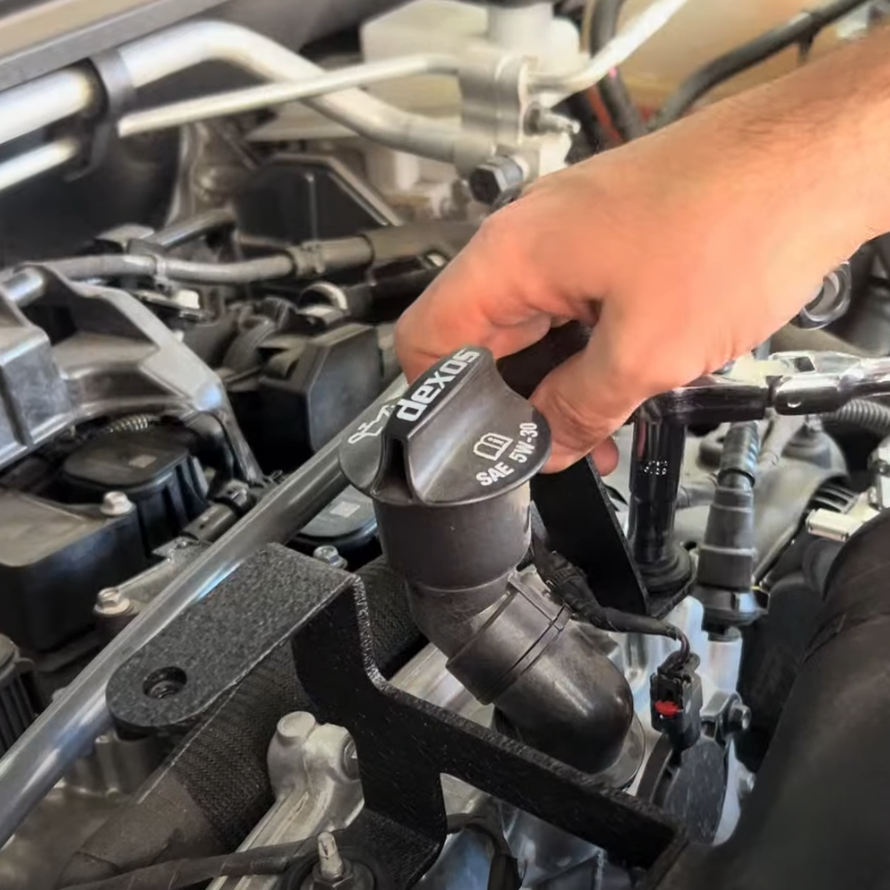
Install the other bracket on the passenger side engine mounting point, also fastening to the S&B tube. Fully tighten both brackets making sure the top tabs are pointing in an opposite direction towards the respective fenders of the vehicle. You can verify their orientation by making sure the holes line up with the cover. Make sure the harnesses are not being squeezed underneath the bracket.
Fully tighten the hose clamp at the throttle body while making sure it slides over it completely.
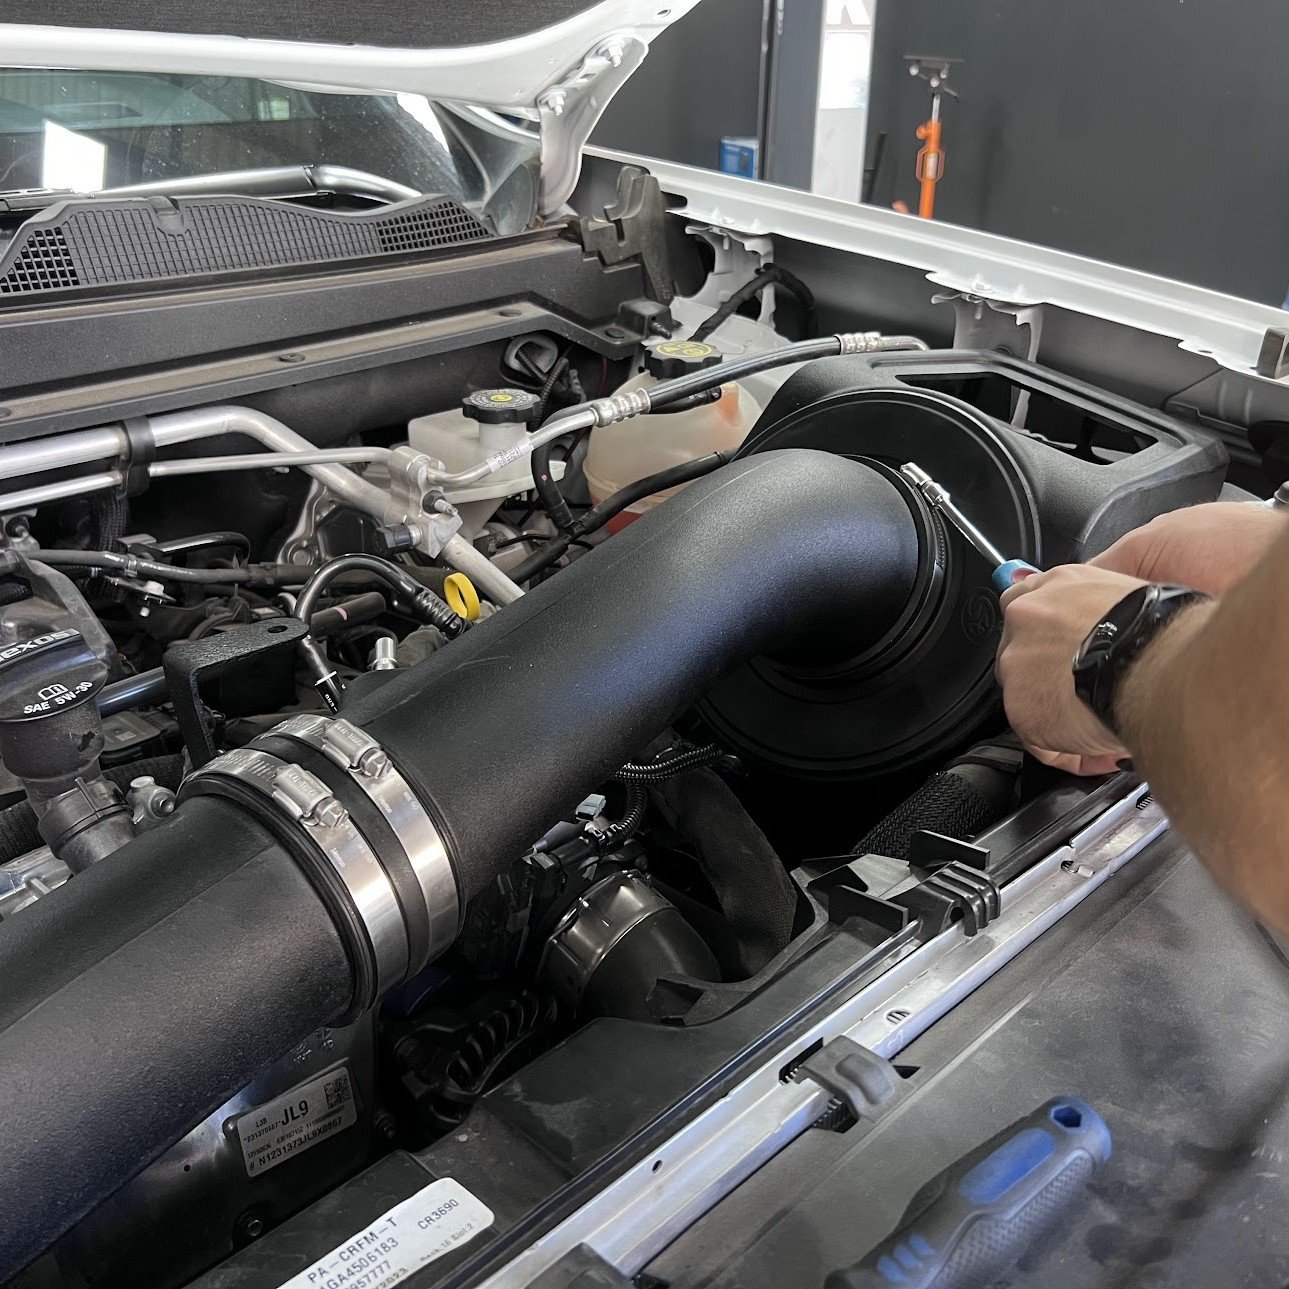
Install the filter tube with the supplied coupler and fasten every hose clamp.
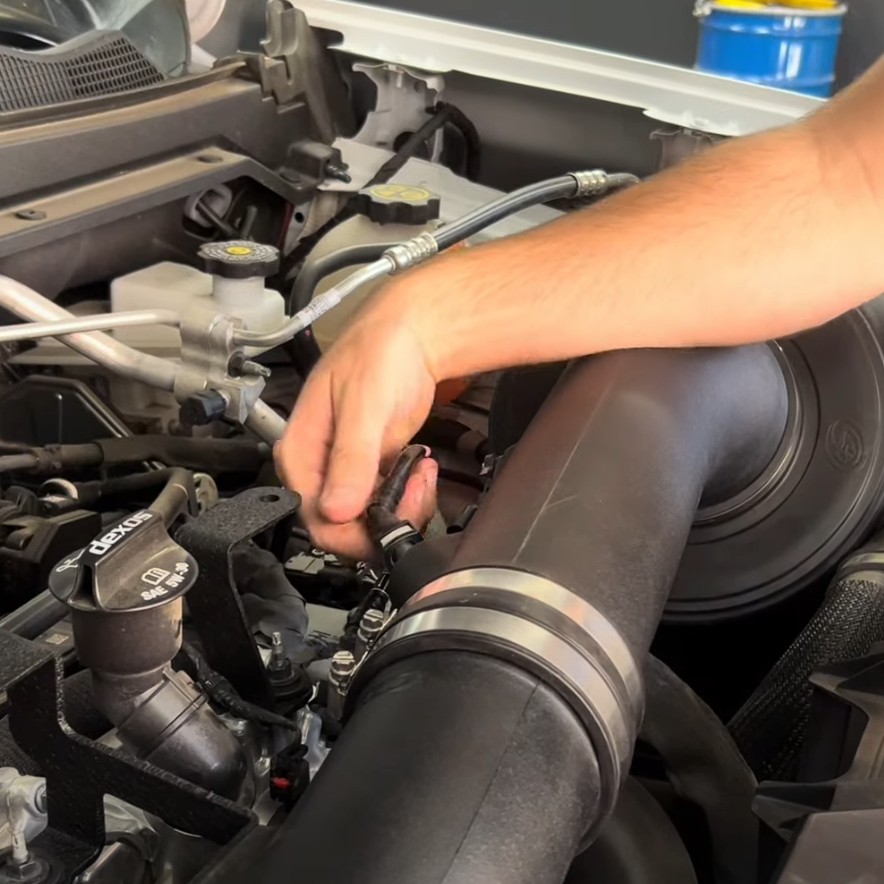
Connect the PCV fitting to the S&B tube, making sure it locks.
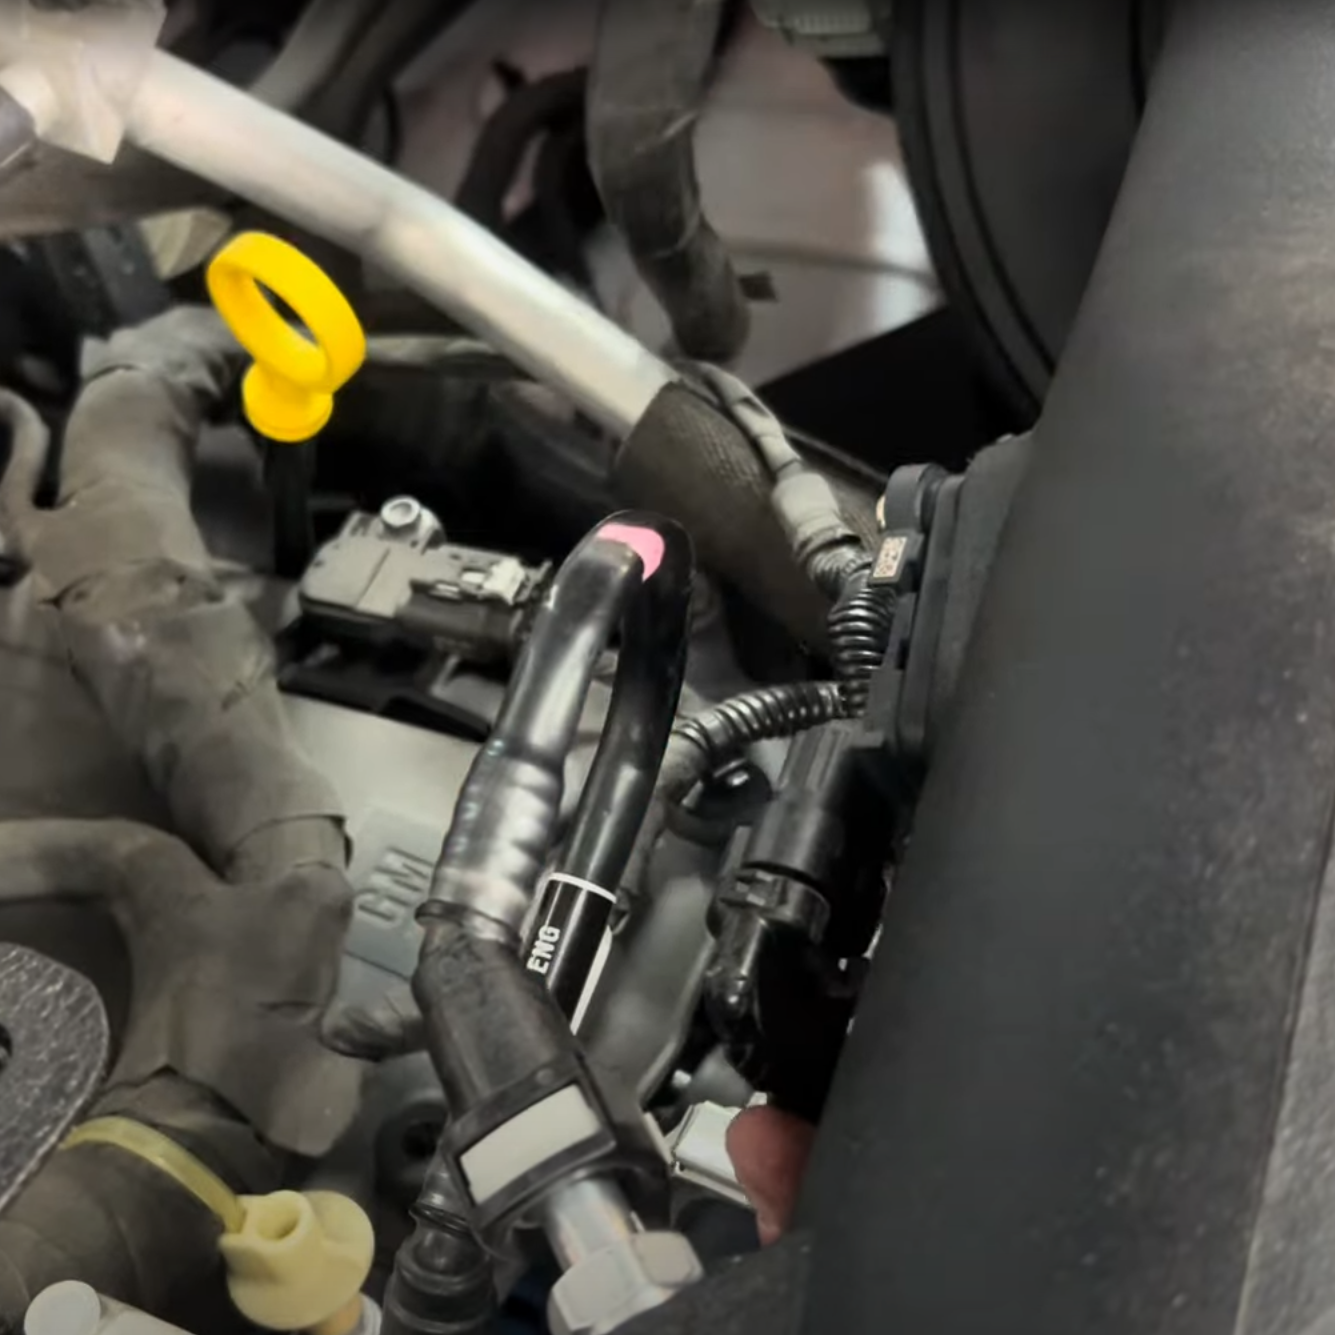
Reconnect the MAF sensor, making sure it locks.
Press the previously removed large harness into the S&B airbox.
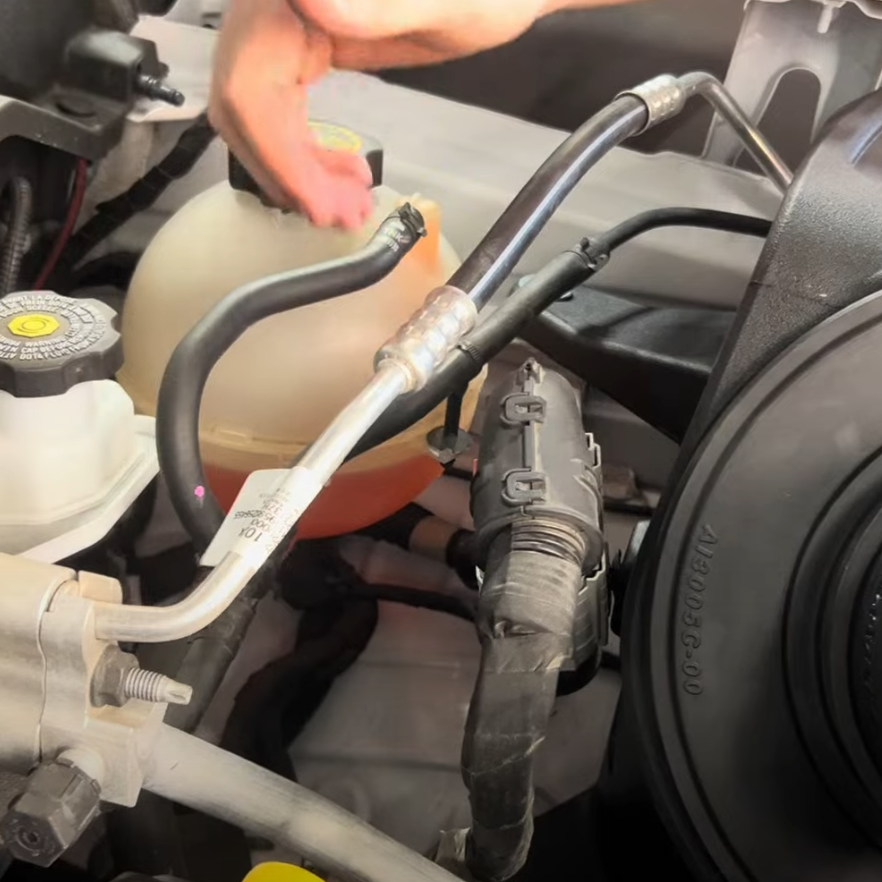
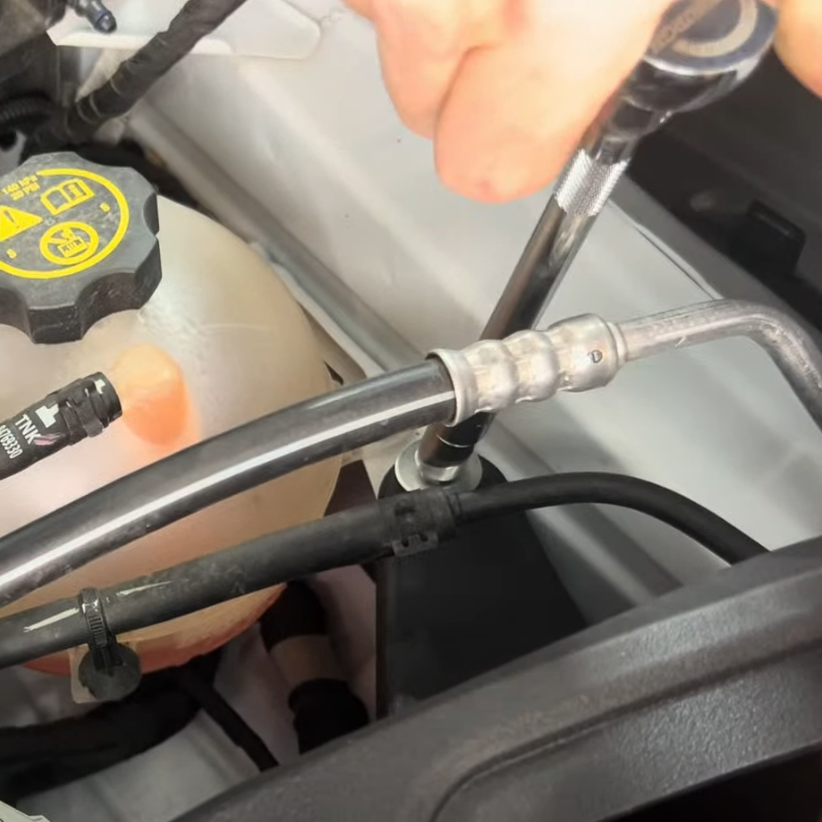
Use the supplied screw to fasten the arm of the S&B airbox to the vehicle.
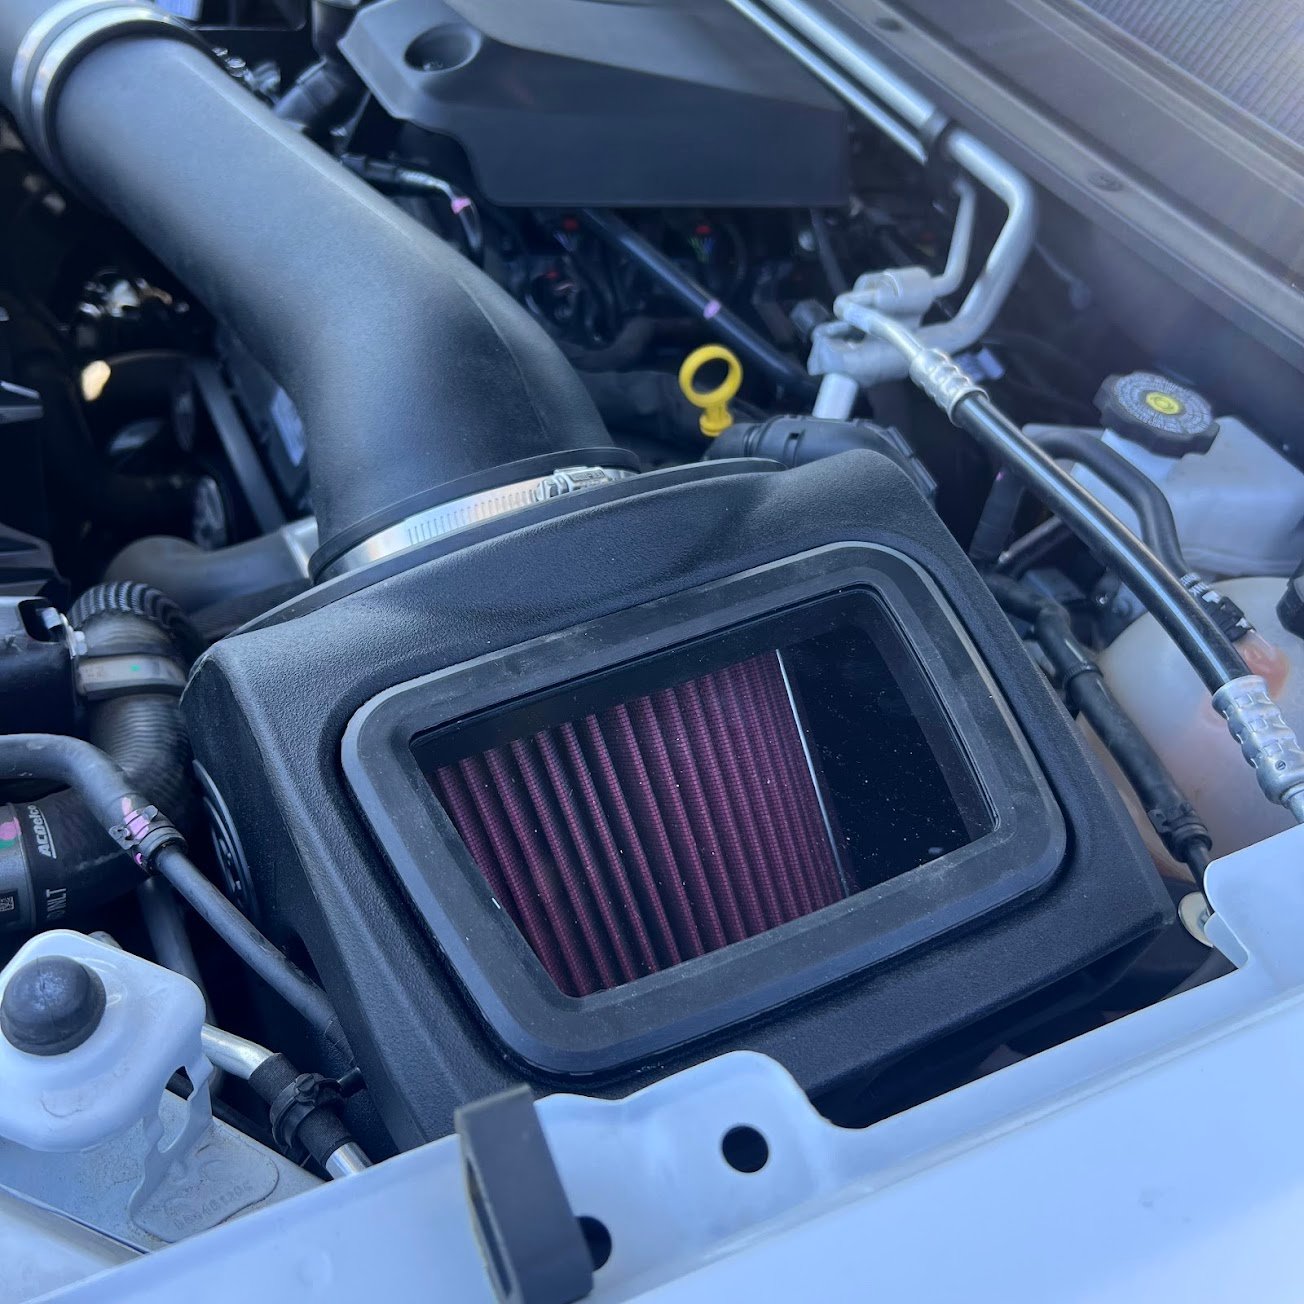
Remove the plastic cover from the clear lid, put it inside the groove of the rubber lid seal, and install this into the air box.
Fasten the cover to the two brackets using the previously removed screws.
