Install Instructions for 75-5062

Before You Start

  • Please read the entire product guide before proceeding.
  • Ensure all parts are present.
  • If you are missing any of the components, call our customer support at (909) 947-0015.
  • Do not work on your vehicle while the engine is hot.
  • Make sure the engine is turned off and the vehicle is in Park or the Parking Brake is set.
  • Note: This intake kit may not fit with the following Aftermarket Parts installed: Body Lift or Lowering Kit, Custom Hood, Throttle Body Spacer / Upgrade

Required Tools

  • 13mm Wrench/Socket
  • 5/16”, 15/32”, & 1/2” Wrench & Socket
  • 3/16” & #5 Metric Hex Key
  • 5/16” Nut Driver or Flat Blade Screwdriver
  • Drill and 3/4” Drill Bit (Optional)

STEP 1

With the ignition switched off and the parking brake set, disconnect the negative battery cables on both batteries, then disconnect the positive battery cable on the driver’s side only. Use a 8mm socket.

IMPORTANT: Failure to disconnect the battery for a minimum of 2 hours may cause the Check Engine Light to illuminate upon completion of the installation or subsequent operation. DO NOT SKIP THIS STEP!
STEP 2

Remove the stock battery cover by pressing down on the tabs in front of the battery.


STEP 3

With a 8mm socket remove the battery bolt and wedge then remove the battery from the vehicle.


STEP 4

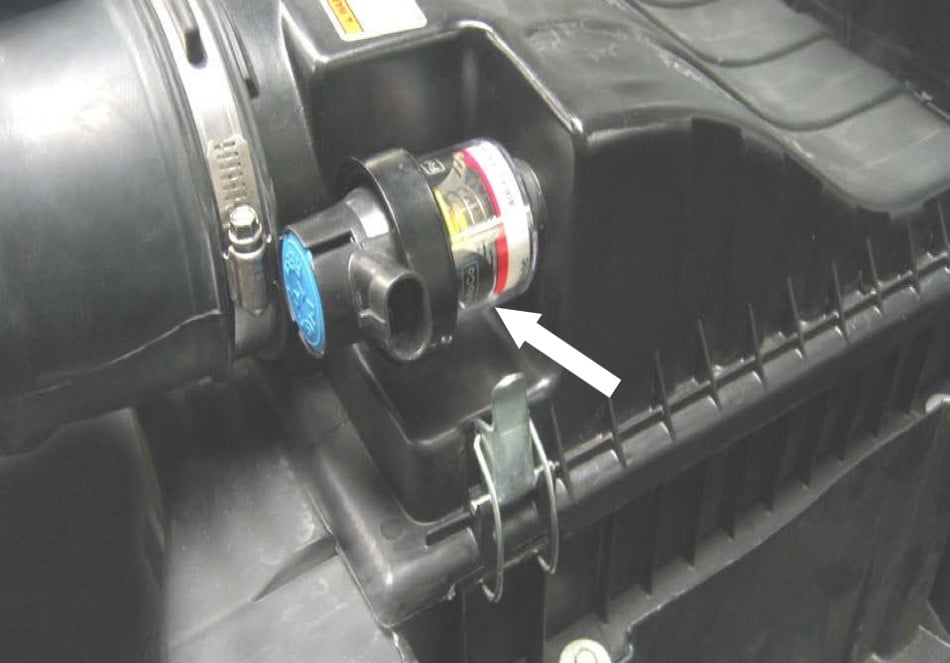
IF EQUIPPED: Disconnect the stock electronic restriction gauge electrical connector then read Step #16 and plan accordingly.


STEP 5

Loosen the hose clamp at the turbo inlet.


STEP 6

Unfasten and remove the stock airbox lid and intake tube assembly from the vehicle.


STEP 7

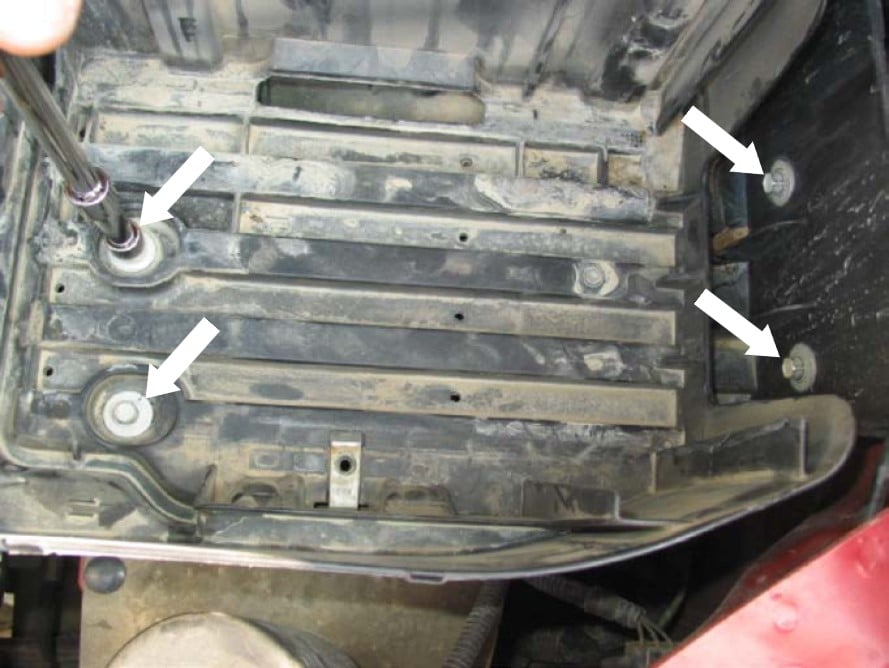
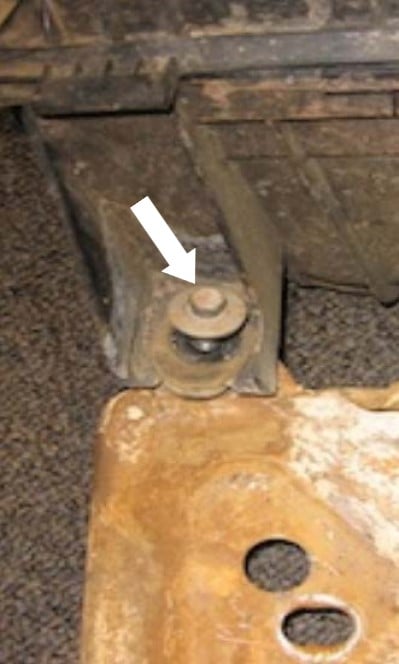
Remove the four bolts from the stock battery tray from the bottom and side.

NOTE: Early 99’ models have a separate bracket with an additional bolt. Remove this bolt as well, then remove the tray from the vehicle.

STEP 7 (IMAGE 2)

STEP 8

From the inside of the stock airbox, turn the air temperature sensor a 1/4 turn to release it from the airbox.

Caution: Be careful not to damage the sensor.

STEP 9

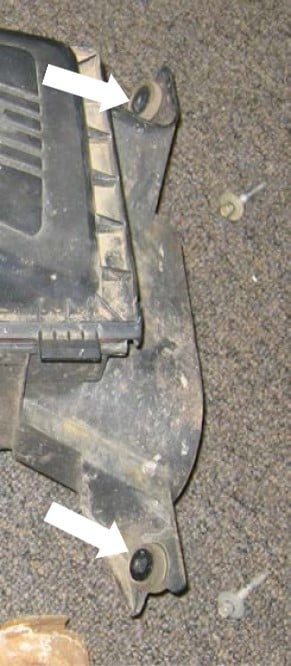
Remove the airbox and tray from the vehicle.

NOTE: Early 99’ model stock air boxes have 2 bolts at the inner fender that need to be removed prior to the removal of the airbox.

STEP 9 (IMAGE 2)

STEP 10

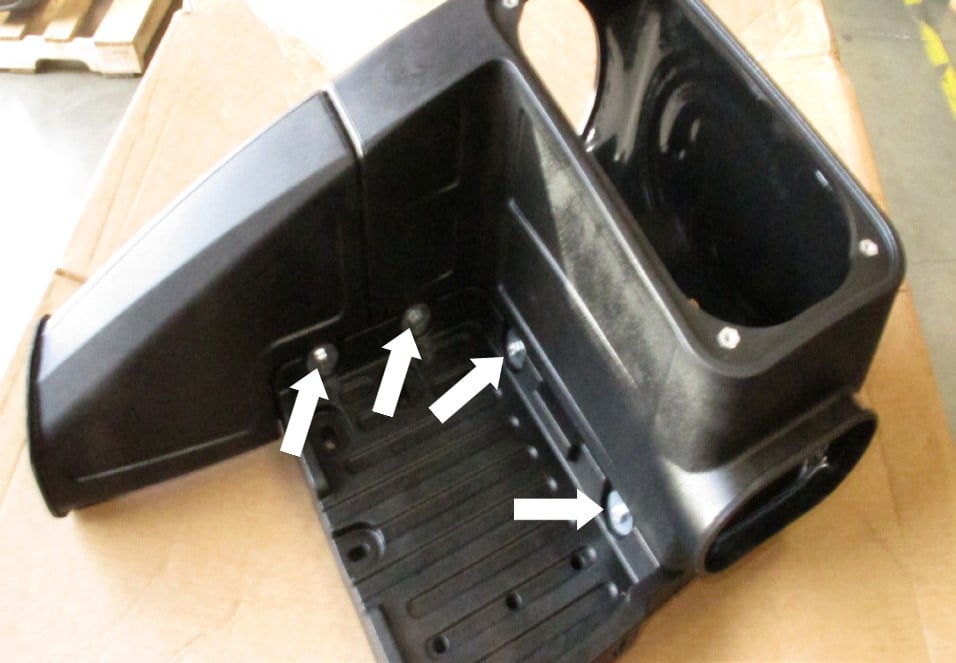
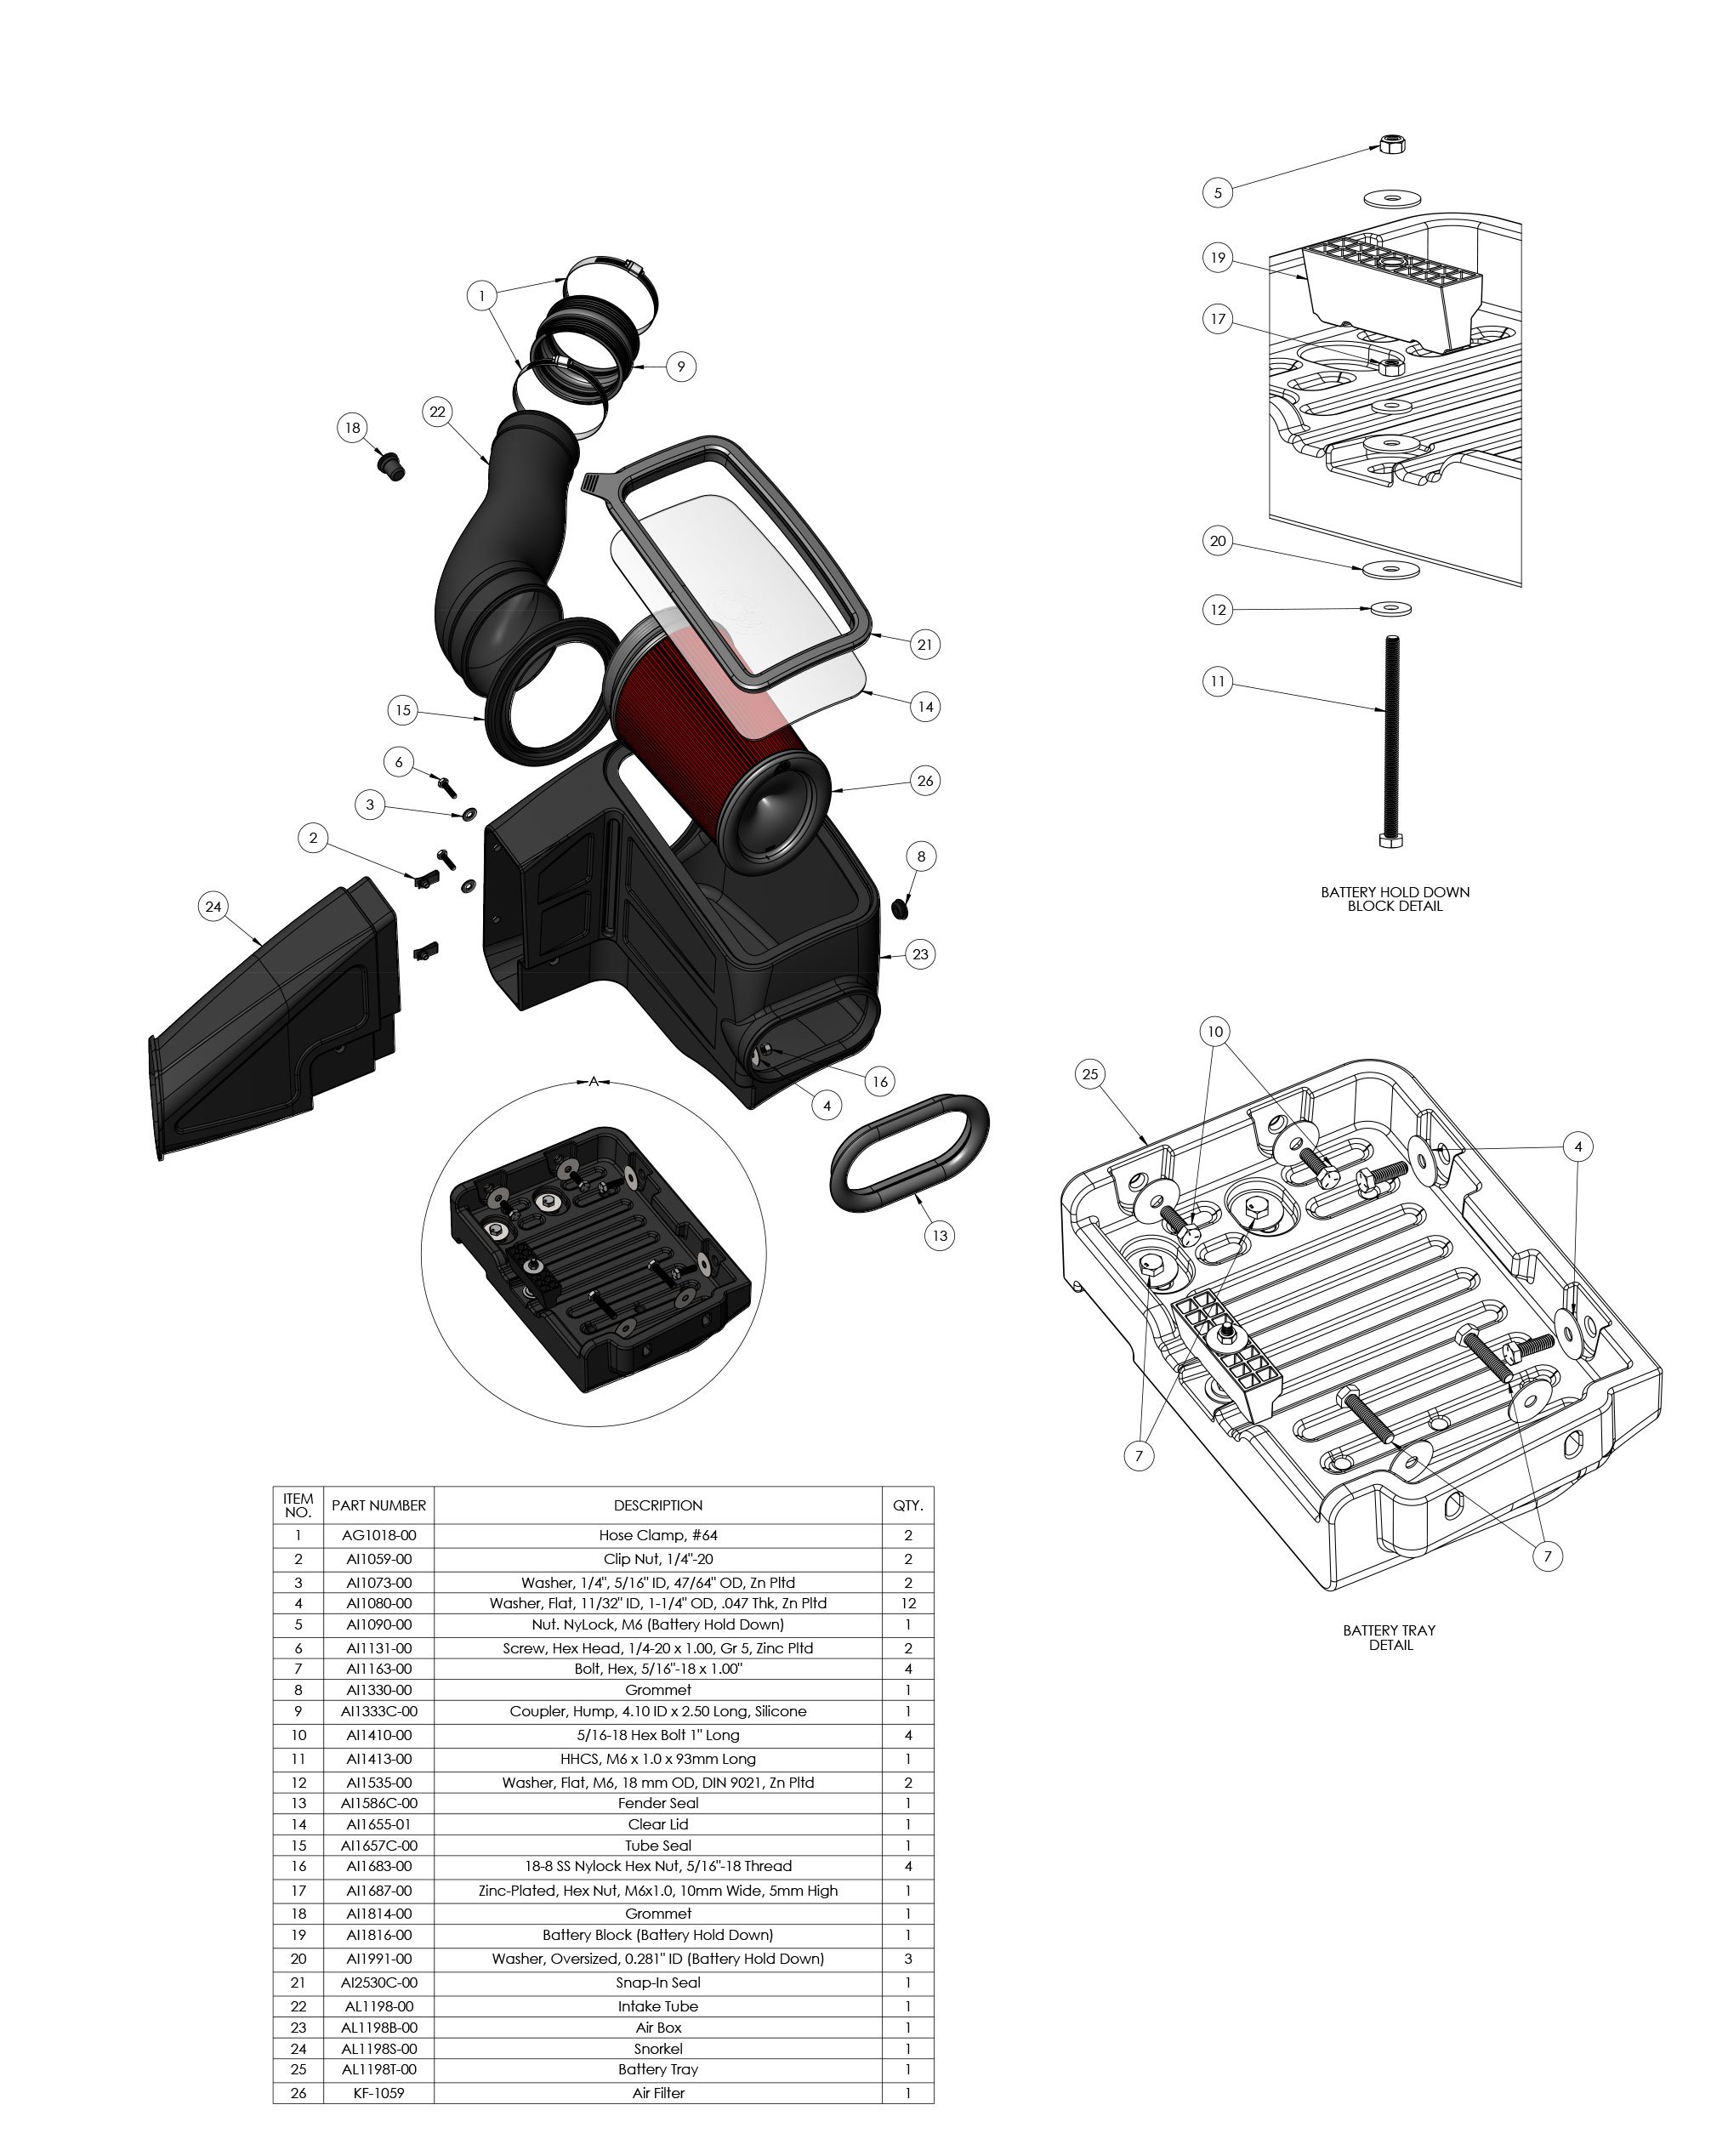
Install the Clip Nuts onto the Snorkel then slide the snorkel into the Airbox.

STEP 11

Secure the Snorkel with the 1/4”-20 Bolts and Washers. Do not over tighten.


STEP 12

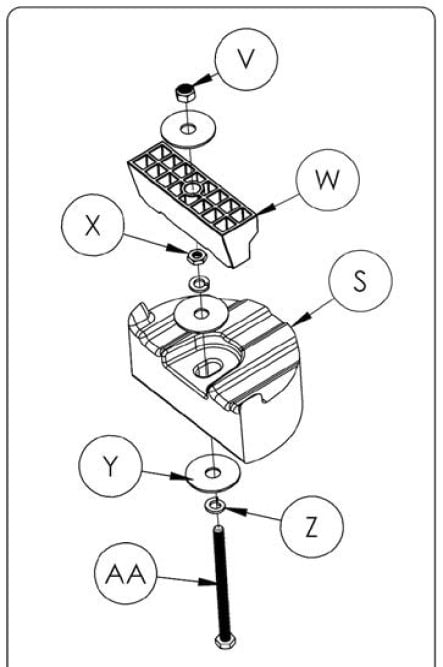
With a 1/2" wrench and socket secure the Battery Tray to the Snorkel and Airbox with the 5/16”-18 Bolts, Washers and Lock Nuts. Do not over tighten. 


Step 12 (IMAGE)

STEP 13

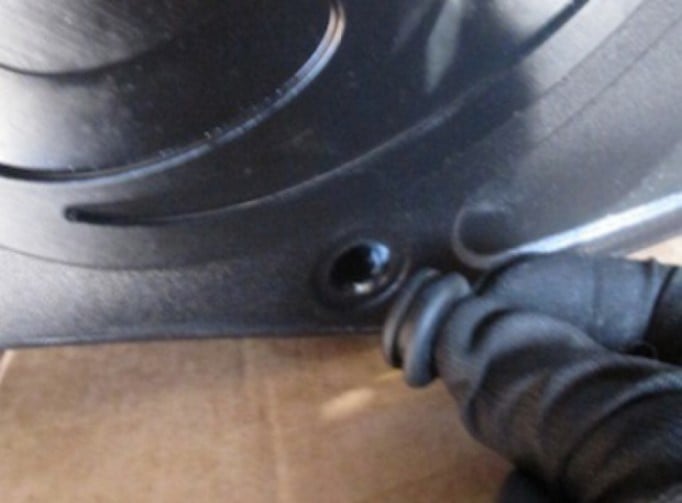
Install the Grommet into the side of the Airbox.


STEP 14

Install the Fender Seal onto the Airbox.


STEP 15

Install the Tube Seal onto the Airbox.


READ BEFORE NEXT STEP

Note: The stock Restriction Gauge is not calibrated for the S&B Intake Kit, both types (Manual and Electronic) will no longer be accurate. However, the electronic type must be reconnected or the indicator light may be triggered.

Important: Service air filter according to S&B precision cleaning instructions. Do not rely on the restriction gauge or wait until the dash light is triggered.

STEP 16

IF EQUIPPED: To reinstall the electronic restriction gauge drill a 3/4” hole in the Intake Tube at the drill point and insert the Grommet .

STEP 16 (IMAGE 2)

STEP 17

Install the Intake Tube through the Tube Seal from inside the Airbox. Pull out the intake tube until it reaches the stop bead.


STEP 18

Install both #64 Hose Clamps onto the Coupler and slide onto the intake tube. Do not tighten yet.


STEP 19

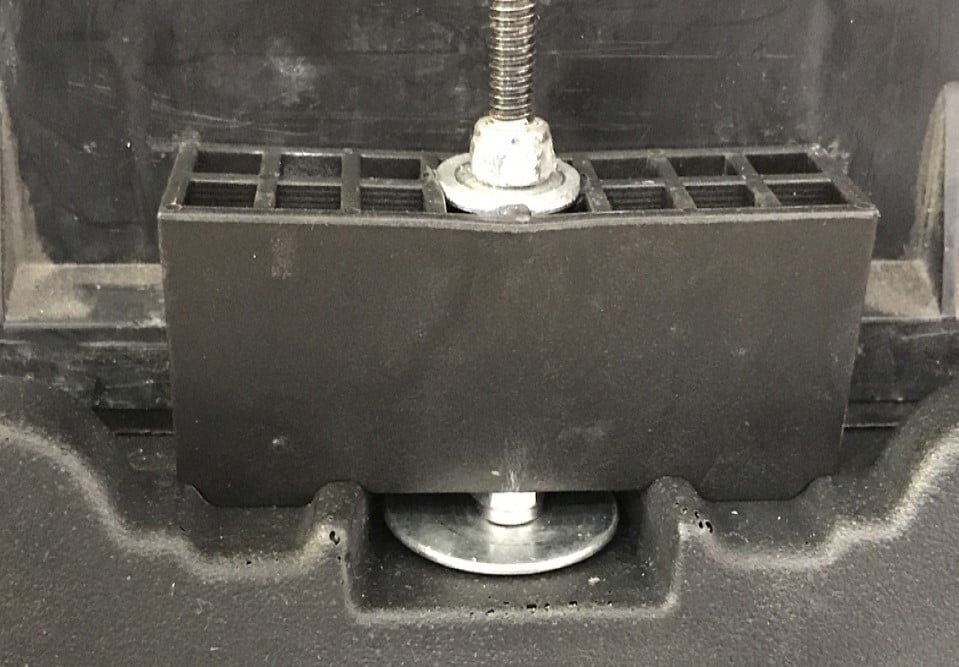
Install the battery hardware to the Battery Tray. M6 Bolt, Split Washer, Washers and Jam Nut . Tighten the Jam Nut and M6 Bolt. Lock, do not install the battery block yet.


STEP 19 (IMAGE 2)

STEP 20

Install the complete airbox assembly into the vehicle.


STEP 22

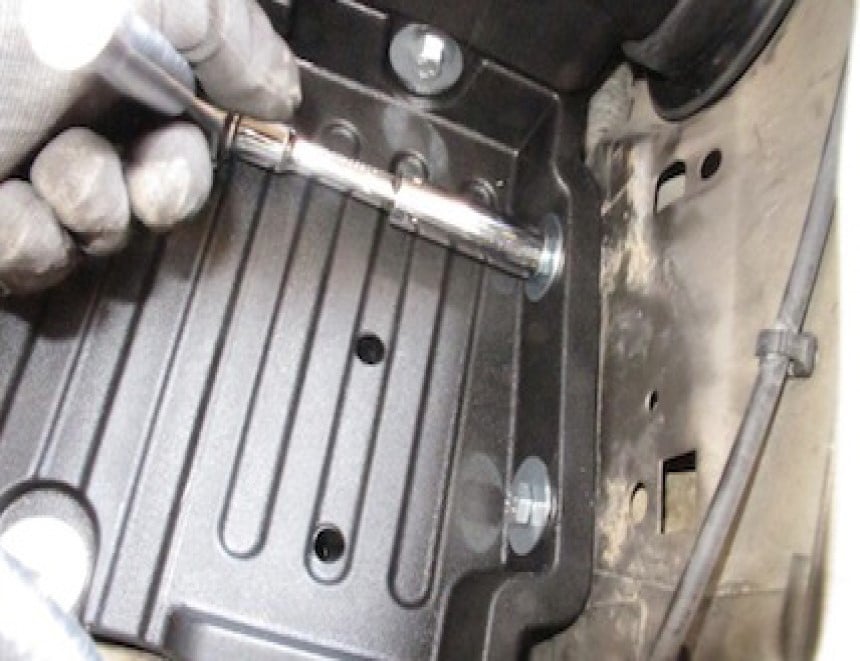
Align the mounting holes for the Battery Tray going to the fender and underneath the airbox. Install the provided M8 Bolts and Washers through the battery tray which should thread into the factory clip nuts.


STEP 23

Install the provided M8 Bolts and Washers to secure the Battery Tray to the fender.


STEP 24

Align the Intake Tube with the turbo inlet then slide the Coupler onto the turbo inlet.


STEP 25

Tighten the #64 Hose Clamp.


STEP 26

Install the Air Filter onto the Intake Tube and tighten the hose clamp. Make sure the filter flange is properly aligned with the stop bead before tightening completely. The filter and tube may need to be adjusted to fit straight with the box.


STEP 27

install the battery onto the battery tray.


STEP 28

Install the Battery Block over the M6 Bolt, then secure the block with a Washer and Lock Nut.


STEP 29

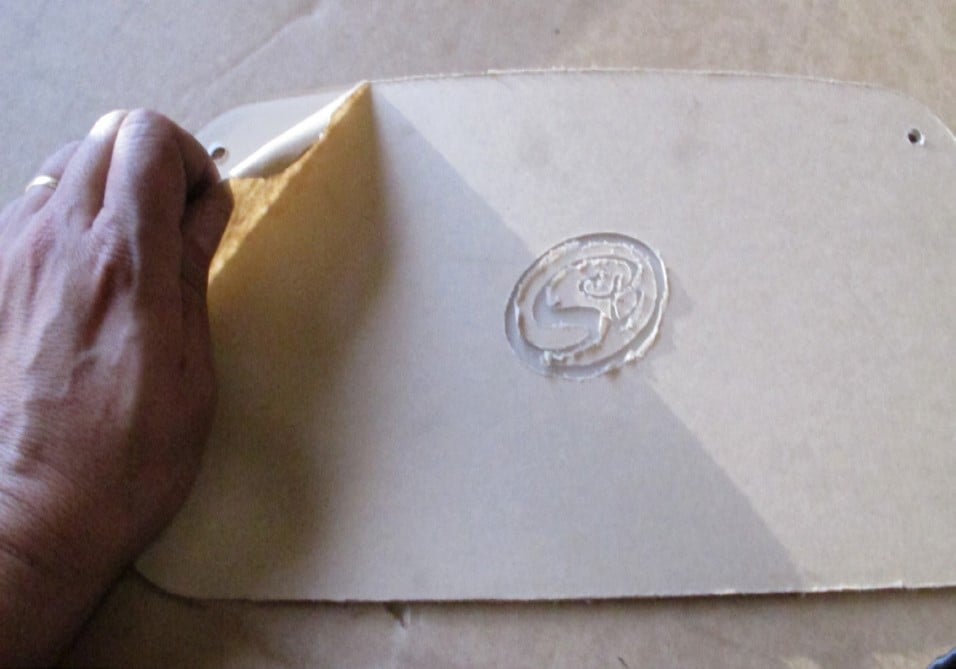
Remove the protective covering from the Clear Lid.


STEP 30

Install the Edge Trim around the edge of the Clear Lid.


STEP 31

Starting on 1 side of the airbox opening. Snap in the the lid to the airbox. 

STEP 32

Install the air temperature sensor into Airbox by pushing firmly into the grommet.


STEP 33

IF EQUIPPED: Reconnect the electronic restriction gauge and push it into the grommet on the intake tube. Press firmly to ensure a airtight seal.


STEP 34

Reconnect the negative terminal on the battery. Inspect your installation, make sure the kit is properly positioned and all fasteners are secure. Keep all stock parts in case you ever need to reinstall the stock intake assembly. Affix the ID label near the intake kit. The installation is now complete.


POWER STEERING RESERVOIR ACCESS

STEP 1

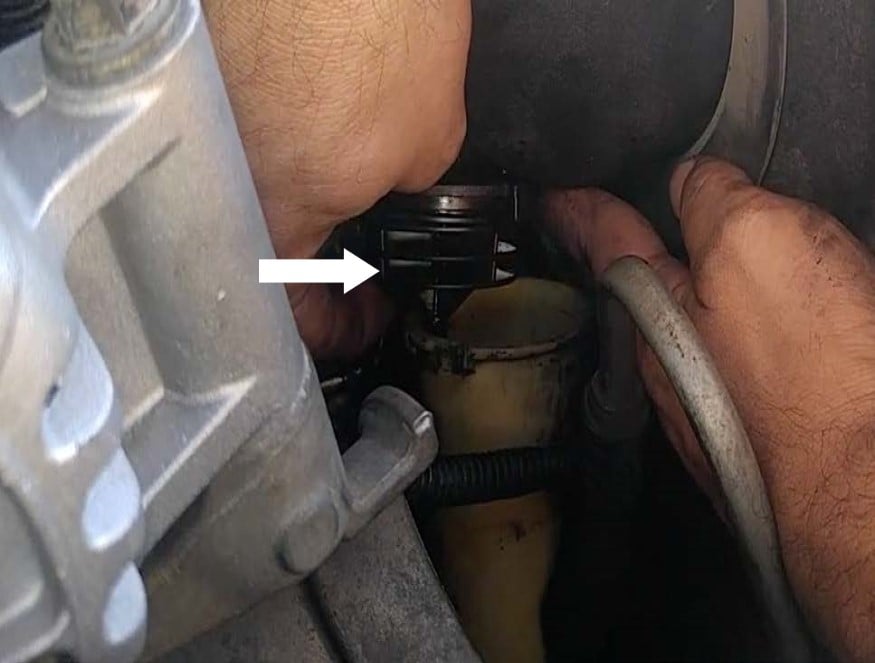
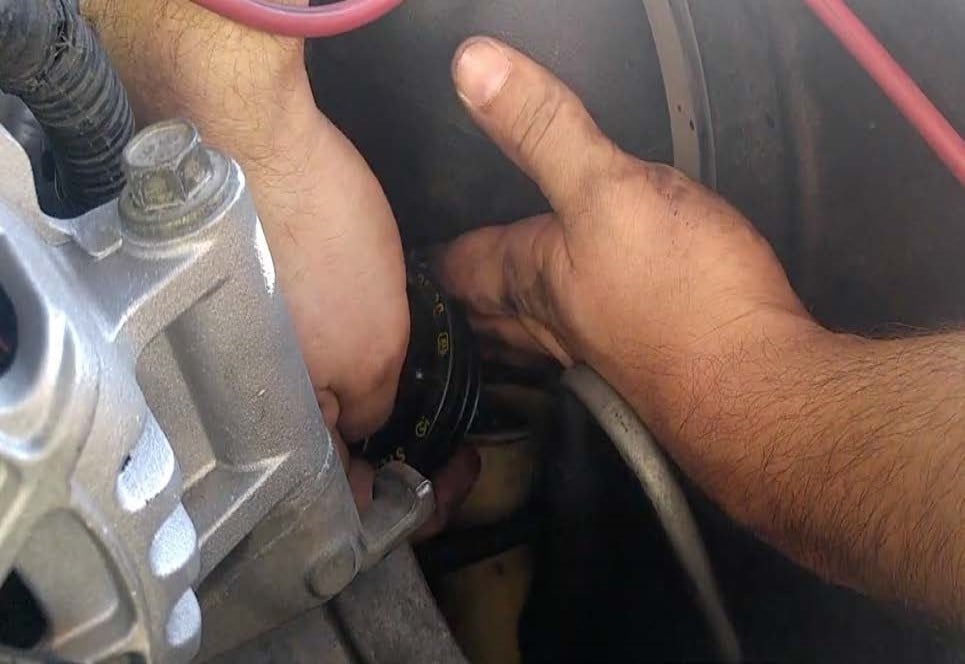
Turn the cap left to open the power steering reservoir. Lift up the cap until you can see the slanted portion for level indicator then slide the cap to the edge of the reservoir, slightly tip the cap and pull it out. It will take some force to get the cap out.


STEP 1 (IMAGE 2)

STEP 2

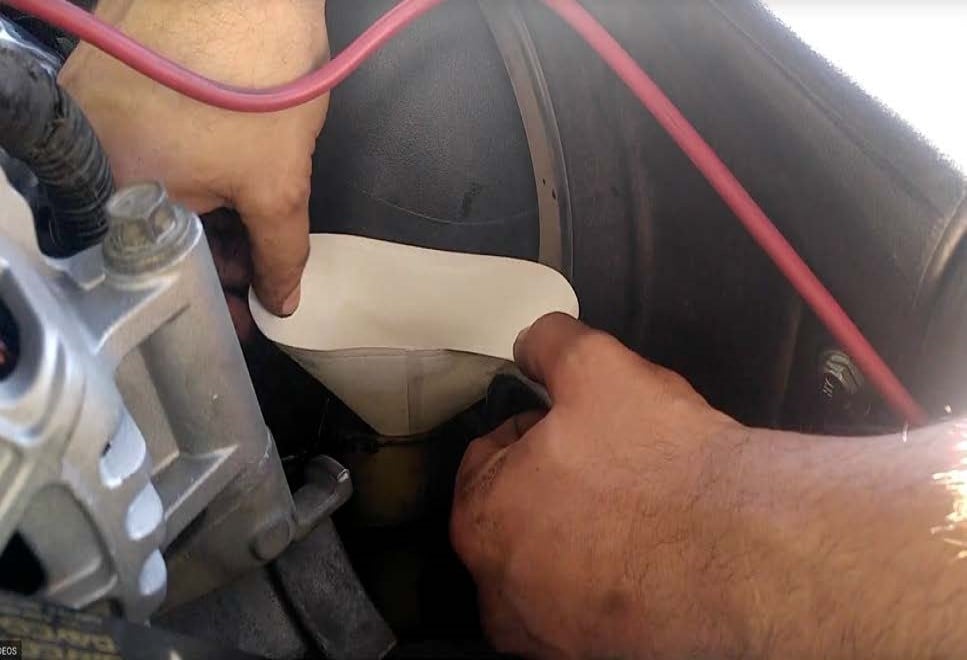
Use a paper or plastic funnel to refill your power steering fluid if needed. Reinstall the power steering reservoir cap.