Step 1:
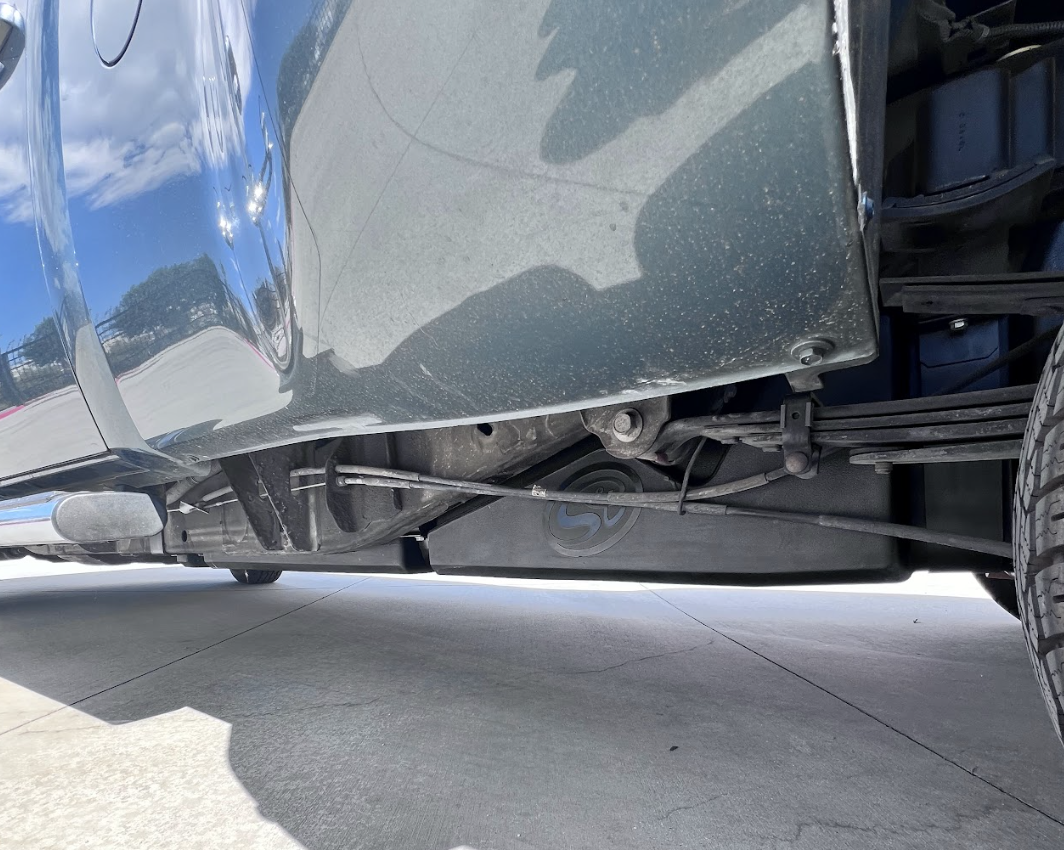
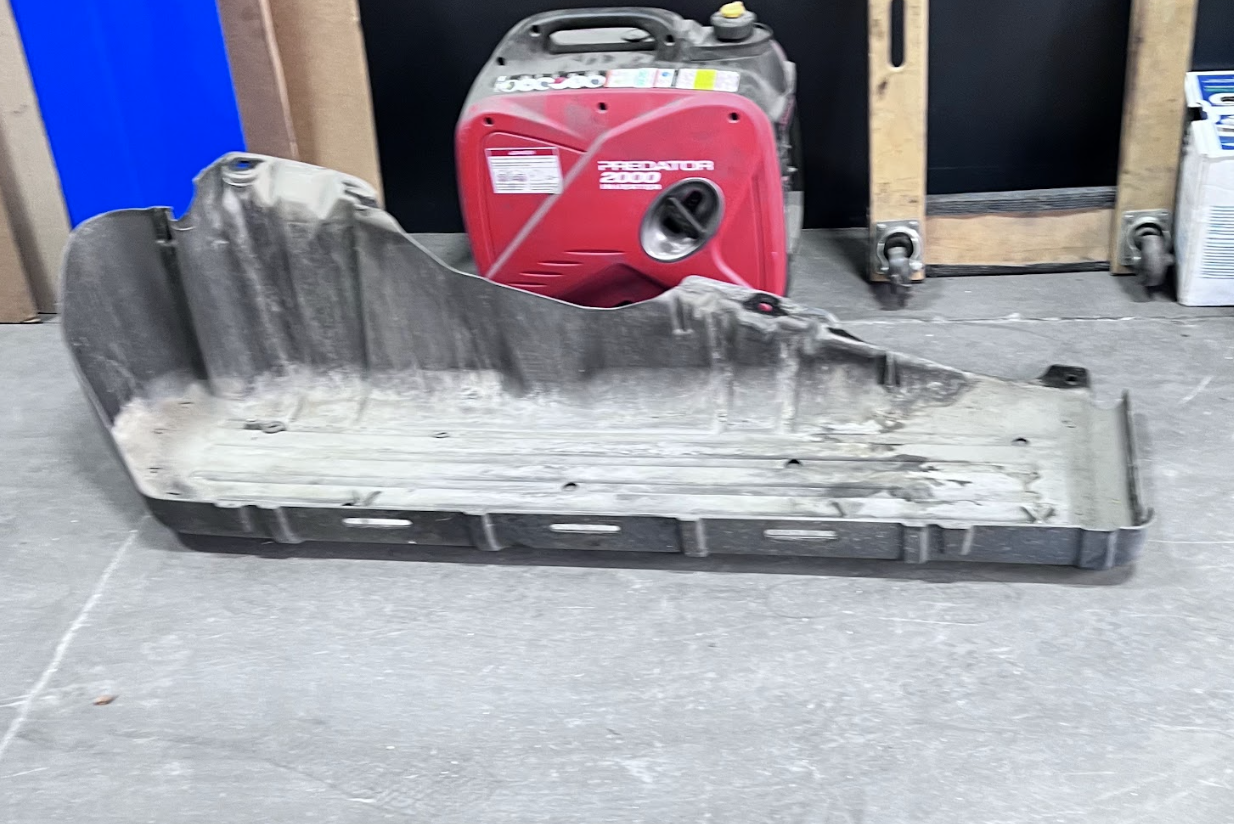
Remove your OEM fuel tank skid plate if your vehicle still has one.
Tools Needed: 13mm socket, extensions, and a ratchet.
**We recommend holding off on installing your S&B Fuel Tank until your stock tank is nearly out of fuel.
**2 person install recommended

Remove your OEM fuel tank skid plate if your vehicle still has one.
Tools Needed: 13mm socket, extensions, and a ratchet.
Disconnect the filler neck from the stock fuel tank. This is located on the top side of the fuel tank.
Tools Needed: Flat head screwdriver
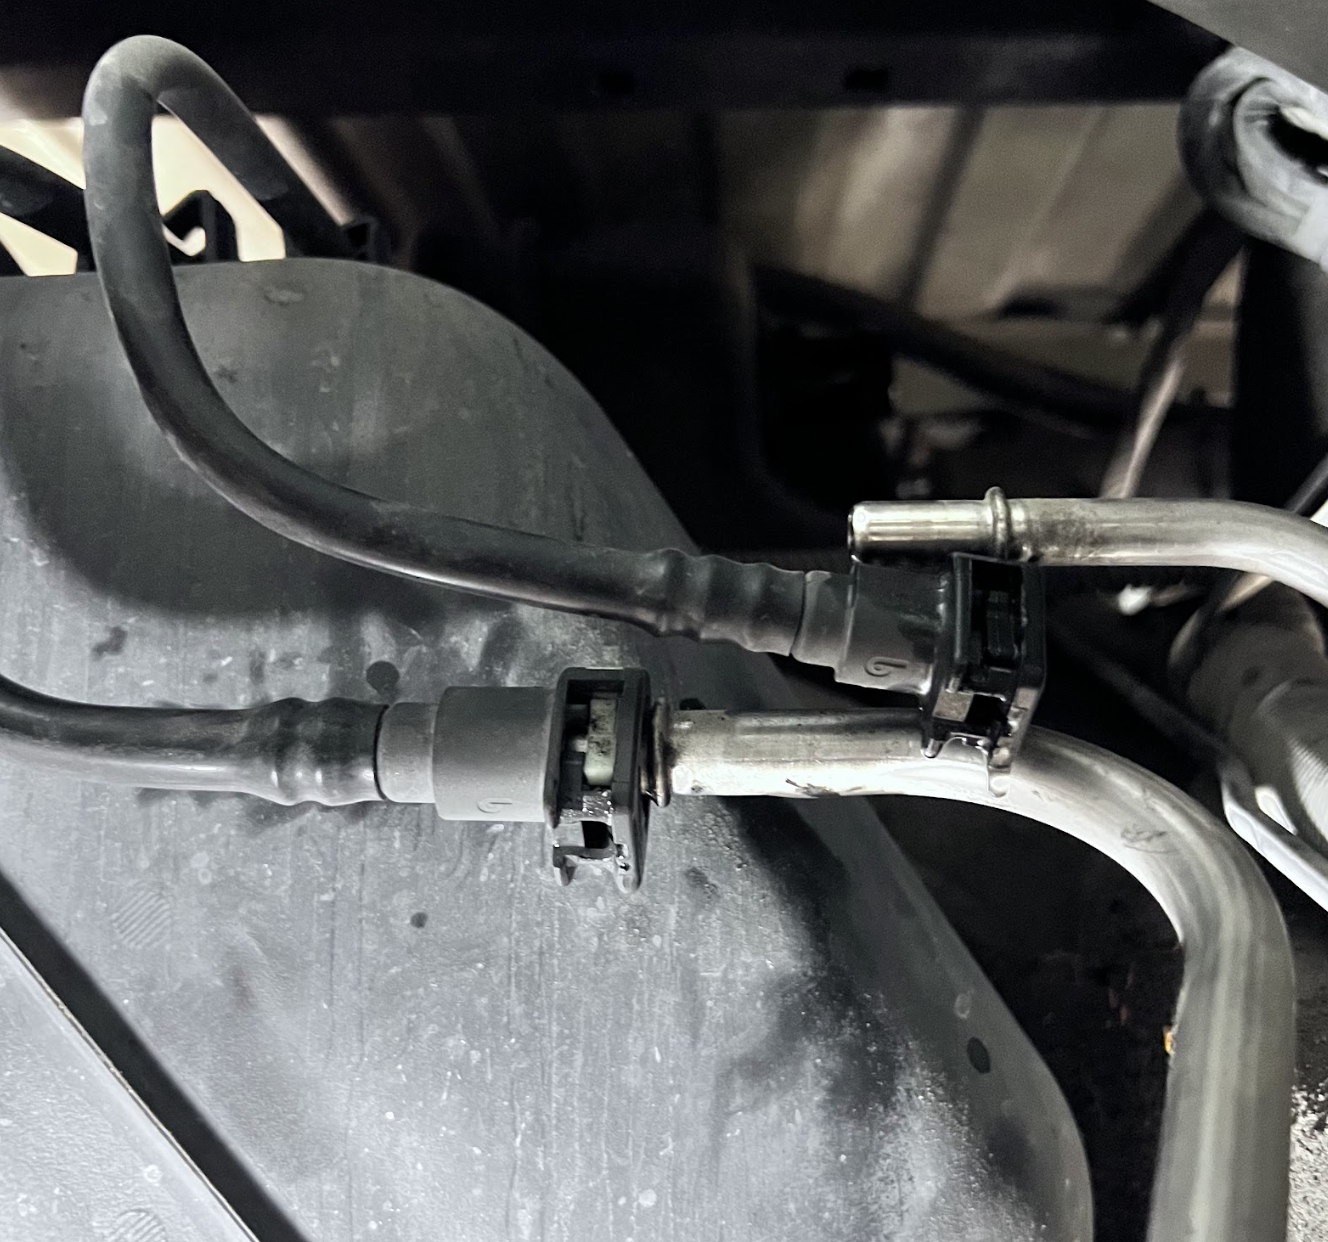
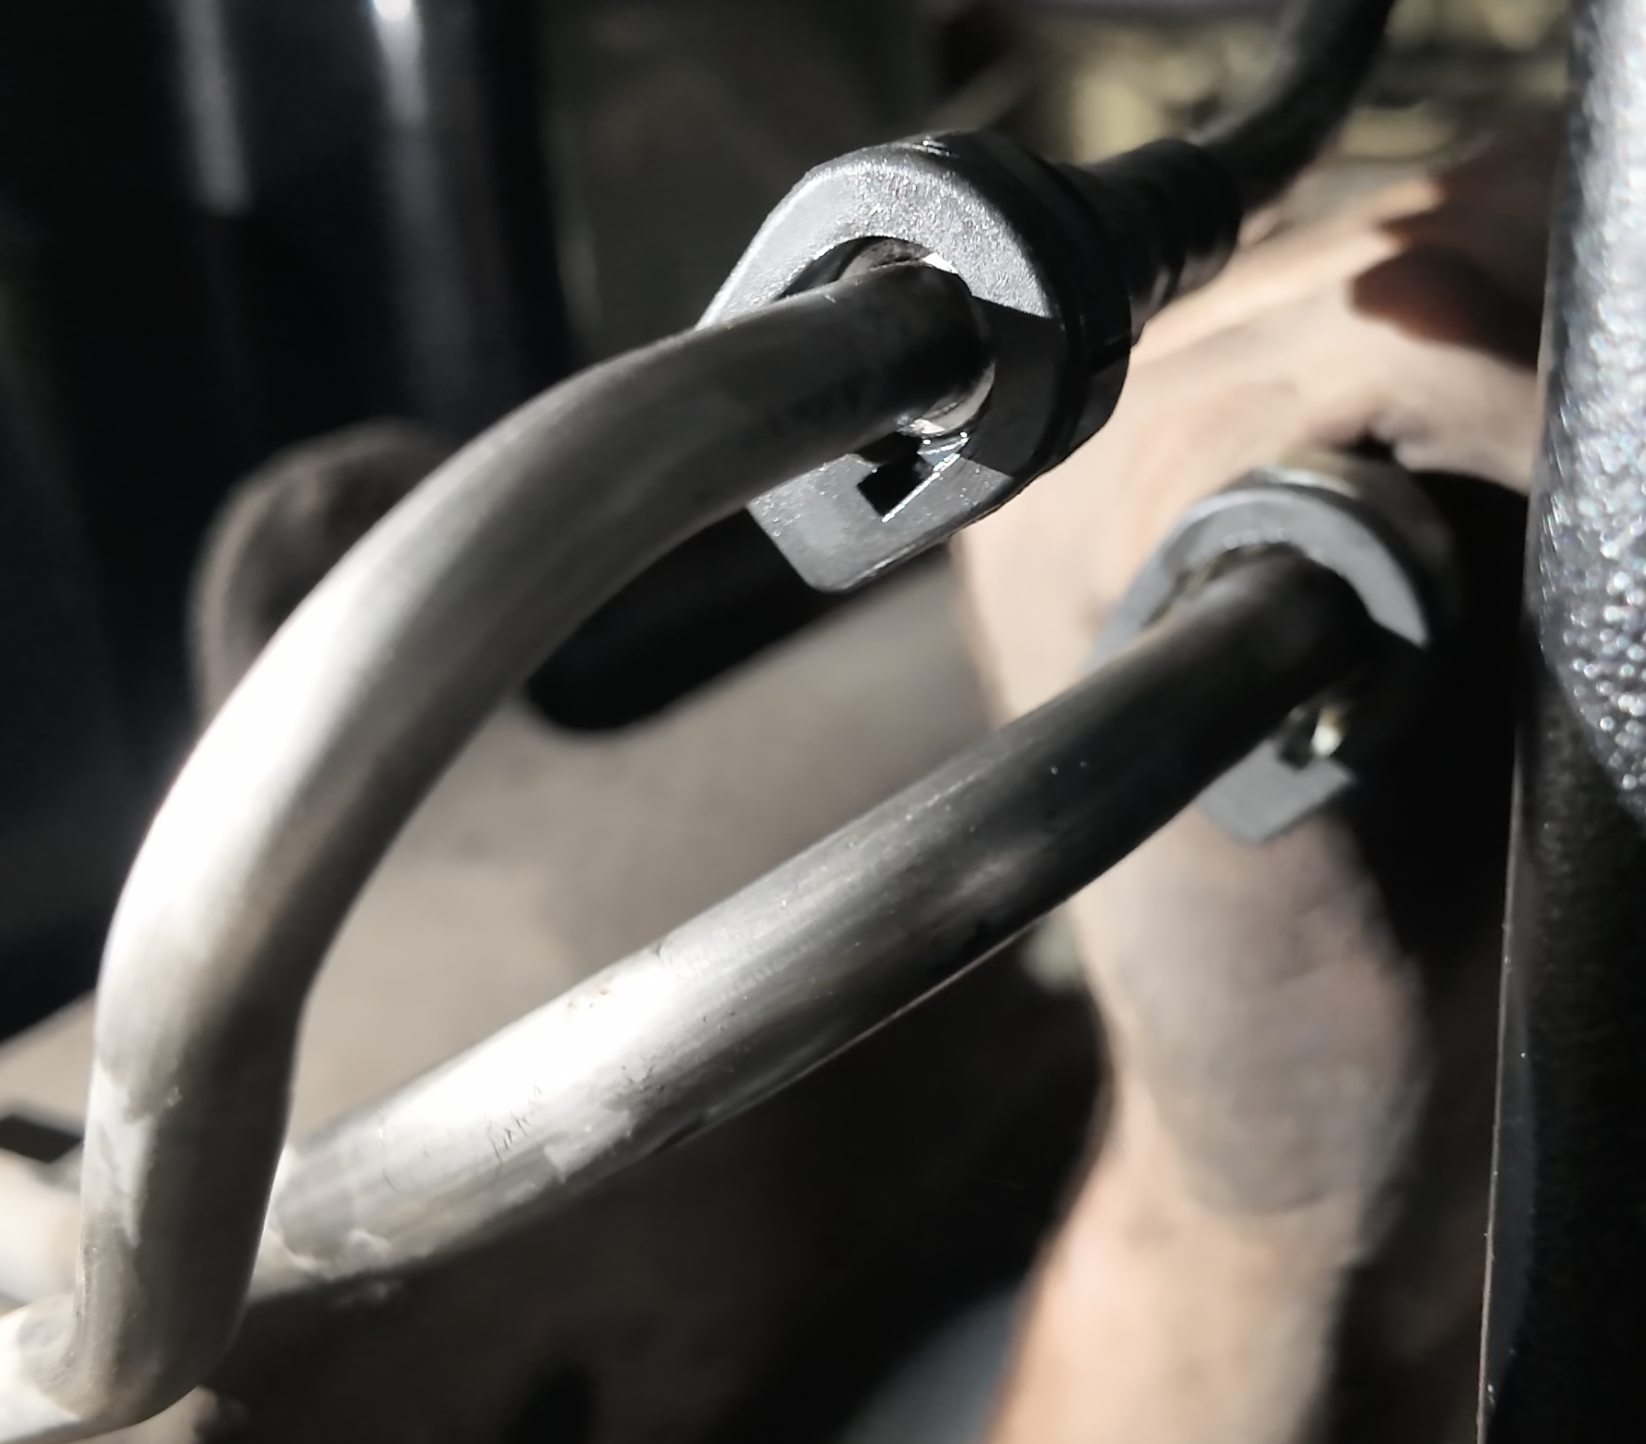
Disconnect both fuel lines. Remove the Red Safety Pins.
On the back of each connector, there will be a button. Press down on it, then pull to disconnect.
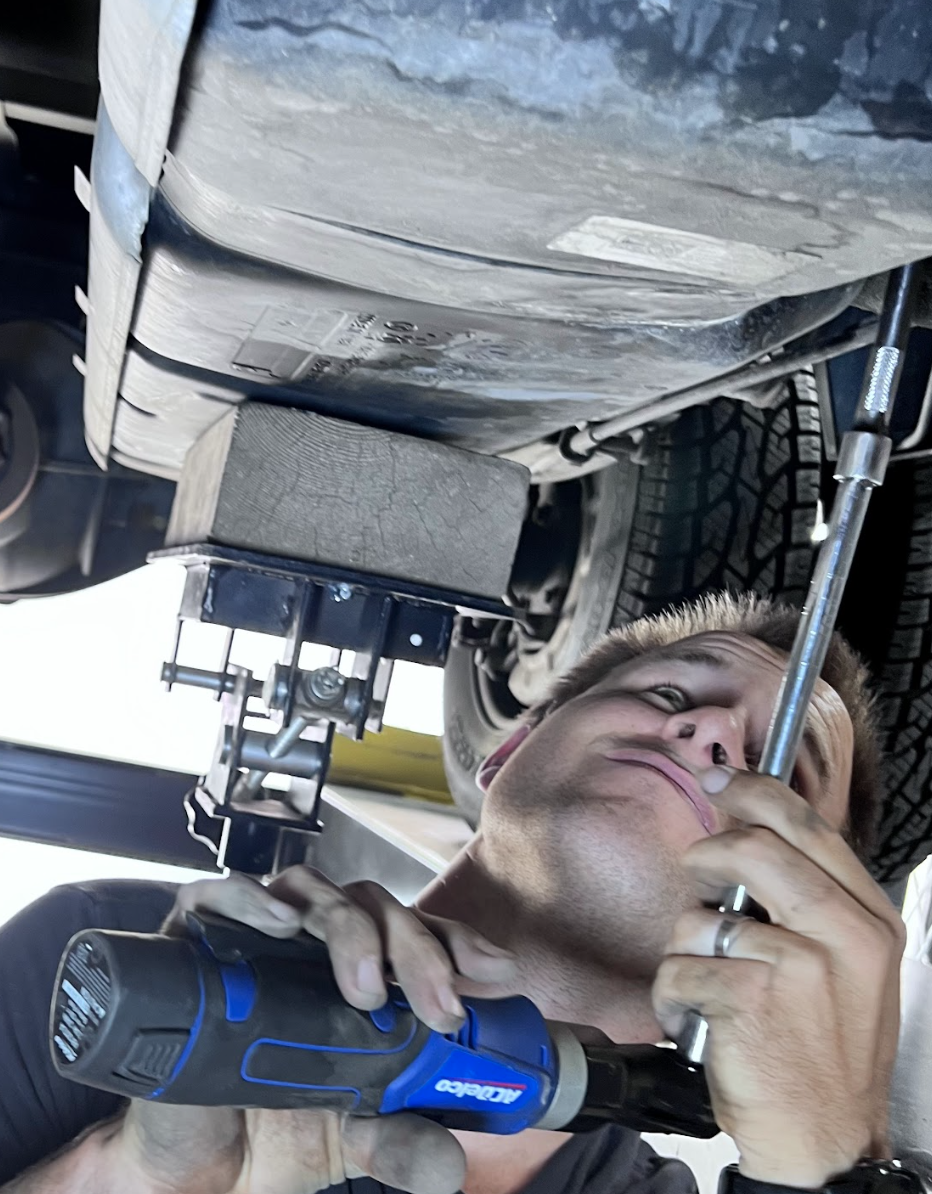
Now it's time to drop the fuel tank. To do this, you'll need to unbolt the stock fuel tanks straps. We recommend using a transmission jack to ease the tank down as well as stabilize it while you're unbolting the mounting straps.
Tools Needed: 13mm socket, ratchet, long extension.
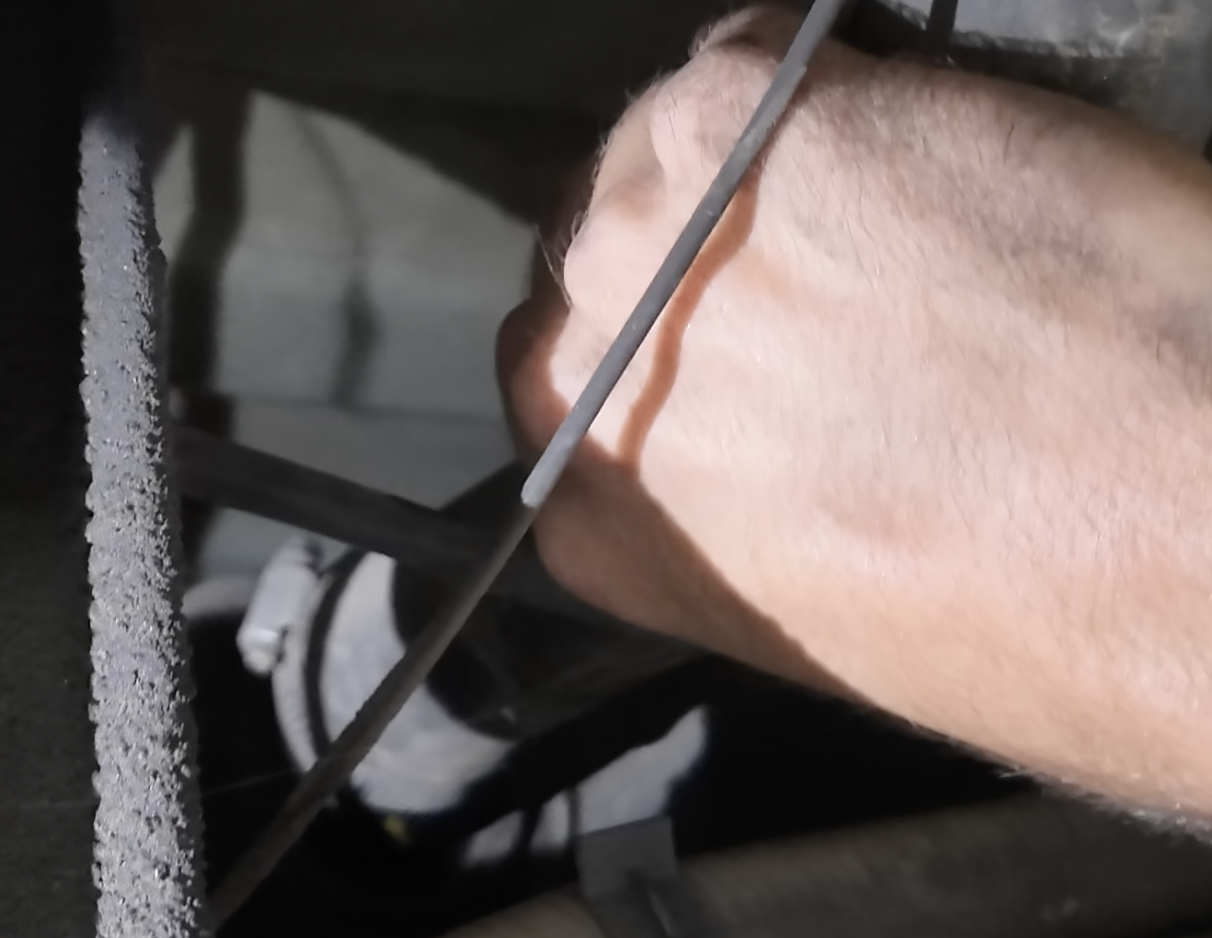
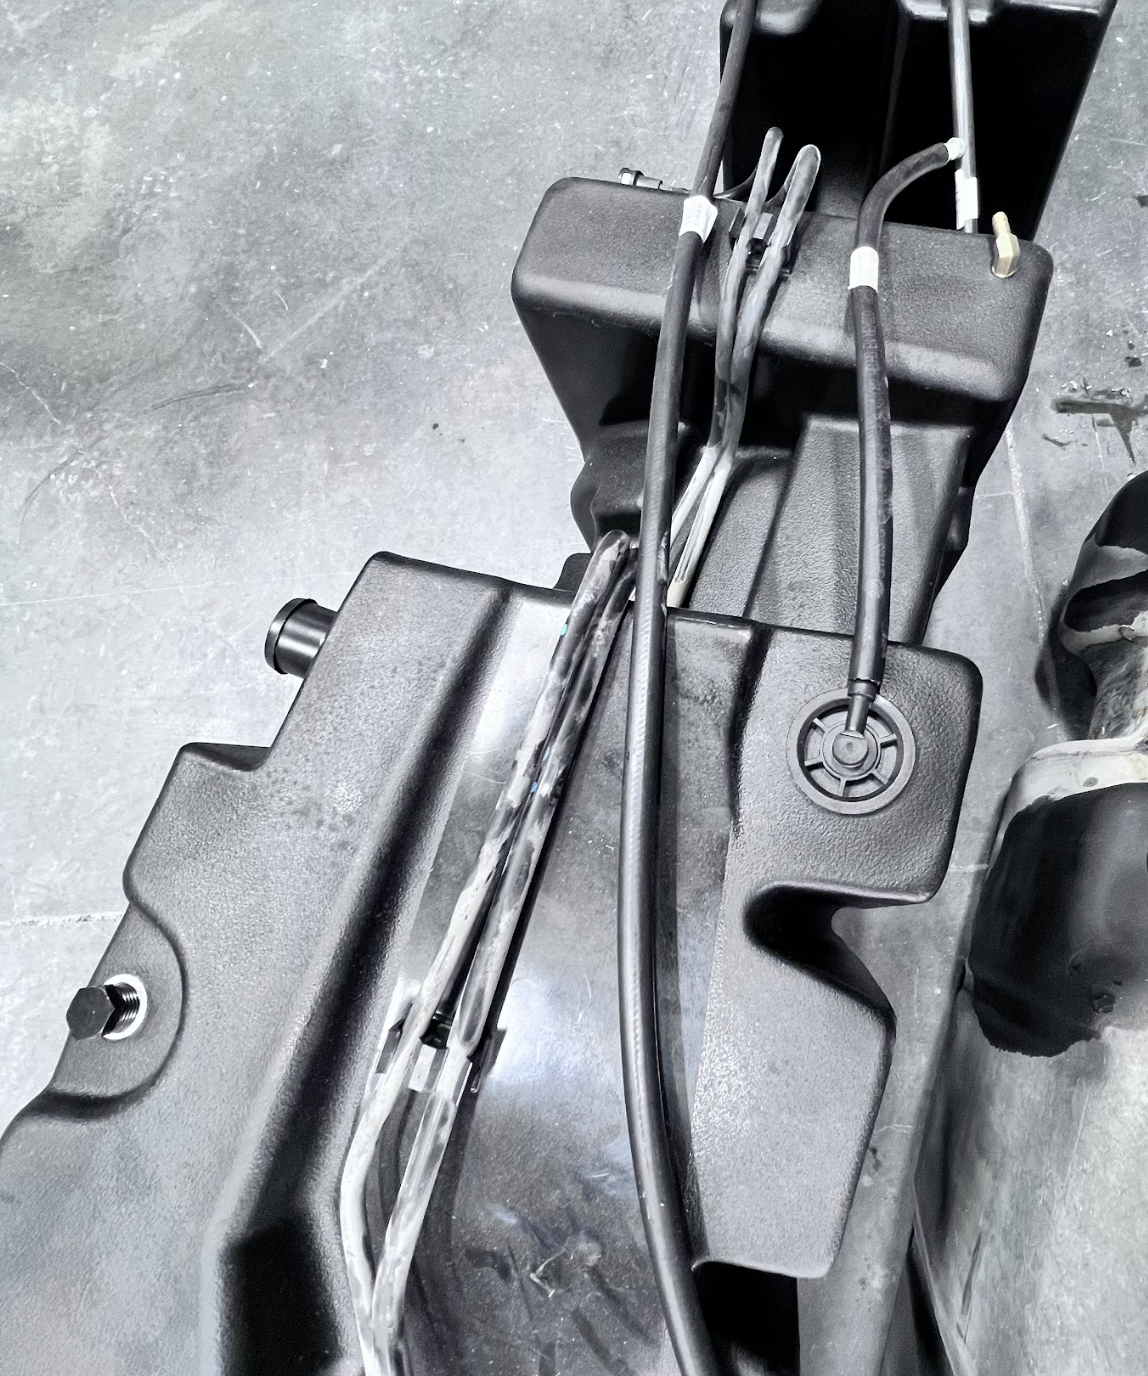
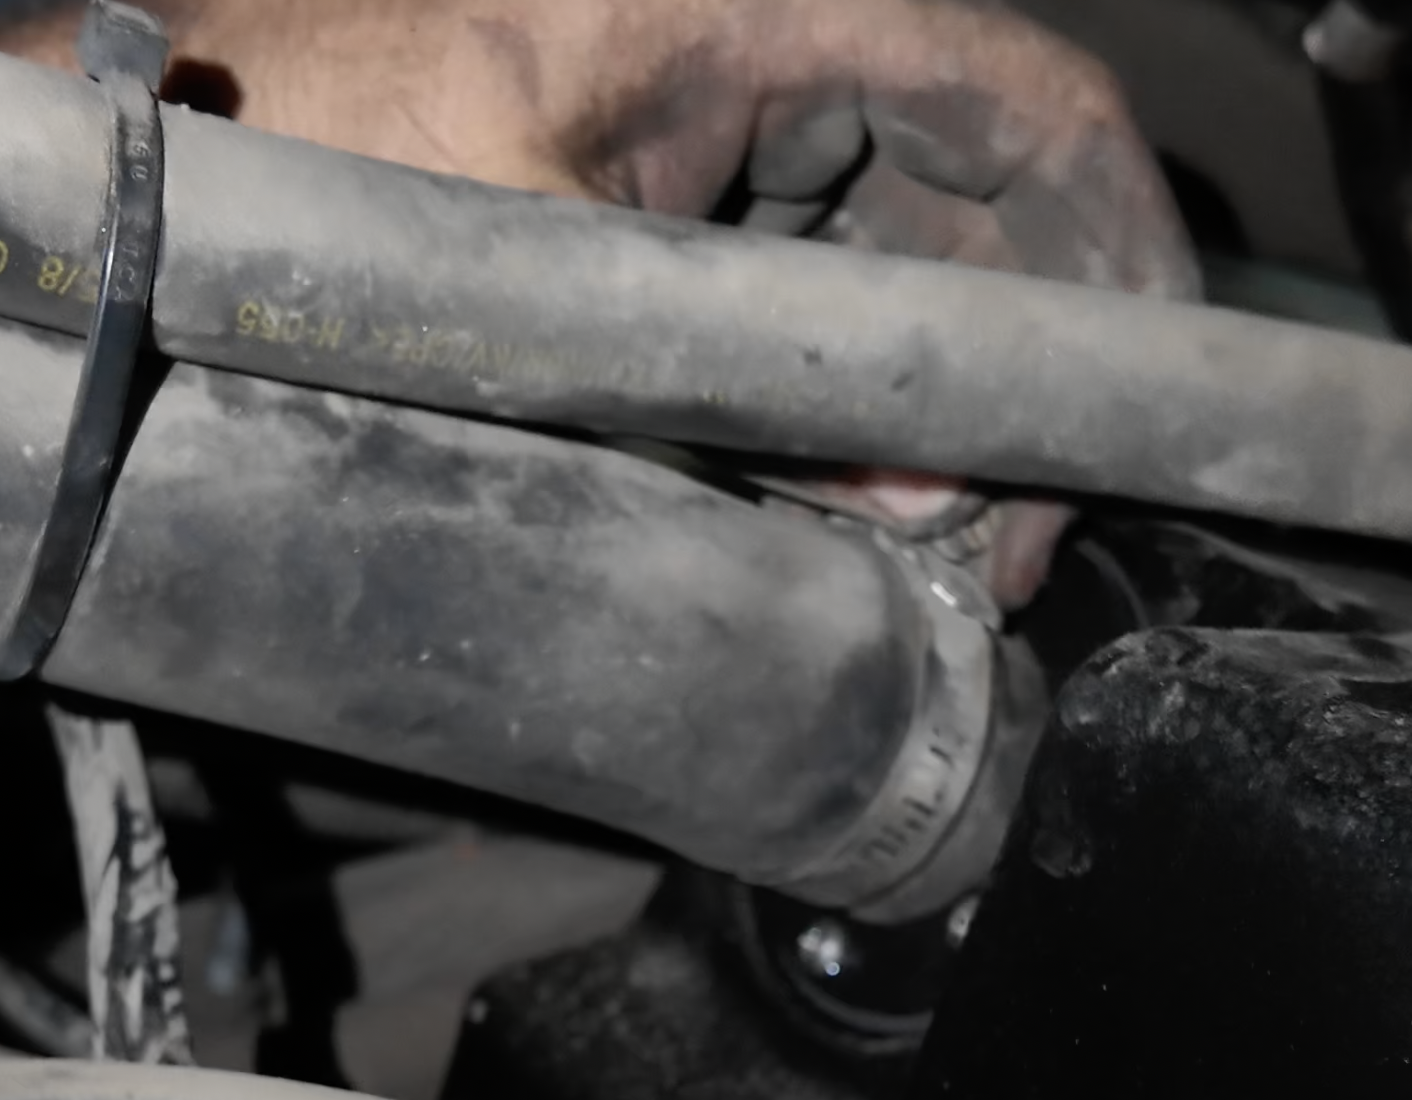
Now that there is ample space between the top of the tank, go ahead and loosen the hose clamp on the vent of the stock fuel sending unit.
Then remove the hose from the sending unit.
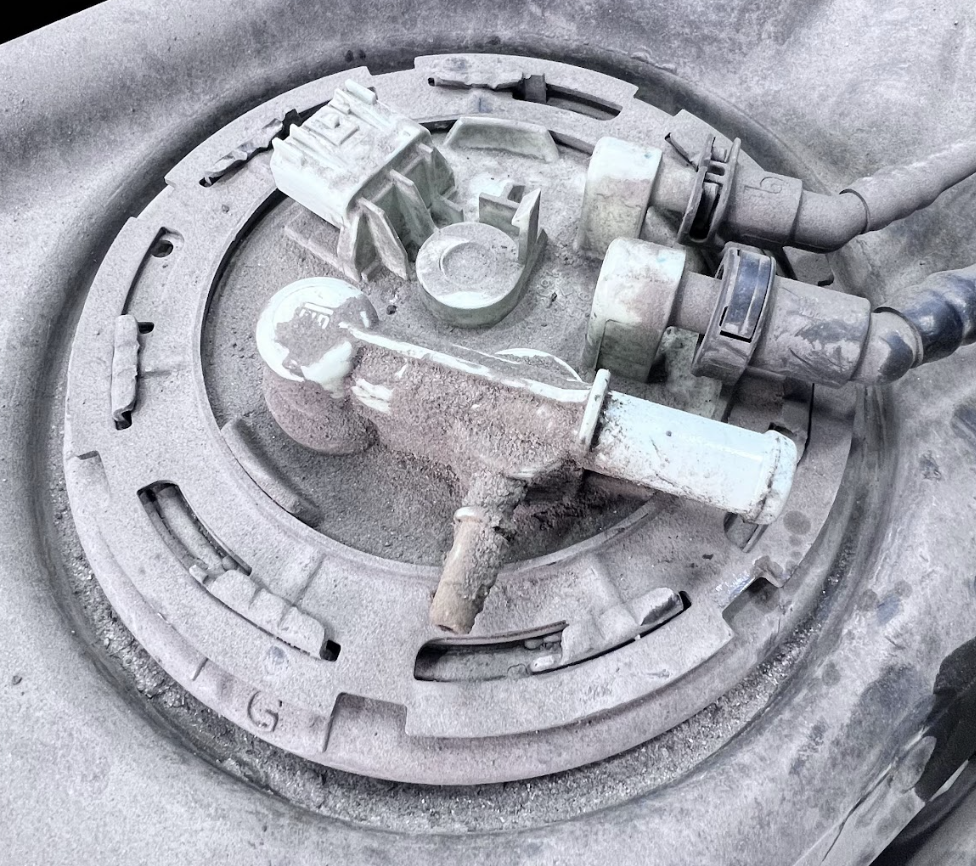
Now disconnect the electrical connector on the sending unit. There is a lock on it that will have to be disconnected first.
Once the lock is popped out, take the screwdriver and push down on the button then pull the connector out.
Tools needed: Flat head screwdriver.
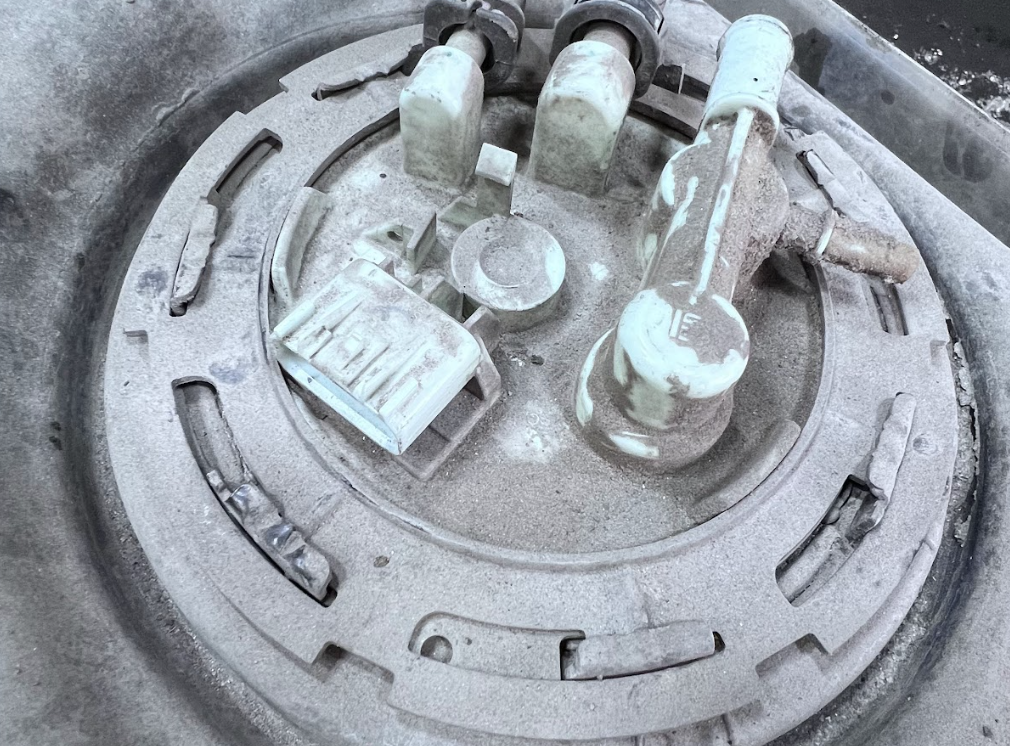
Now it's time to remove the fuel sending unit from the stock fuel tank. With a dead-blow hammer and pry-bar, remove the locking ring holding down the stock sending unit. Then remove the fuel sending unit.
Once done, go ahead and remove the OEM O-ring and fuel lines from the stock fuel tank,
Tools Needed: Dead-blow hammer, pry-bar
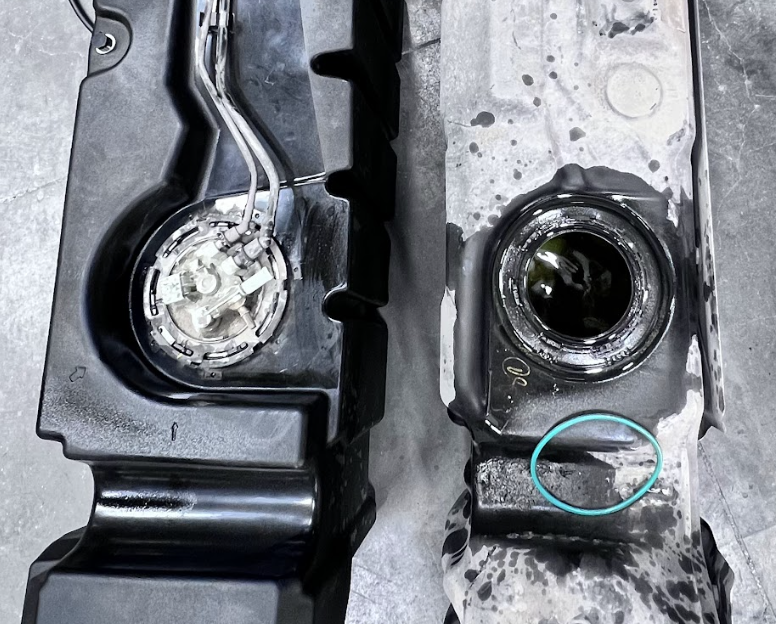
Now, install the S&B O-ring then the fuel sending unit into the S&B tank. Then with that same pry-bar and hammer, go ahead and re-install the receiving ring.
Snap in the fuel lines to the tabs on the fuel tank.
Now, go ahead and install the S&B half-strap using the OEM bolt.
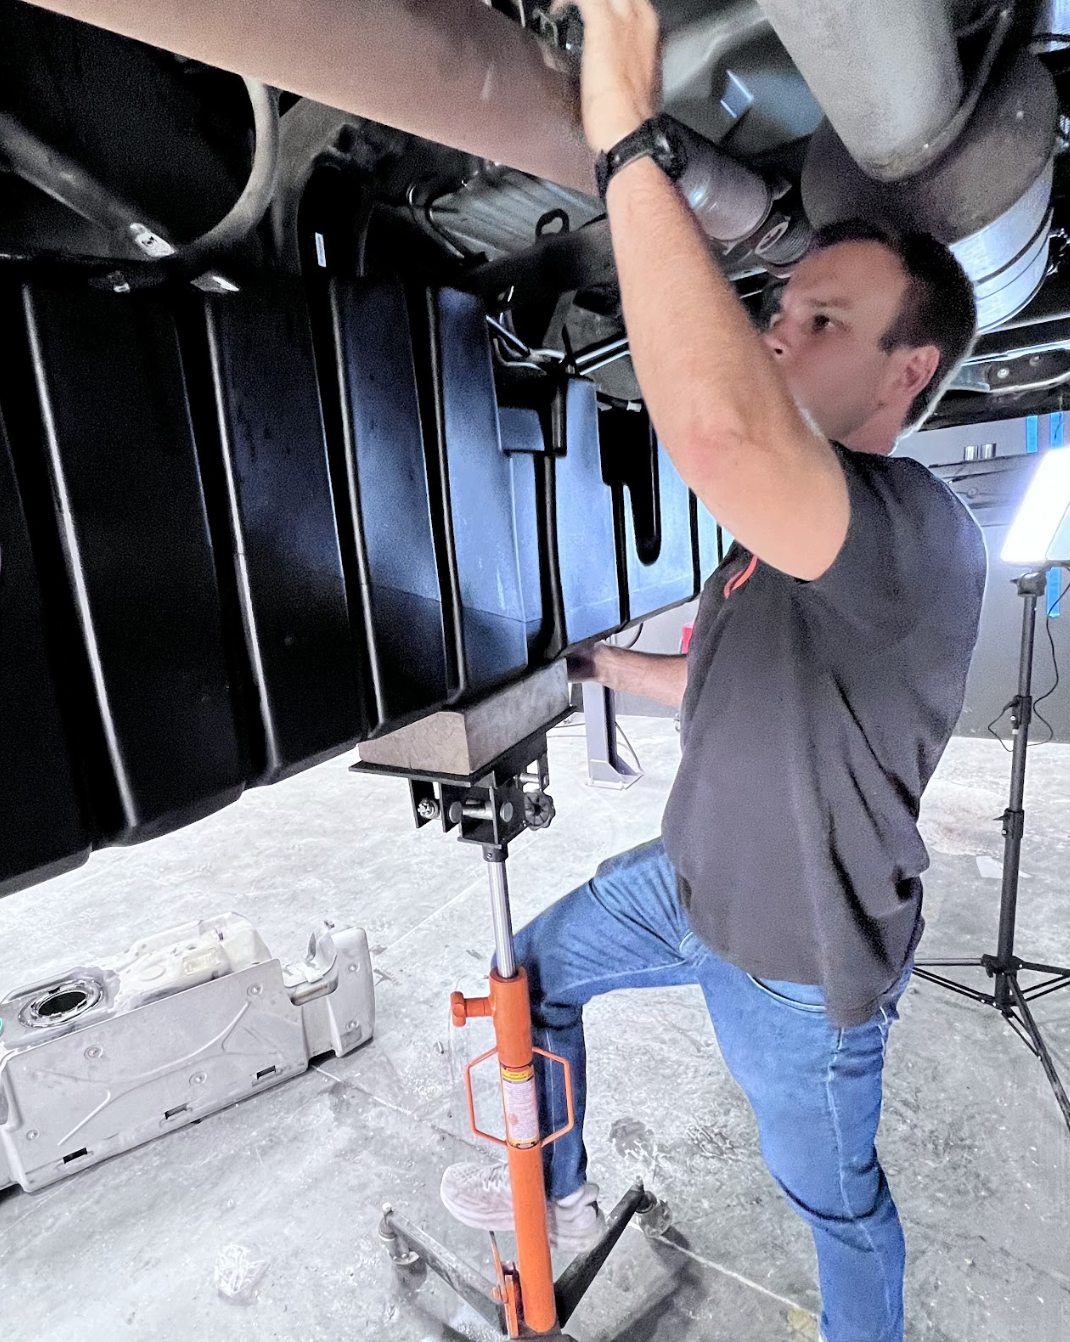
Now with a buddy, go ahead and lift the S&B Fuel tank into place. We recommend placing the transmission jack under it at this time. If you don't have a transmission jack available, you can run straps from frame rail to frame rail in order to keep it held up.
Now, go ahead and connect the fuel vent hose and the electrical power unit back to the fuel sending unit.
*Tip: As the tank goes up, please be careful to not pinch the vent lines in the cross-member.
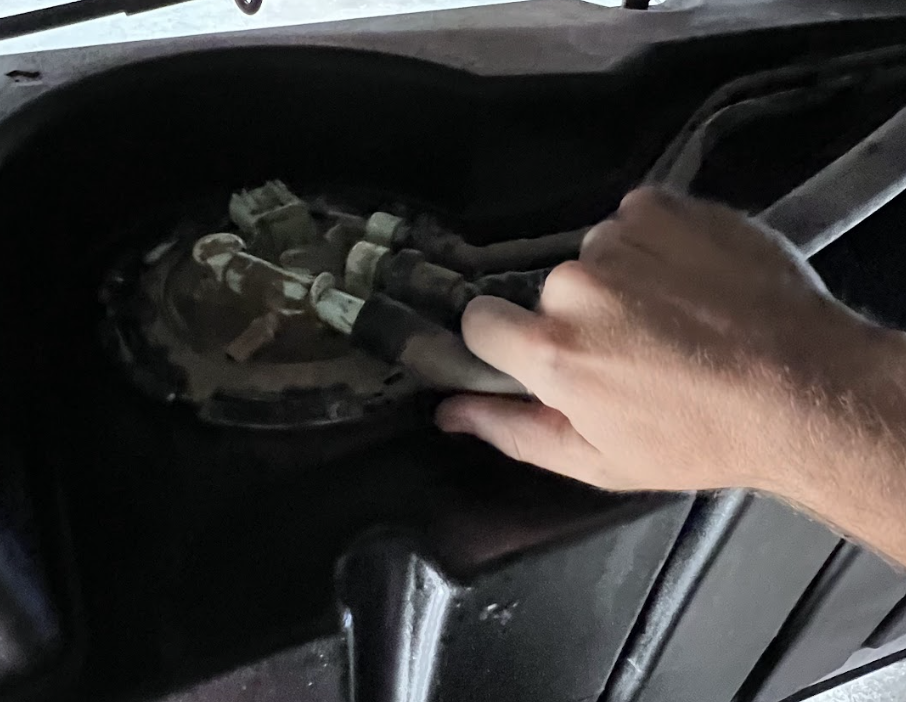
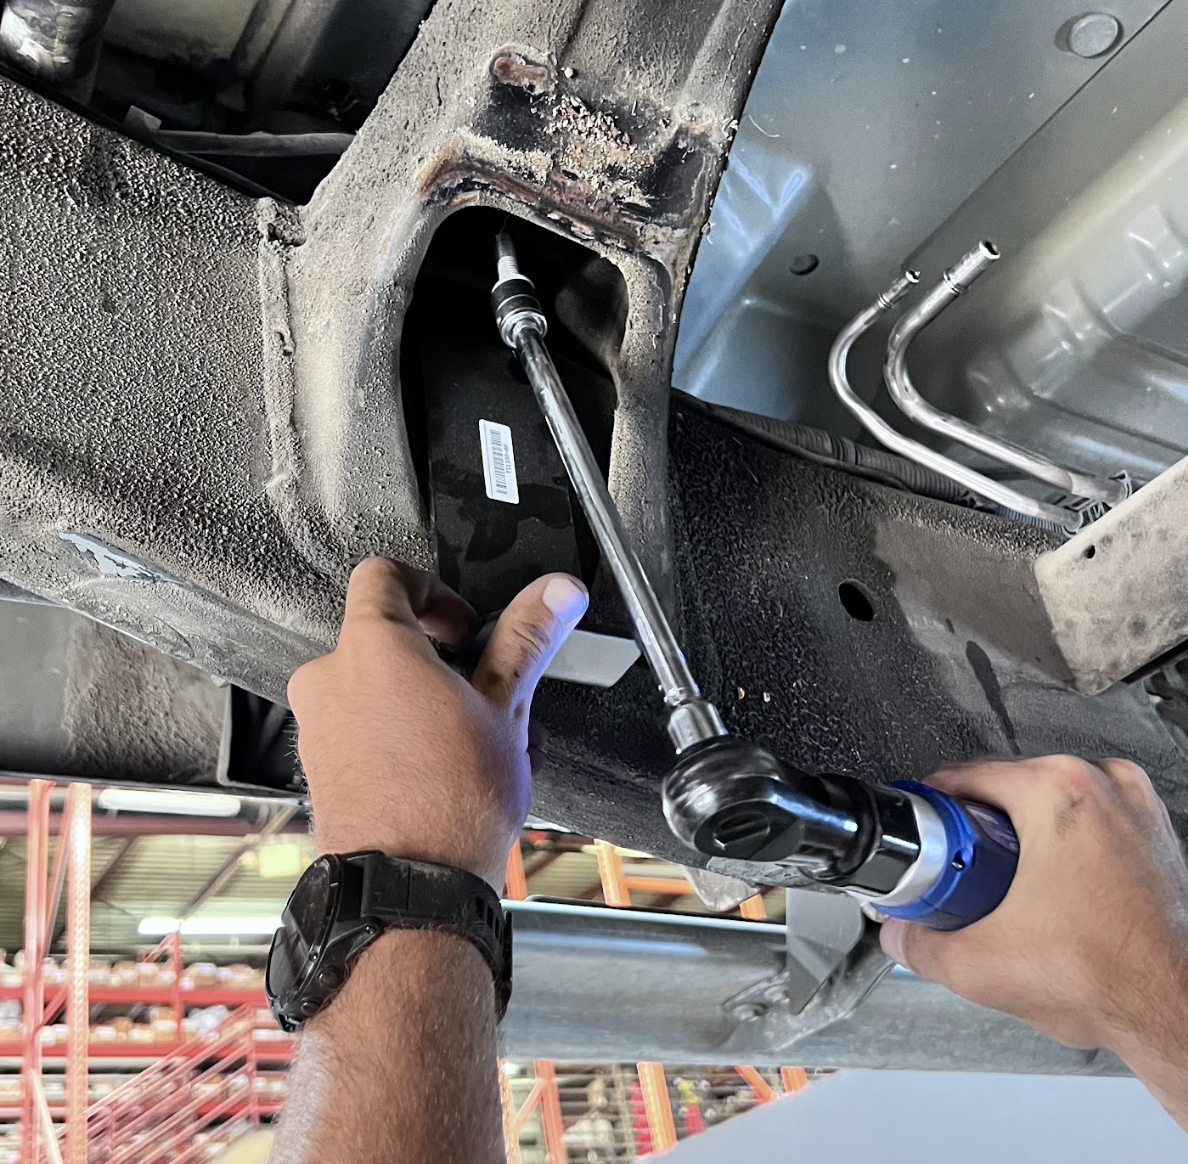
Now, once the tank is in place go ahead and connect the crossover bridge line.
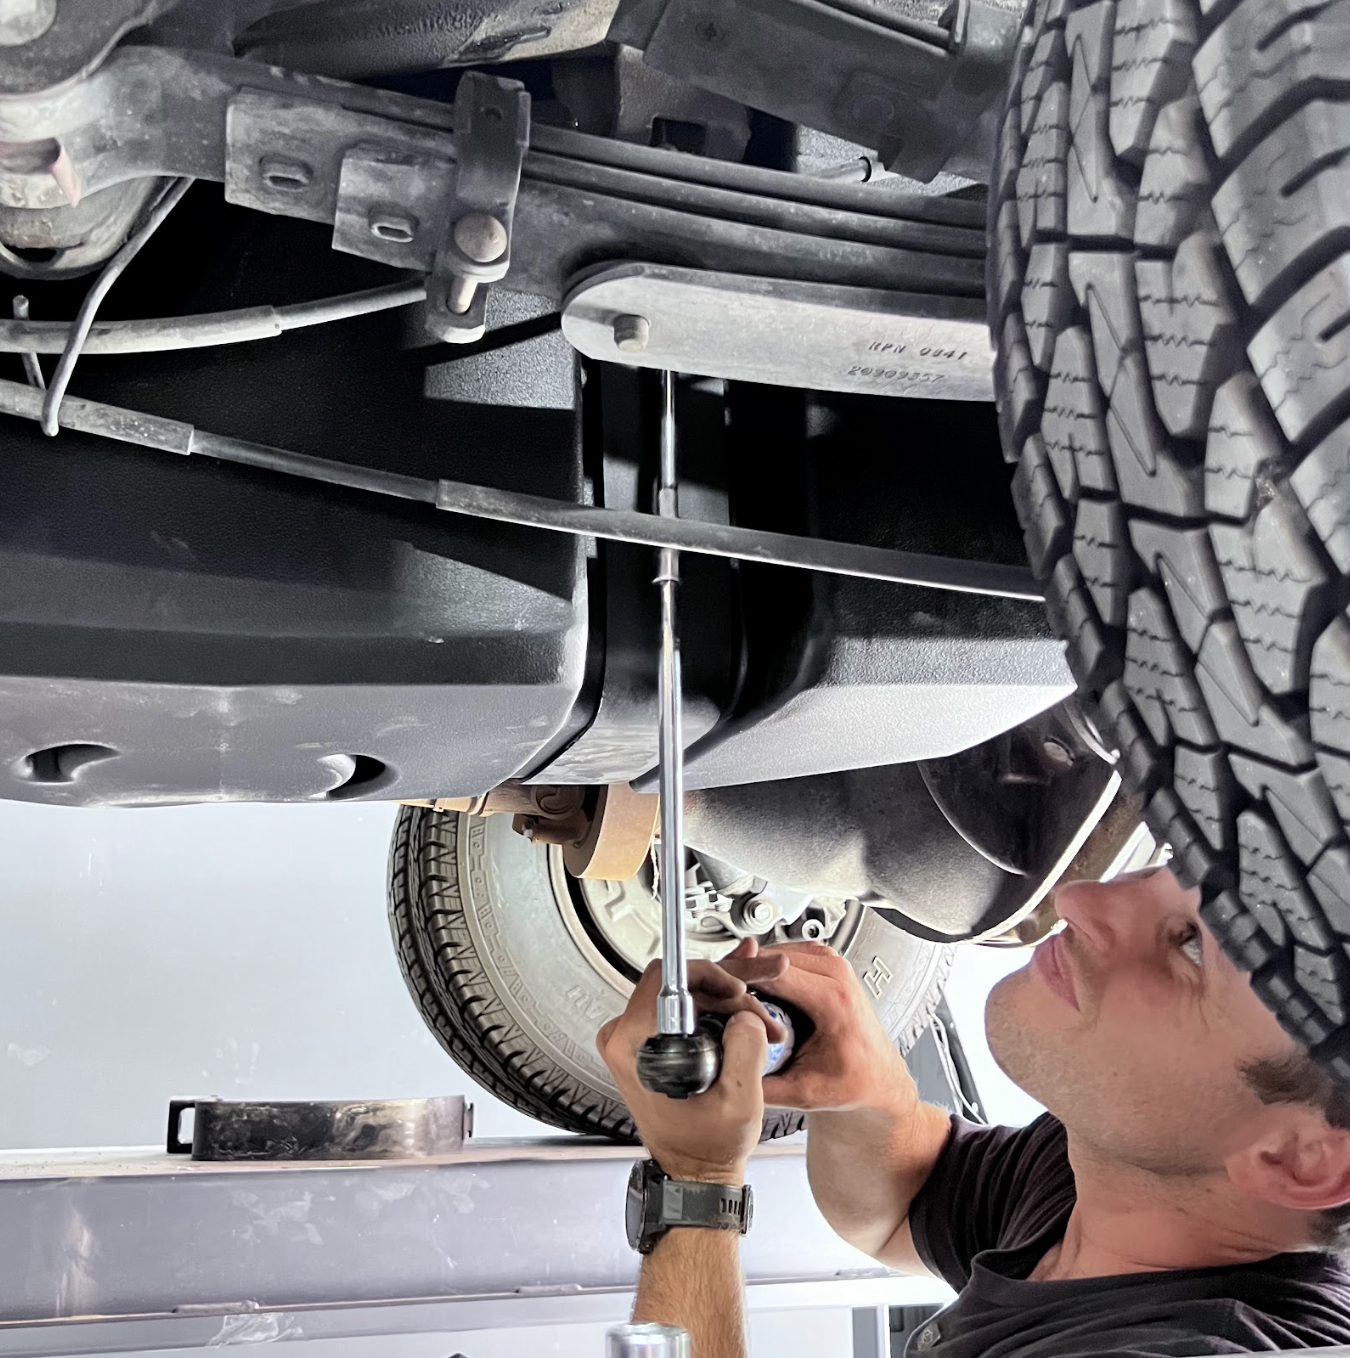
Now, start installing the middle S&B mounting bracket. We include a new bolt for this bracket.
Tools needed: 19mm sock, extension, ratchet.
Now, go ahead and install the rear mounting bracket. We recommend bending the tire side of the bracket in order to make the install easier.
Tools needed: 13mm socket, extensions, ratchet.
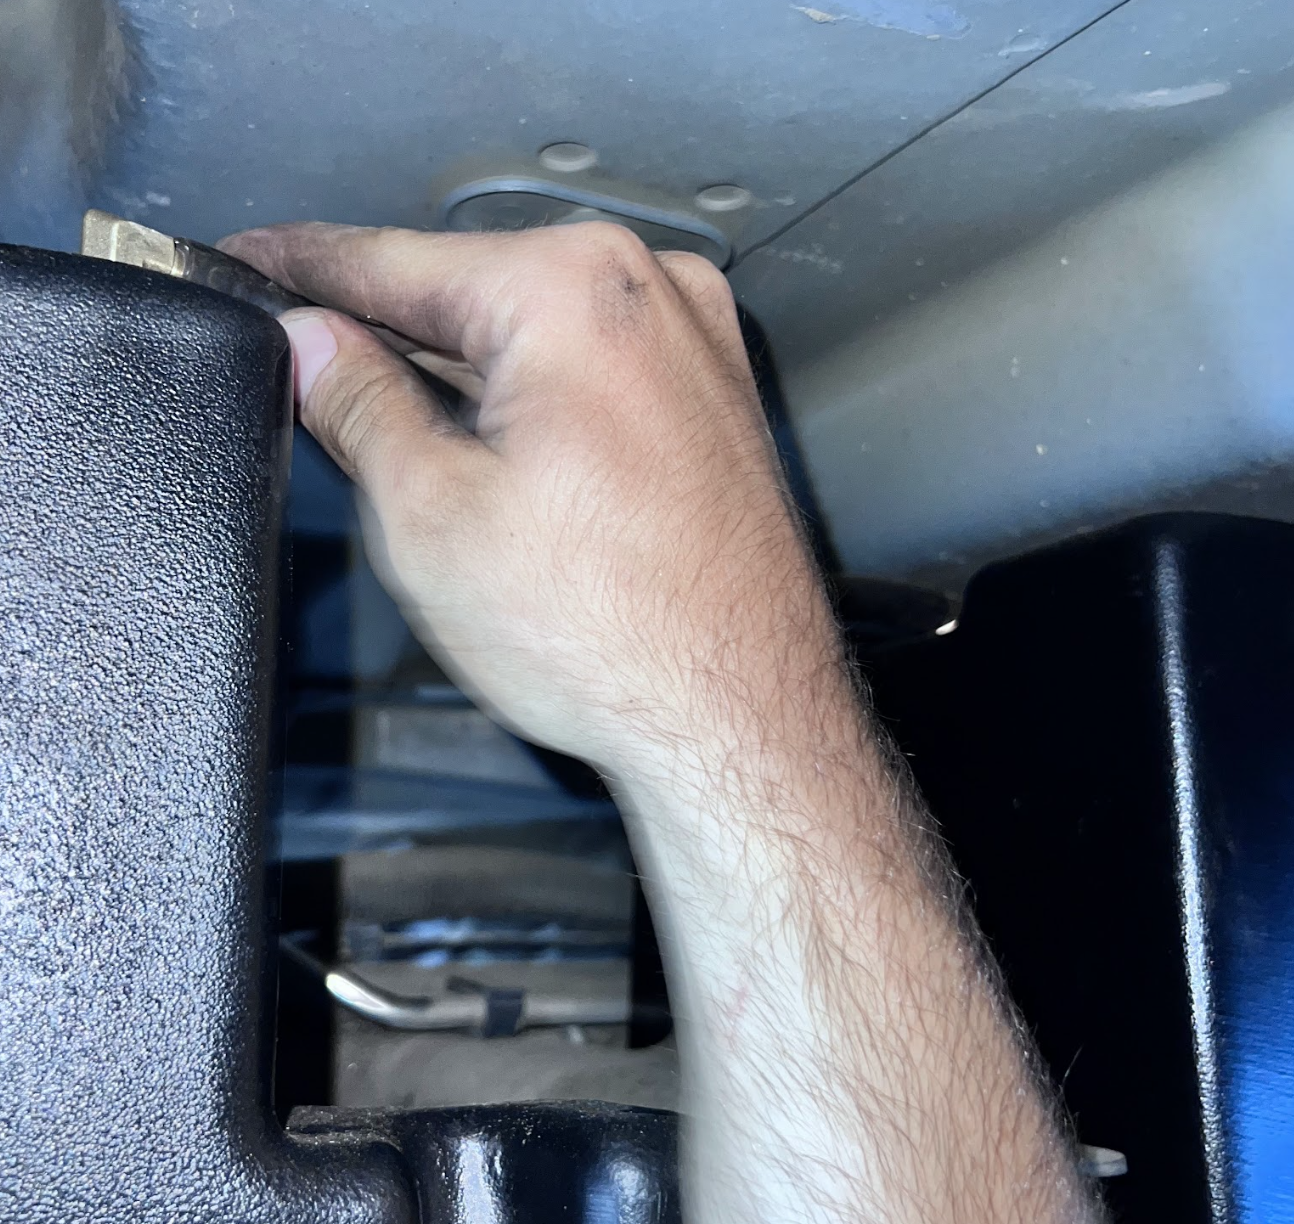
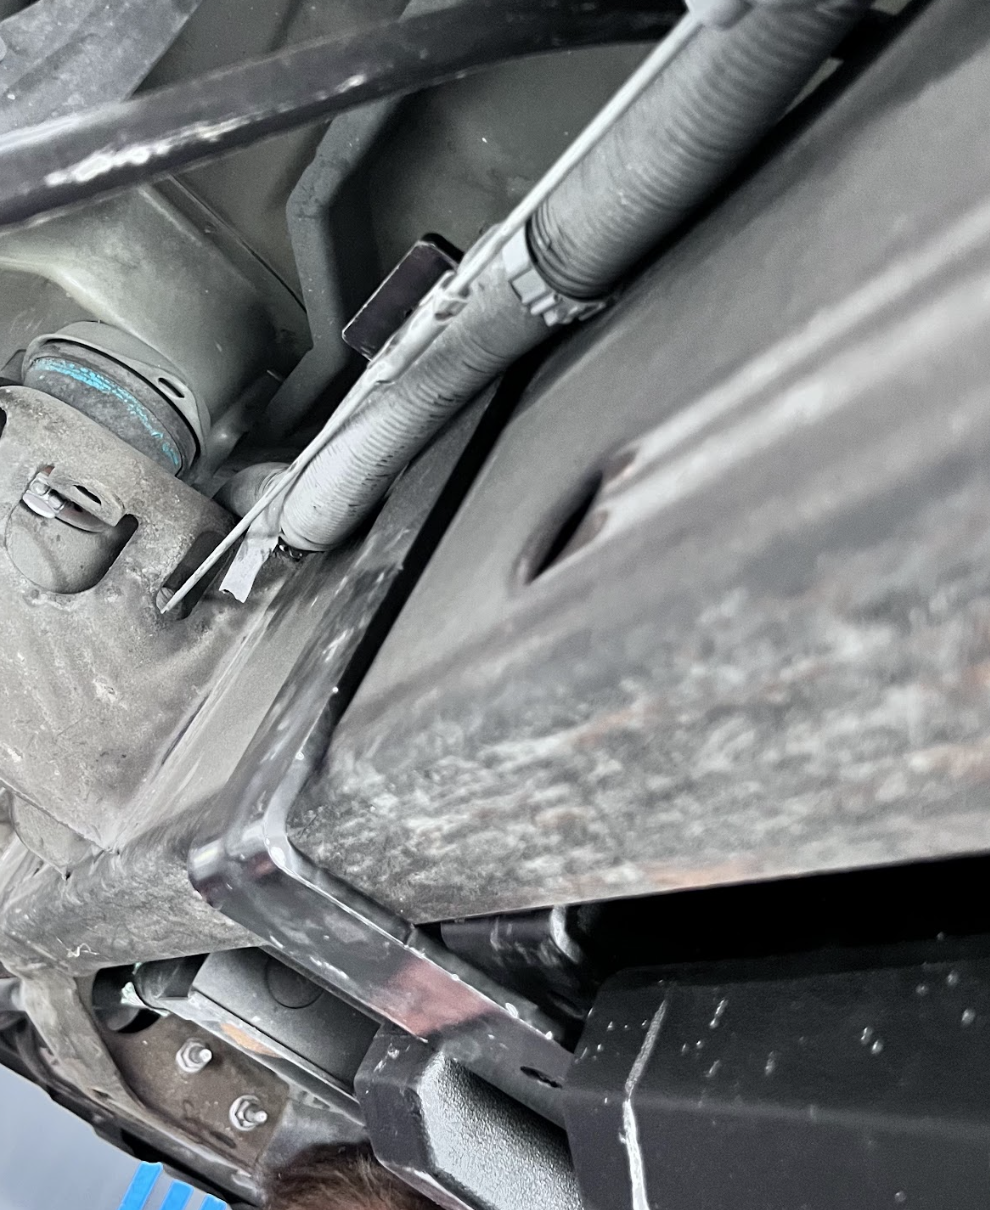
Now is time to install the front support upper bracket.
Run the top of the mount (where the nut is located) slides under the brake line on the top of the frame. Once done, go ahead and slide the mount rearward to line up with the notch in the tank.
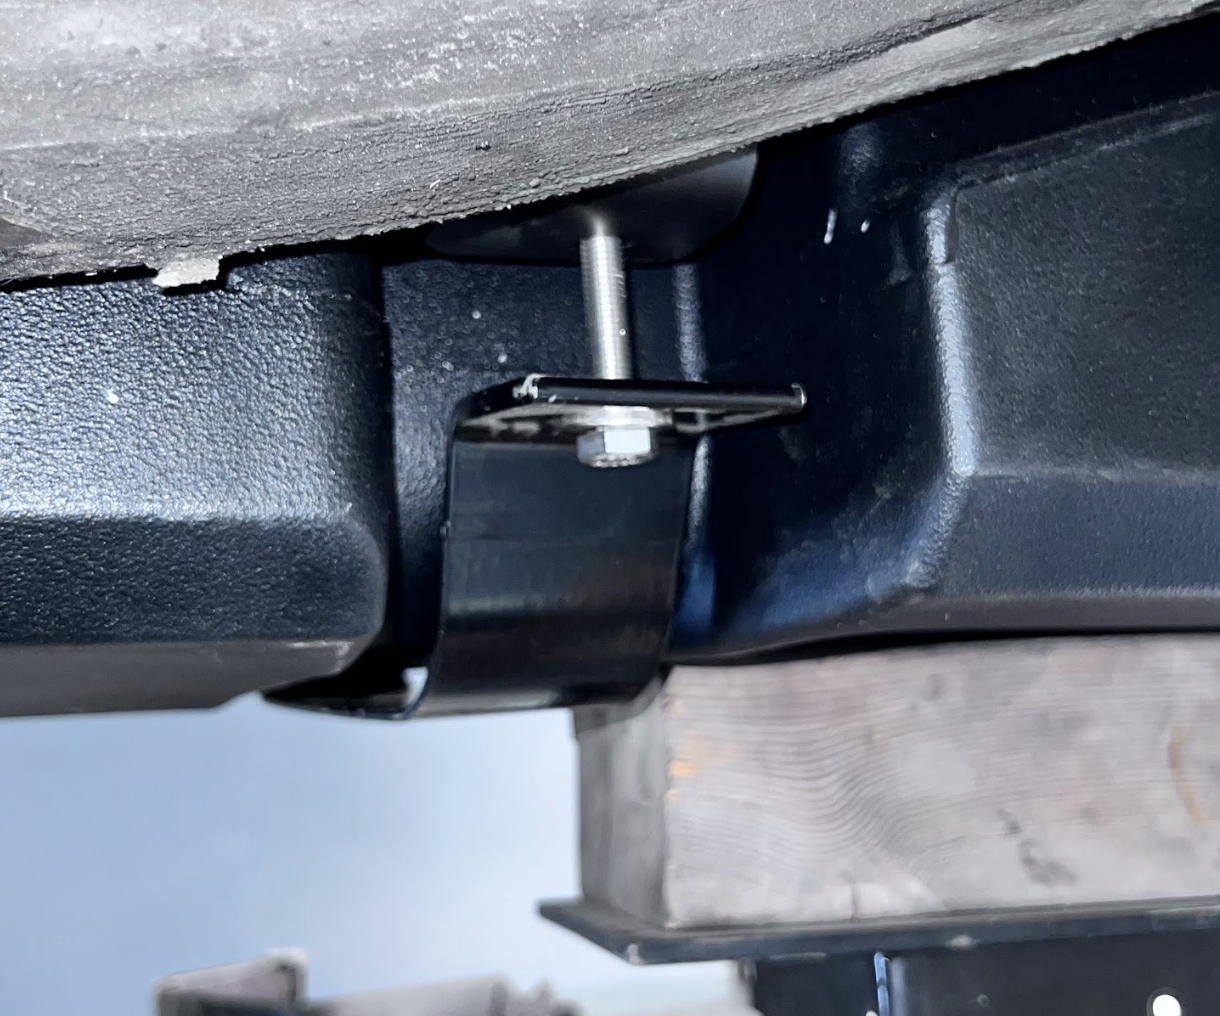
Now, it's time to install the lower front mount.
First, it'll need to go under the wire loom on the outside of the driver side frame rail. Once done, go ahead and line up the bolt holes of the two brackets.
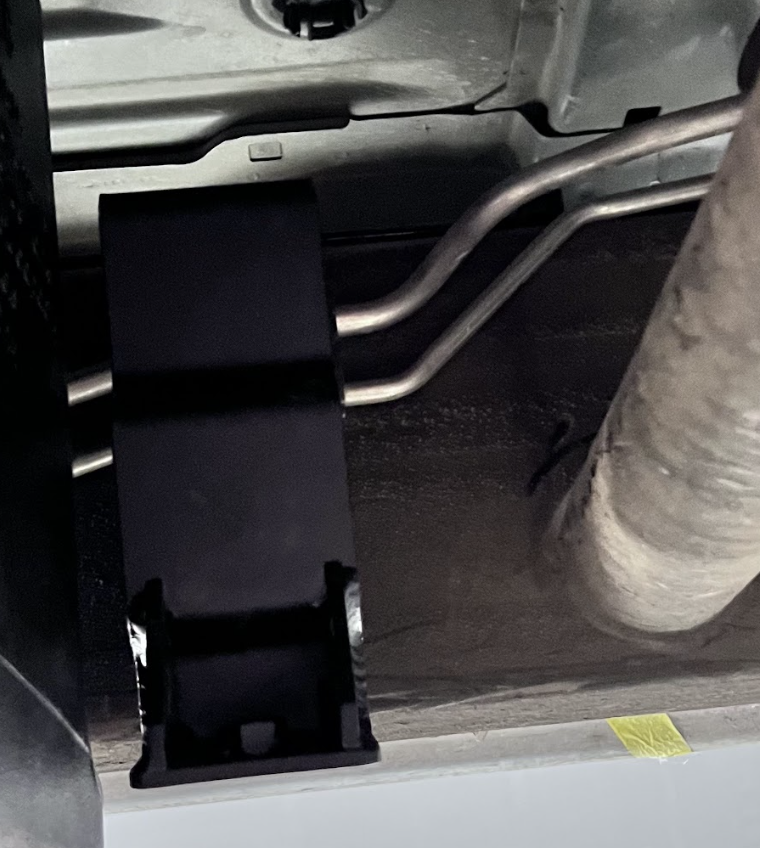
Now it's time to re-route the breather line towards the rear of the tank and up the filler neck hose. Then zip-tie it to the filler neck hose.
*Tip: We recommend running the line behind the body mounts along the frame in order to remain protected.

Now it's time to install the filler neck hose to the S&B fuel tank and tighten the hose clamp.
Tool Needed: Flat head screwdriver
Now it's time to reconnect the fuel lines. To know that they are successfully installed, you will hear a clack from each connector.
Once done, go ahead and re-install the red safety pins.
Tip: One line is smaller then then other, which makes it easy to install.
Now it's time to verify that all connection points are tightened down and secure.
Now, go ahead and transfer the fuel from your old tank to your new S&B fuel tank. We recommend using a battery operated fuel transfer pump to do so.
Once done, your installation is now complete.