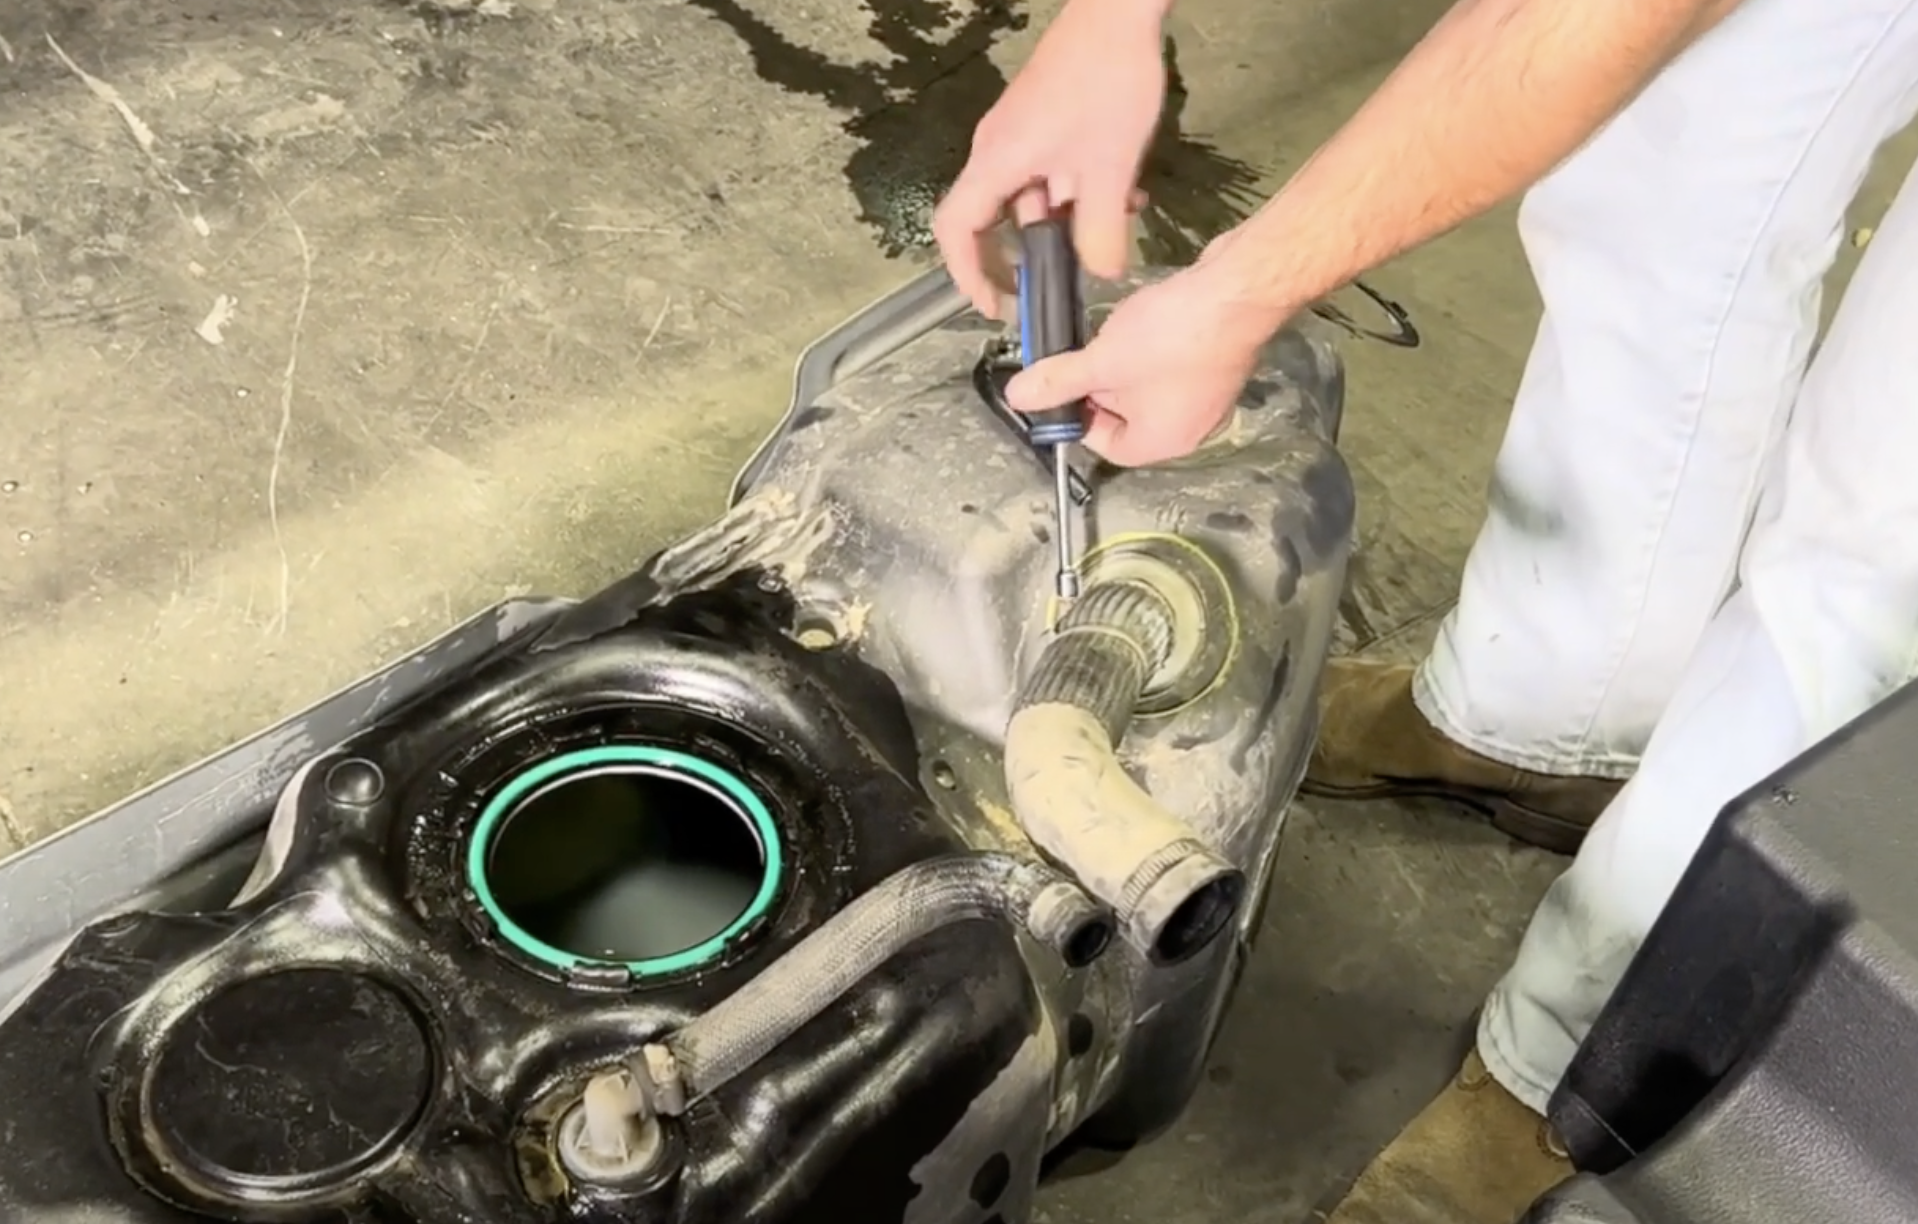
STEP 1
Remove the hose clamps from the filler neck and the fill vent.
5/16 socket or flathead screwdriver.
- Disconnect and isolate both of the negative battery cables
- Before installing S&B Tank, conduct pressure test to ensure o'ring is properly seated.
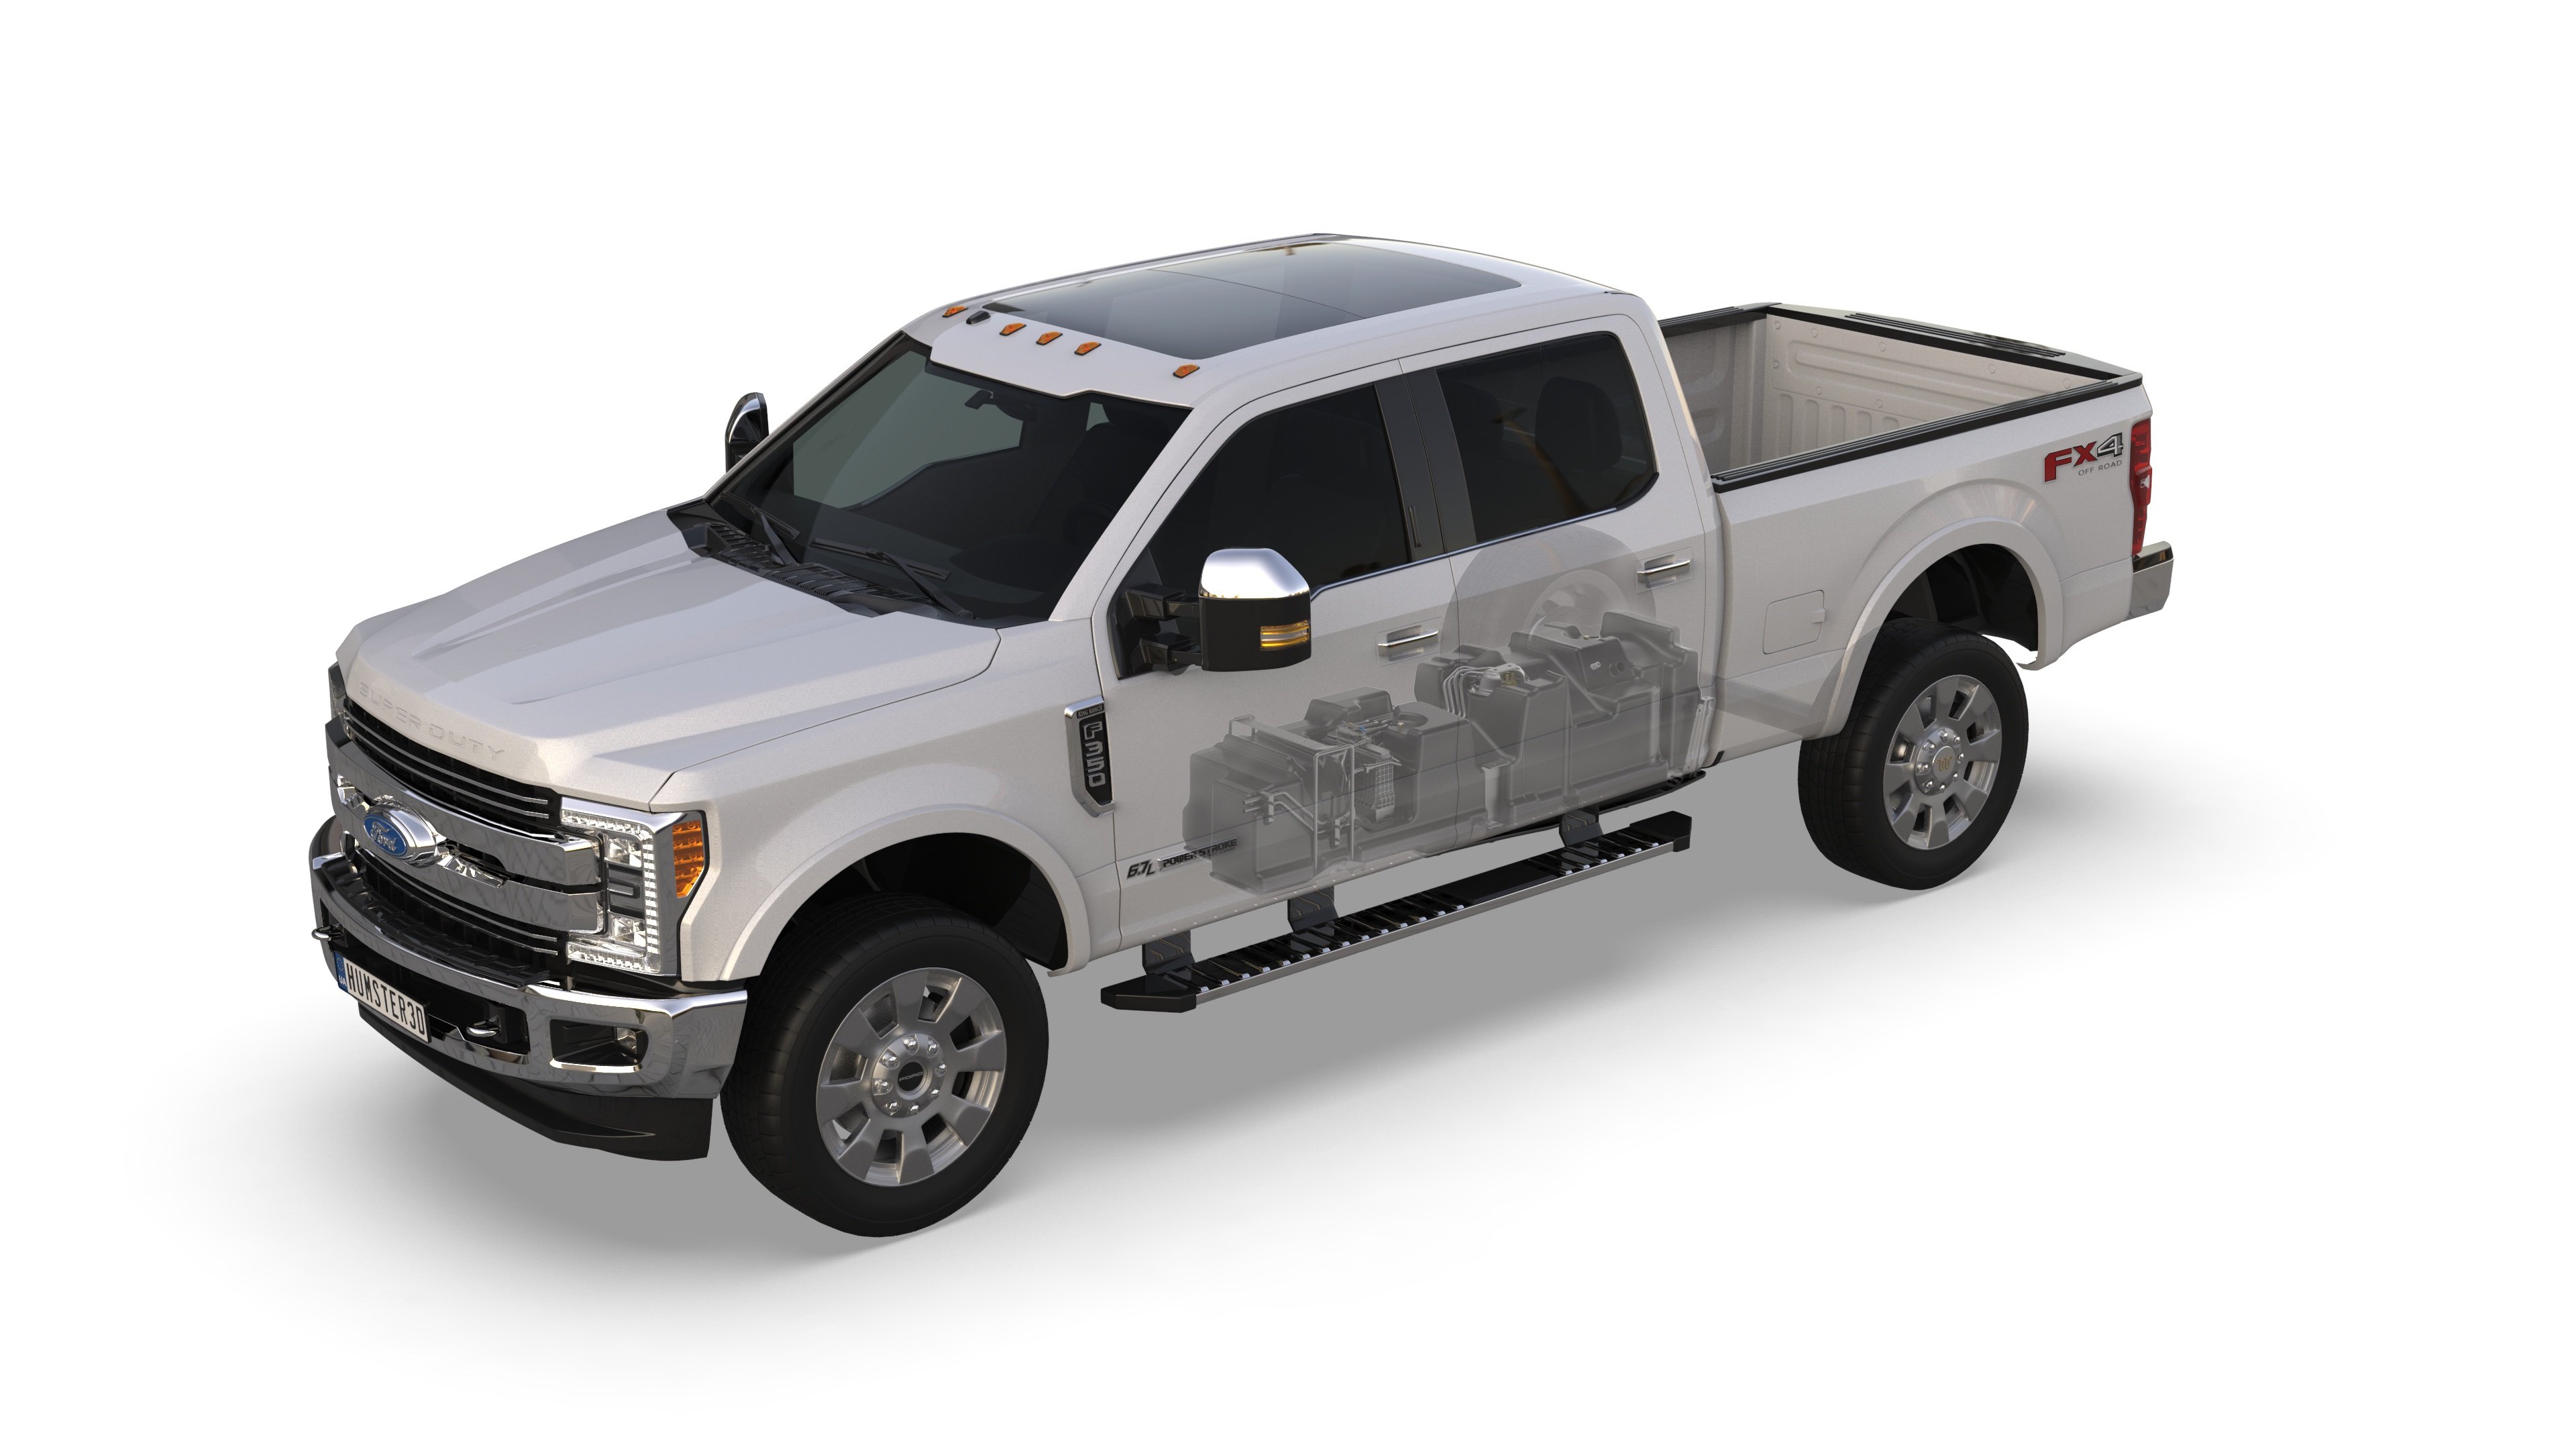
- In-bed Auxiliary Fuel Tanks will void the Lifetime Warranty.
- Nozzle at high flow fuel station may continue to "click off". Tank is designed to work at regular fuel stations.
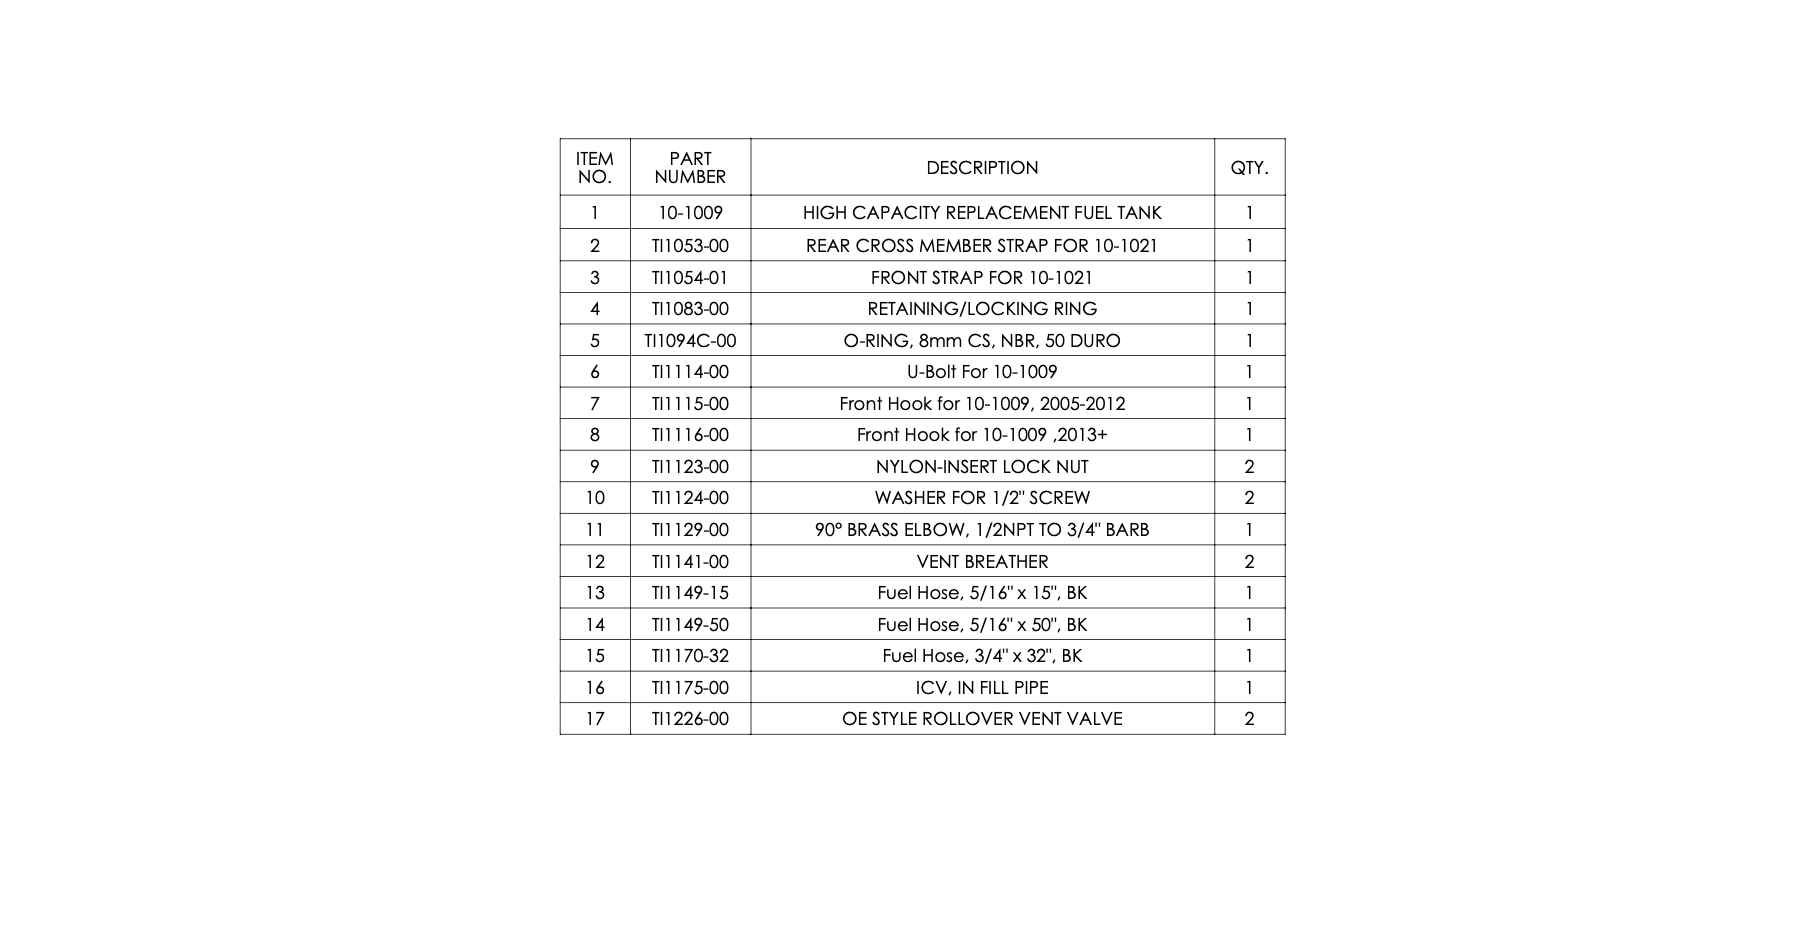
Remove the hose clamps from the filler neck and the fill vent.
5/16 socket or flathead screwdriver.
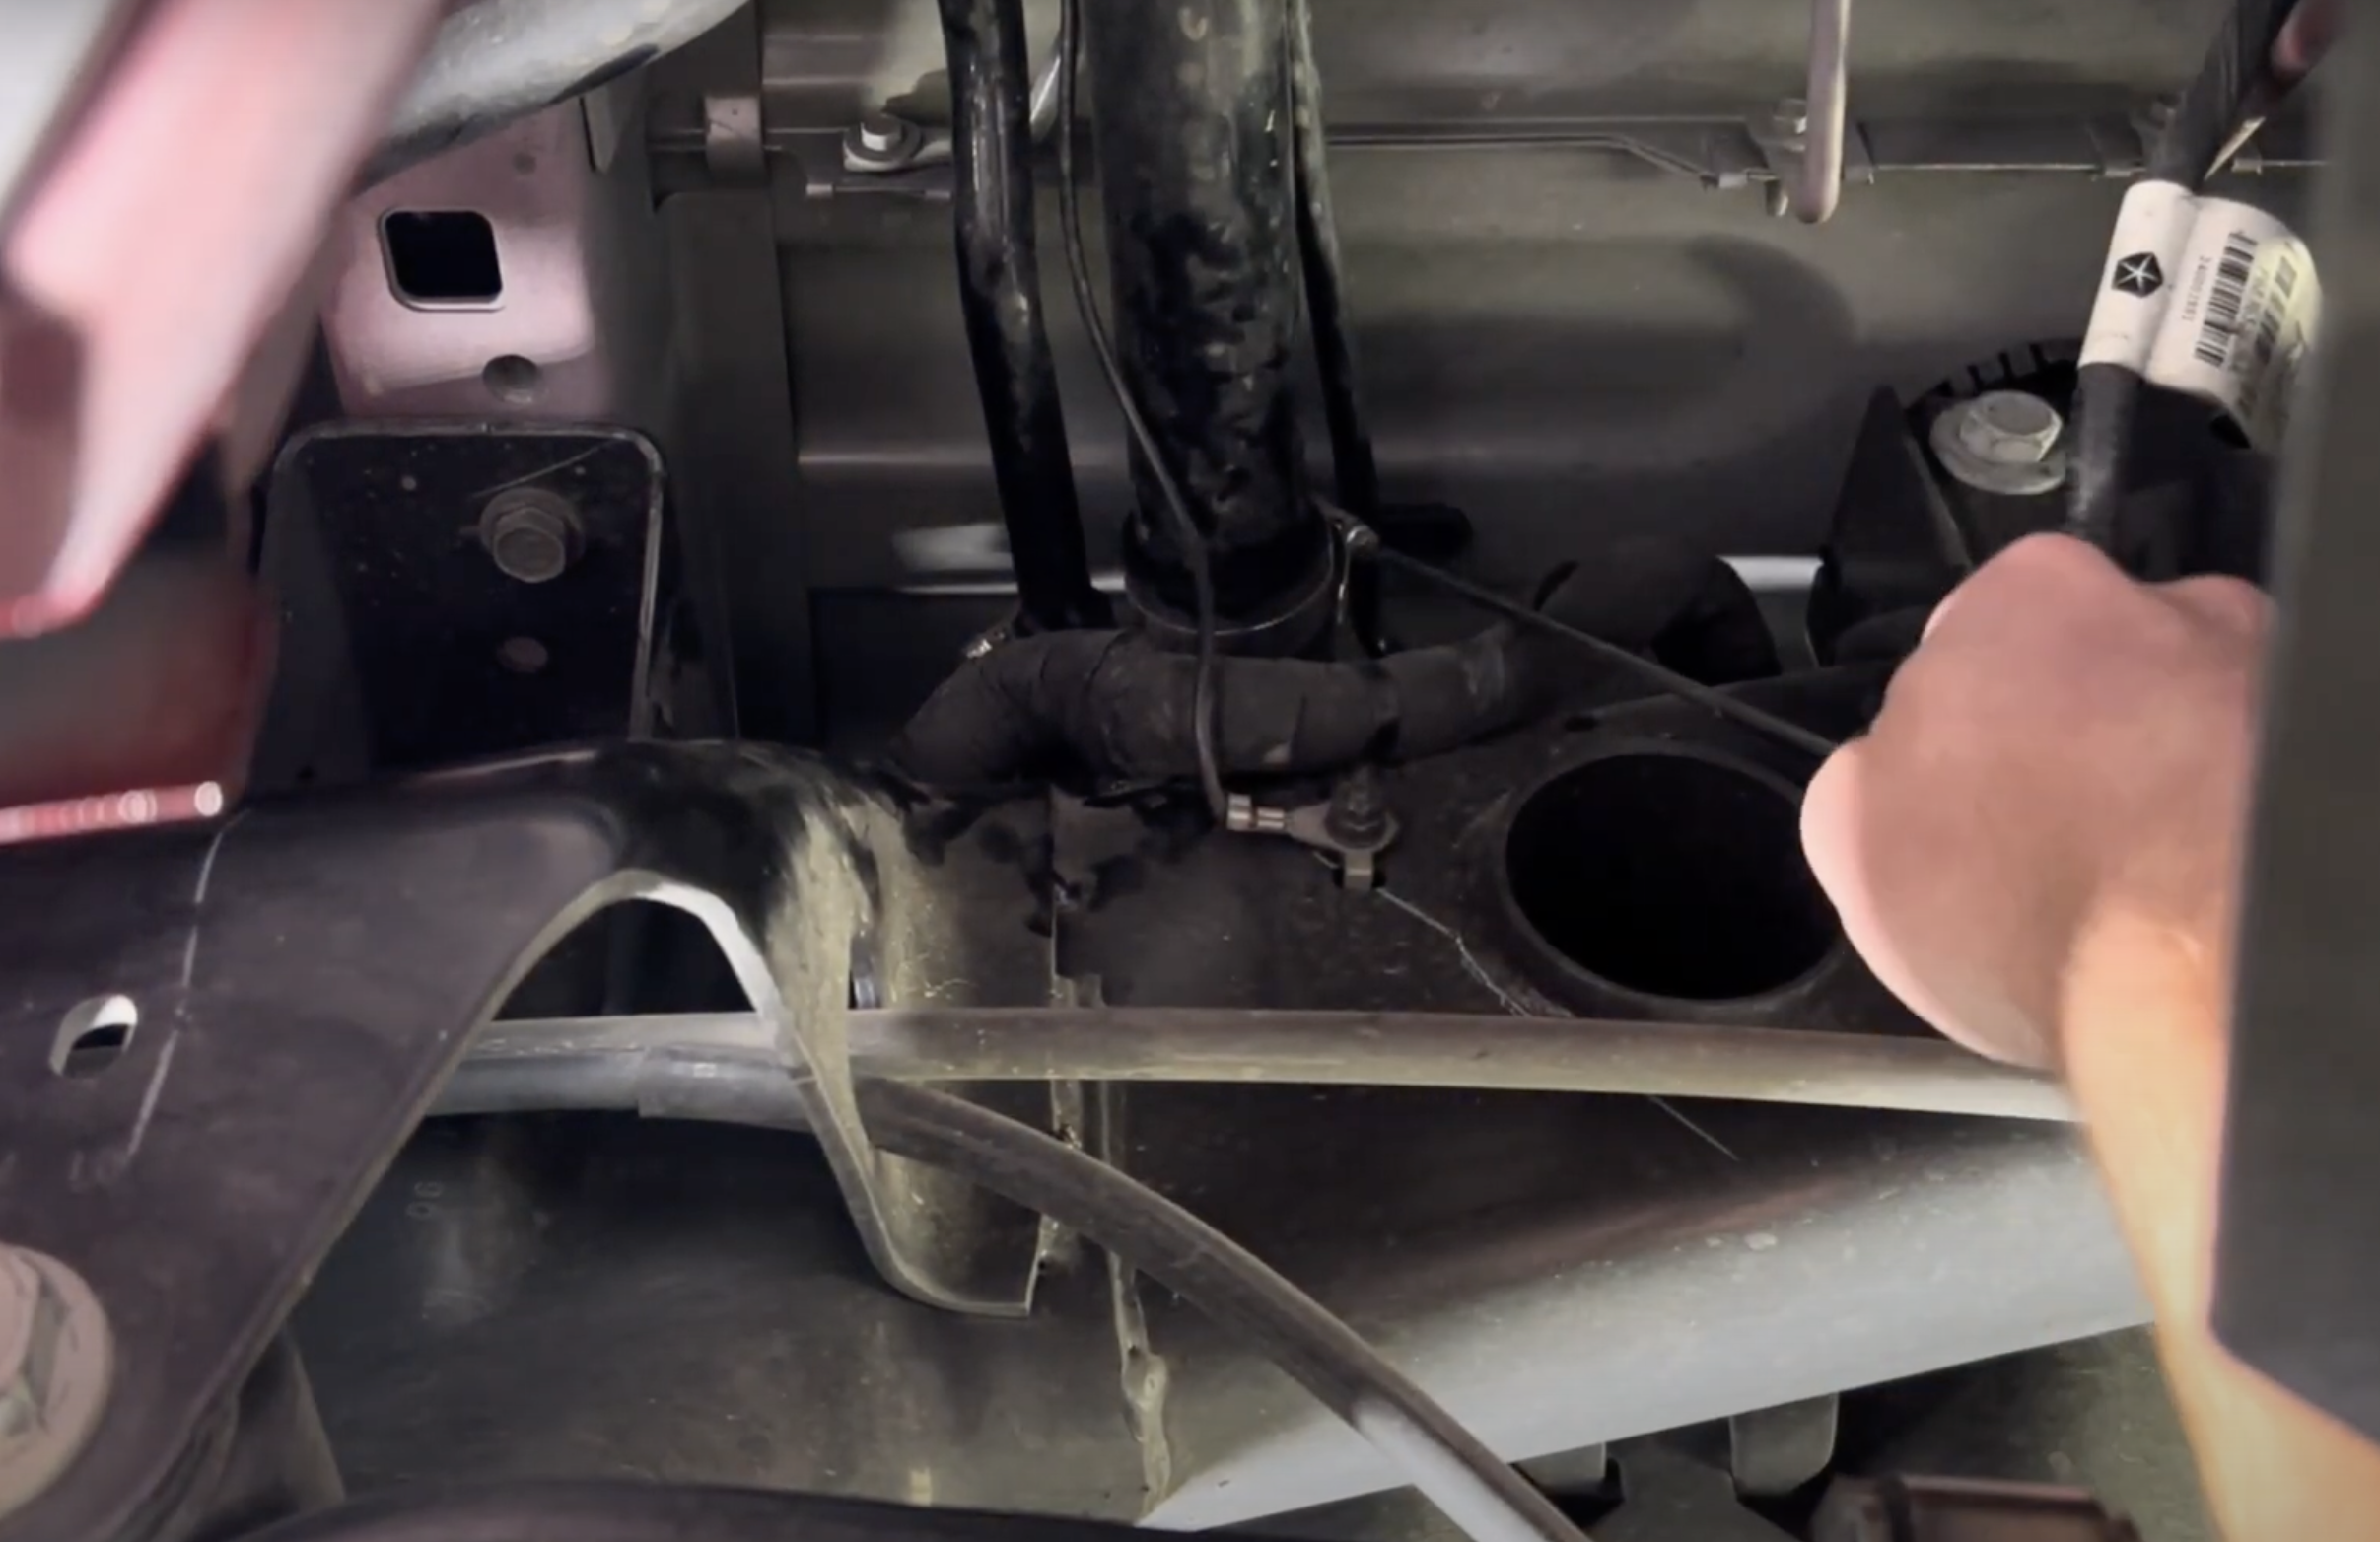
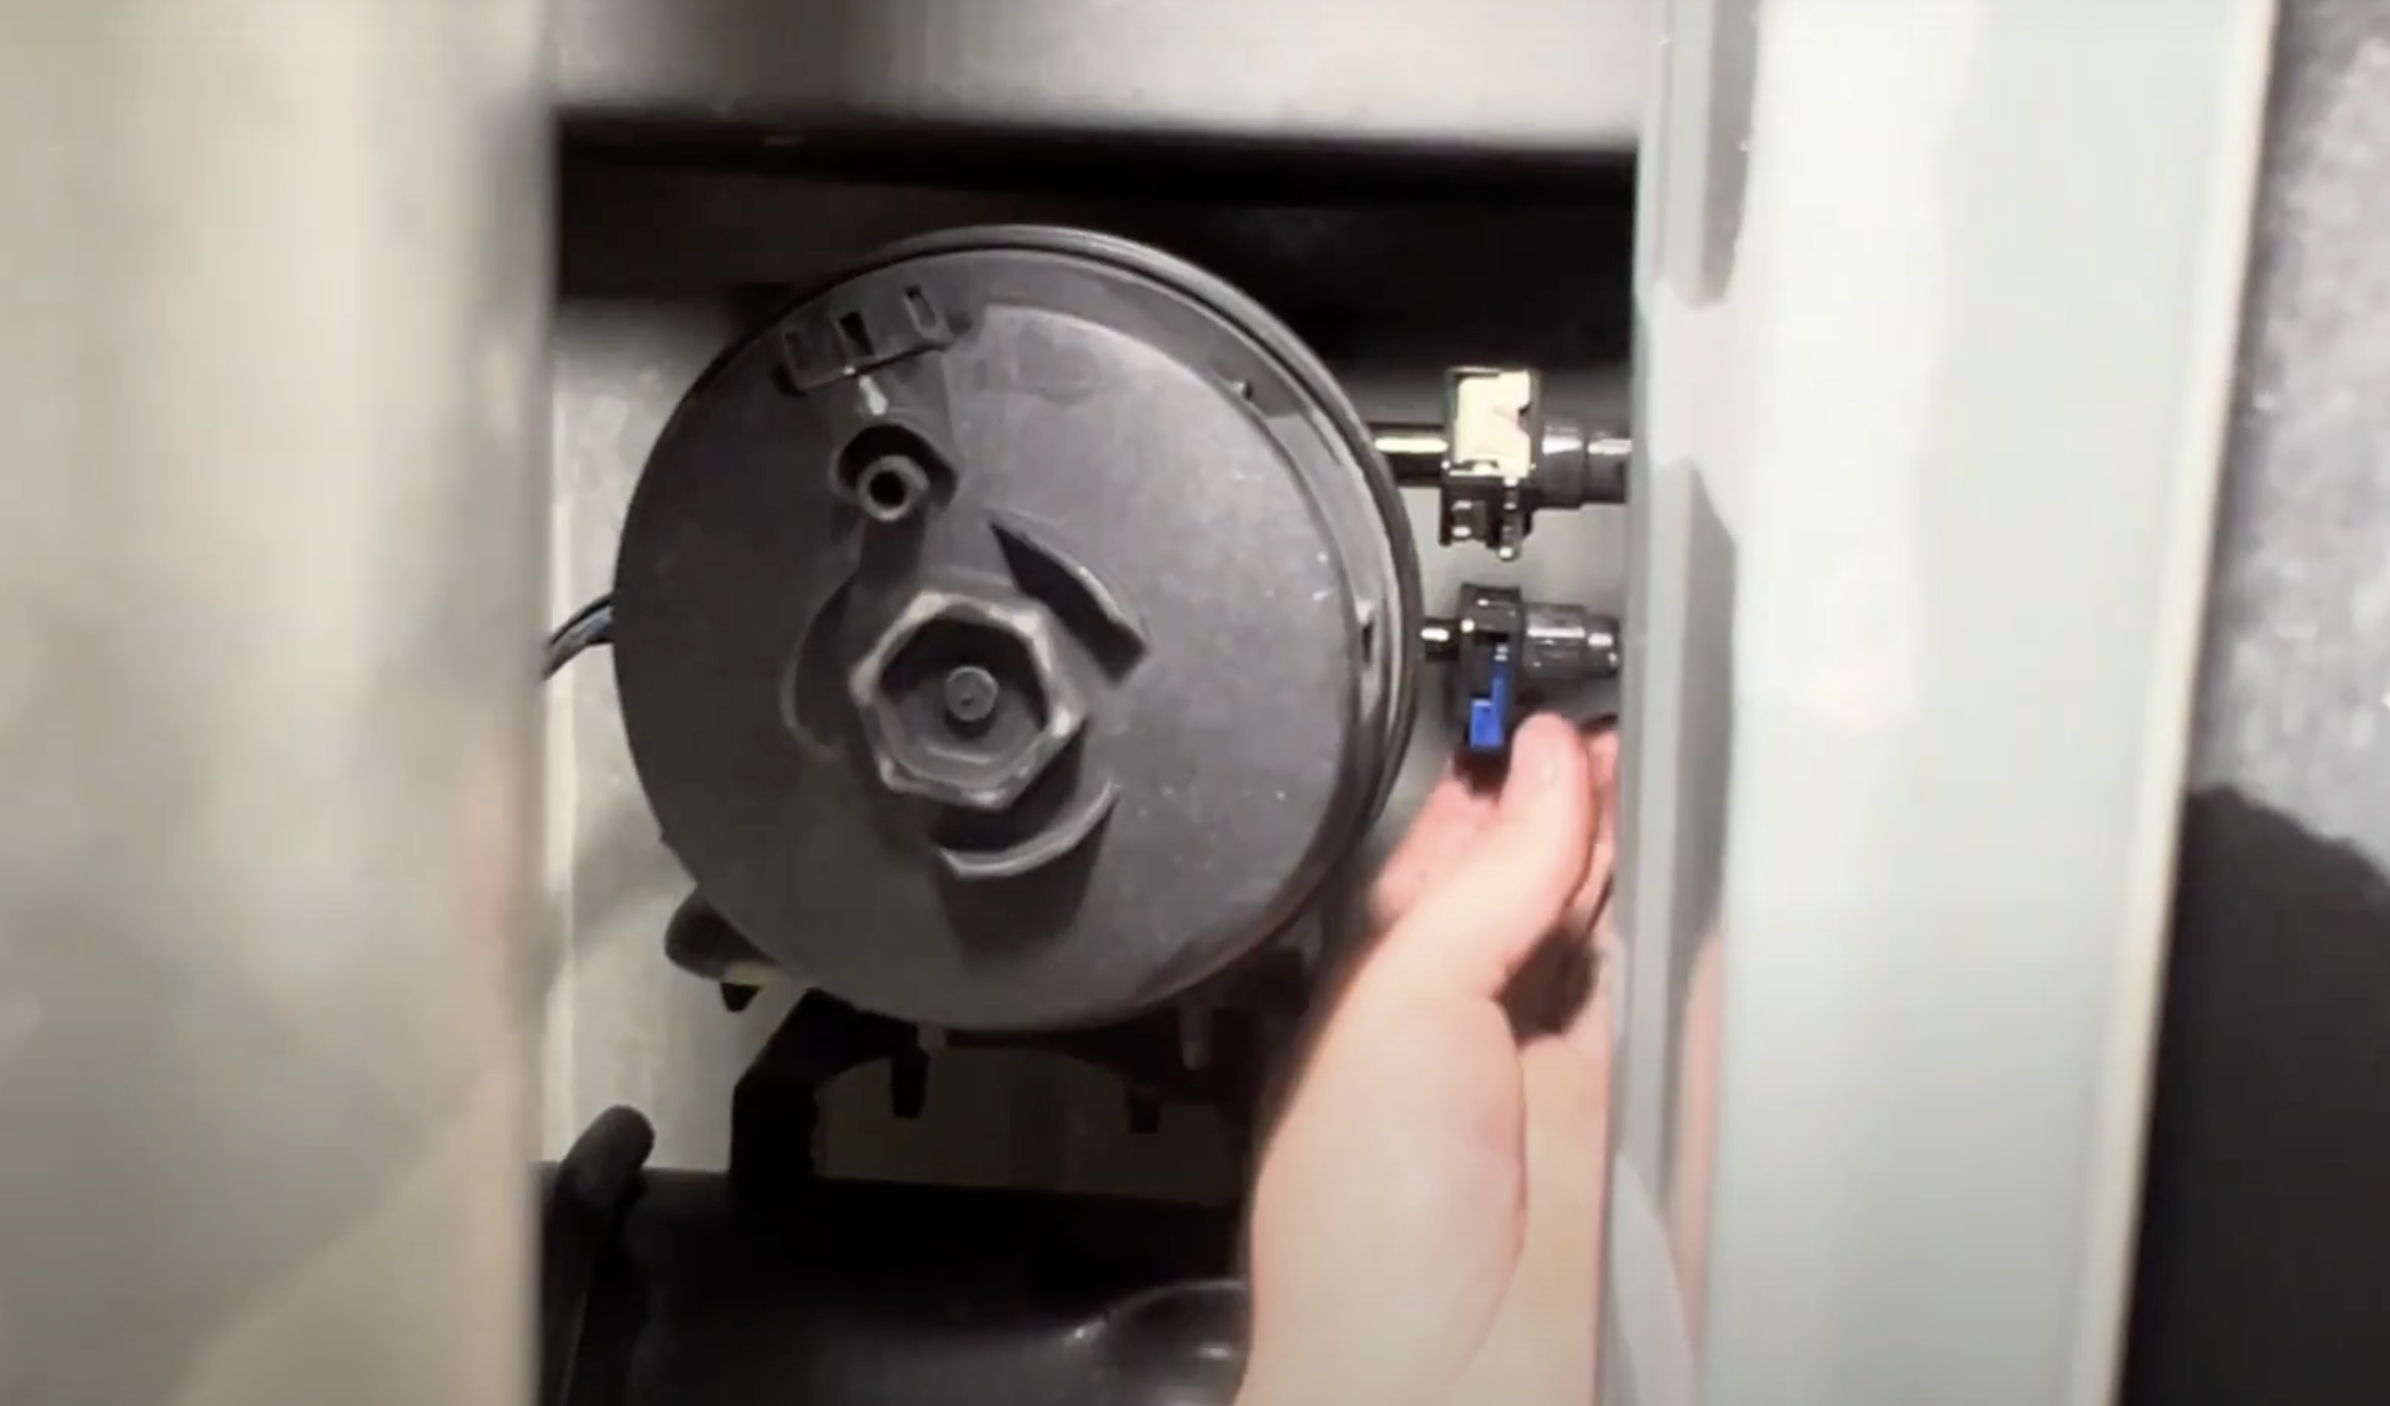
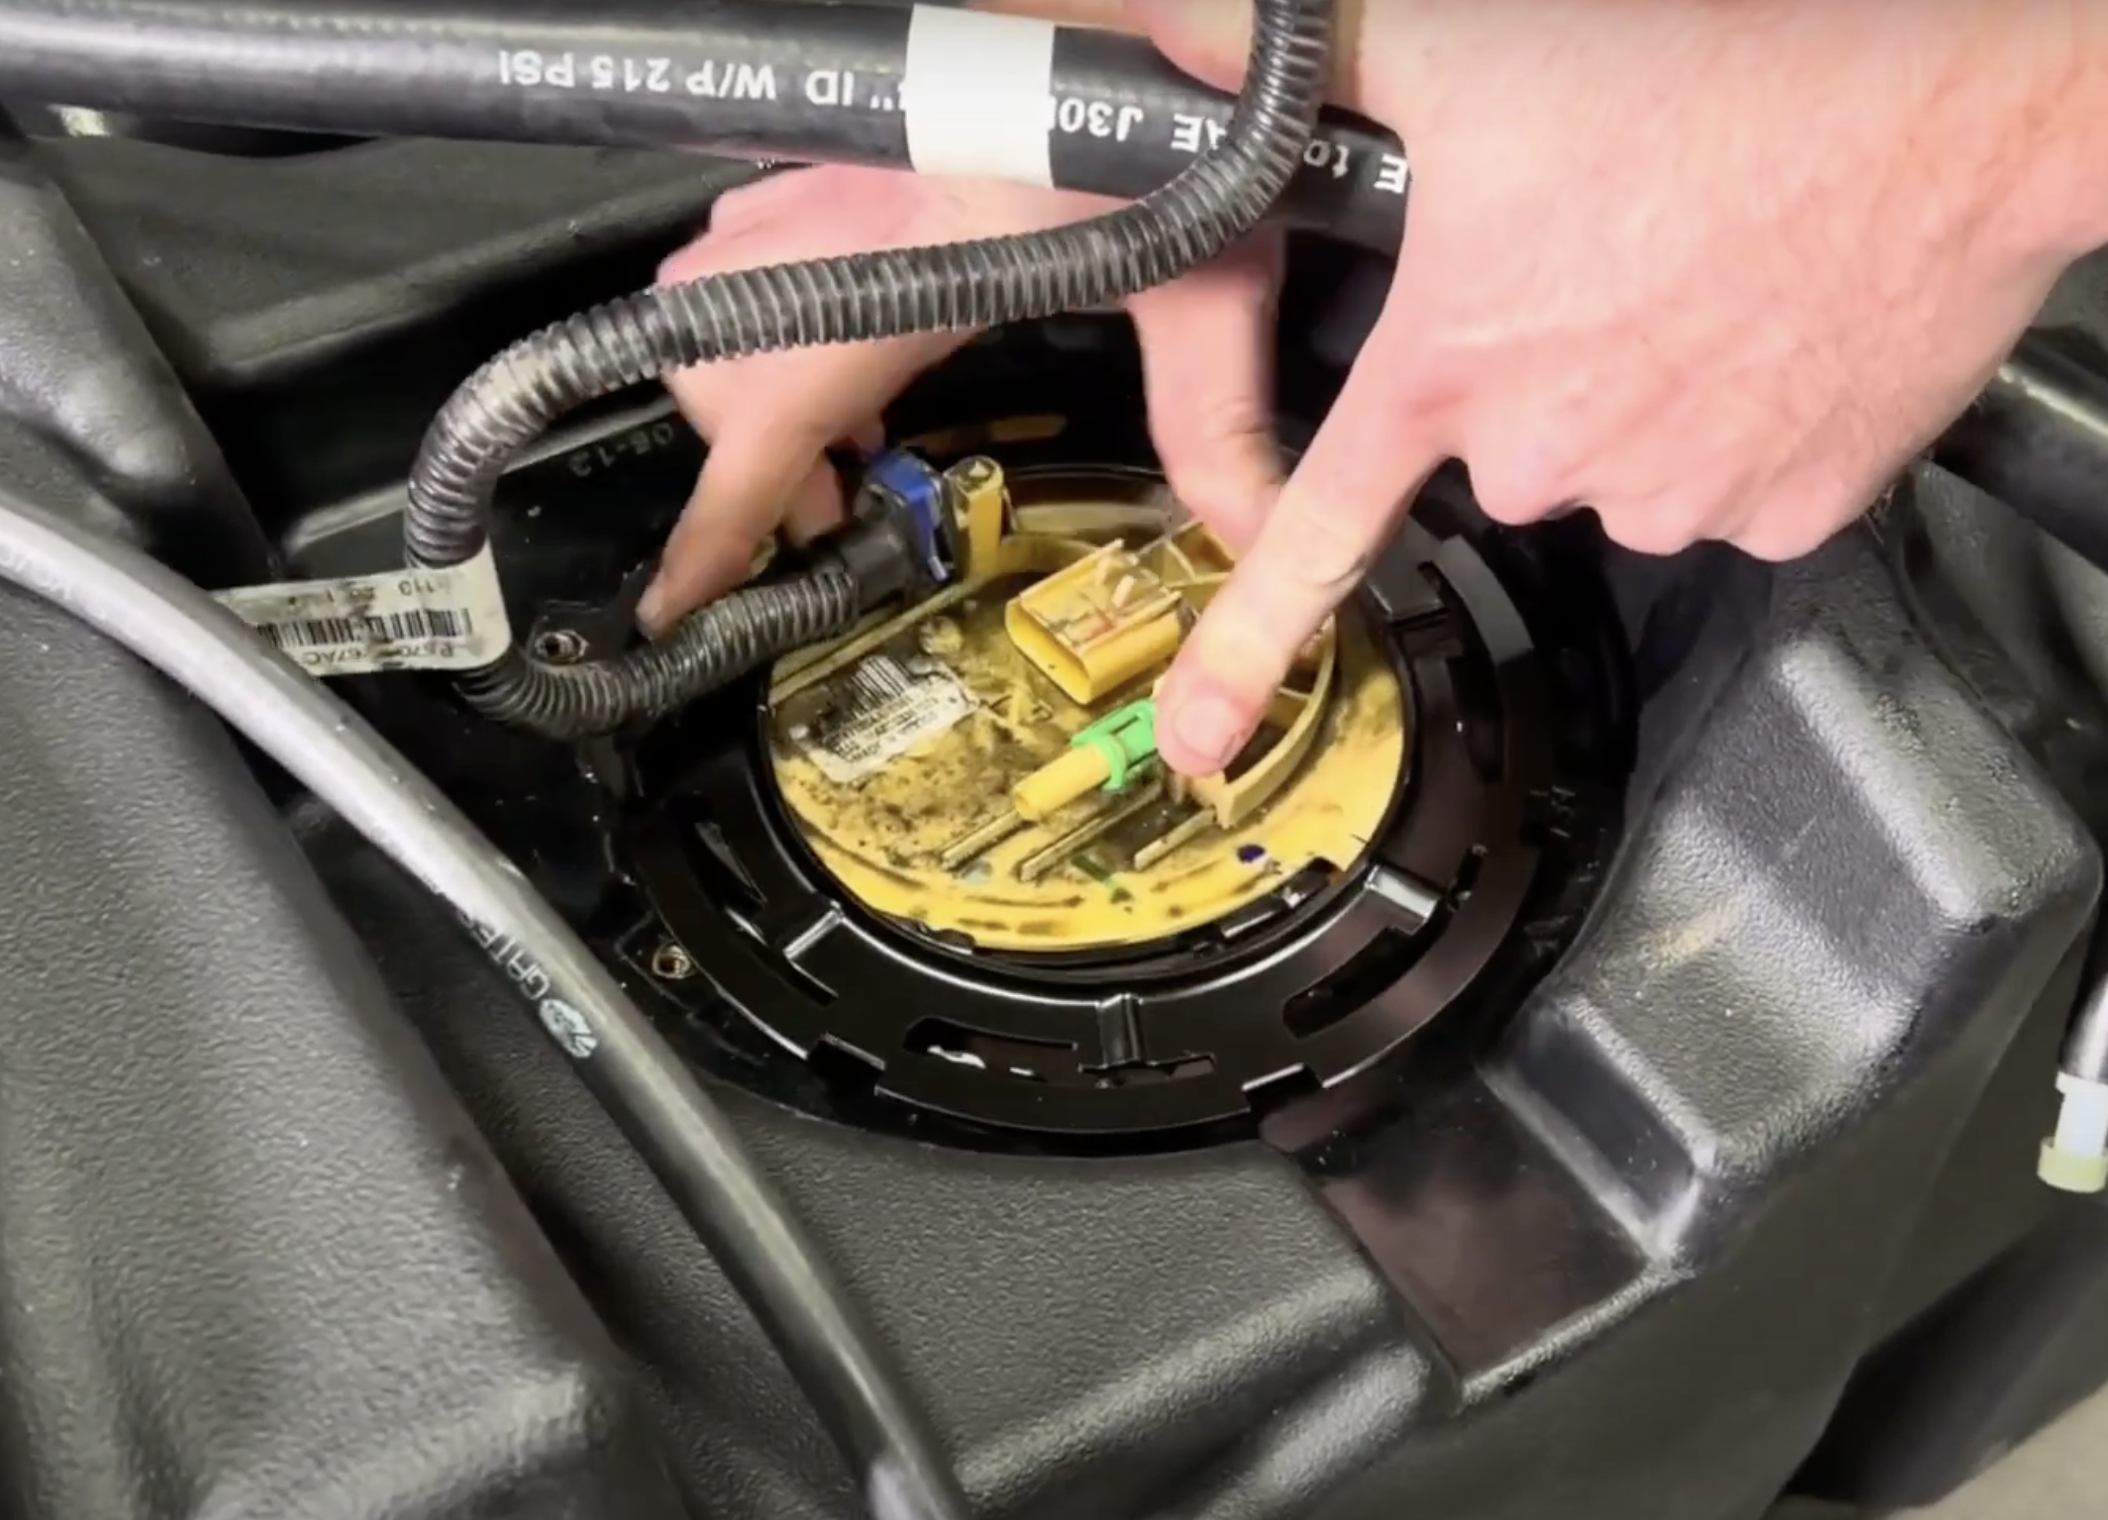
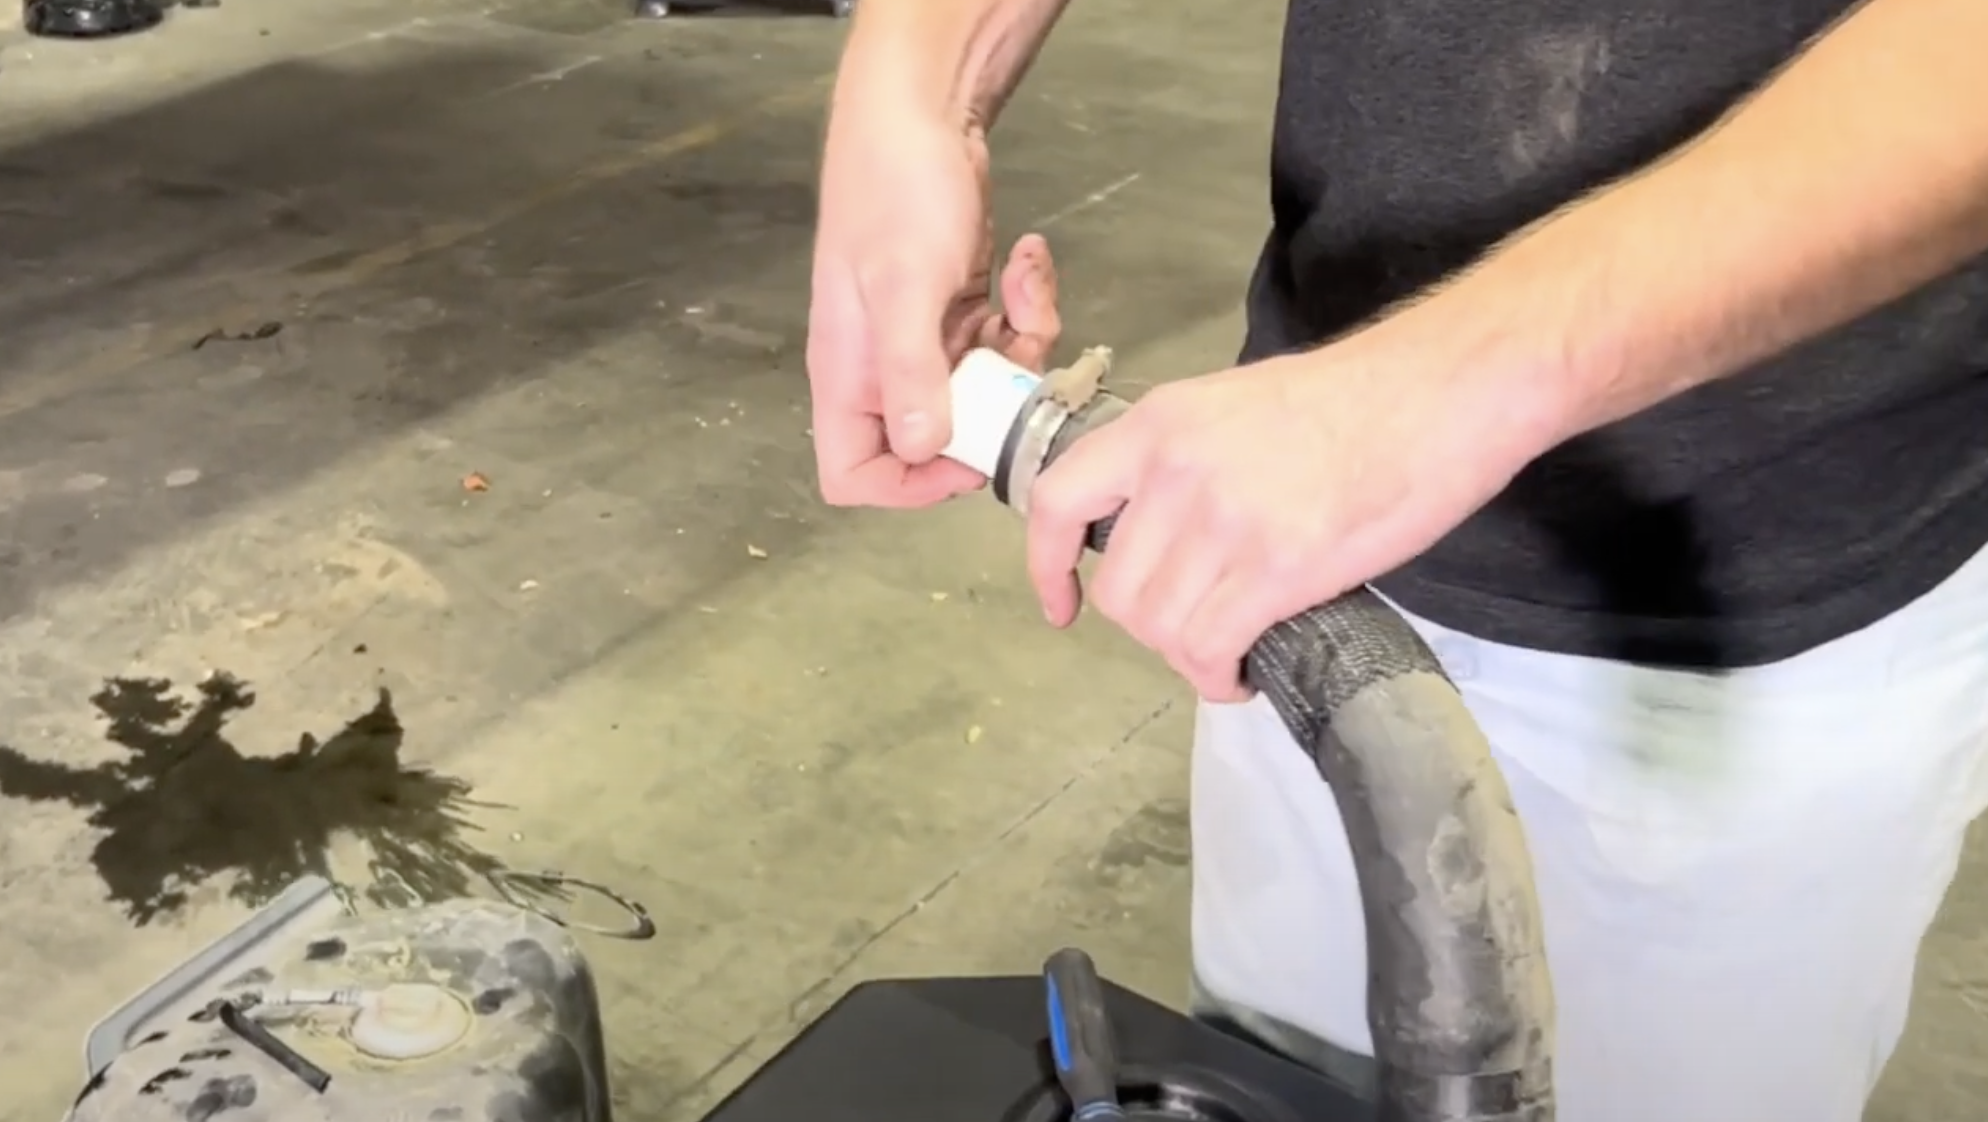
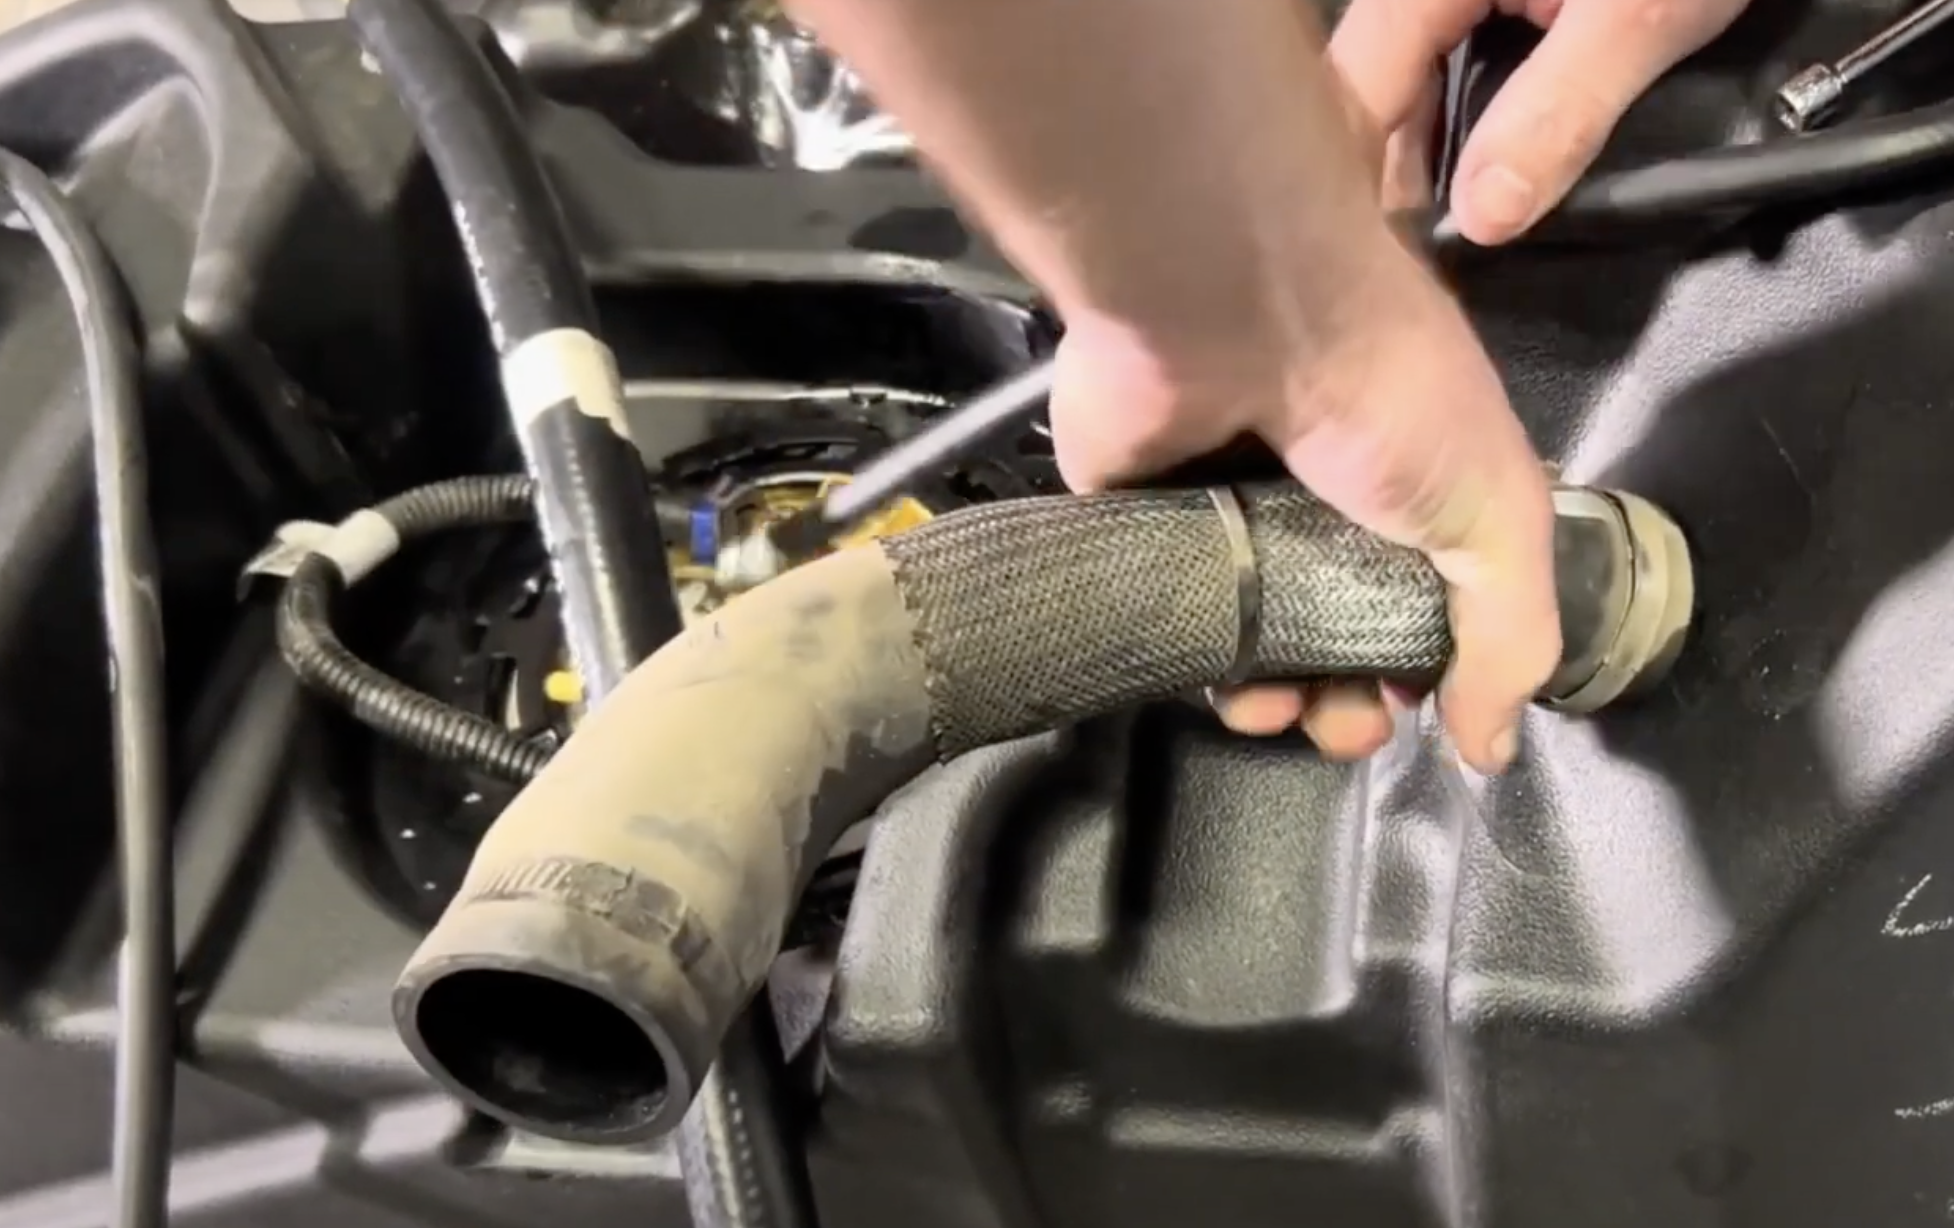
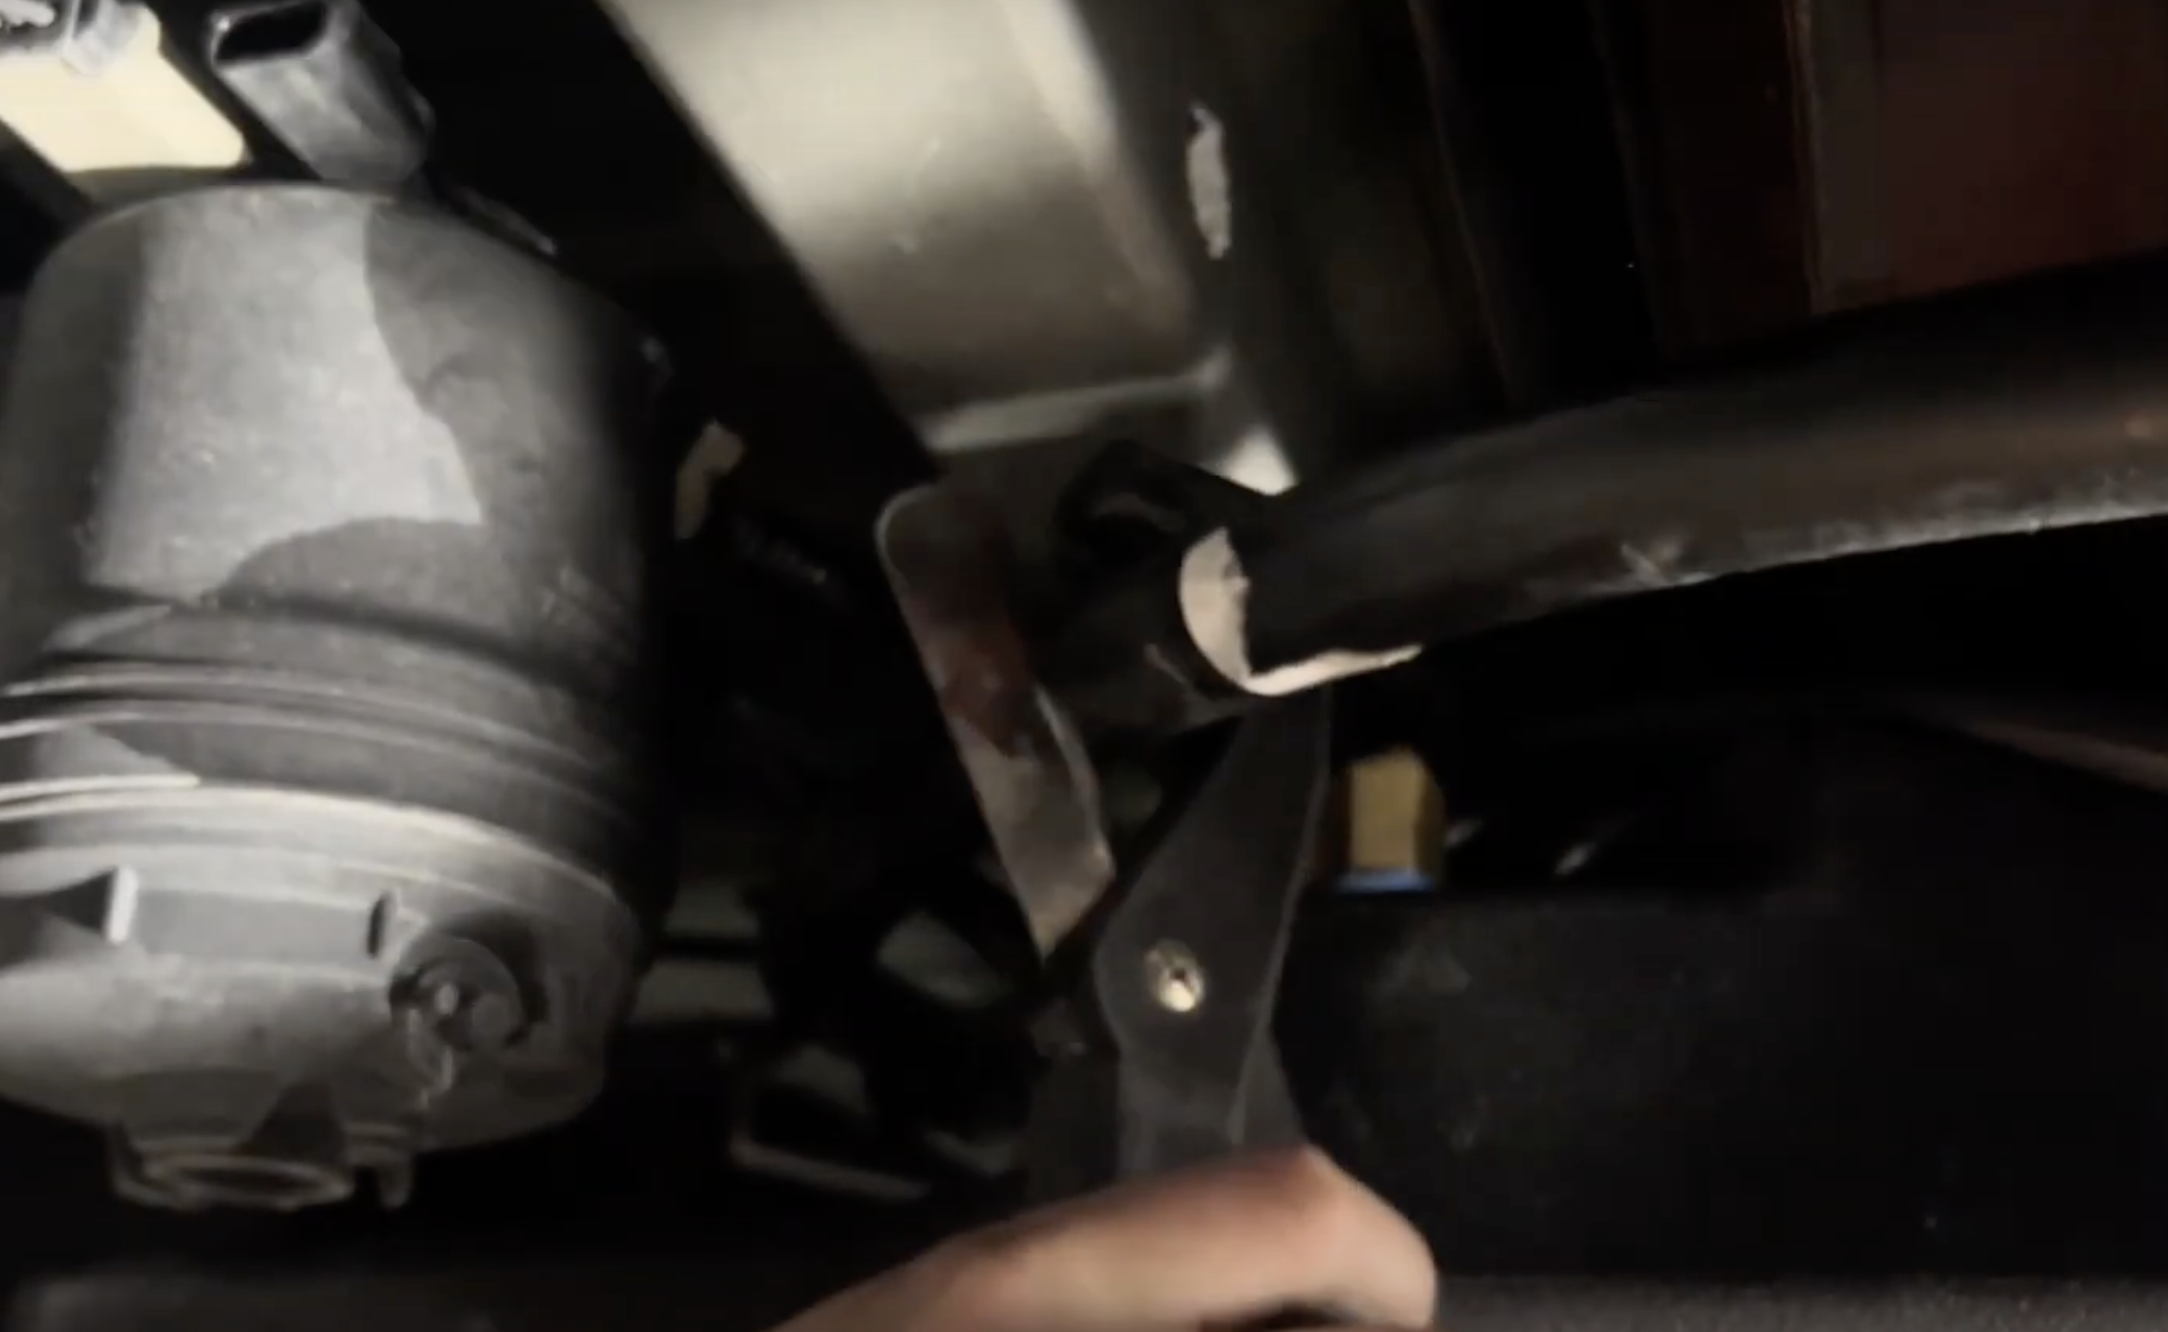
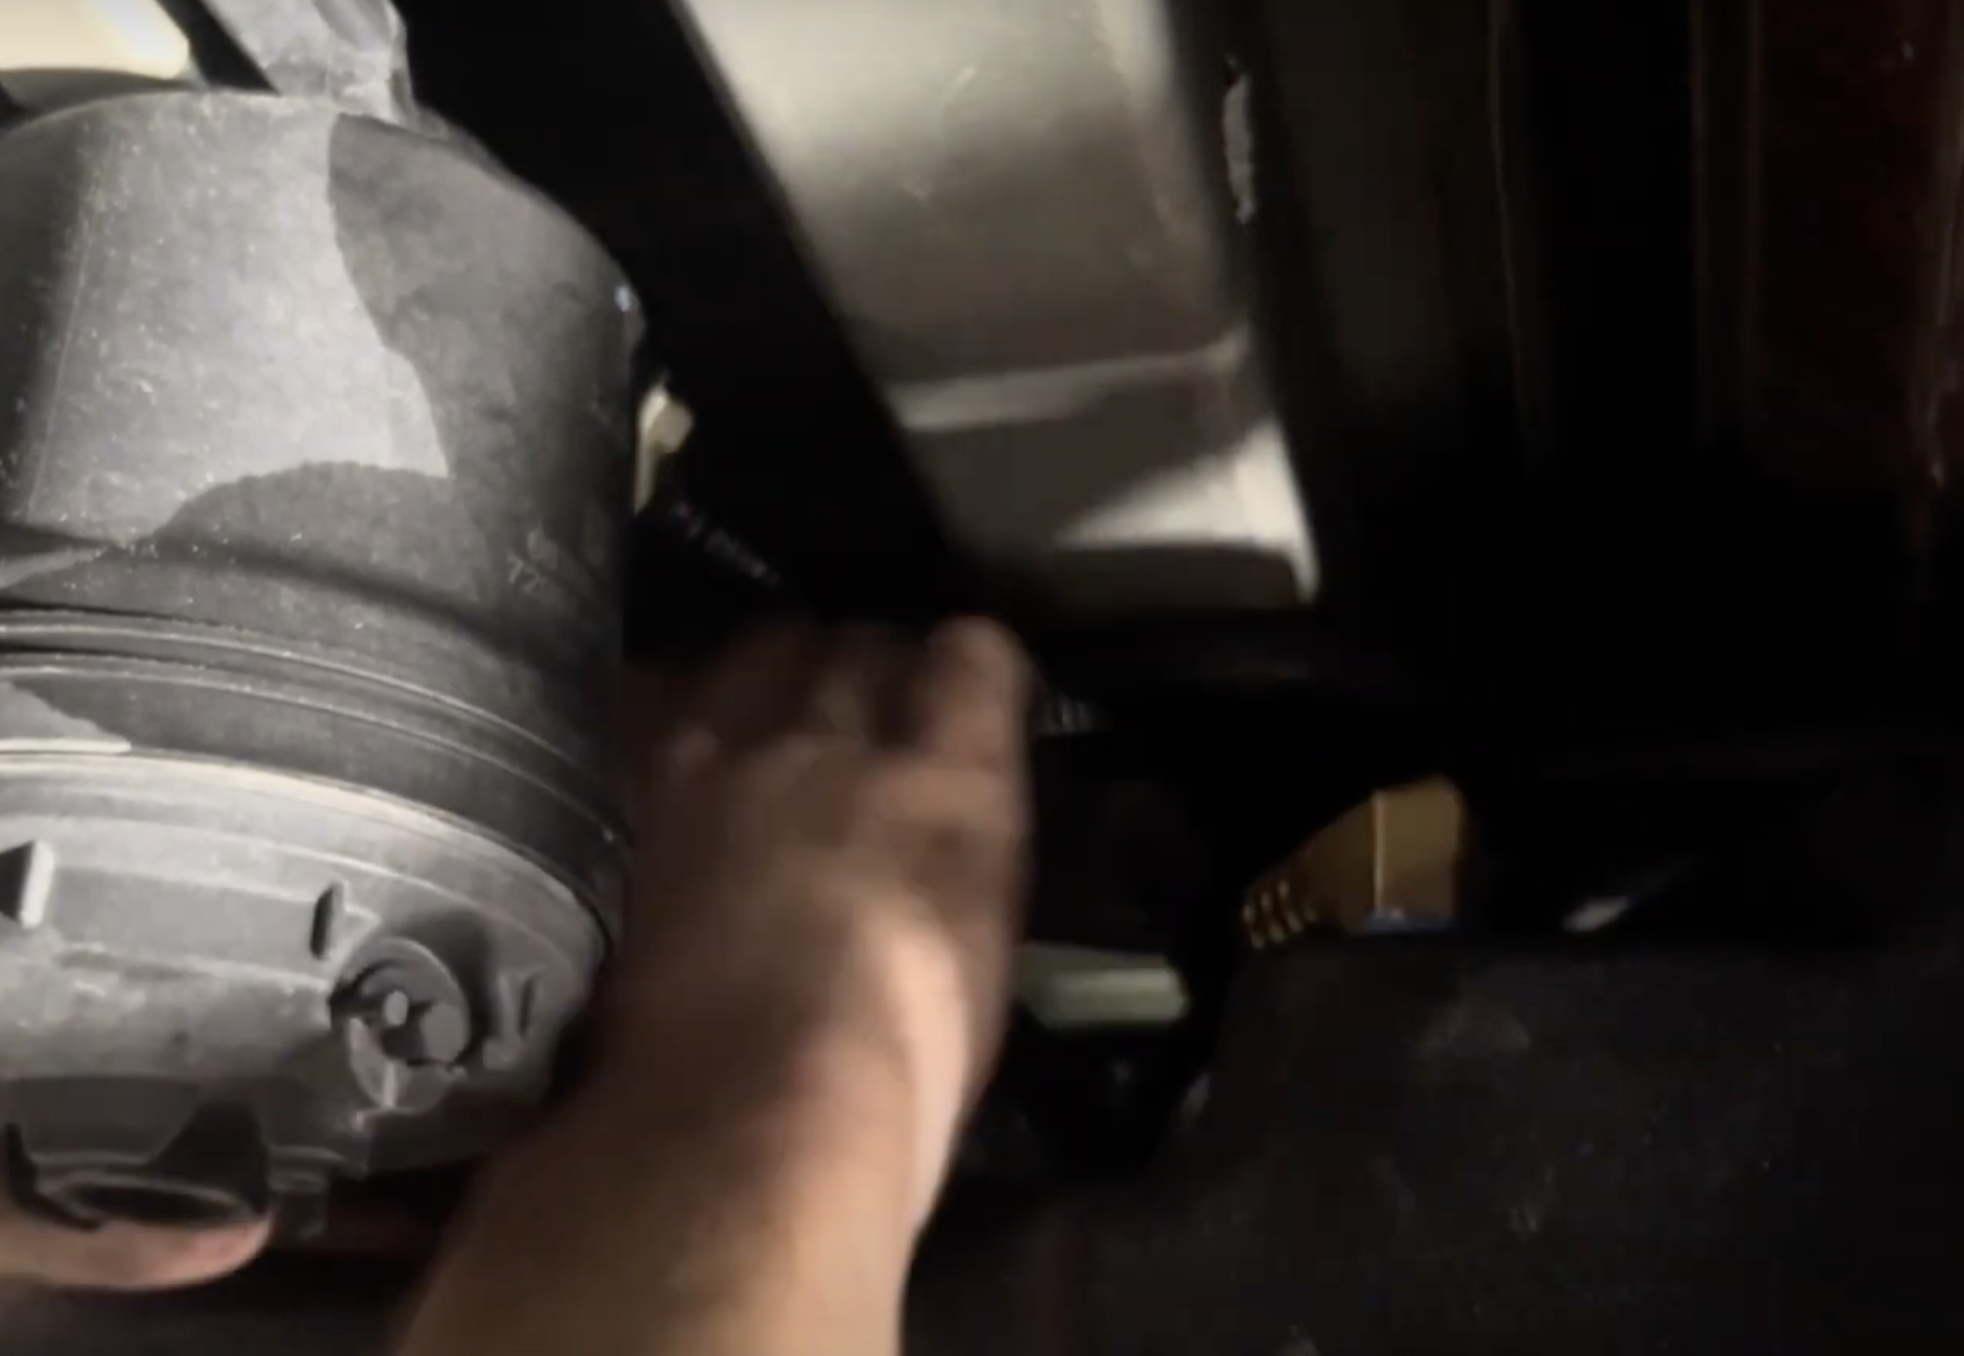
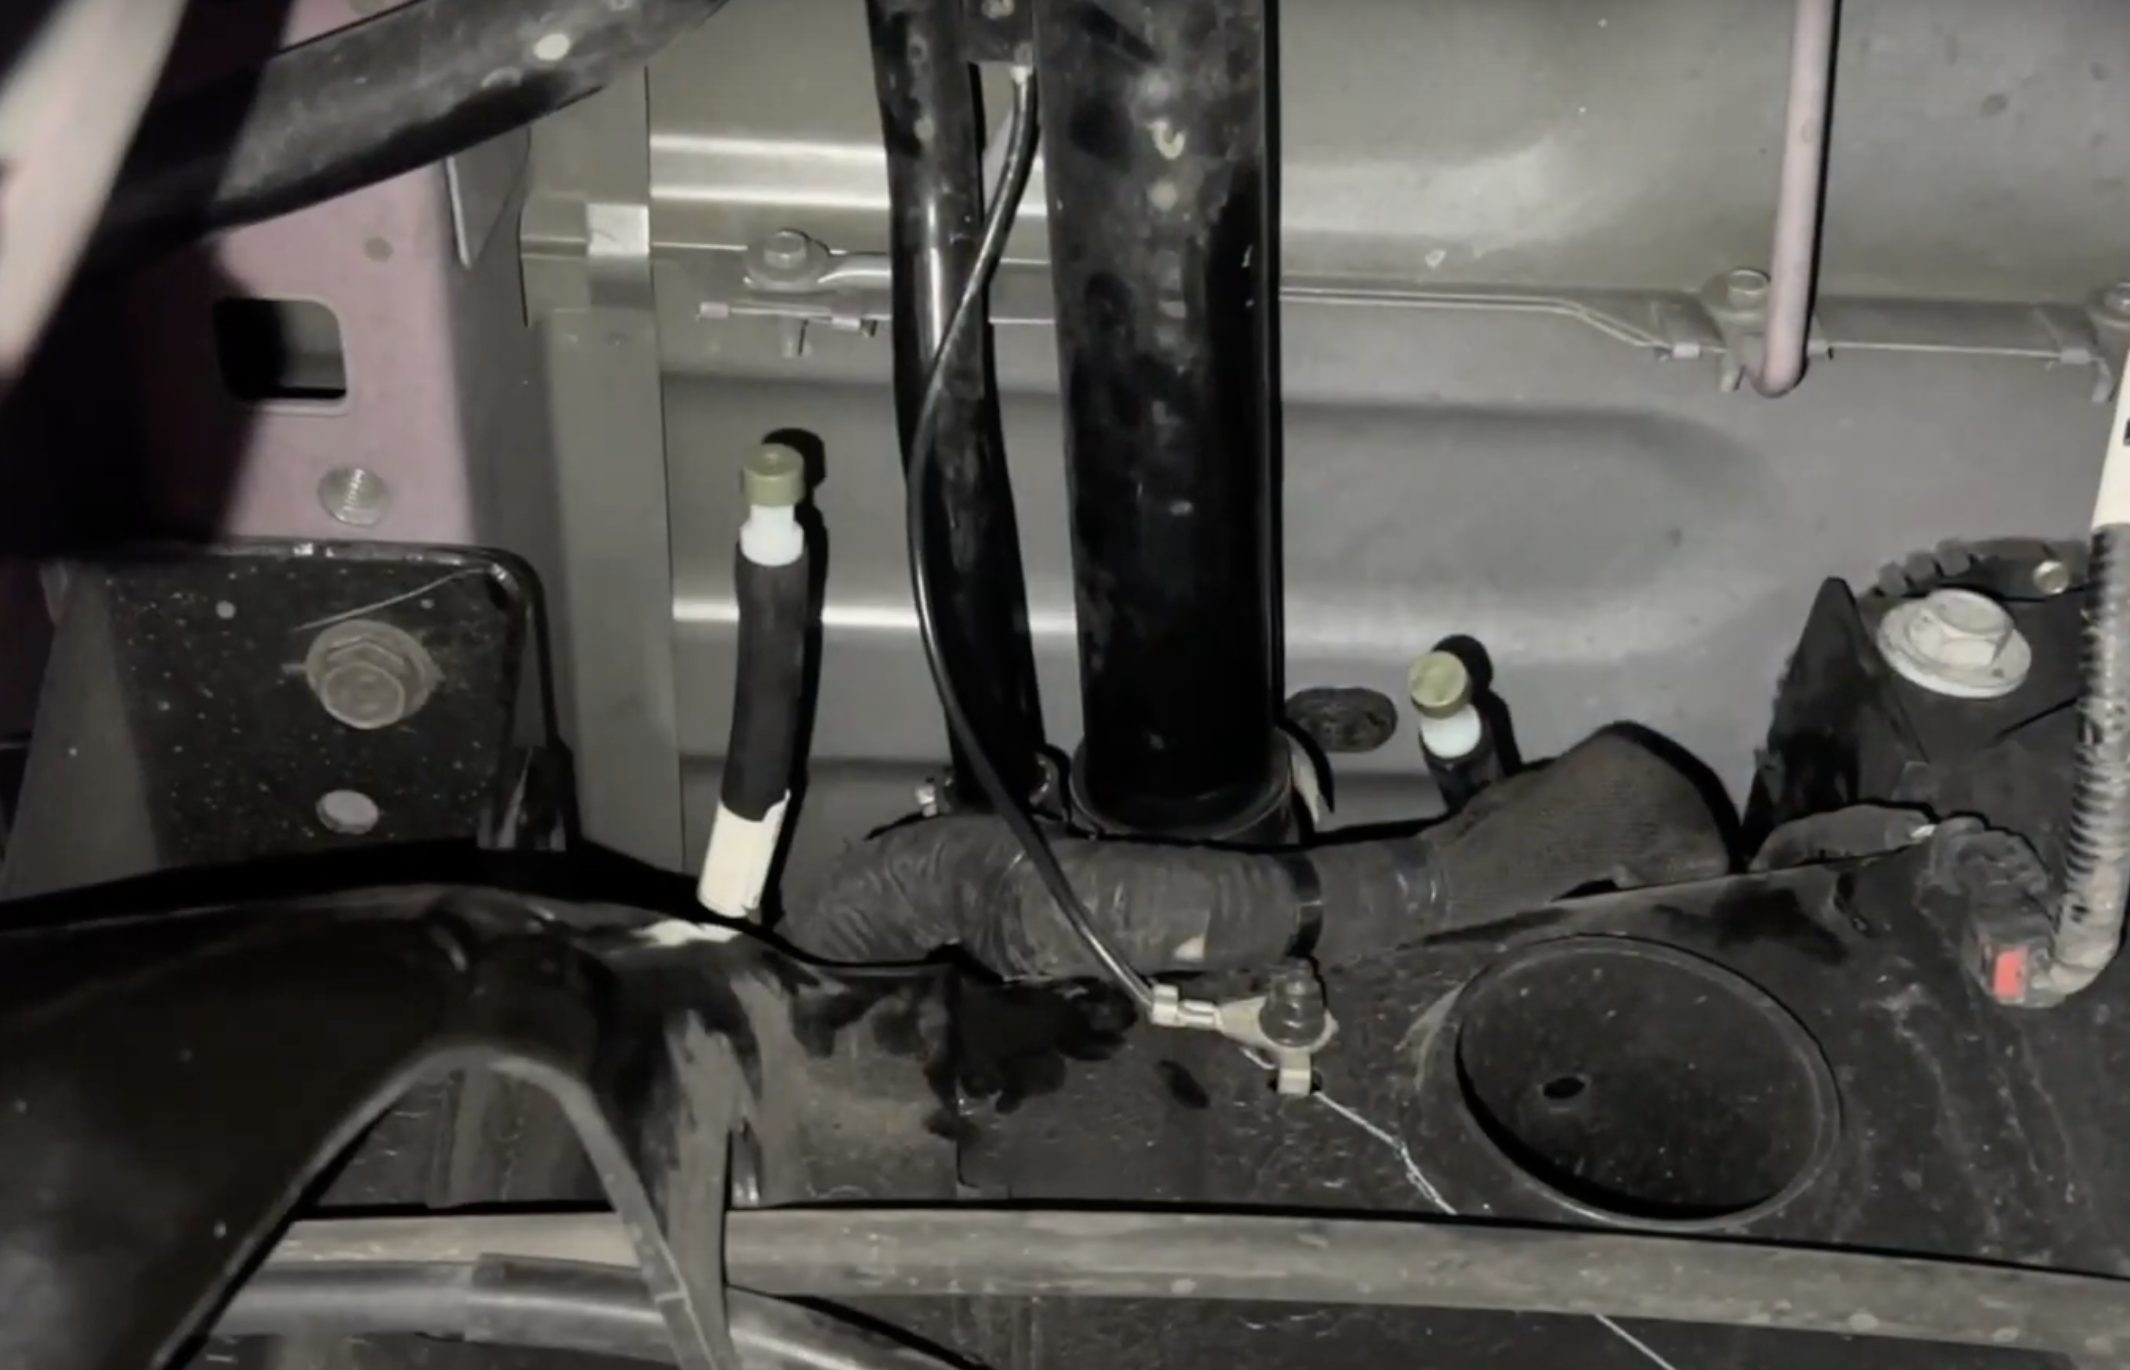
Remove the blue safety clip on the fuel line then depressed the tab to remove.
*IF you have a 3rd gen mega cab, both fuel lines will be disconnected at the sending unit*
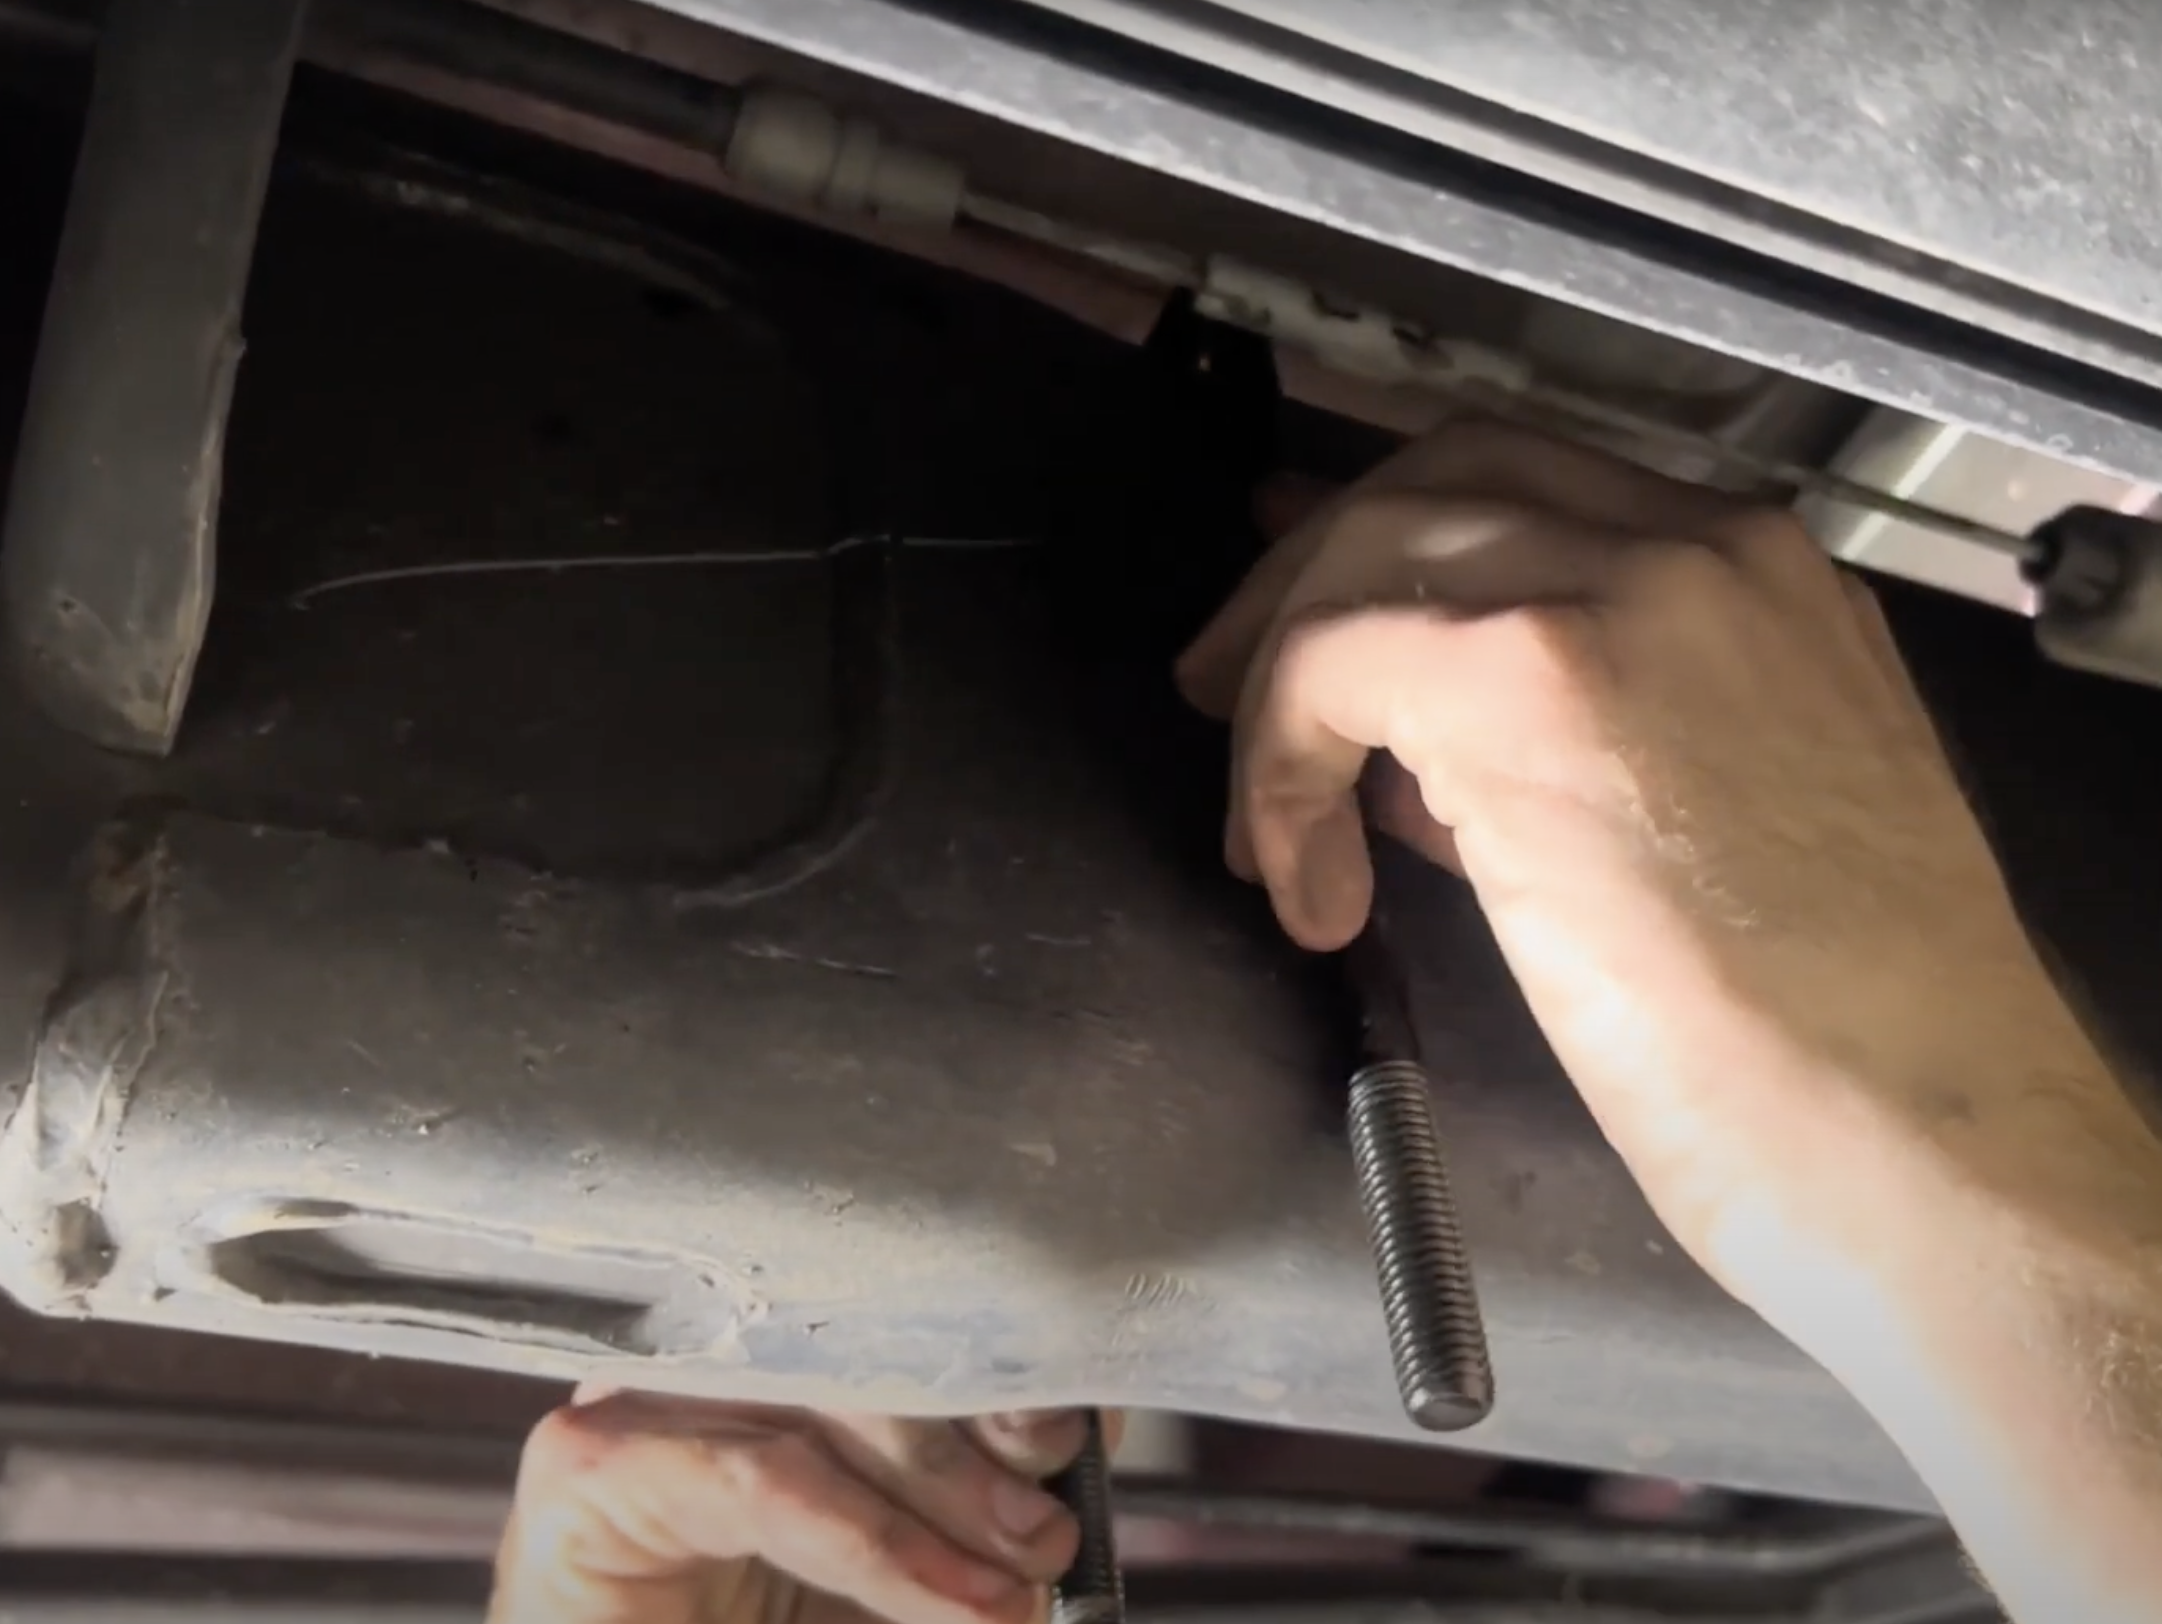
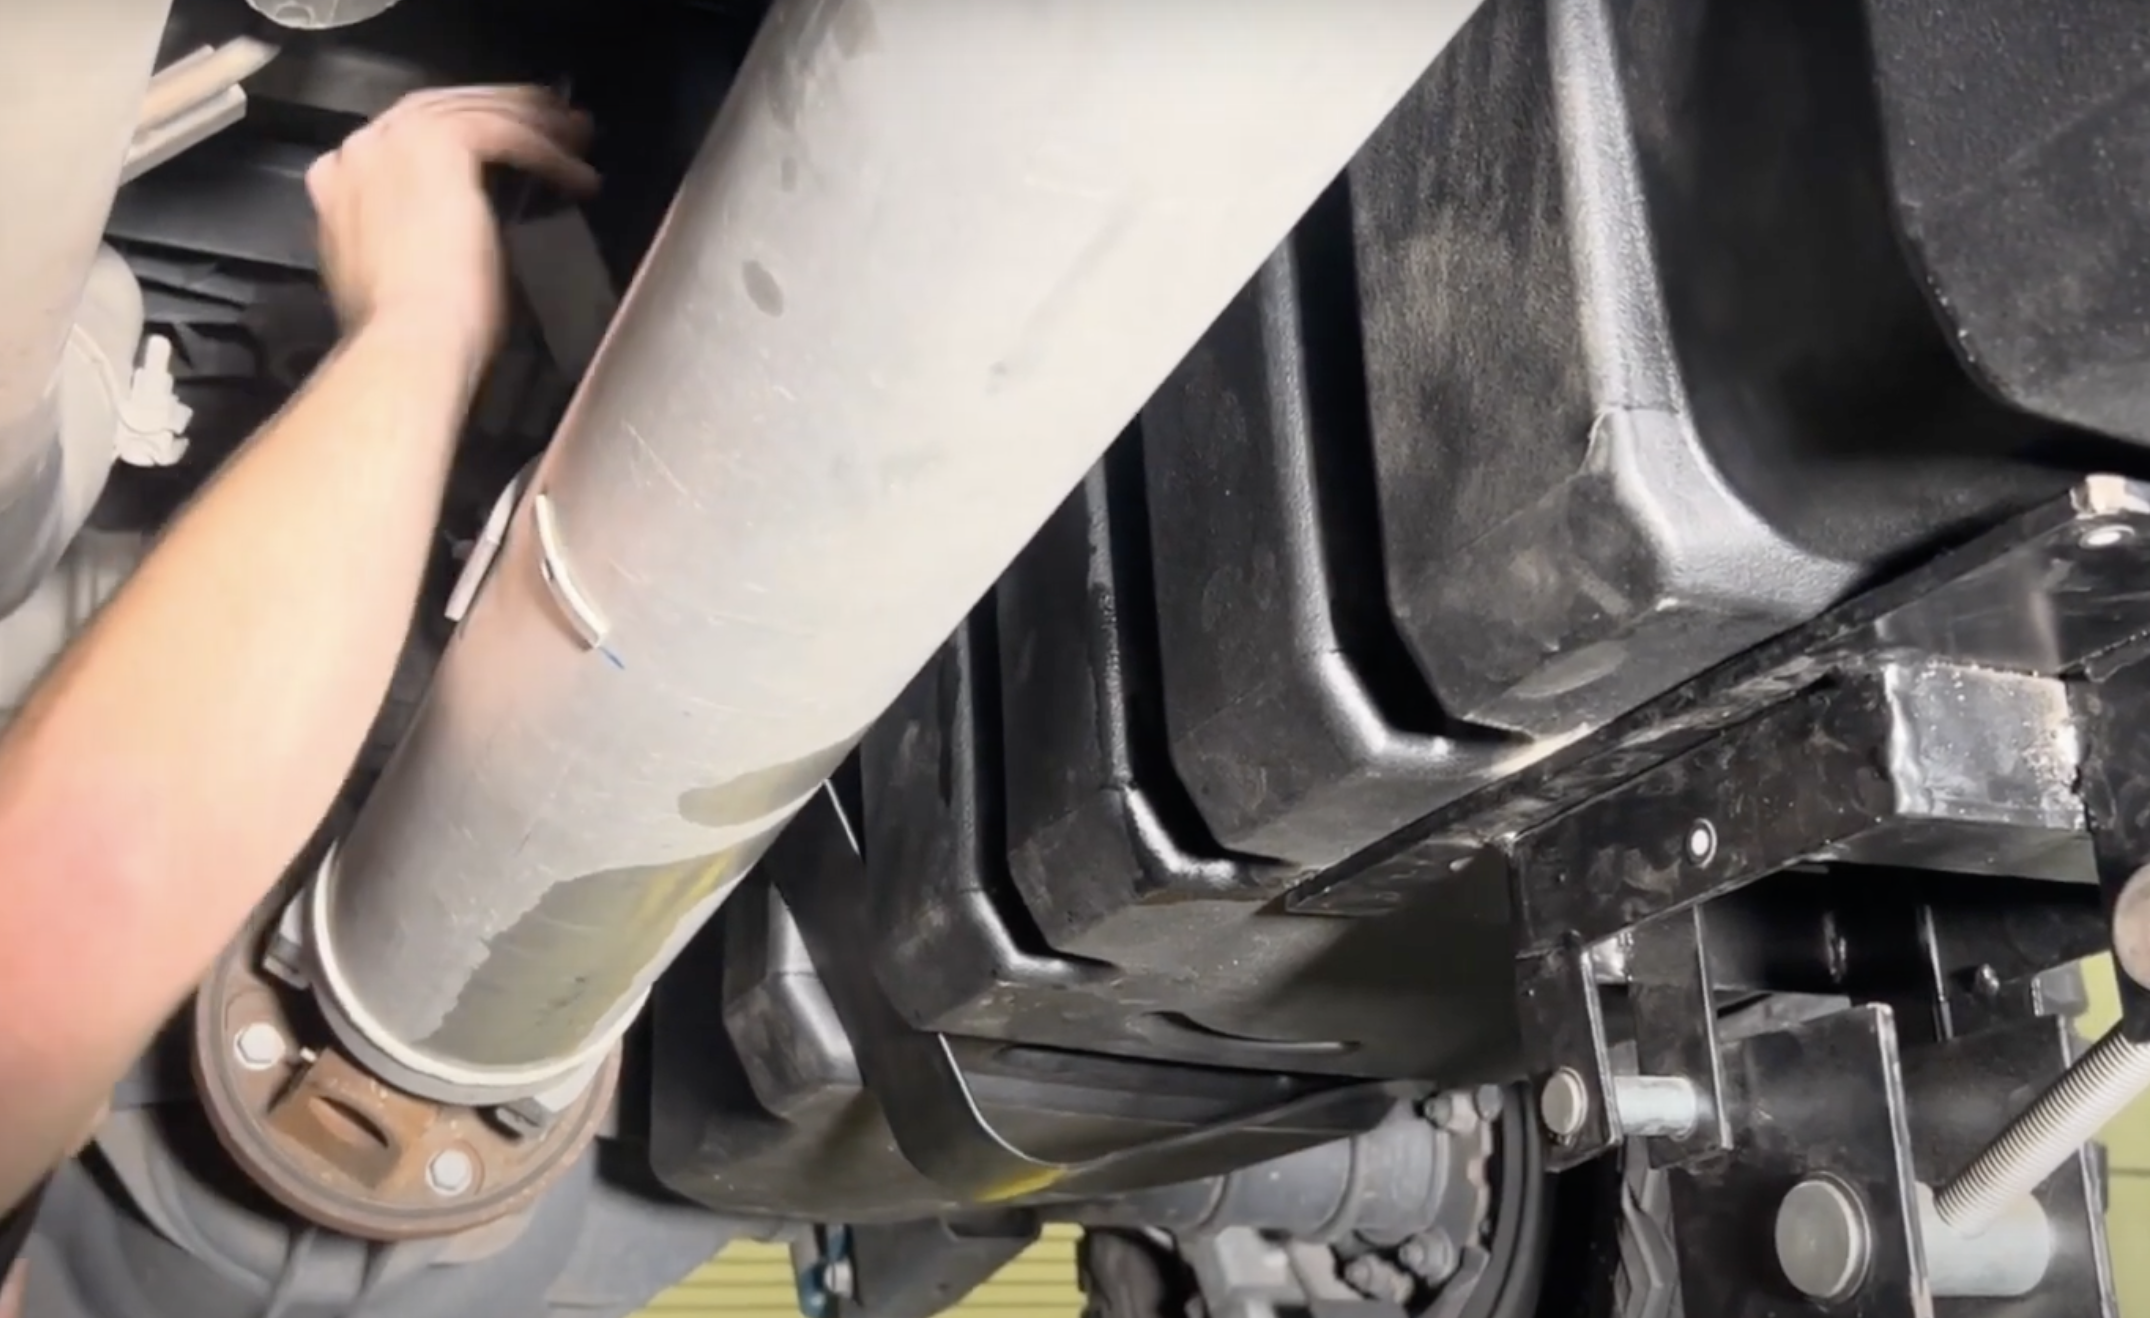
With the jack underneath the tank, remove the bolts securing the front and near strap.
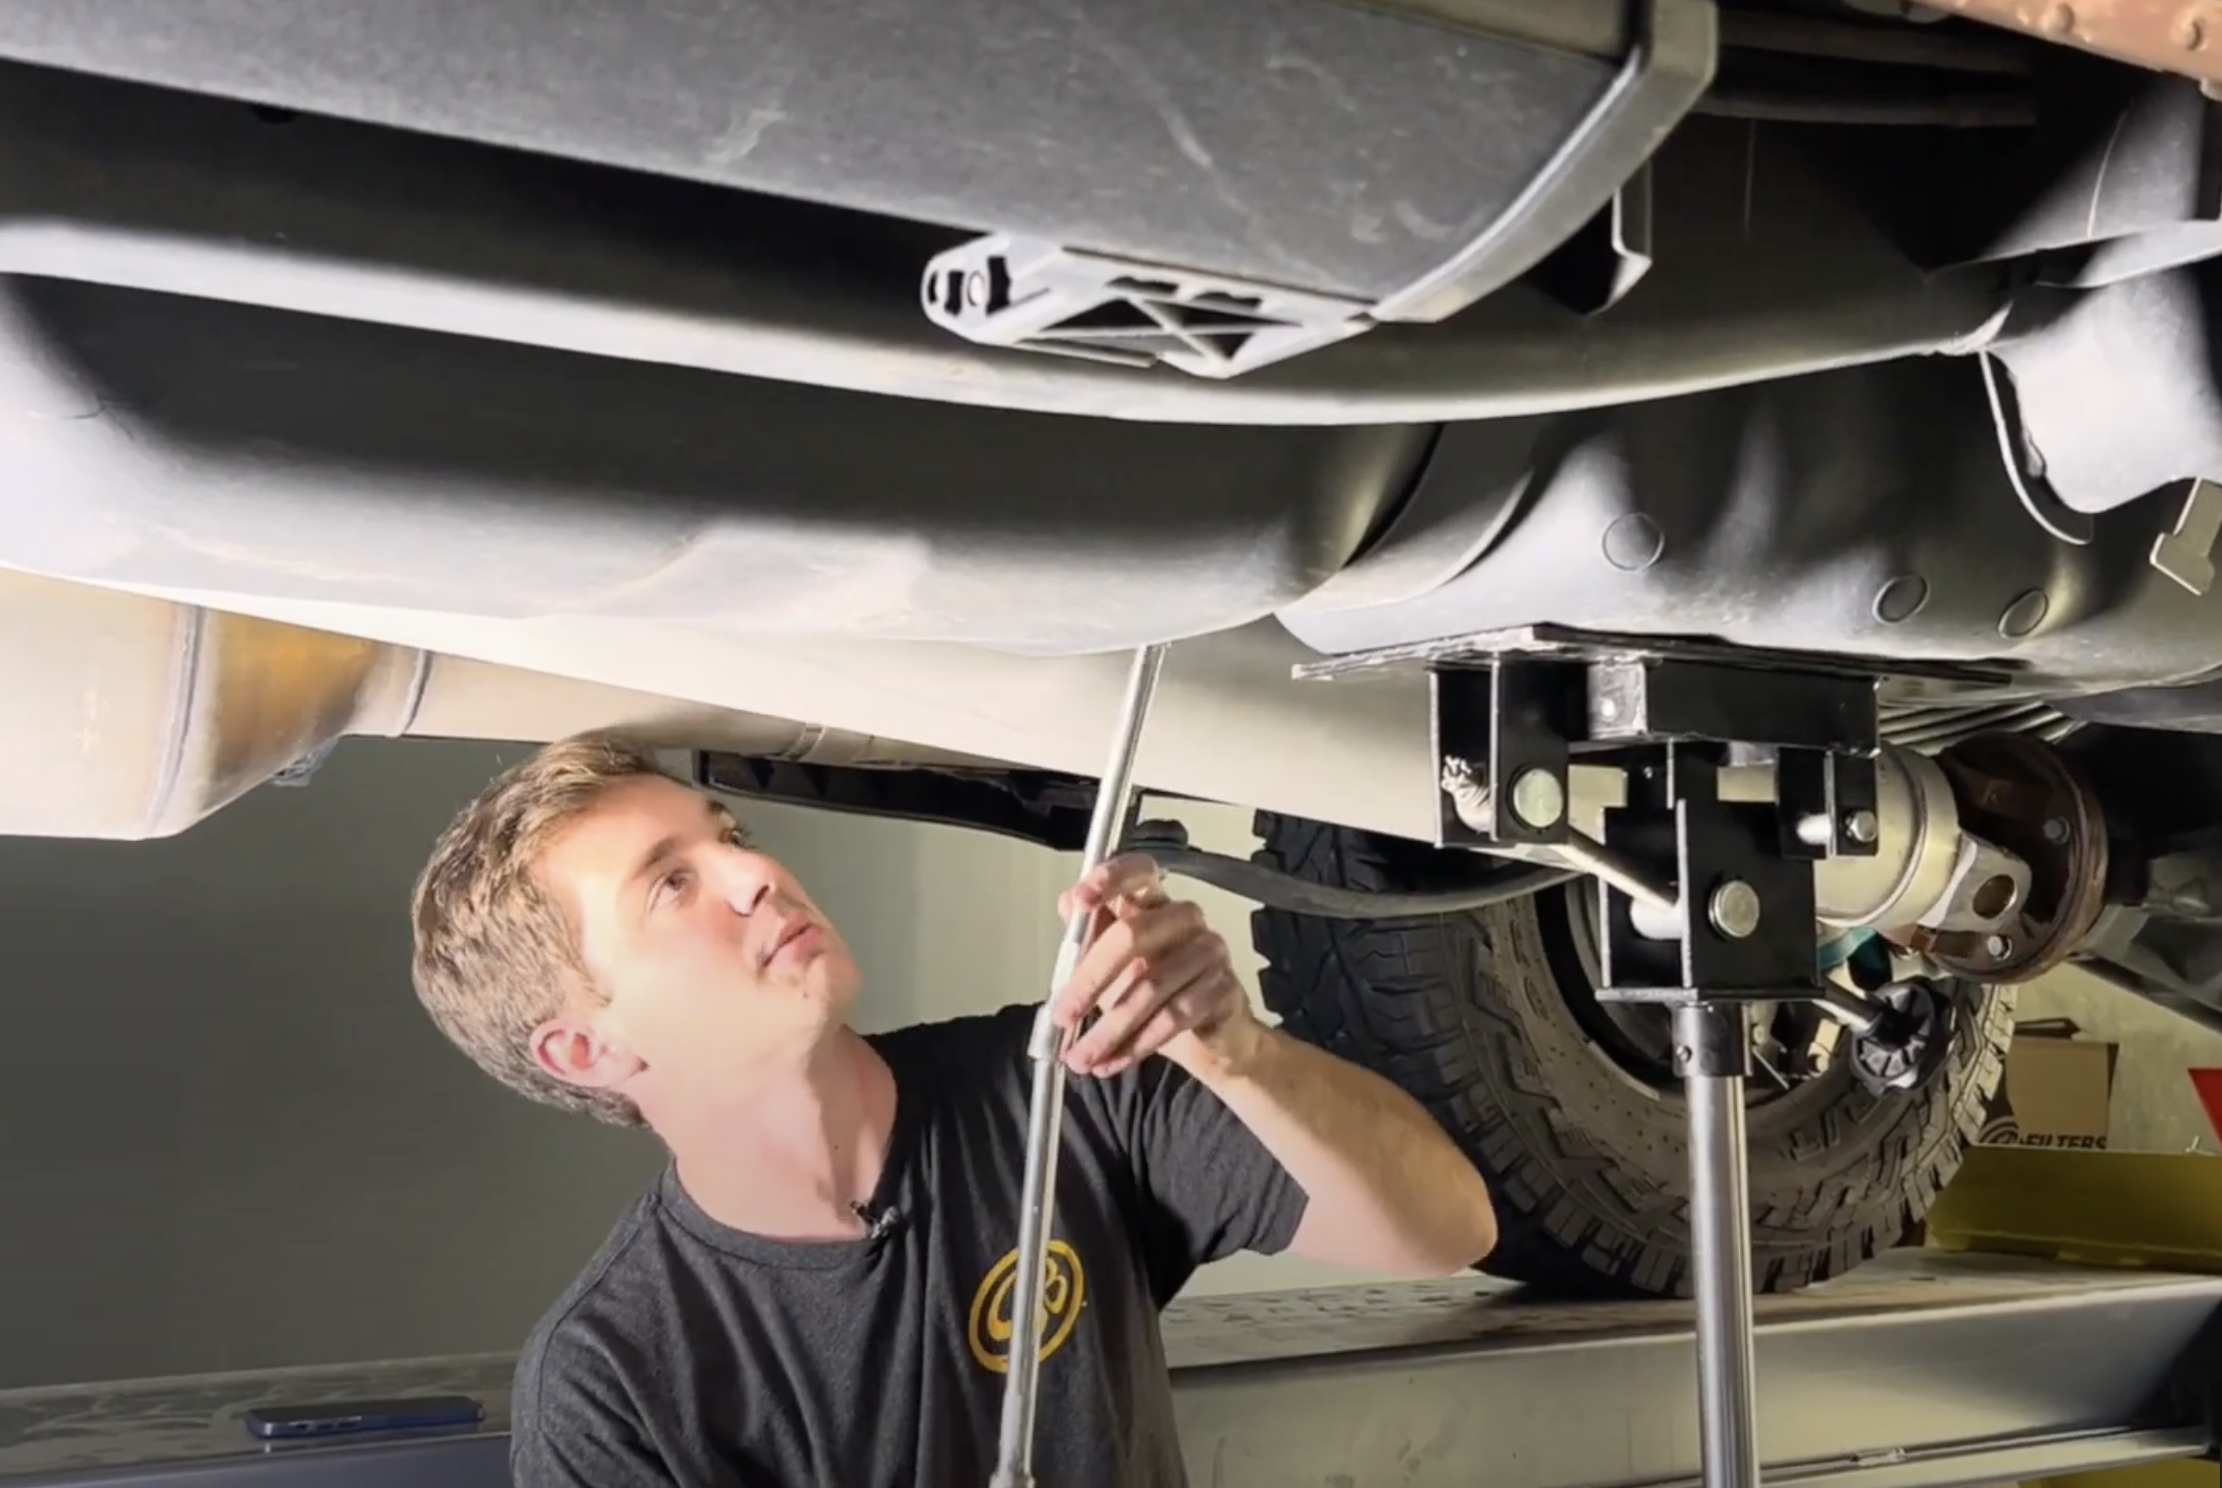
Once the bolts are out, remove the front and rear straps.
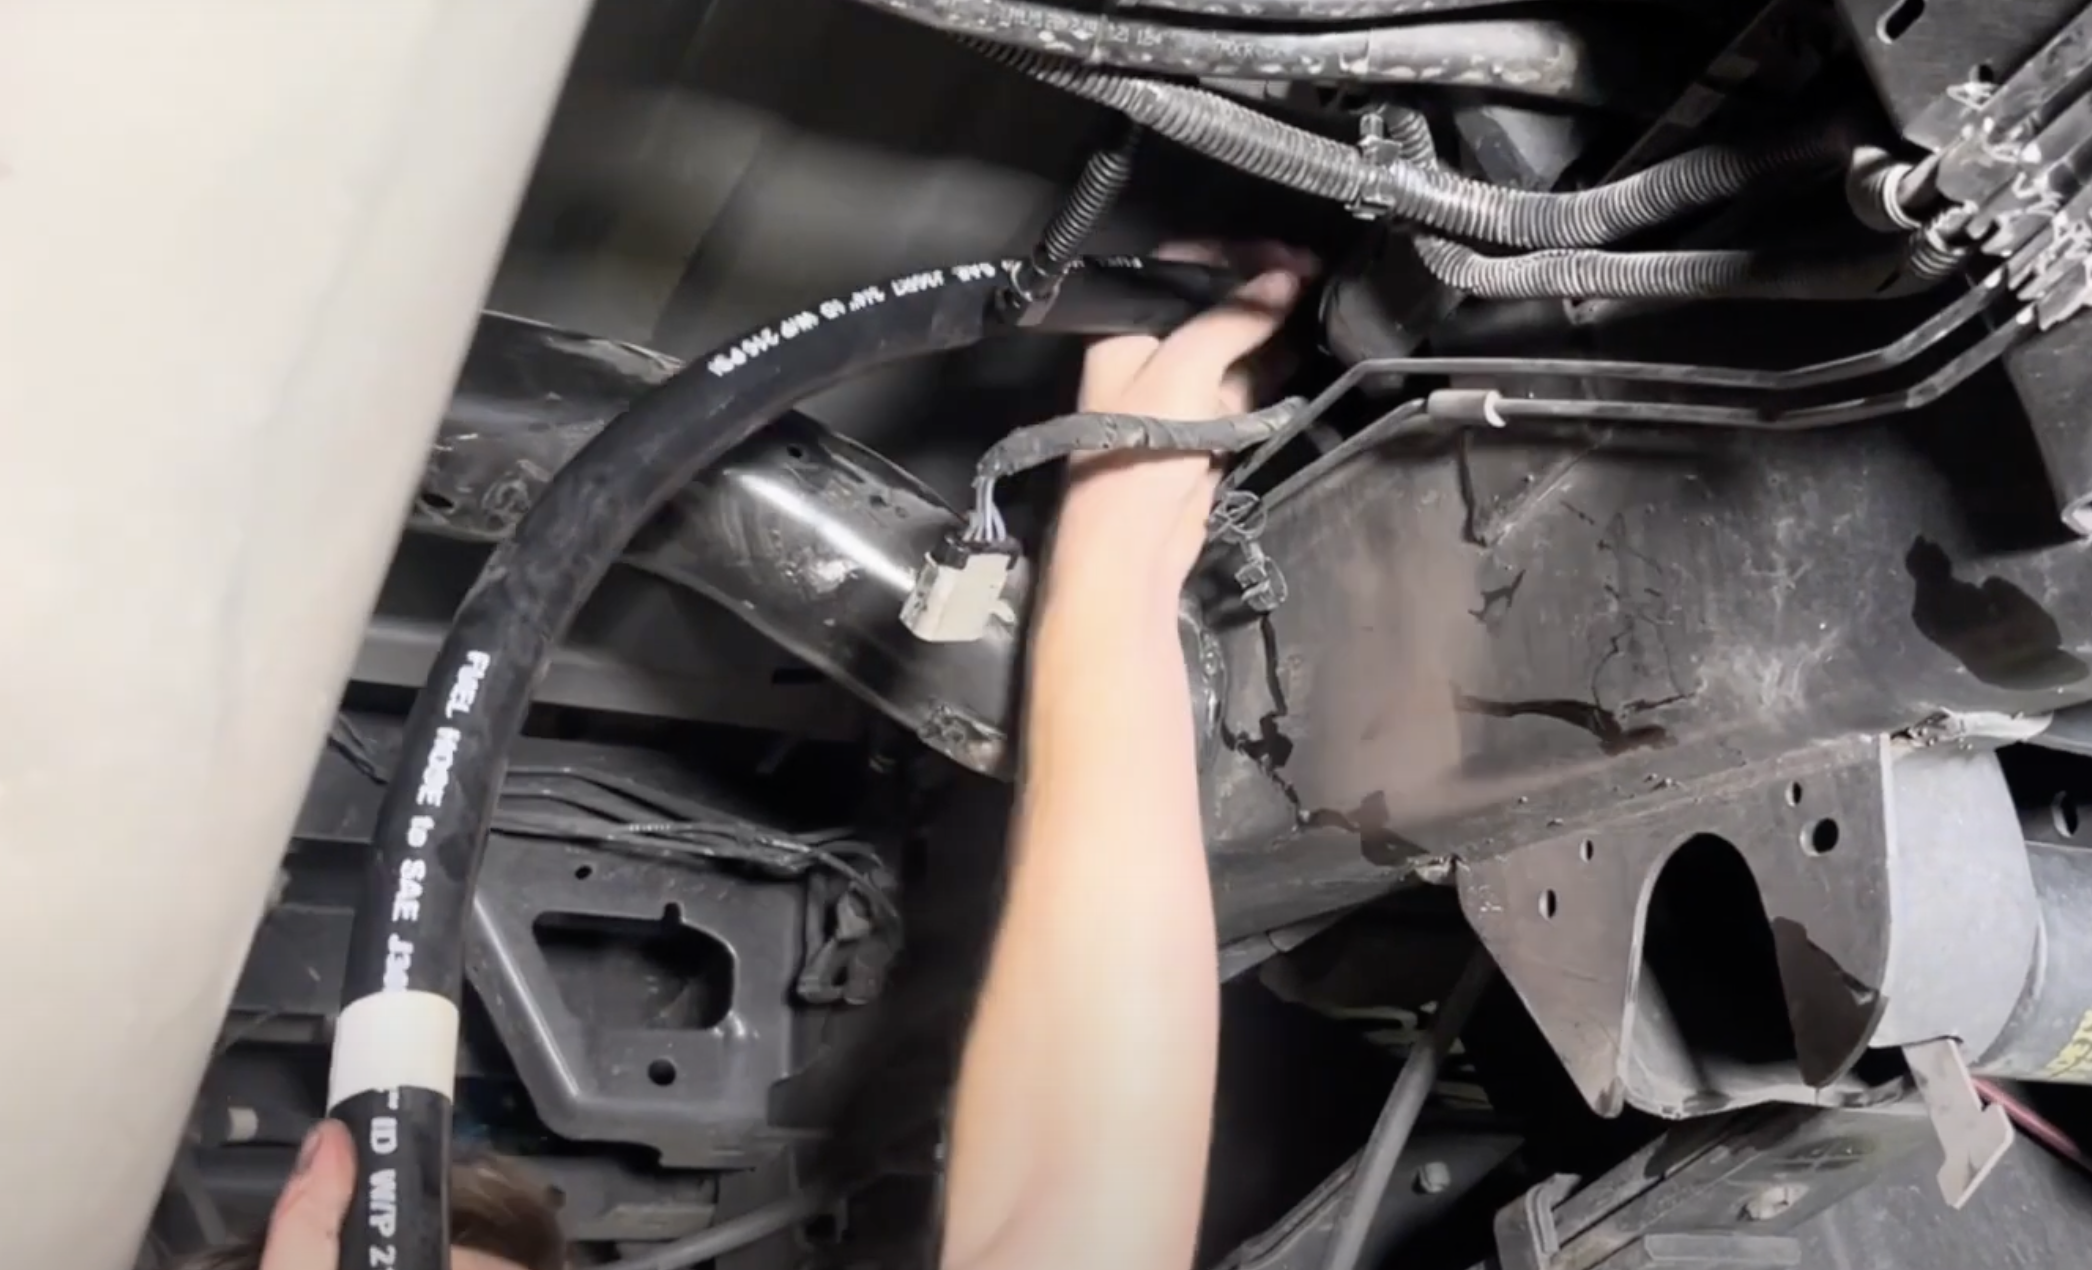
Drop the tank 2-3 inches and if you have any remaining lines on top of the sending unit, make sure you disconnect those.

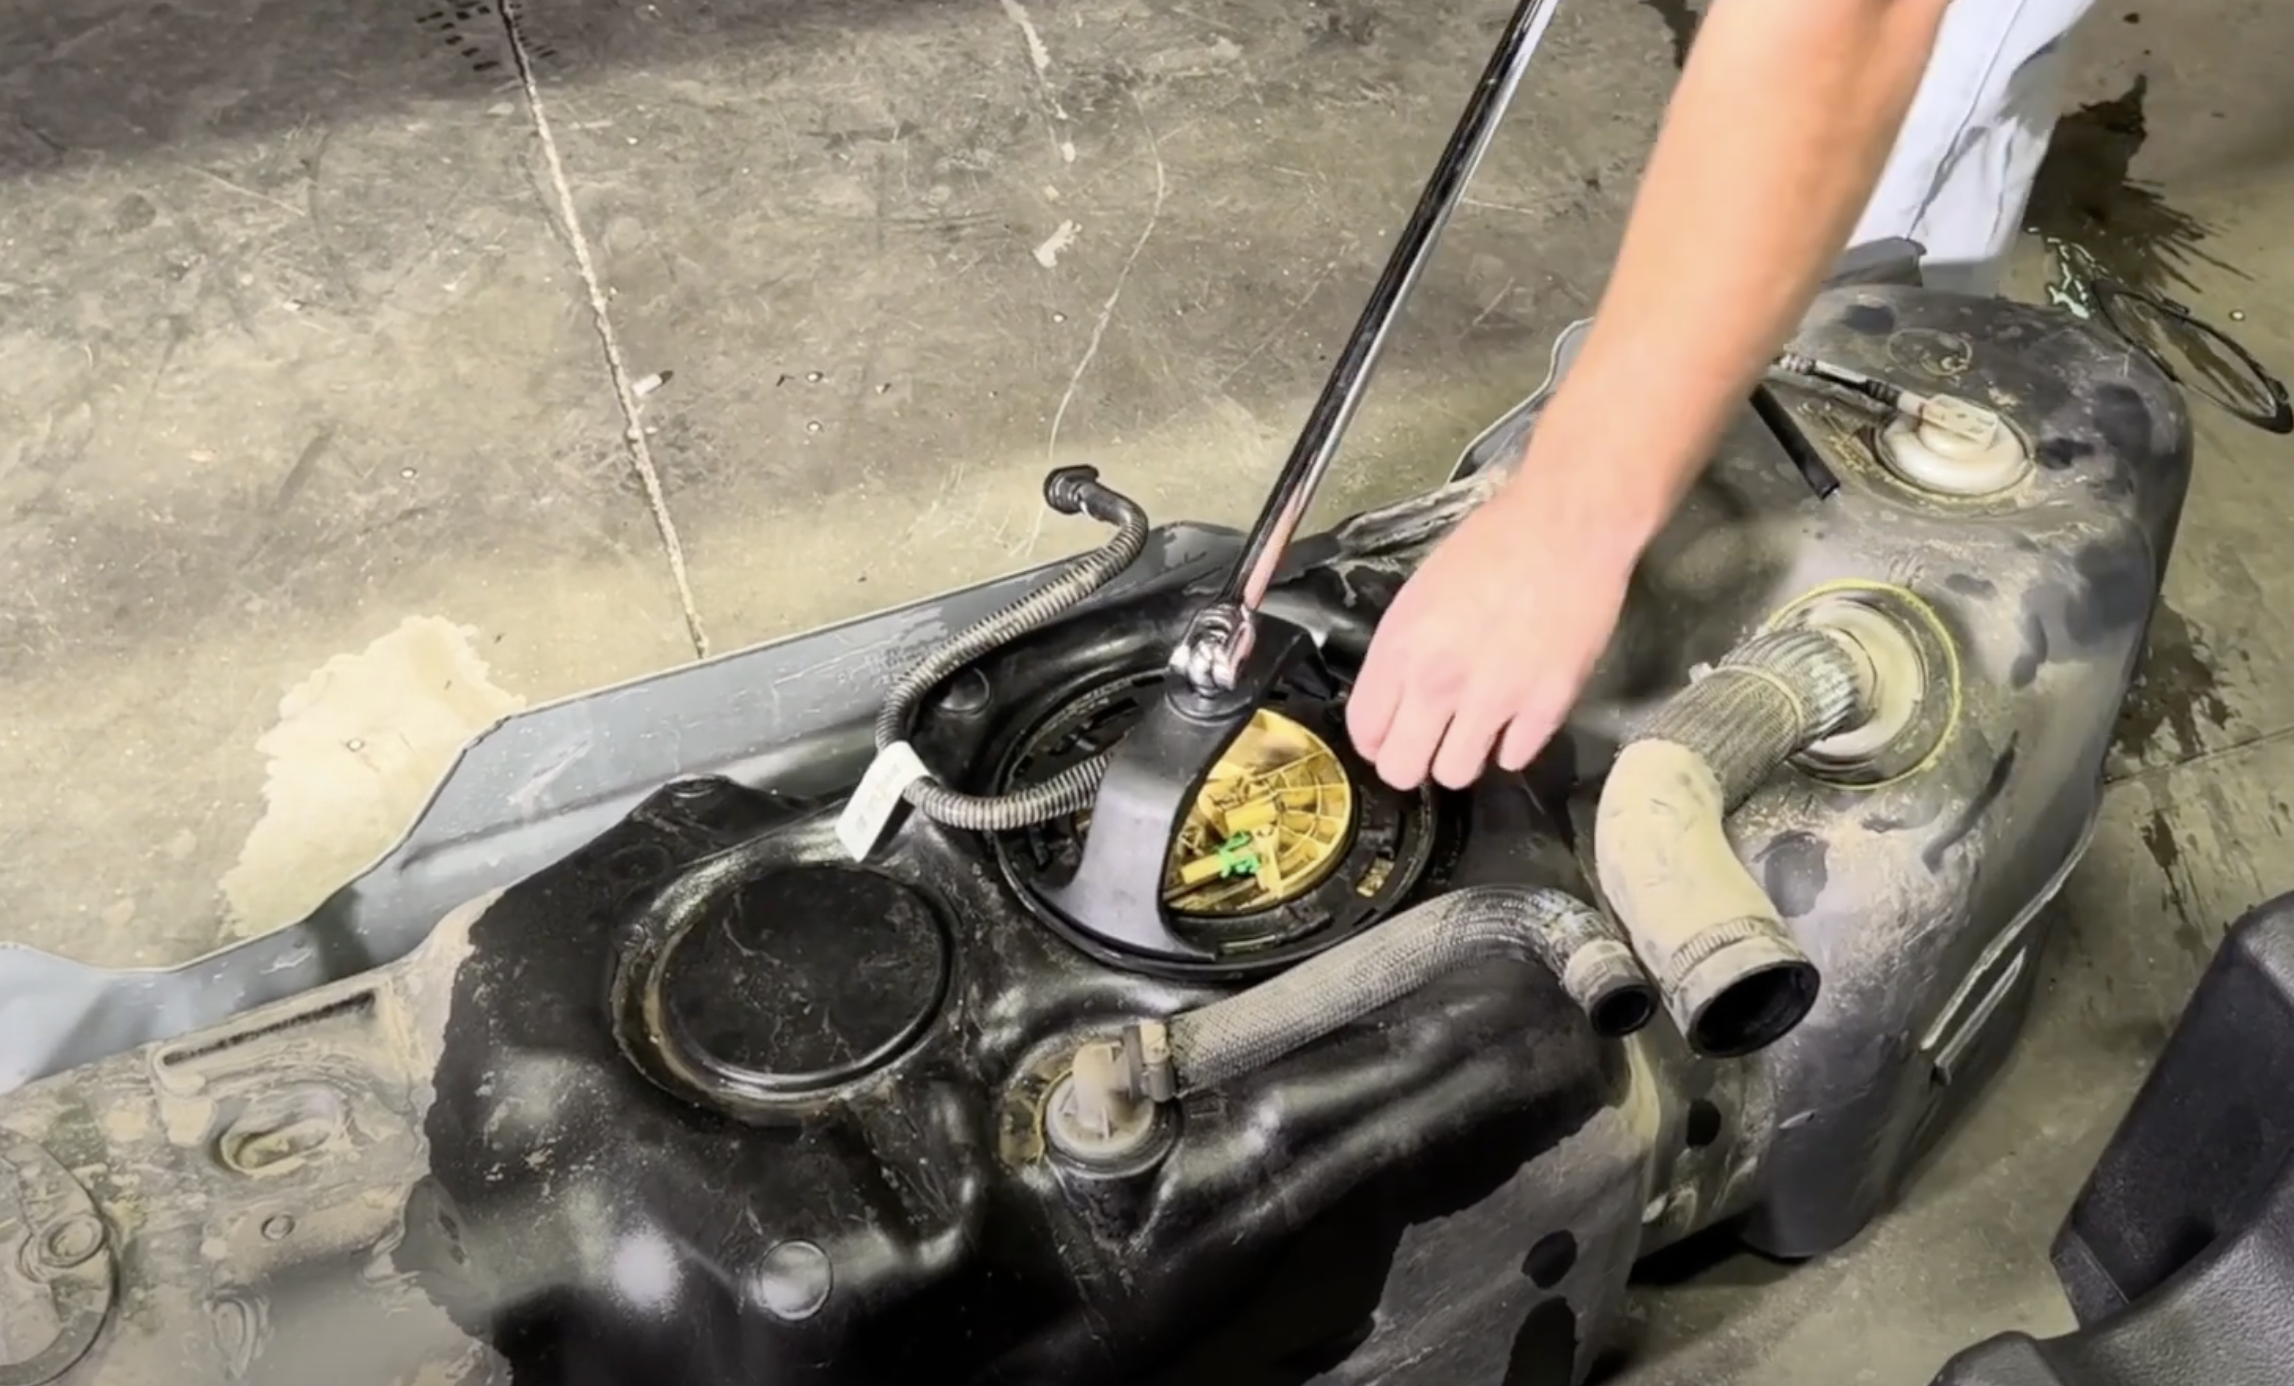
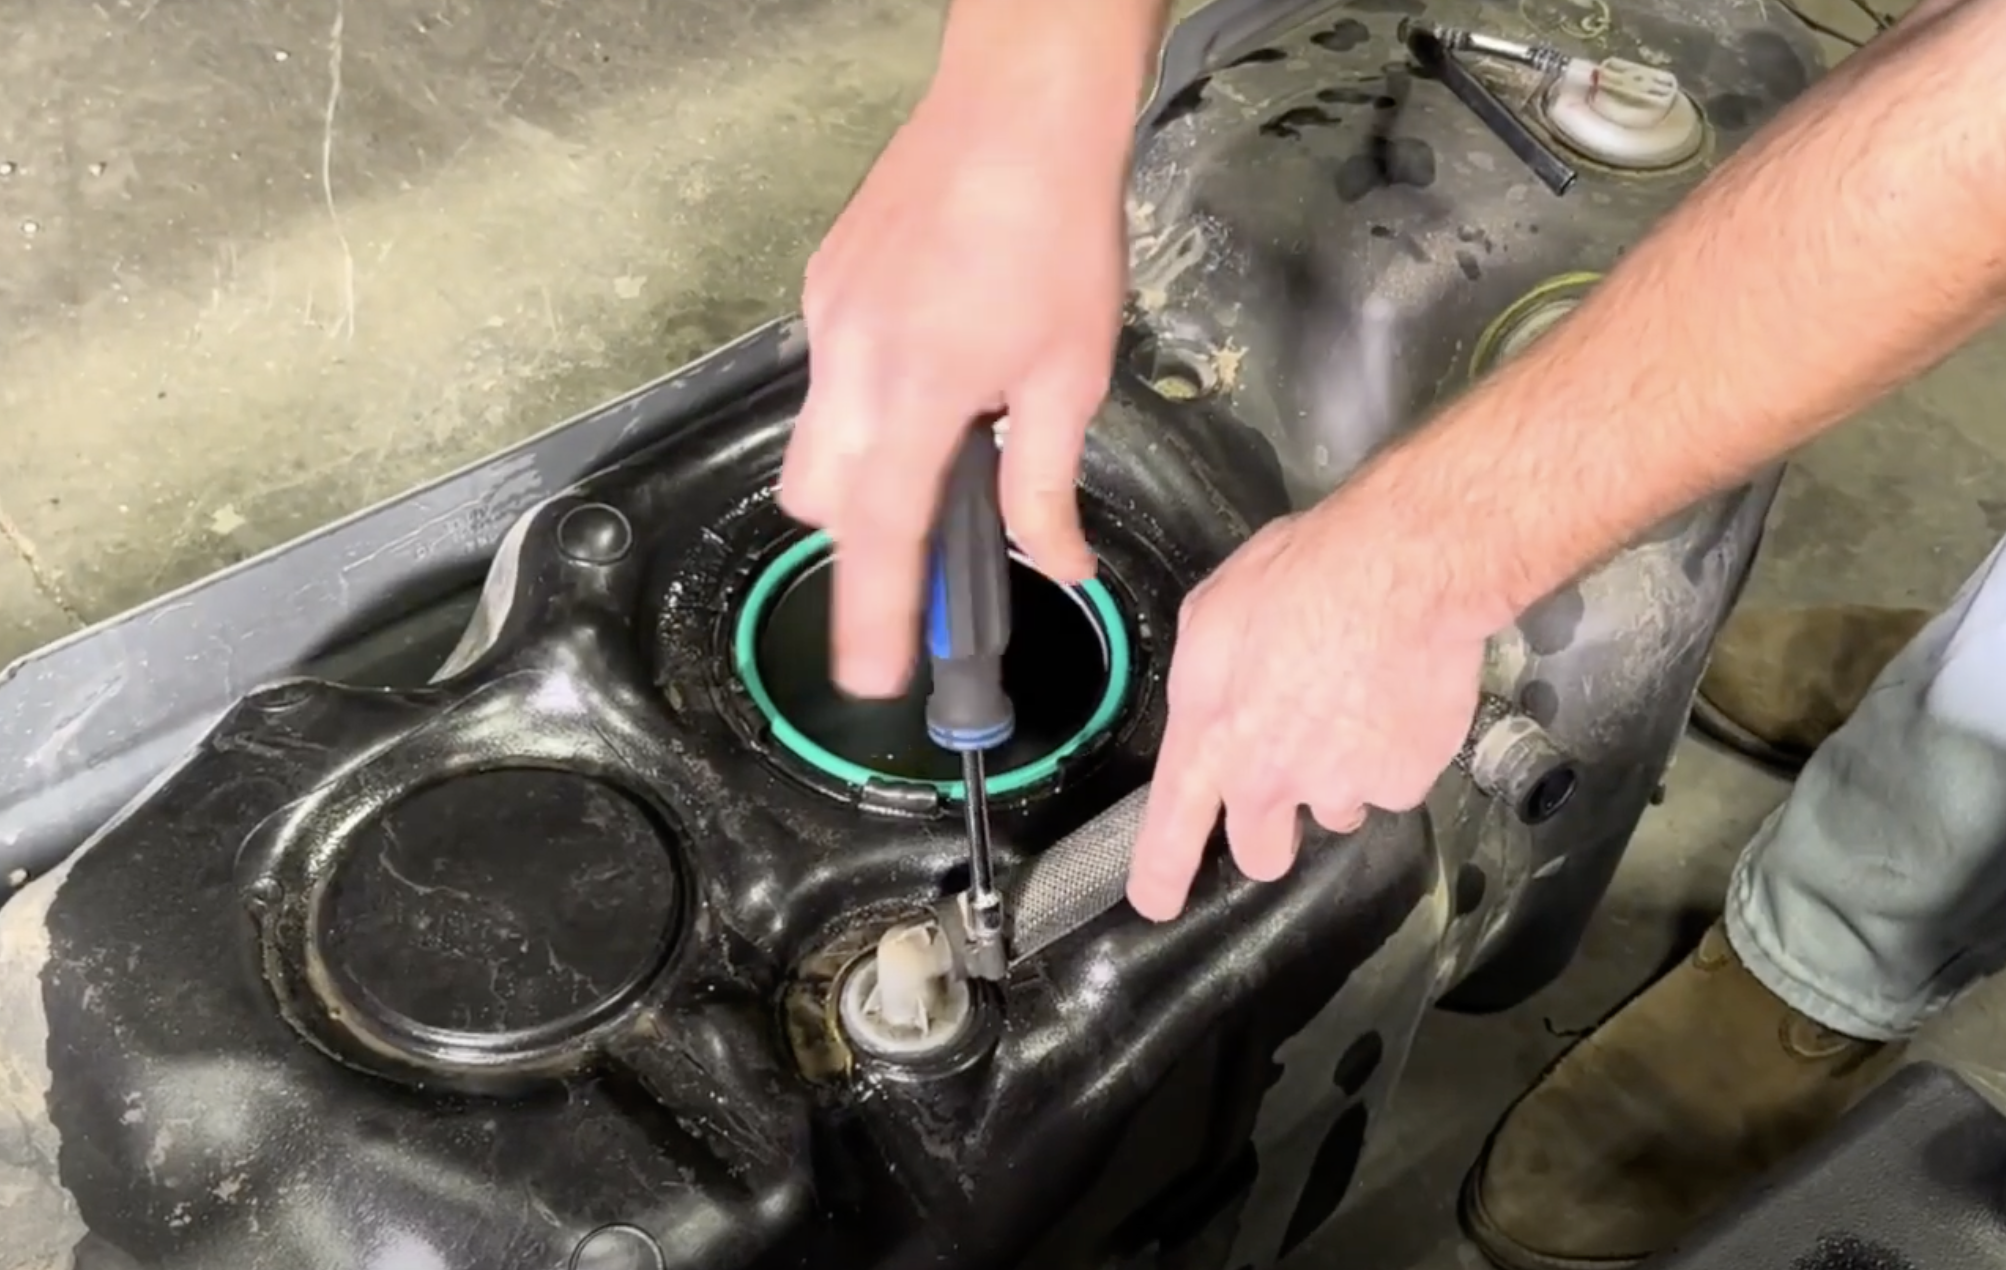
Drop the tank fully out of the vehicle and begin getting the locking ring removed.
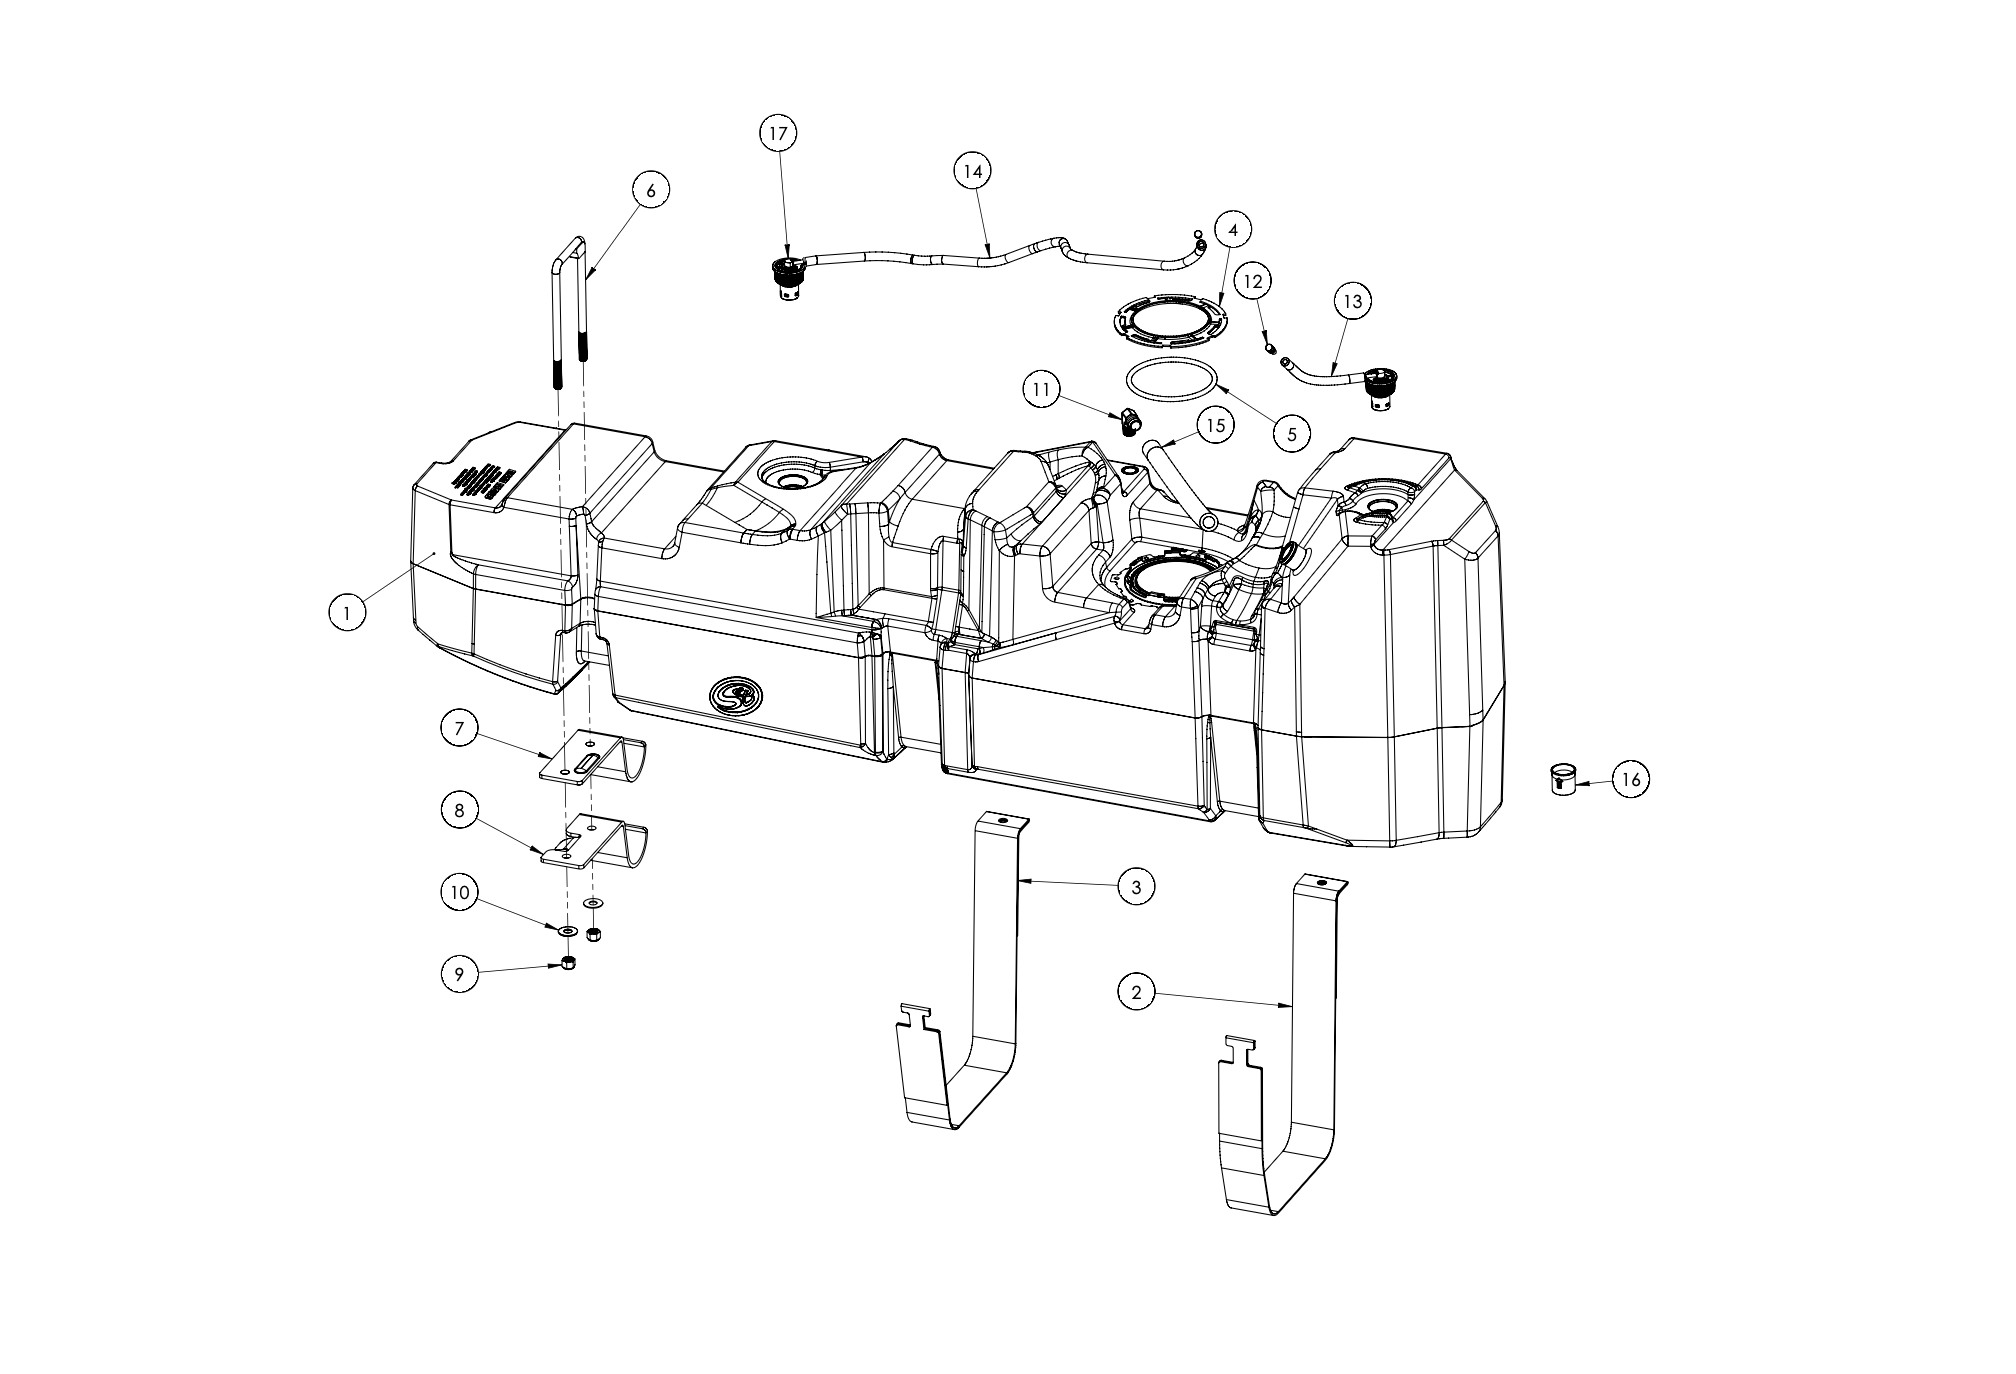
Once the locking ring is off, begin transferring the sending unit over to the S&B tank. We will provide you with a new O-ring that must be used. When installing the sending unit, make sure to point the tab towards the arrow on the tank. There will be two different arrows on the tank, make sure you line up the correct one according to the year of your truck.
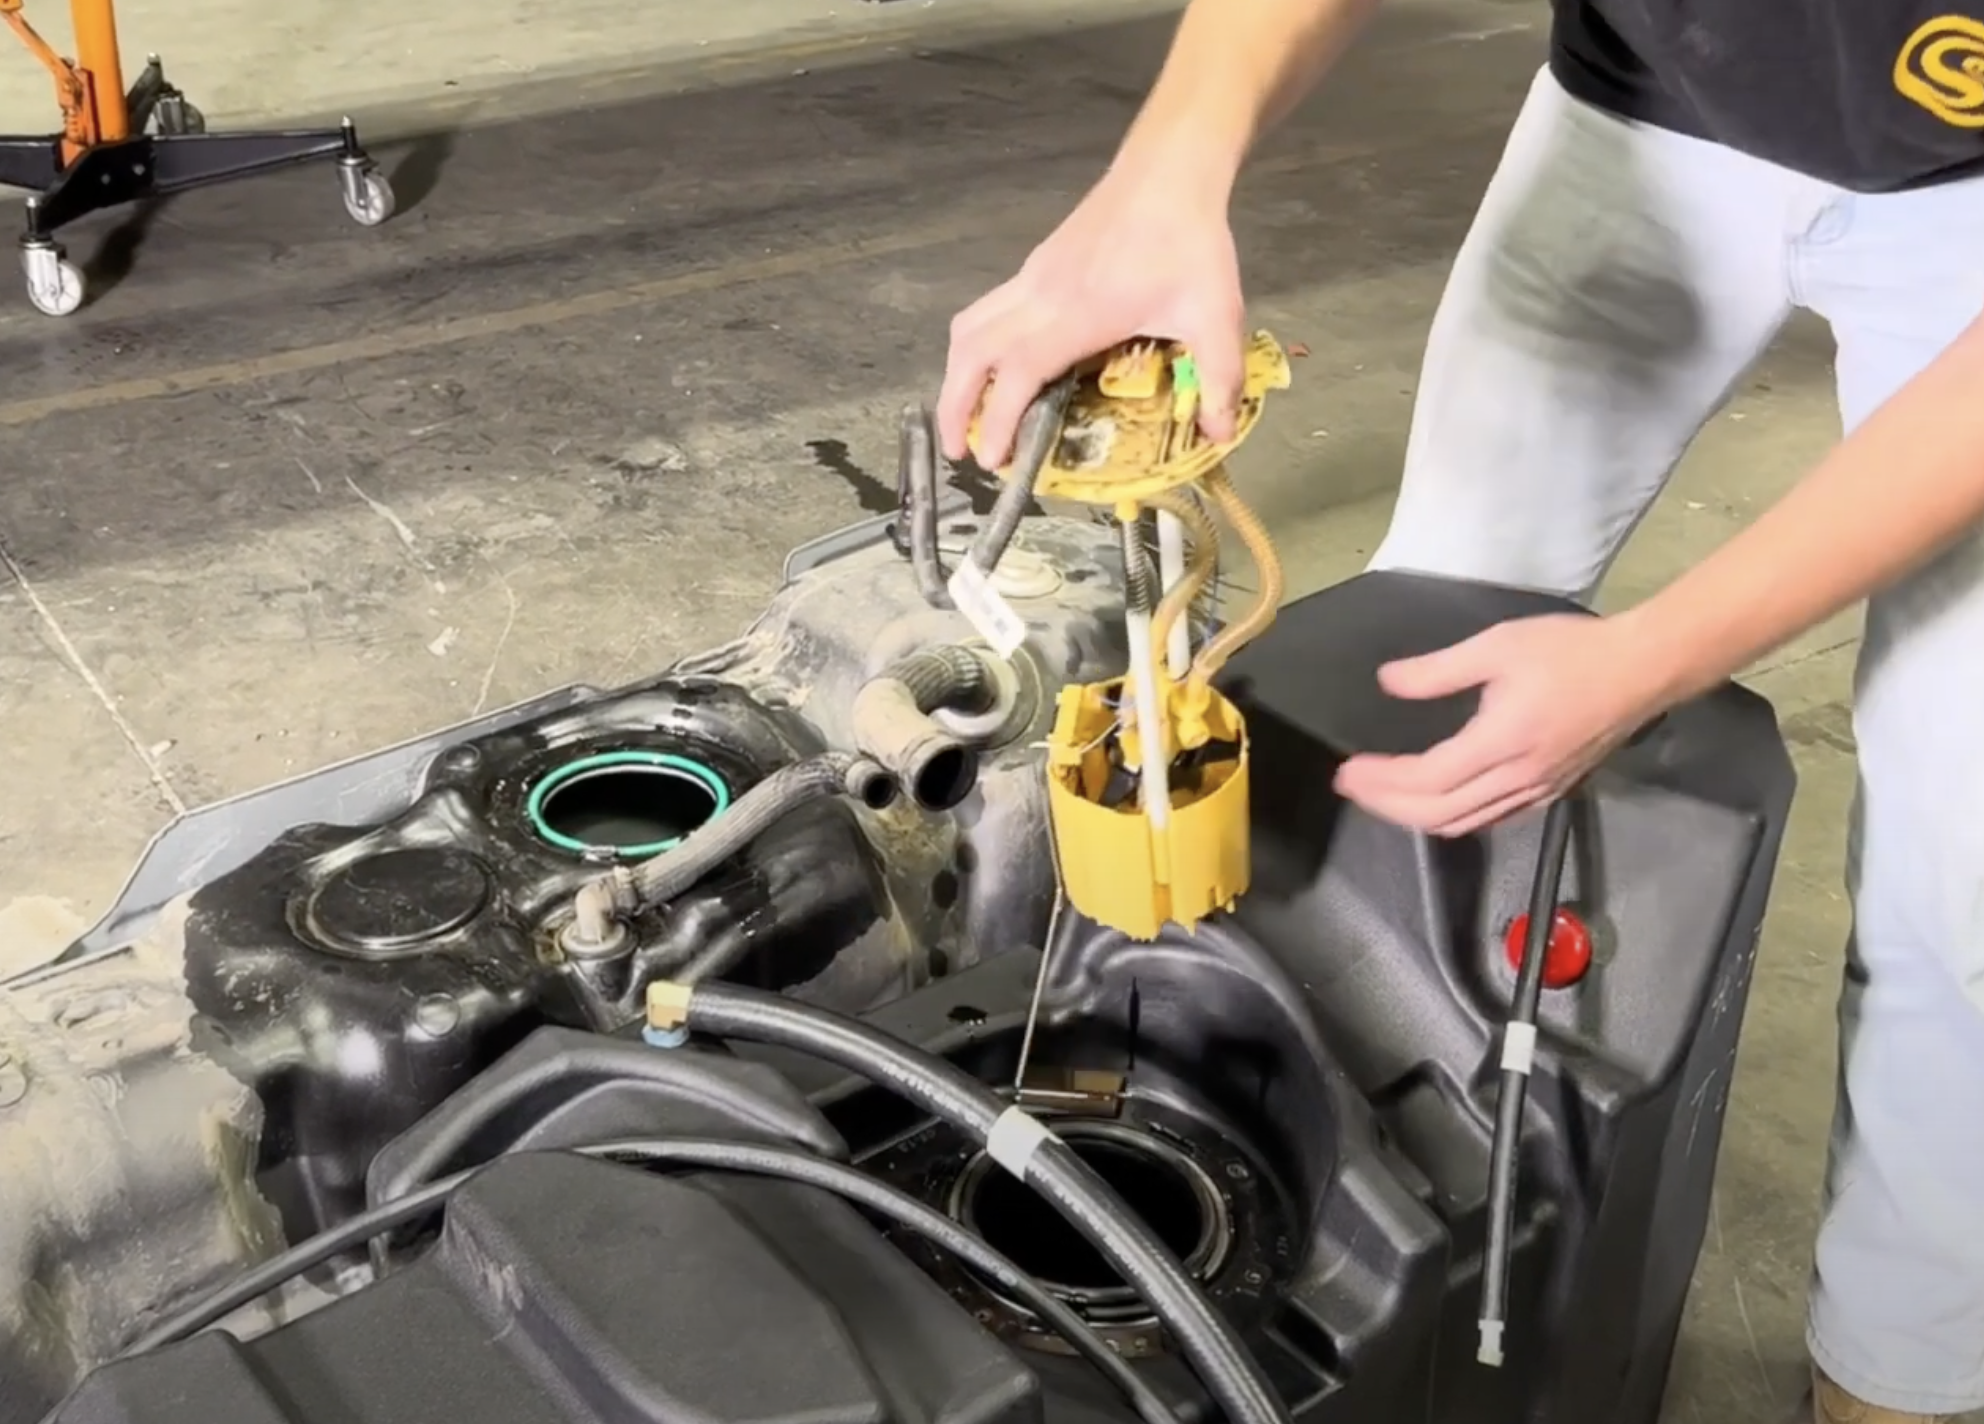
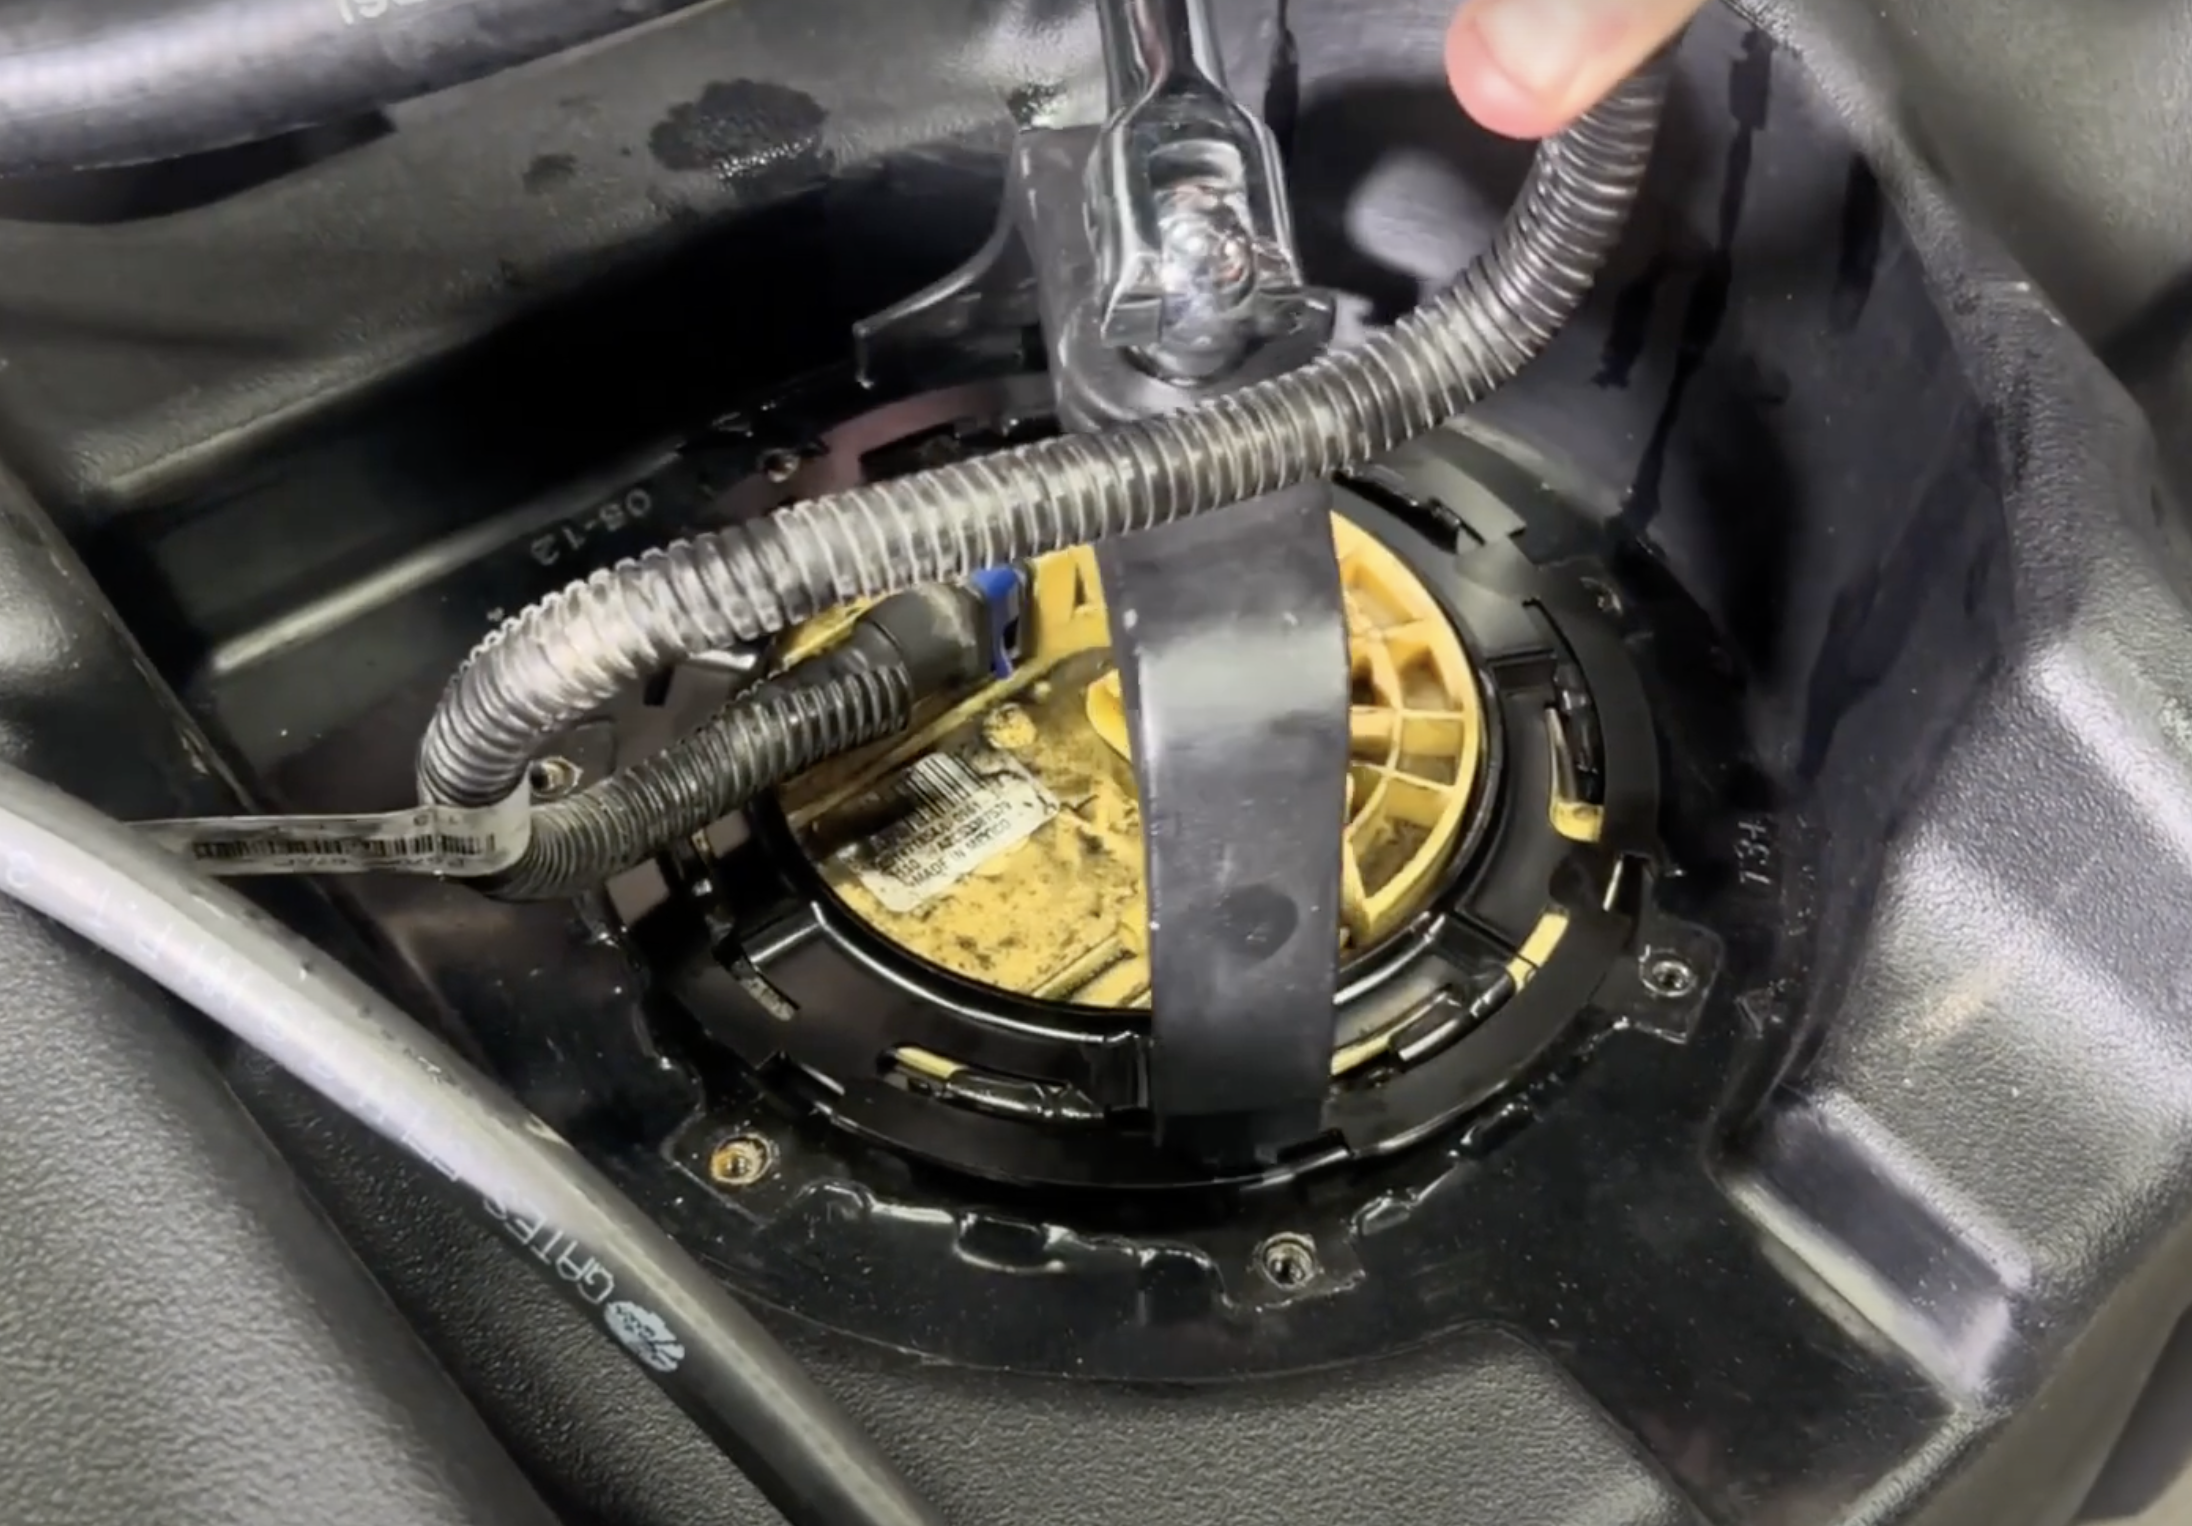
This S&B tank will also include a new locking ring that must be applied and used. Slide the locking ring over the sending unit then twist into position.
Once the locking ring is on and lined up, use the locking ring removal tool (as shown) or a mallet to get everything popped into place.
Transfer over the hose clamps and filler neck tube.
Once the filler neck is off the stock tank, press the check valve in (make sure the "FLOW" arrow is pointing towards the tank)
Then install the filler neck onto the S&B tank and tighten down the hose clamp.
Remove the hose clamp on the factory fill vent.
We will provide a new fill vent for the S&B tank, take fill vent off the S&B tank and reinstall it on the truck.
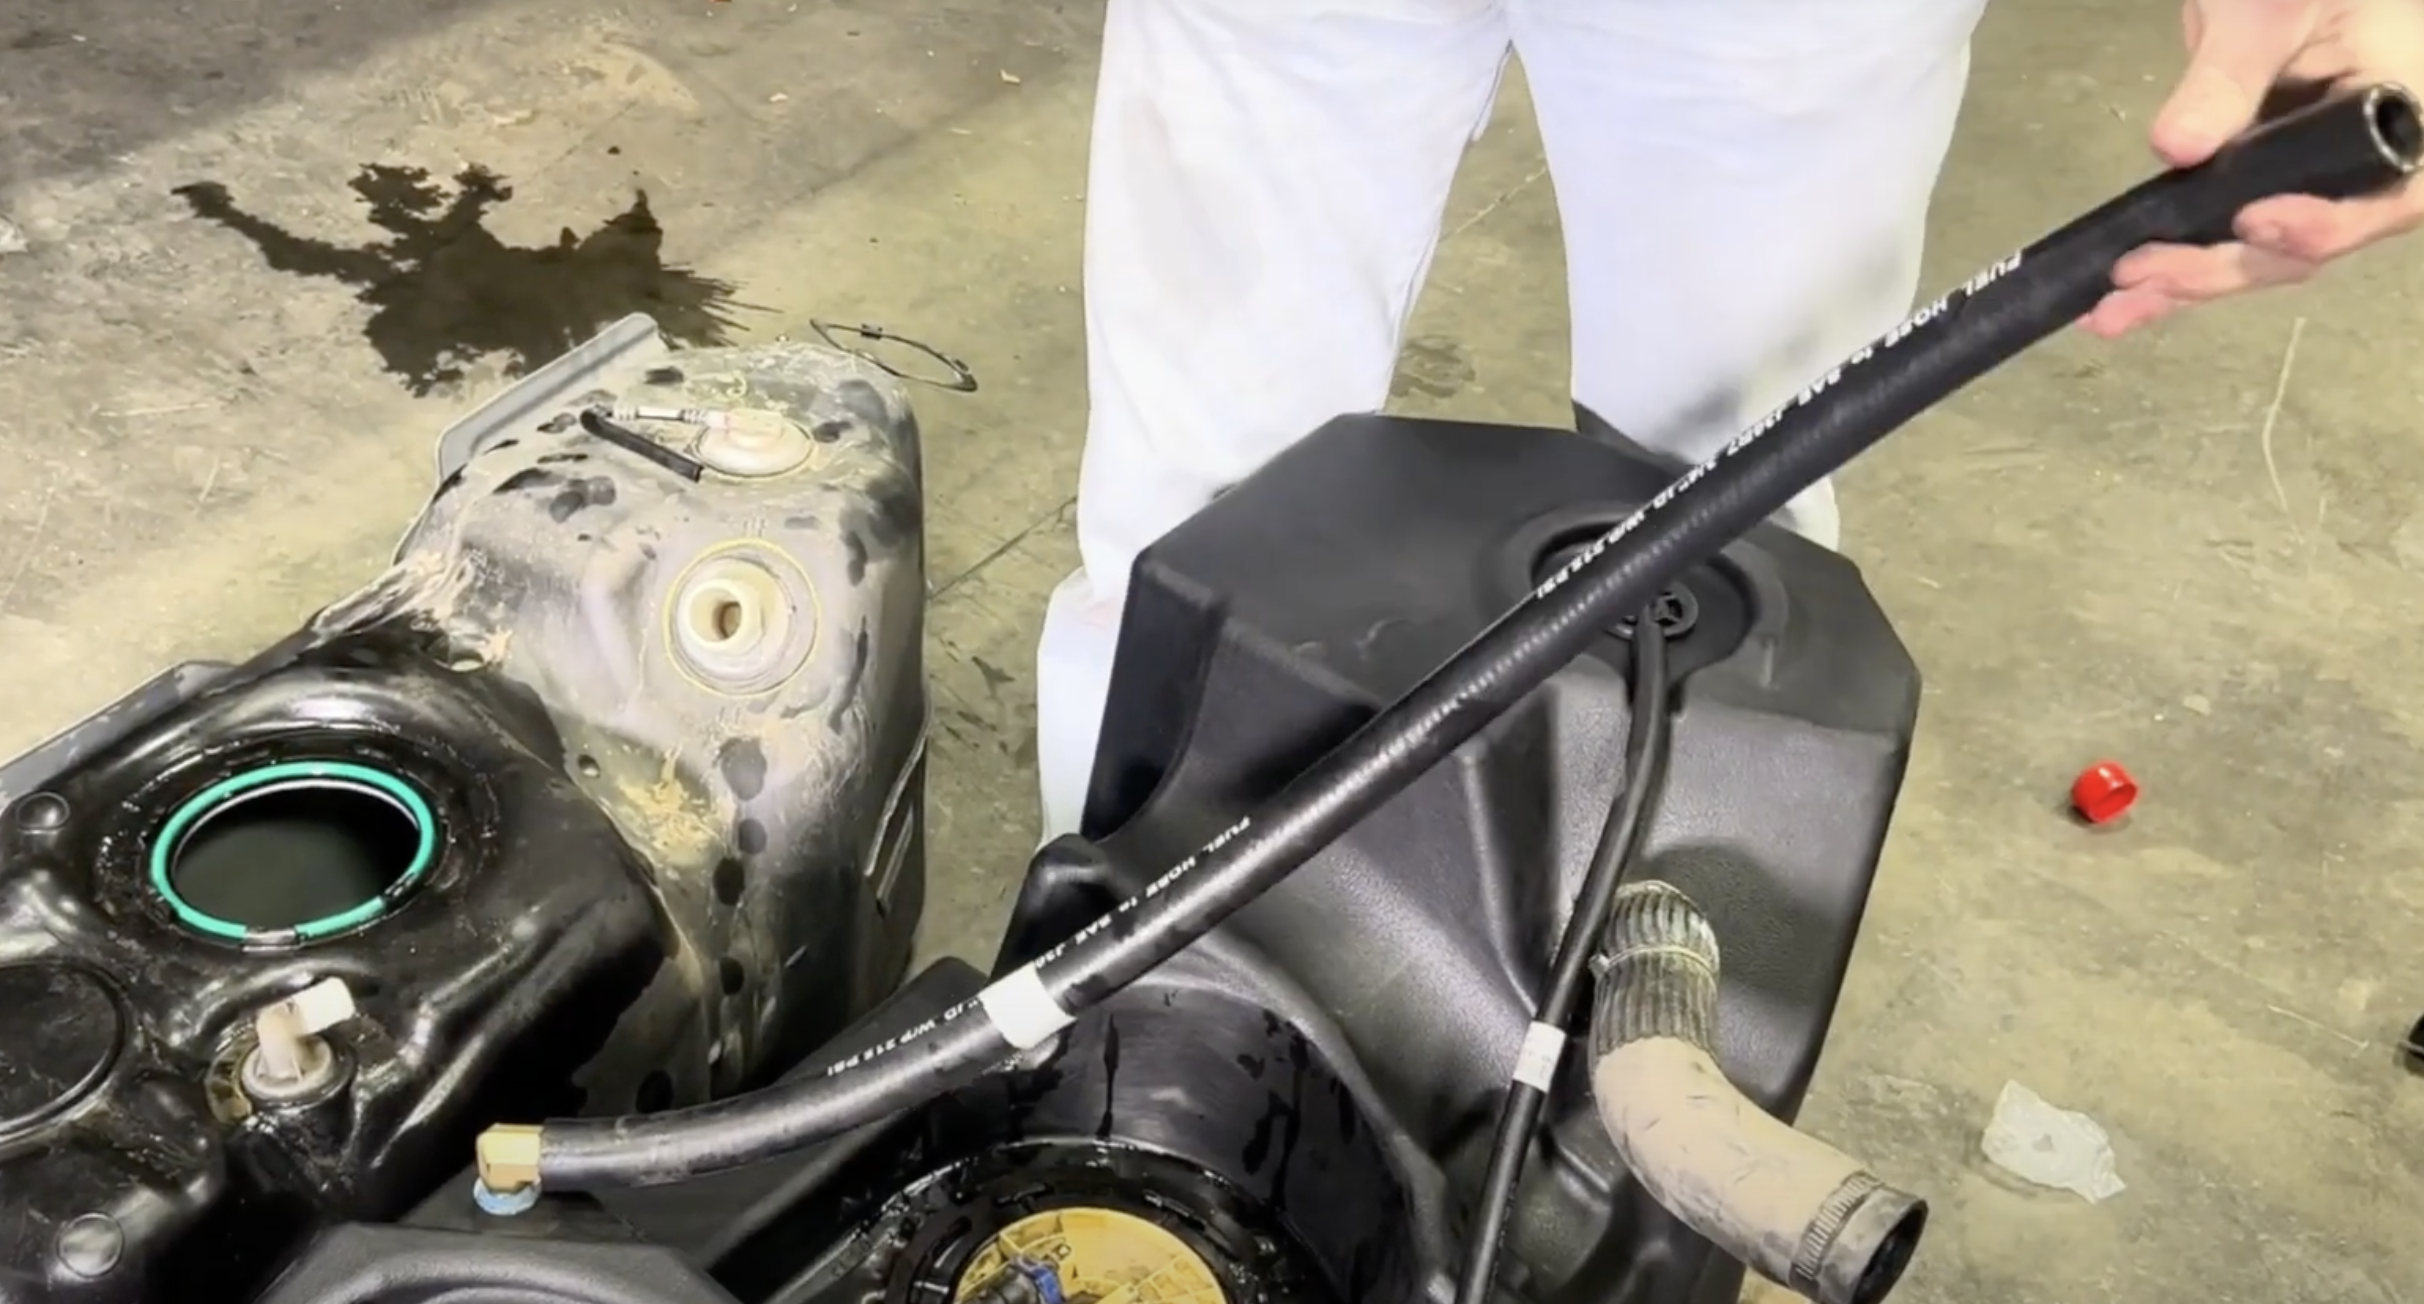
Push the new fill line and hose clamp onto the filler neck vent. Tighten down once it is fully on the filler neck vent.
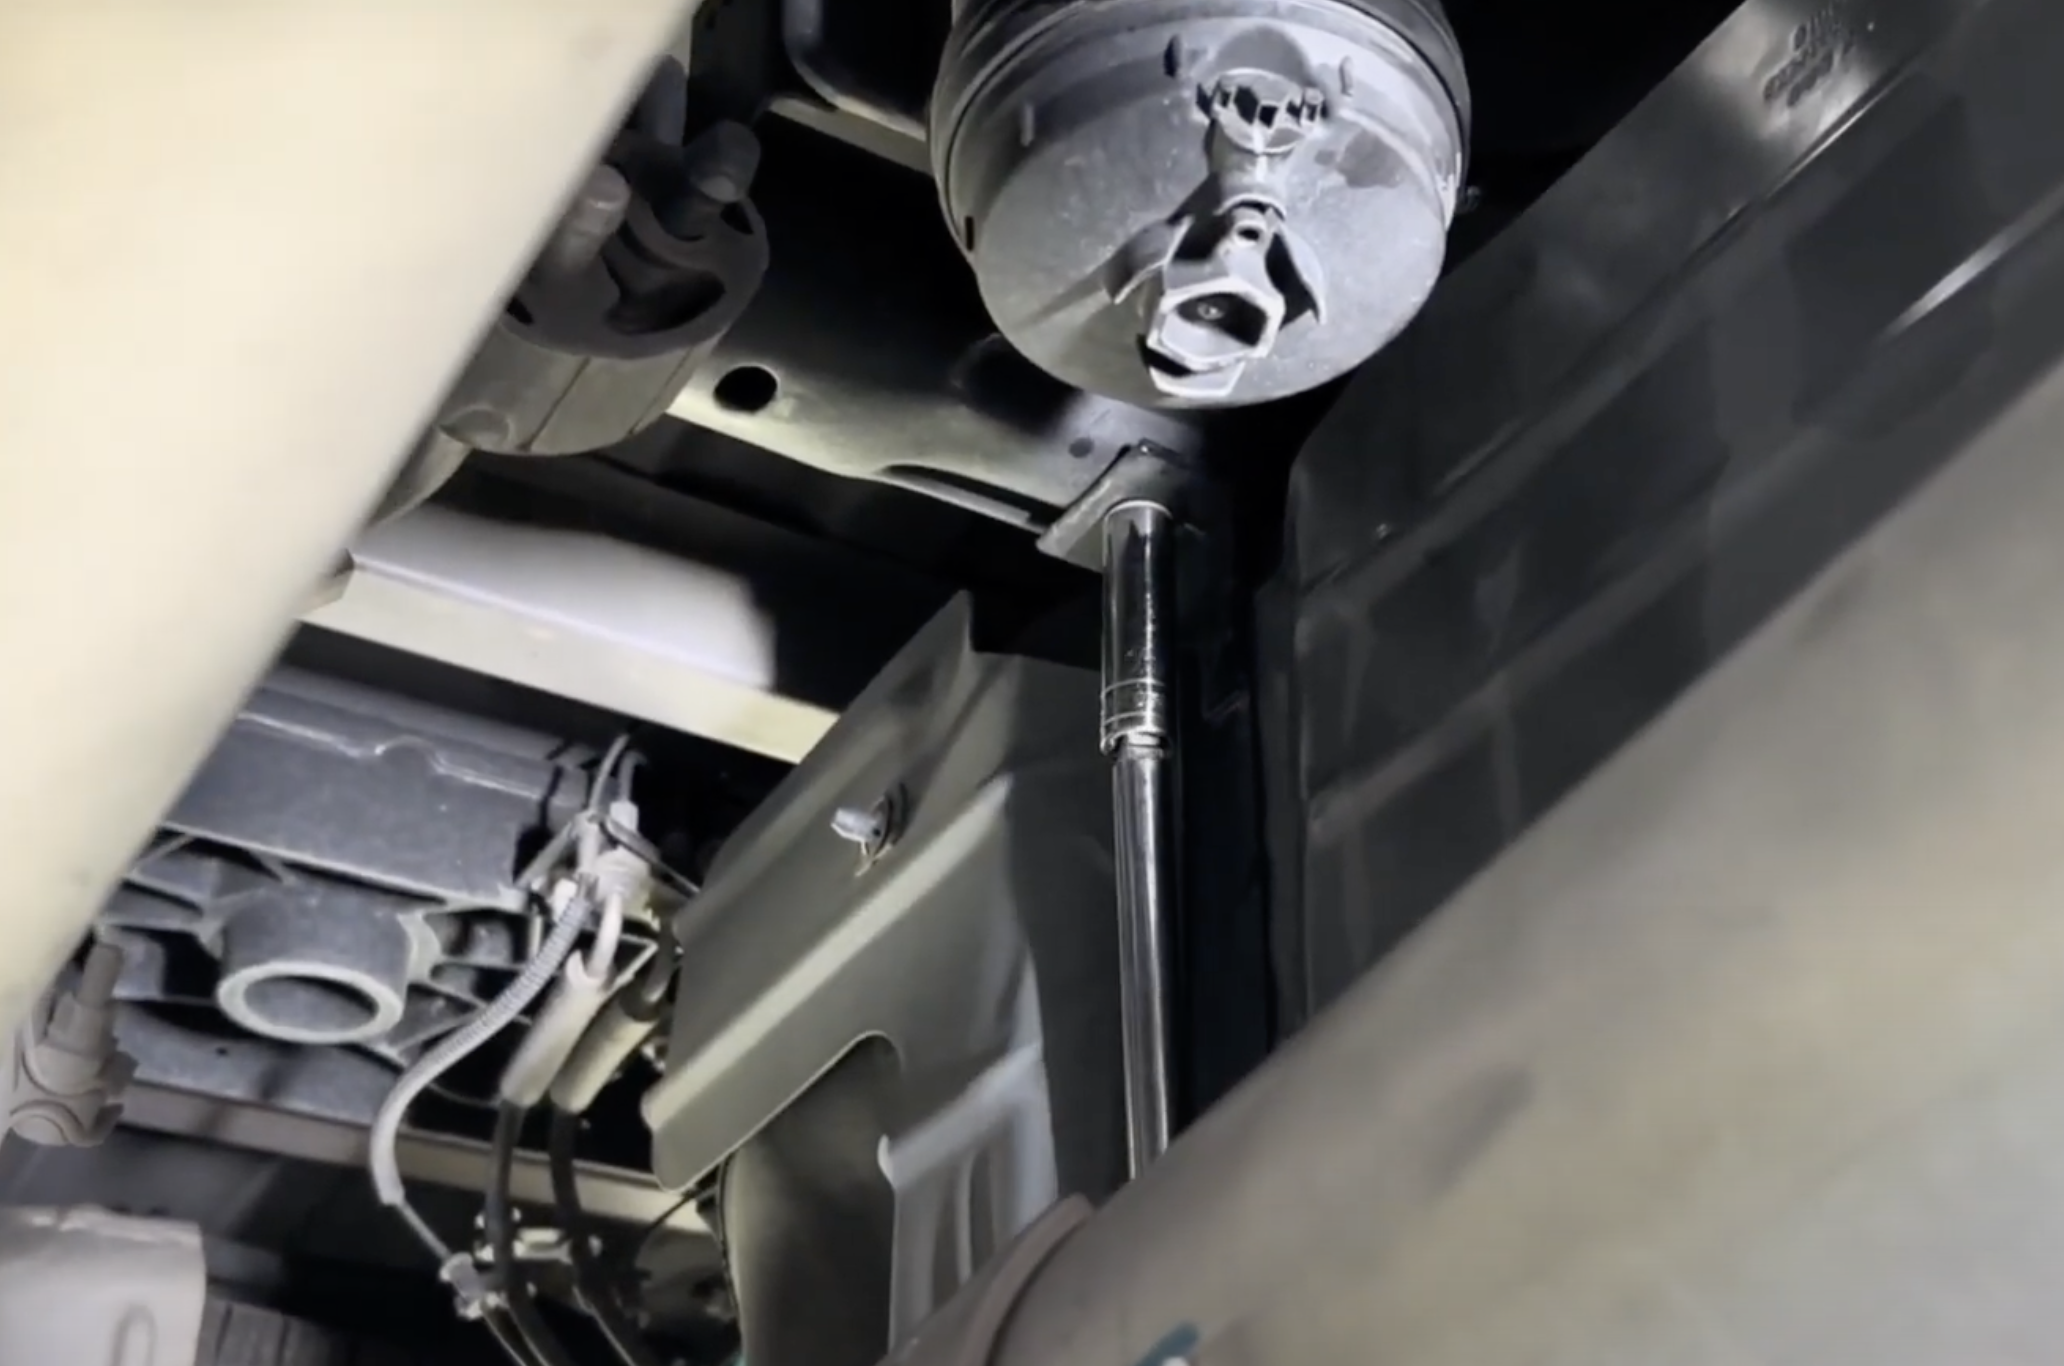
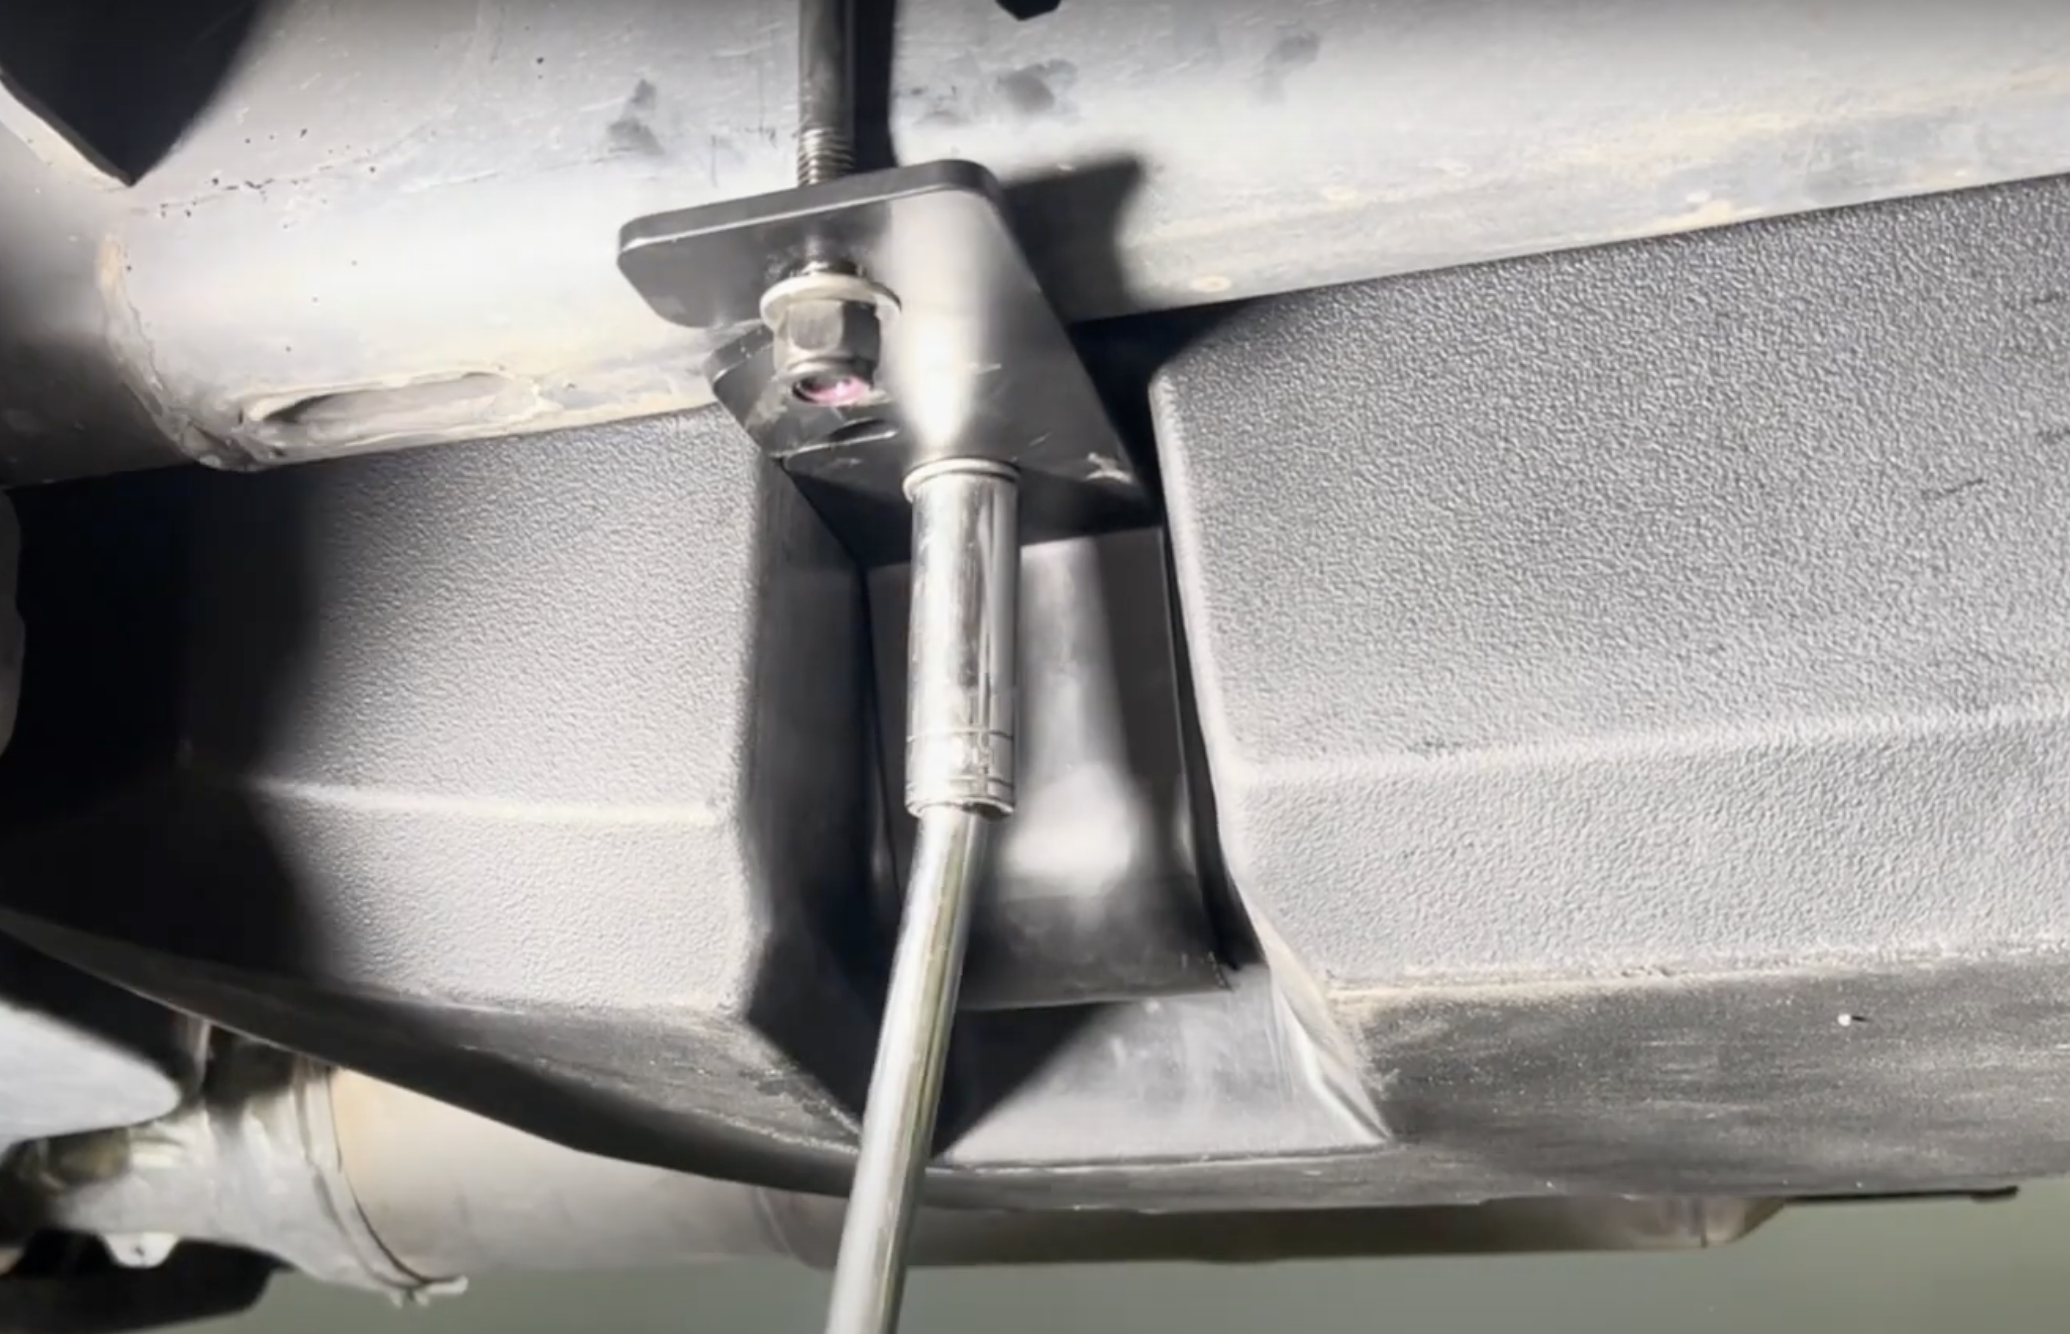
Install the U-Bolt for the front mounting support. To install, slide it up and over the frame rail and make sure there is plenty of room around the fuel and brake lines.
Begin raising the fuel tank up and make sure the filler neck goes over the rear crossmember, as well as the rear rollover vent line that comes from the fuel tank.

Reconnect the electrical and fuel lines.

Trim the fill level vent line. Make sure to cut it short enough so there is no dips in the hose.
Once its cut, slide the hose clamp onto the line then reconnect it to the barb on the S&B tank.
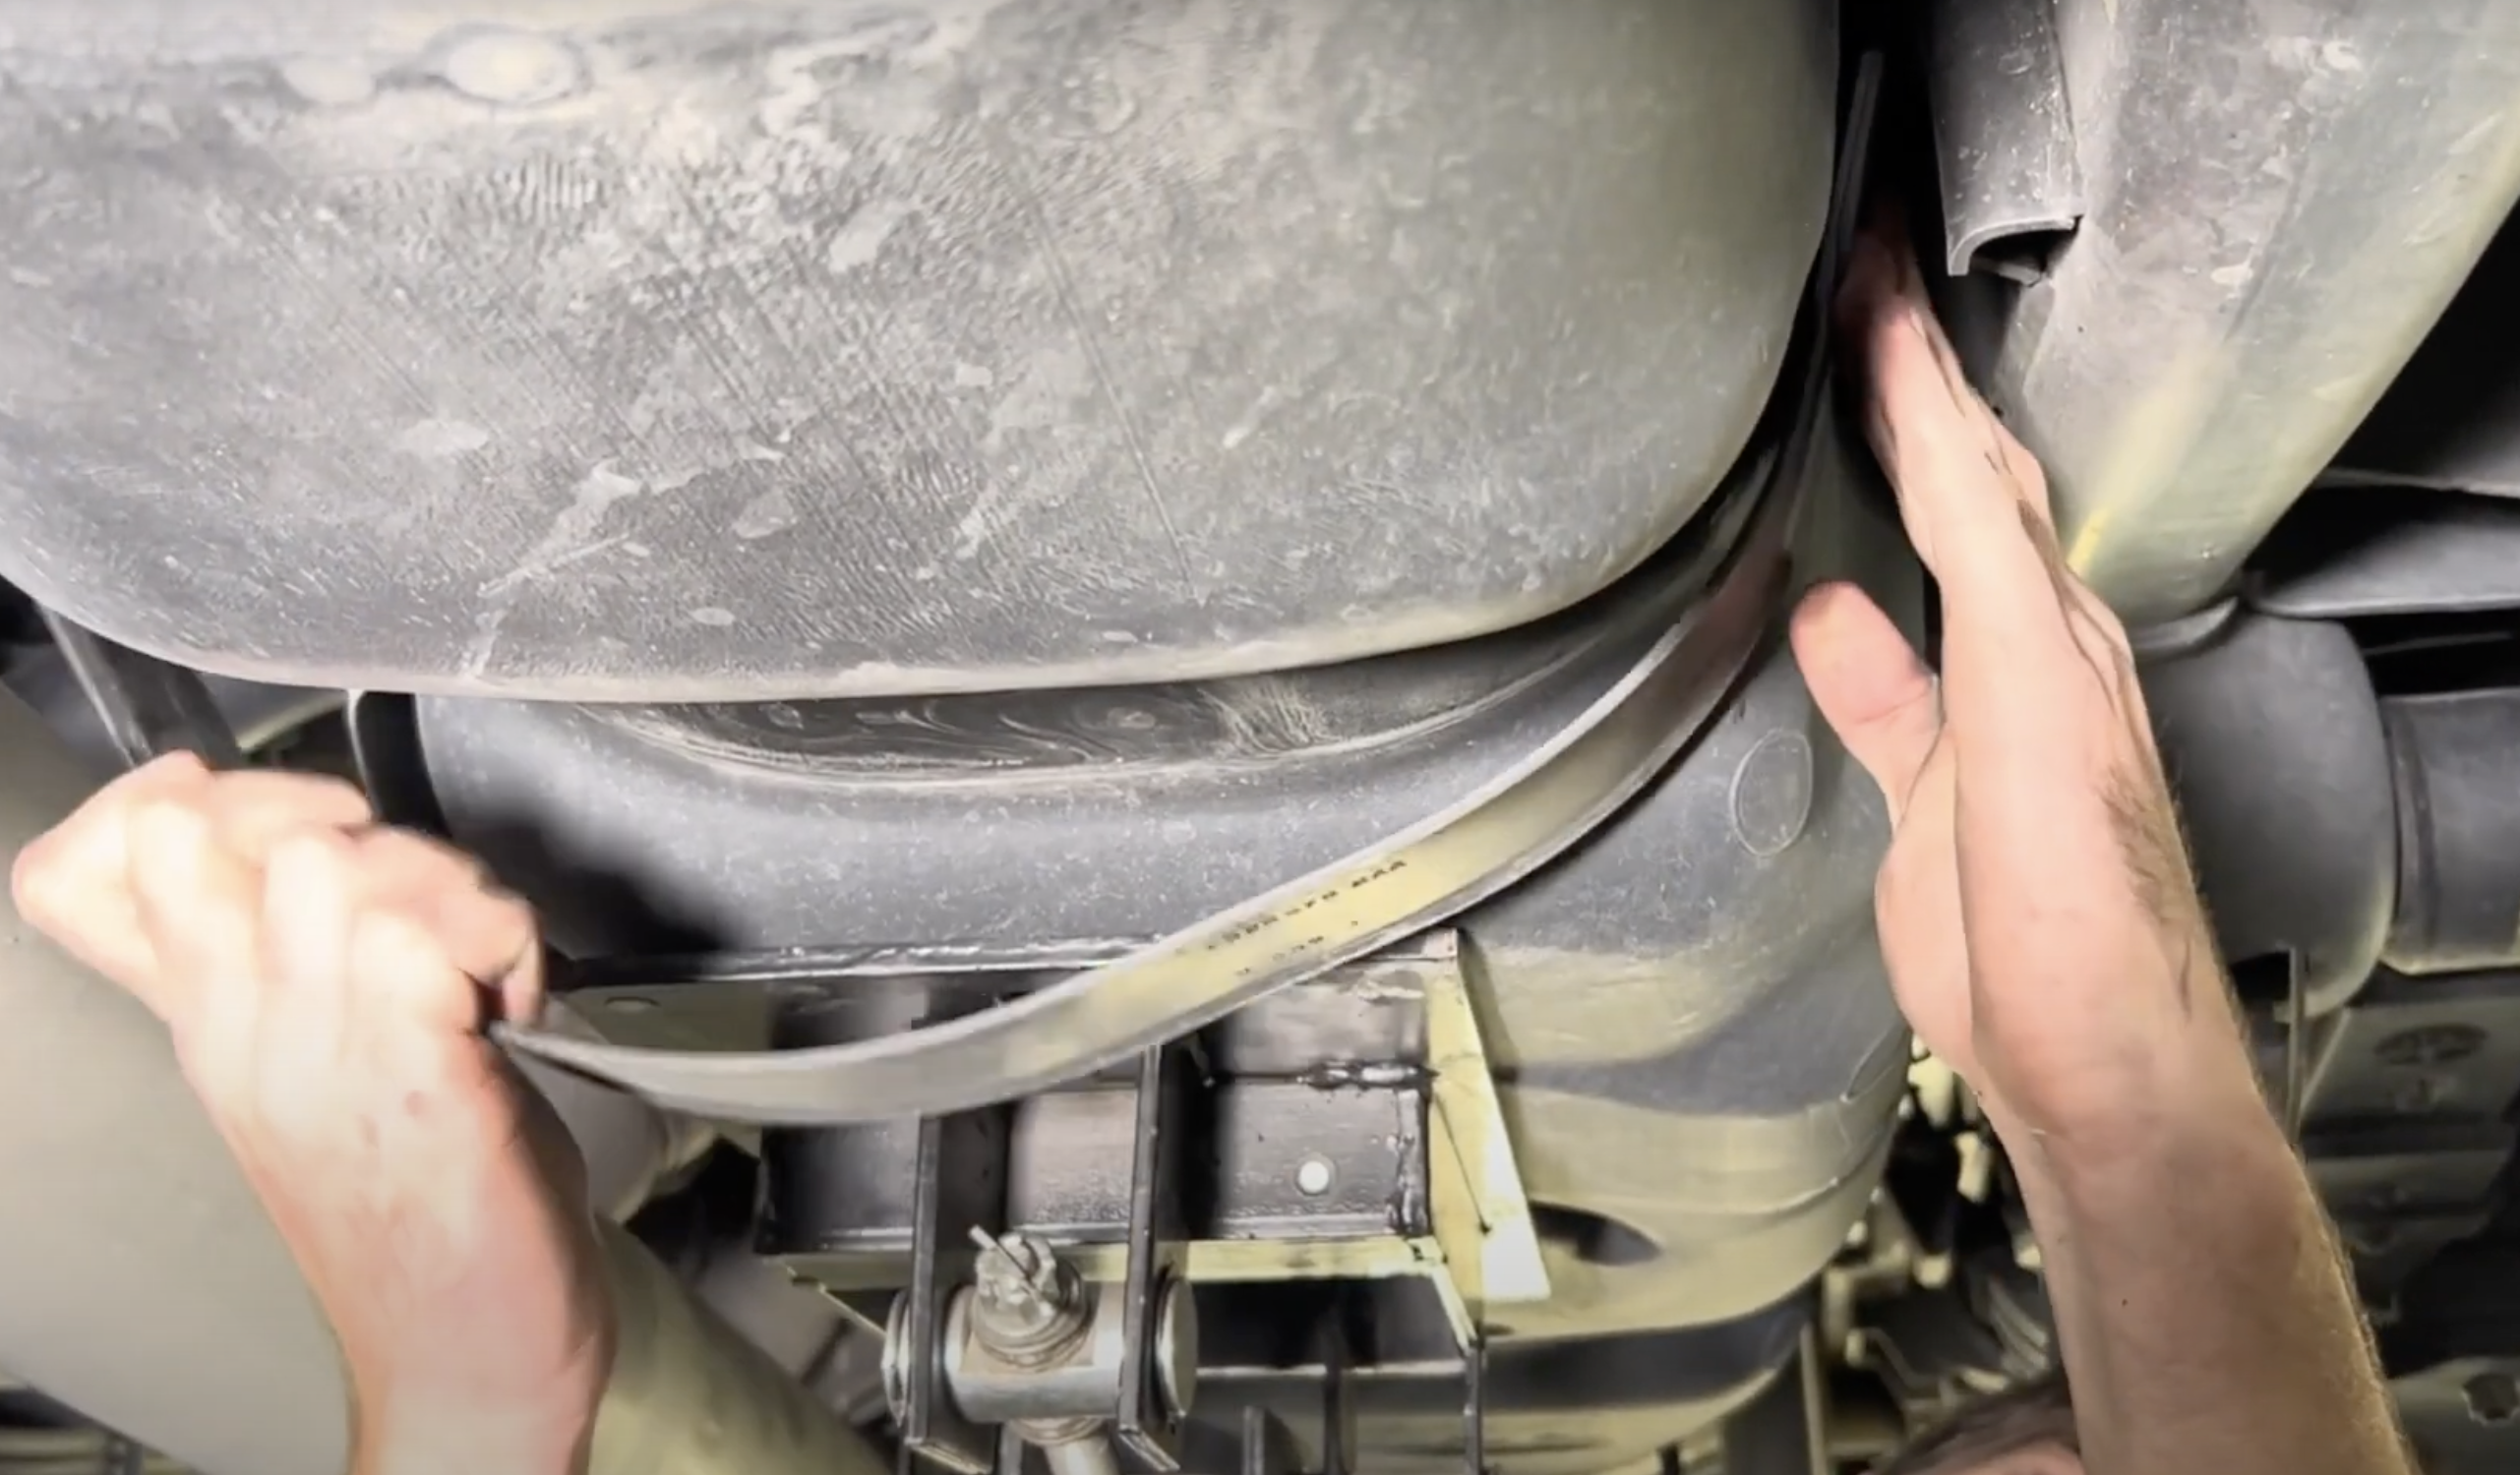
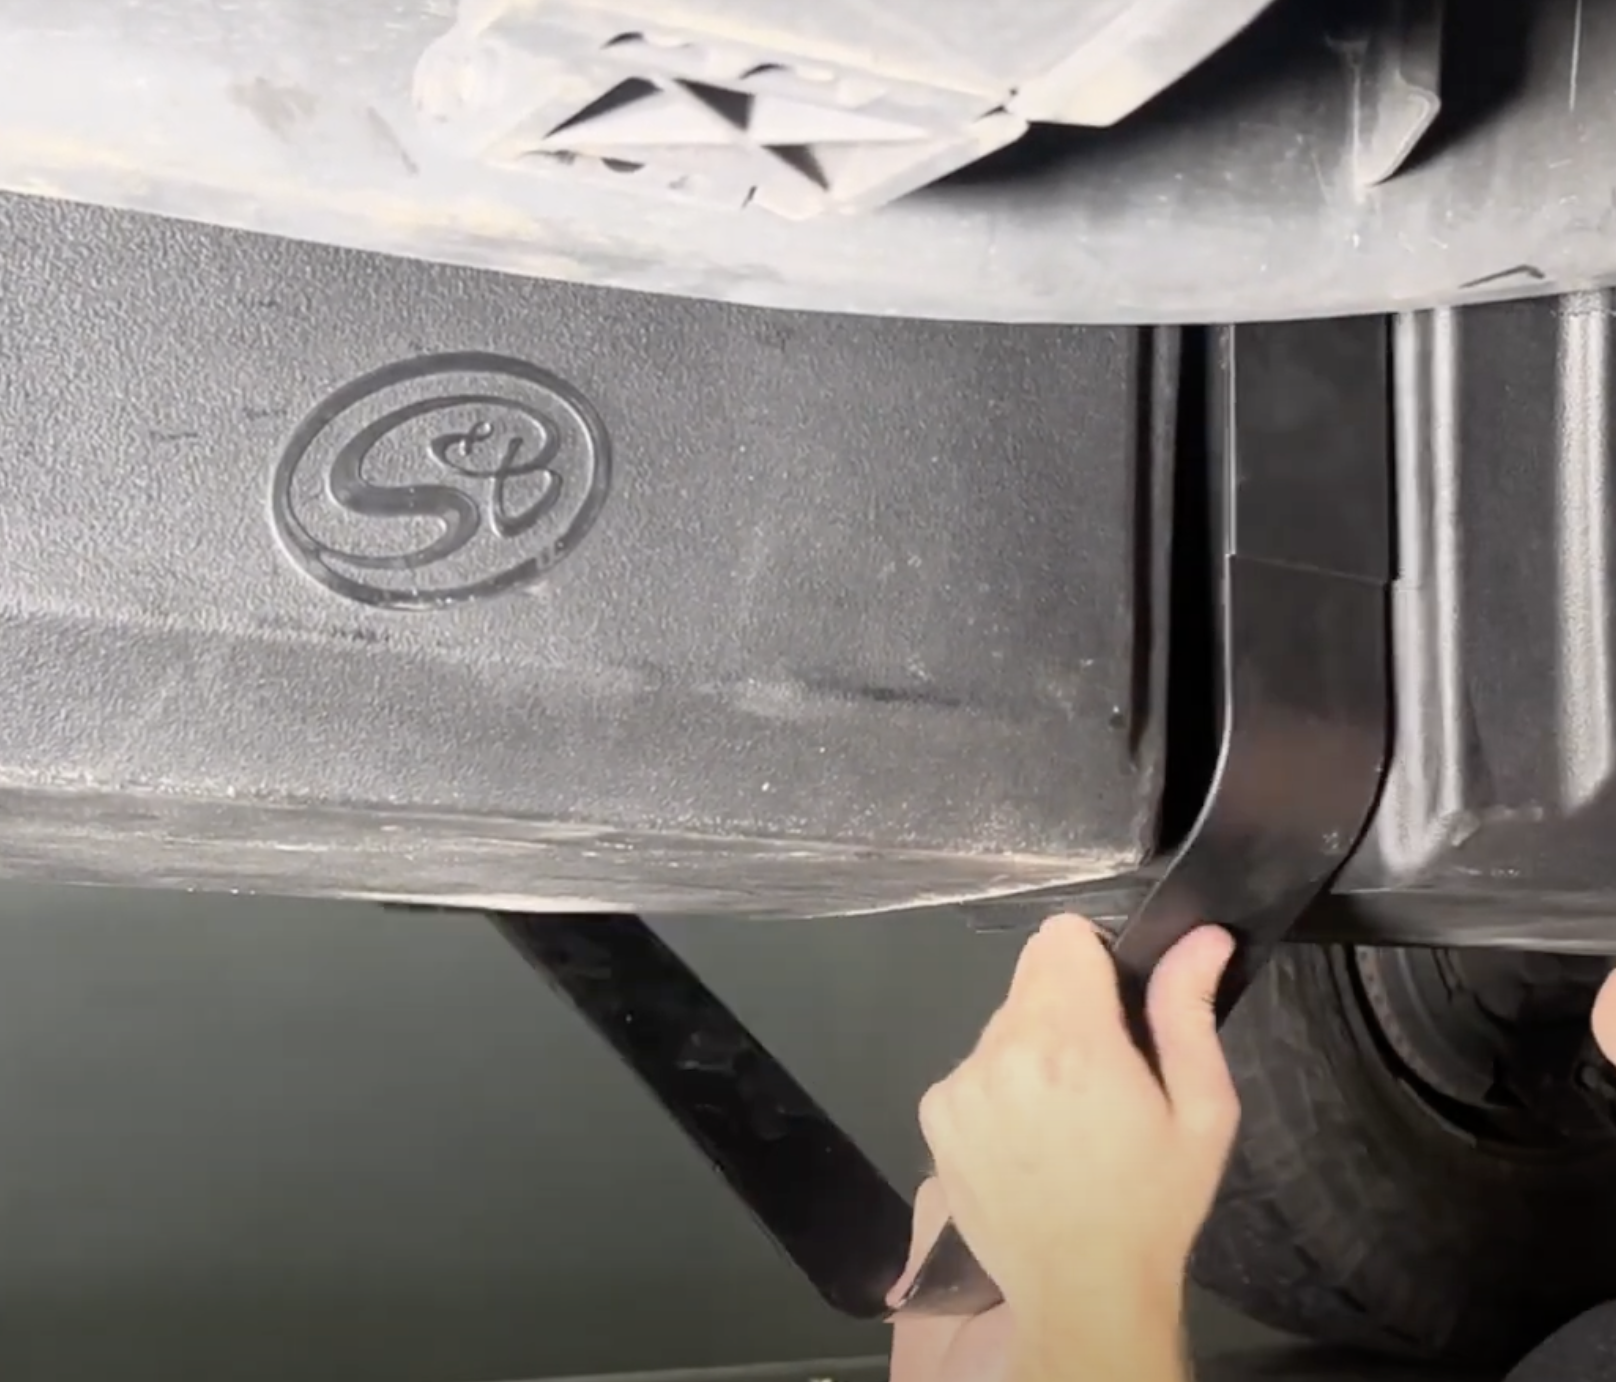
Reinstall the longer strap by clipping the frame side into place and installing the driveline side with the nut. Once the nut is in place and connected with the mounting stud, tighten down.
Reinstall the middle strap in the same way you installed the rear strap.
Make sure the hose clamp on the filler neck is fully tightened down and be sure both rollover vent valves are pulled out and showing as seen in the image. Then zip tie both valves to the filler neck and filler vent.
This final checklist is very important.
#1 Make sure all bolts and nuts are safely fastened and torqued.
#2 Ensure there is proper driveshaft clearance.
#3 Double check fuel line connections, the electrical connection as well as the vent and fill lines.
#4 Lastly, fill the tank full and check for any leaks.
If you have any questions, call or text us at 909.675.1313