STEP 1
Loosen the hose clamp and remove the filler hose.
Auxiliary Fuel Tanks will void the Lifetime Warranty.
DIESEL FUEL ONLY
Loosen the hose clamp and remove the filler hose.
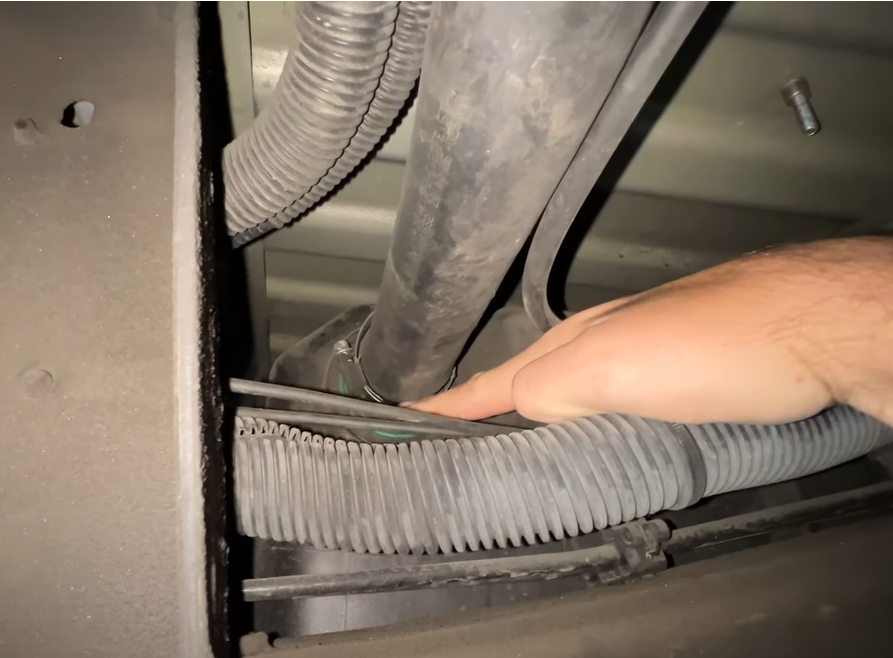
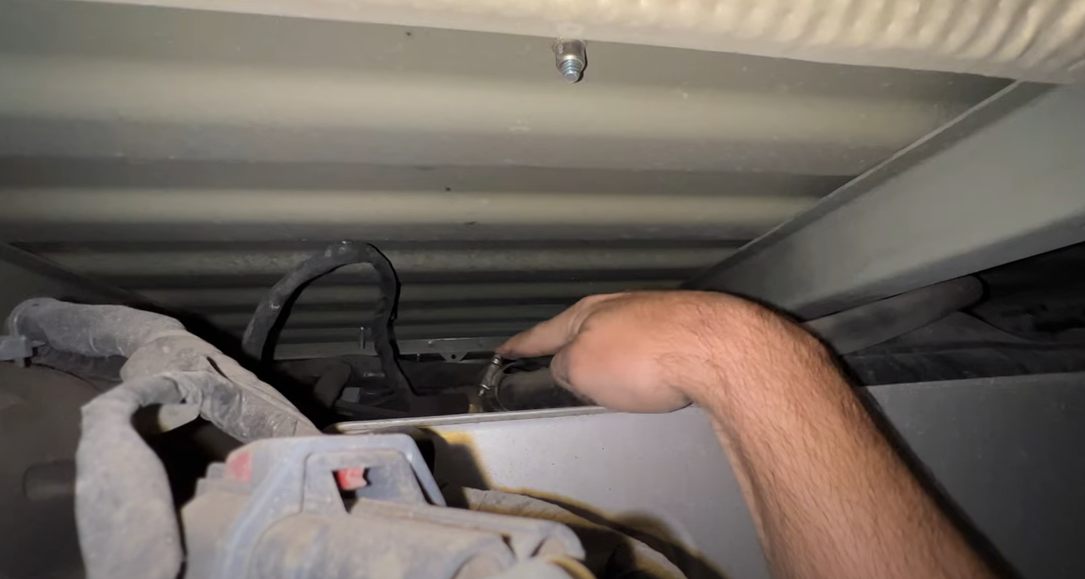
Remove the hose clamp and hose from the main vent line attached to the fuel sending unit. You can reach over the driveline to access this.
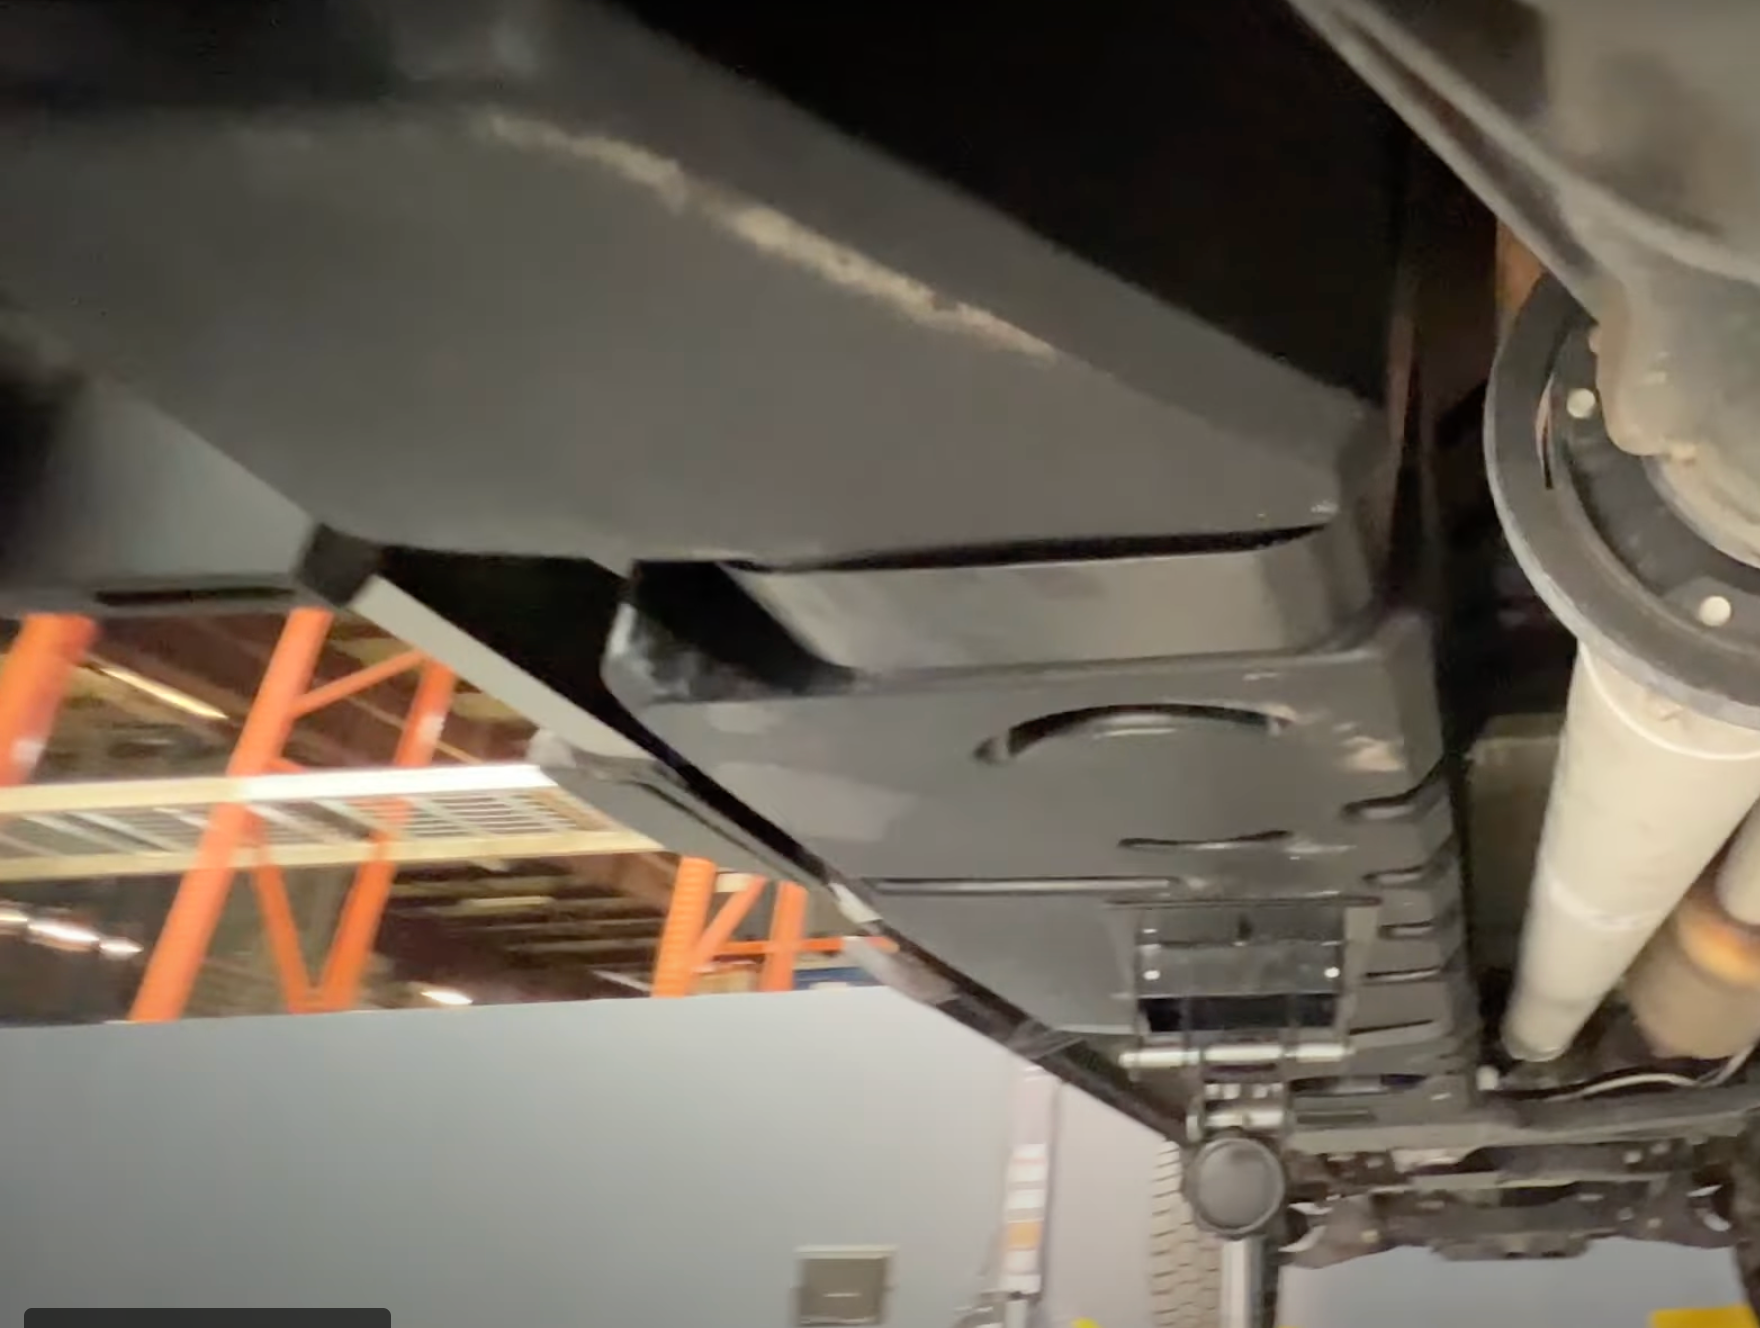
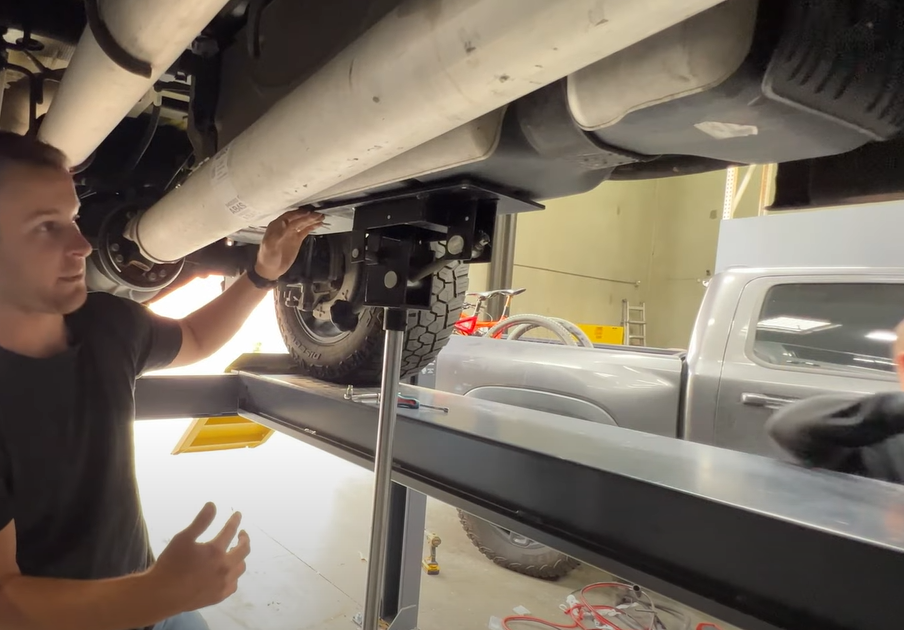
Support the bottom of the tank with a floor jack or transmission jack.
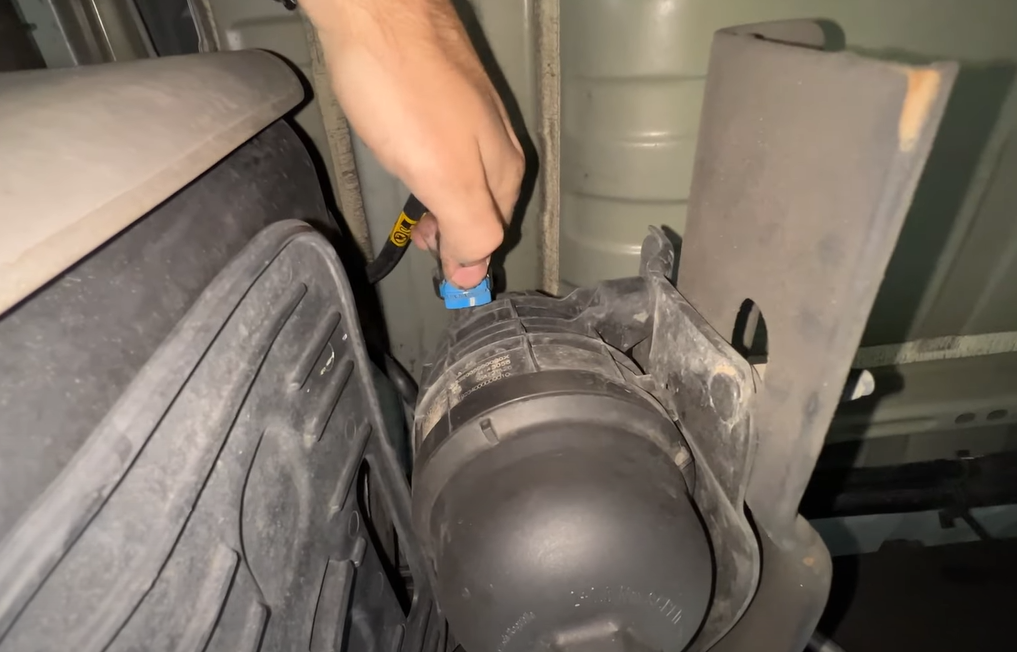
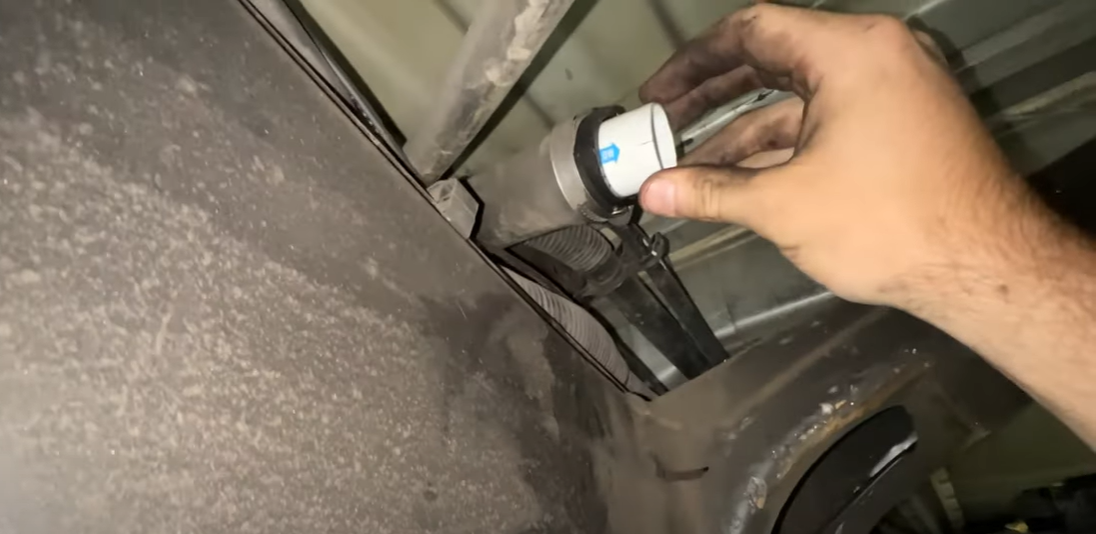
Disconnect the blue and white fuel connectors. Please see our install video if you need help with removing these.
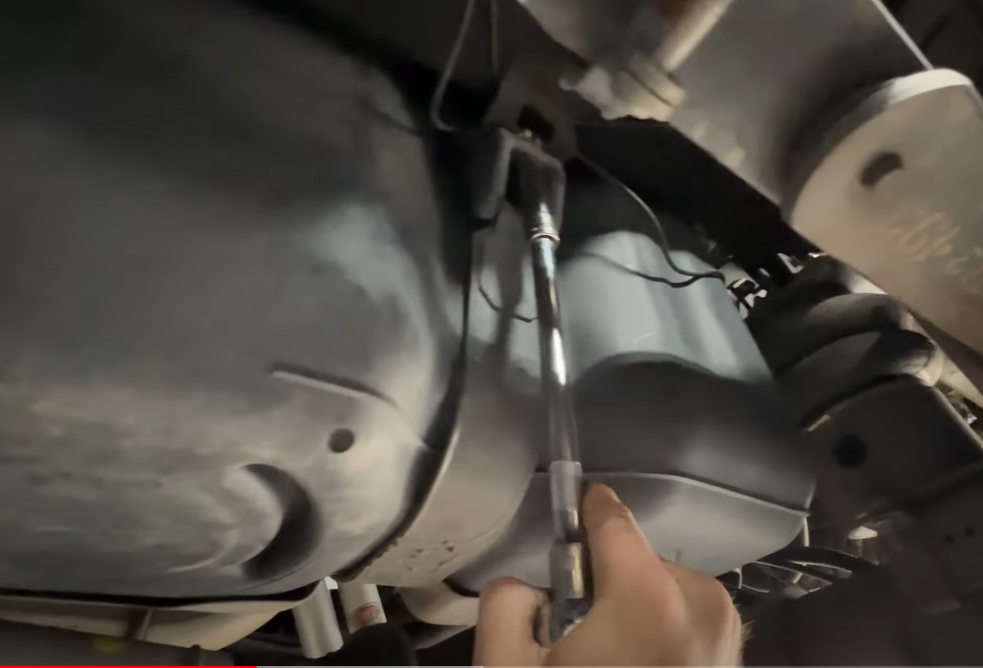
Remove both fuel tank straps with a 15mm socket.
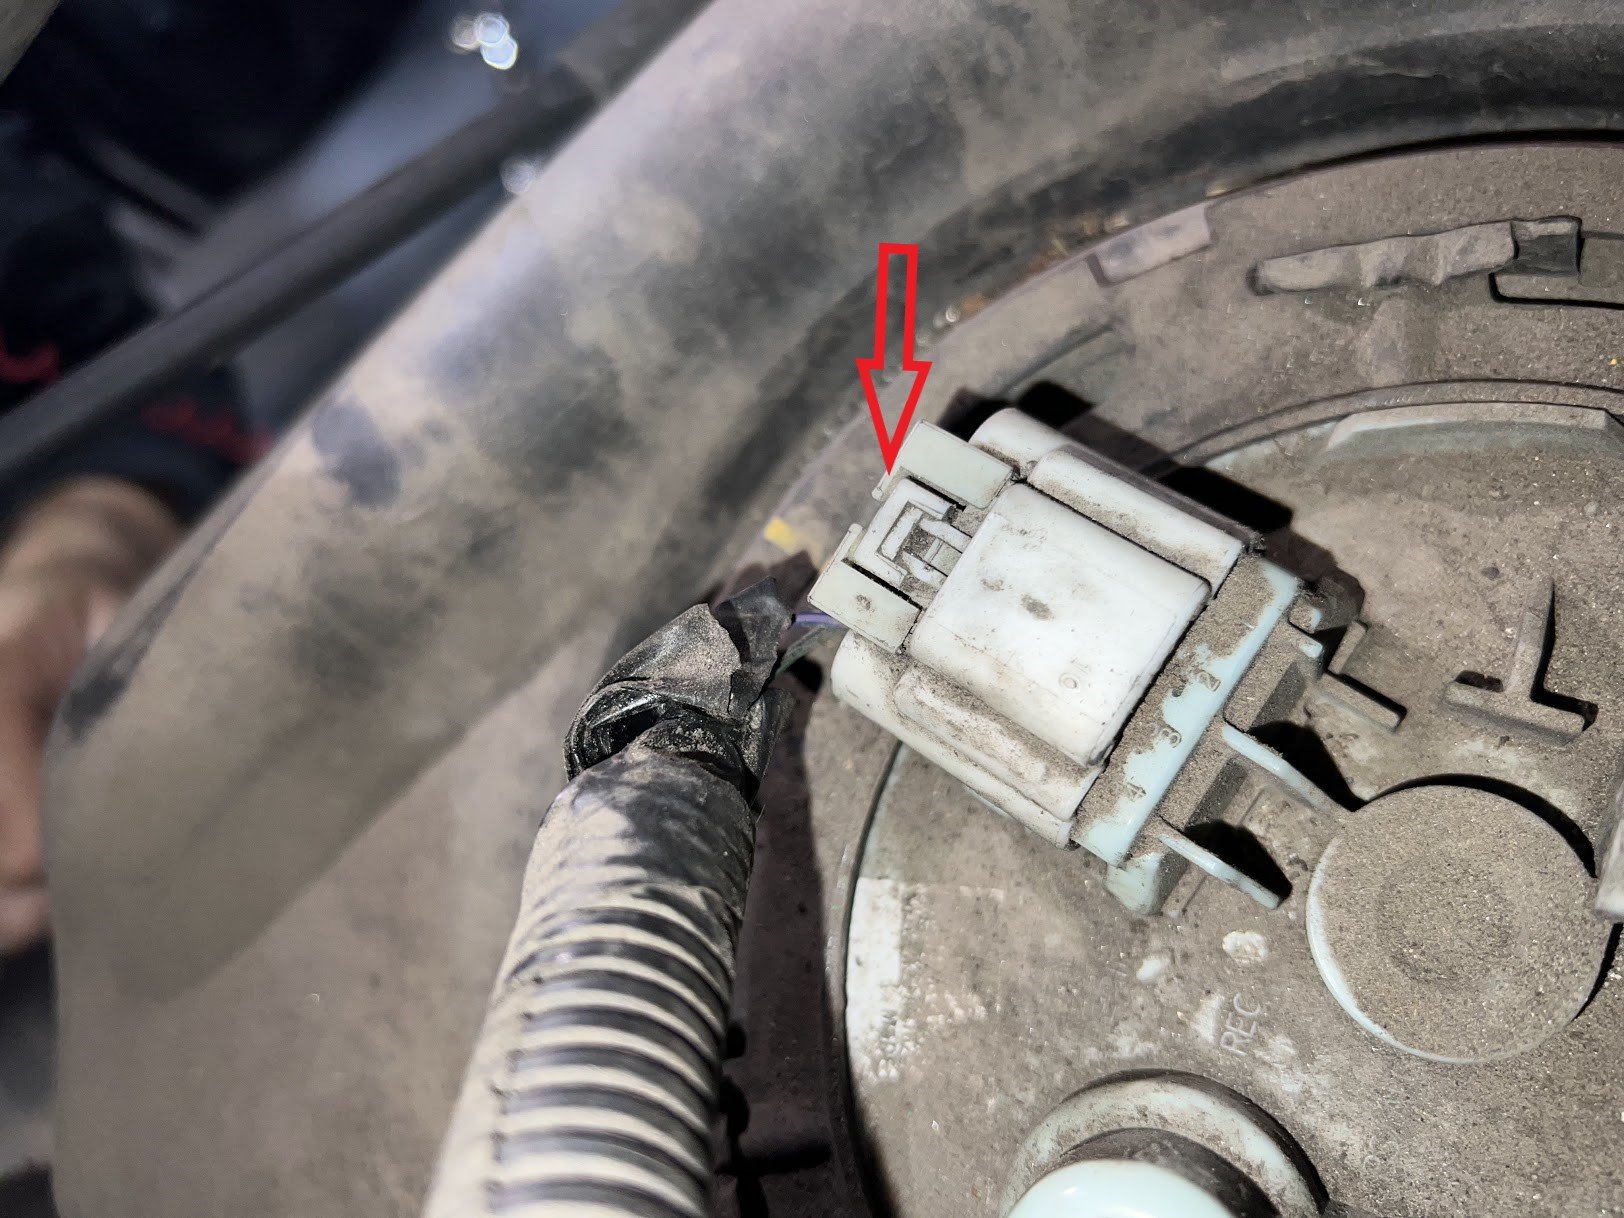
If you can reach the fuel sending unit electrical connector, you can disconnect it before dropping the tank. If you need more room to disconnect the connector, lower the tank 6" and disconnect. Slide the red lock out and depress the tab in the middle then slide the connector off.
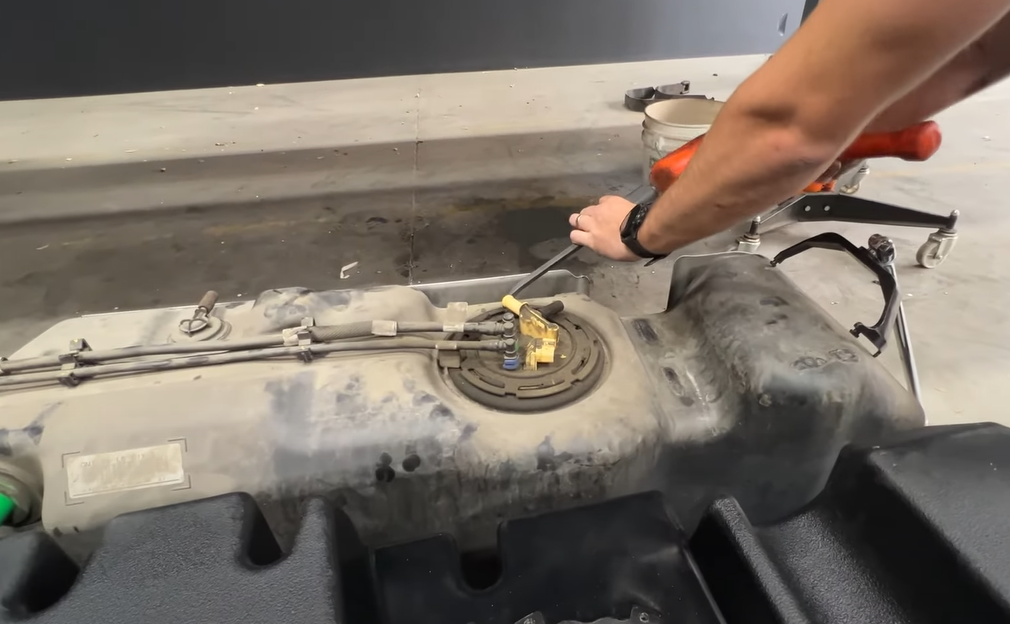
Hit the locking ring counter clockwise to release the OEM sending unit.
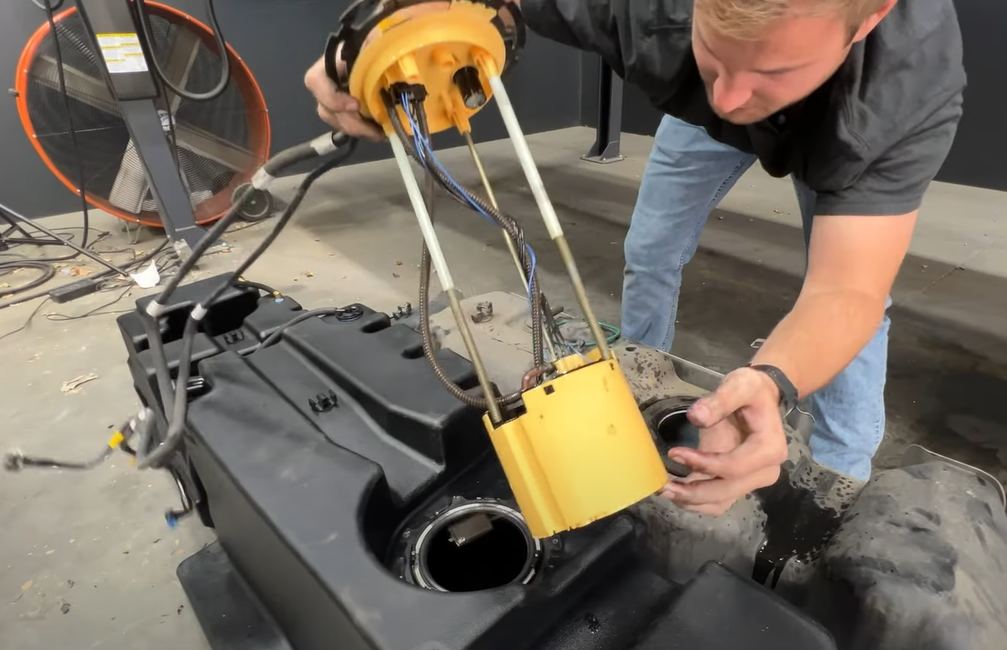
Place the included S&B oring in the oring groove on the S&B Tank. Install the sending unit and make sure to not damage the fuel float.
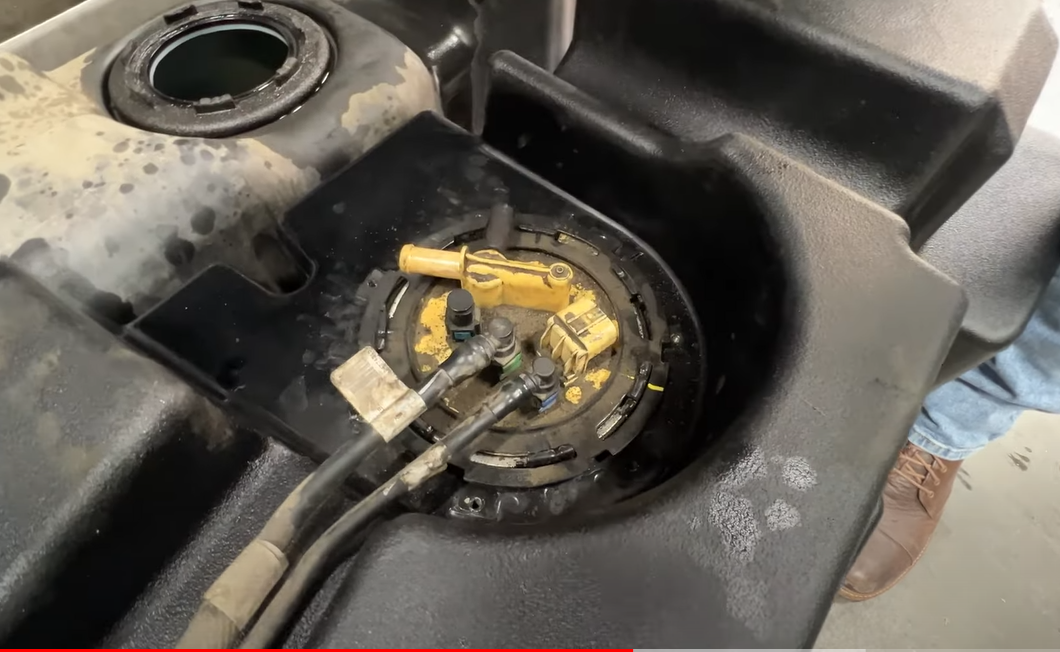
Press down of the locking ring to get the ring started and then hit the ring close wise until the locking ring goes under the indention in the ring and is locked into place.
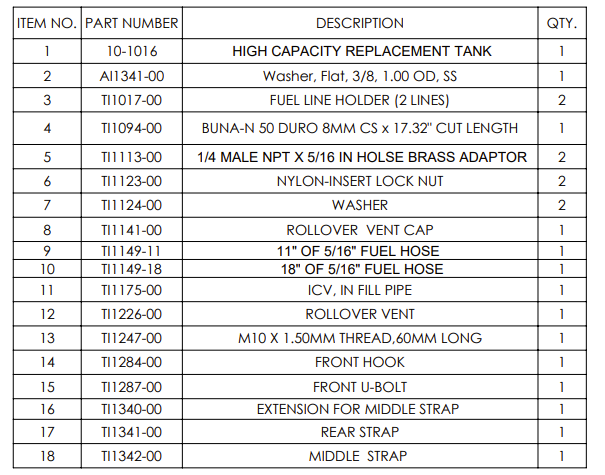
Place the included check valve into the filler hose. The arrow on the valve should be facing into the tank.
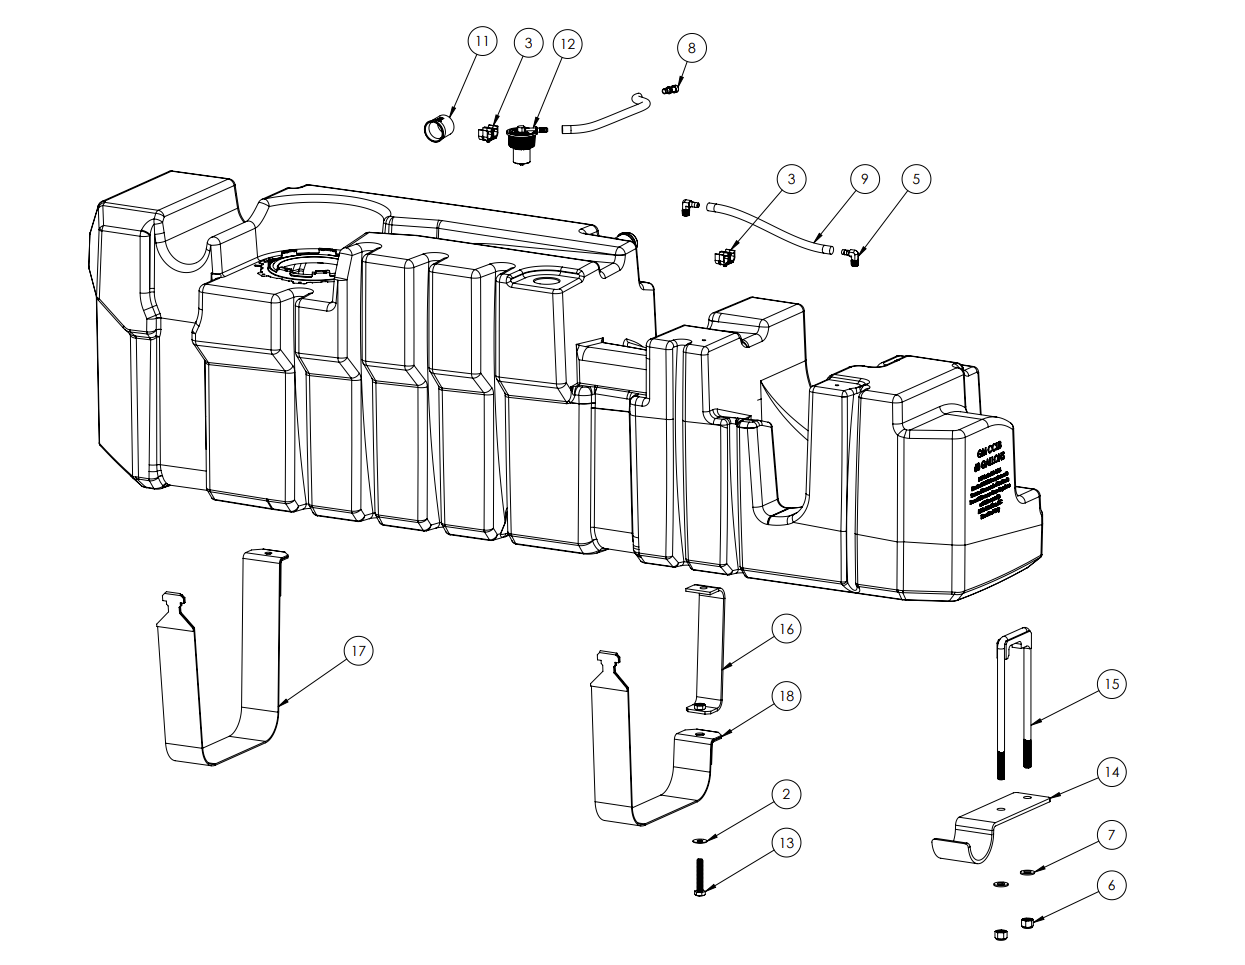
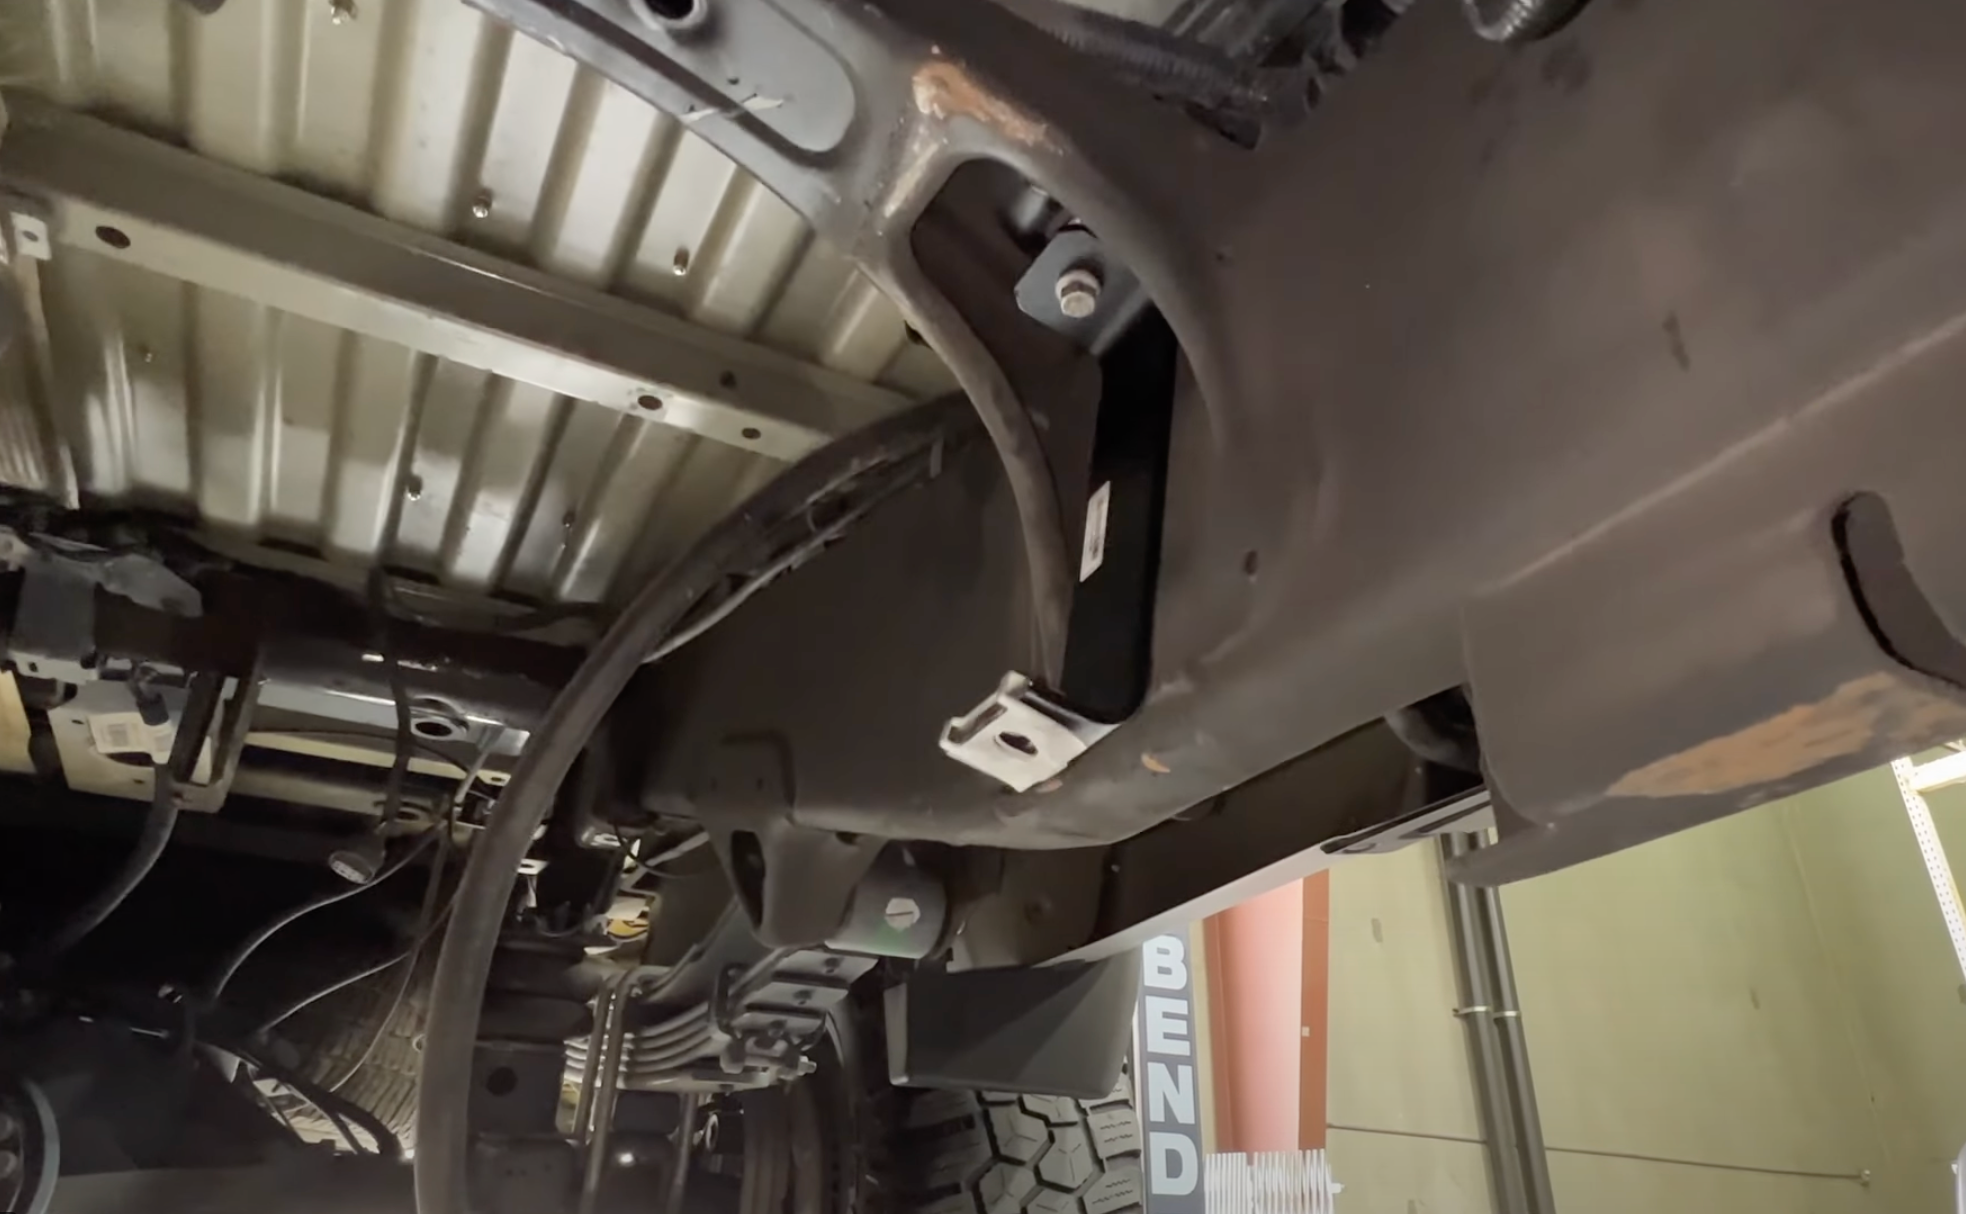
Take the half strap and attach it to the frame using the oem bolt. The longer and more squared off side will be the side that attaches to the frame. This strap was updated to have a welded on nut instead of the slip nut
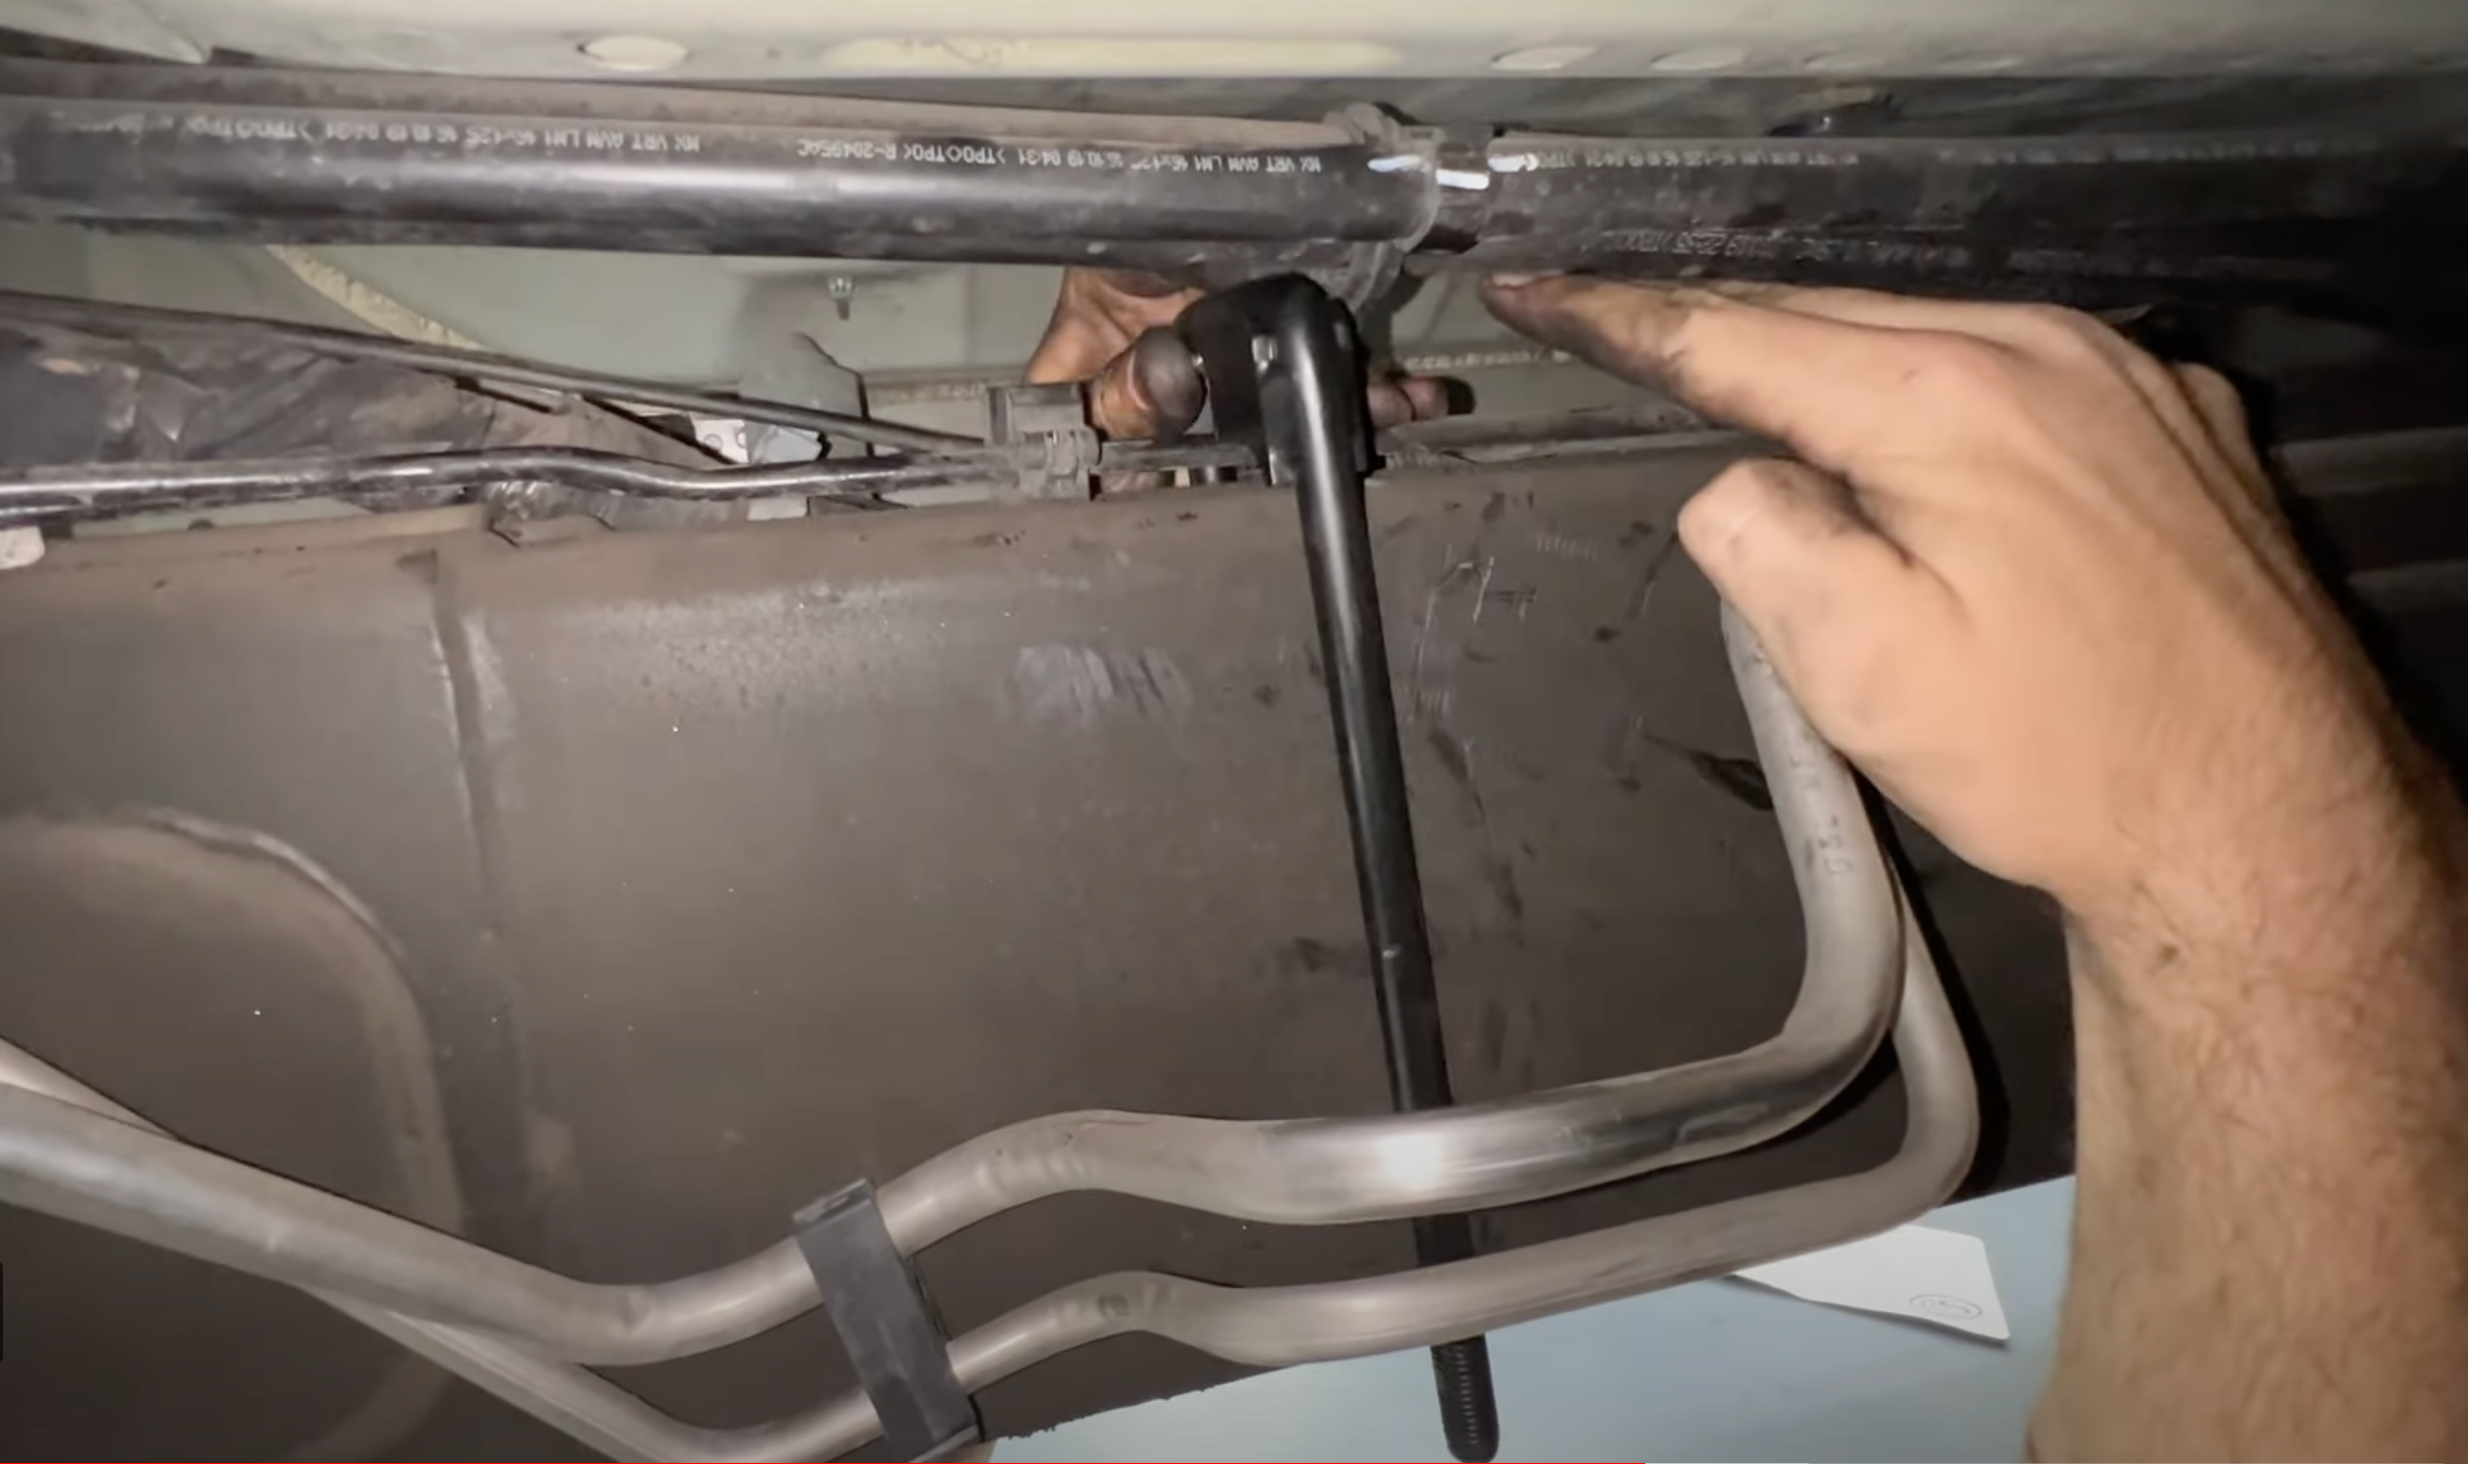
Install the included U-Bolt over the frame. Once installed, make sure there is space between the brake lines and U-Bolt. If the brake lines are touching the U-Bolt, call us and don't install the tank.
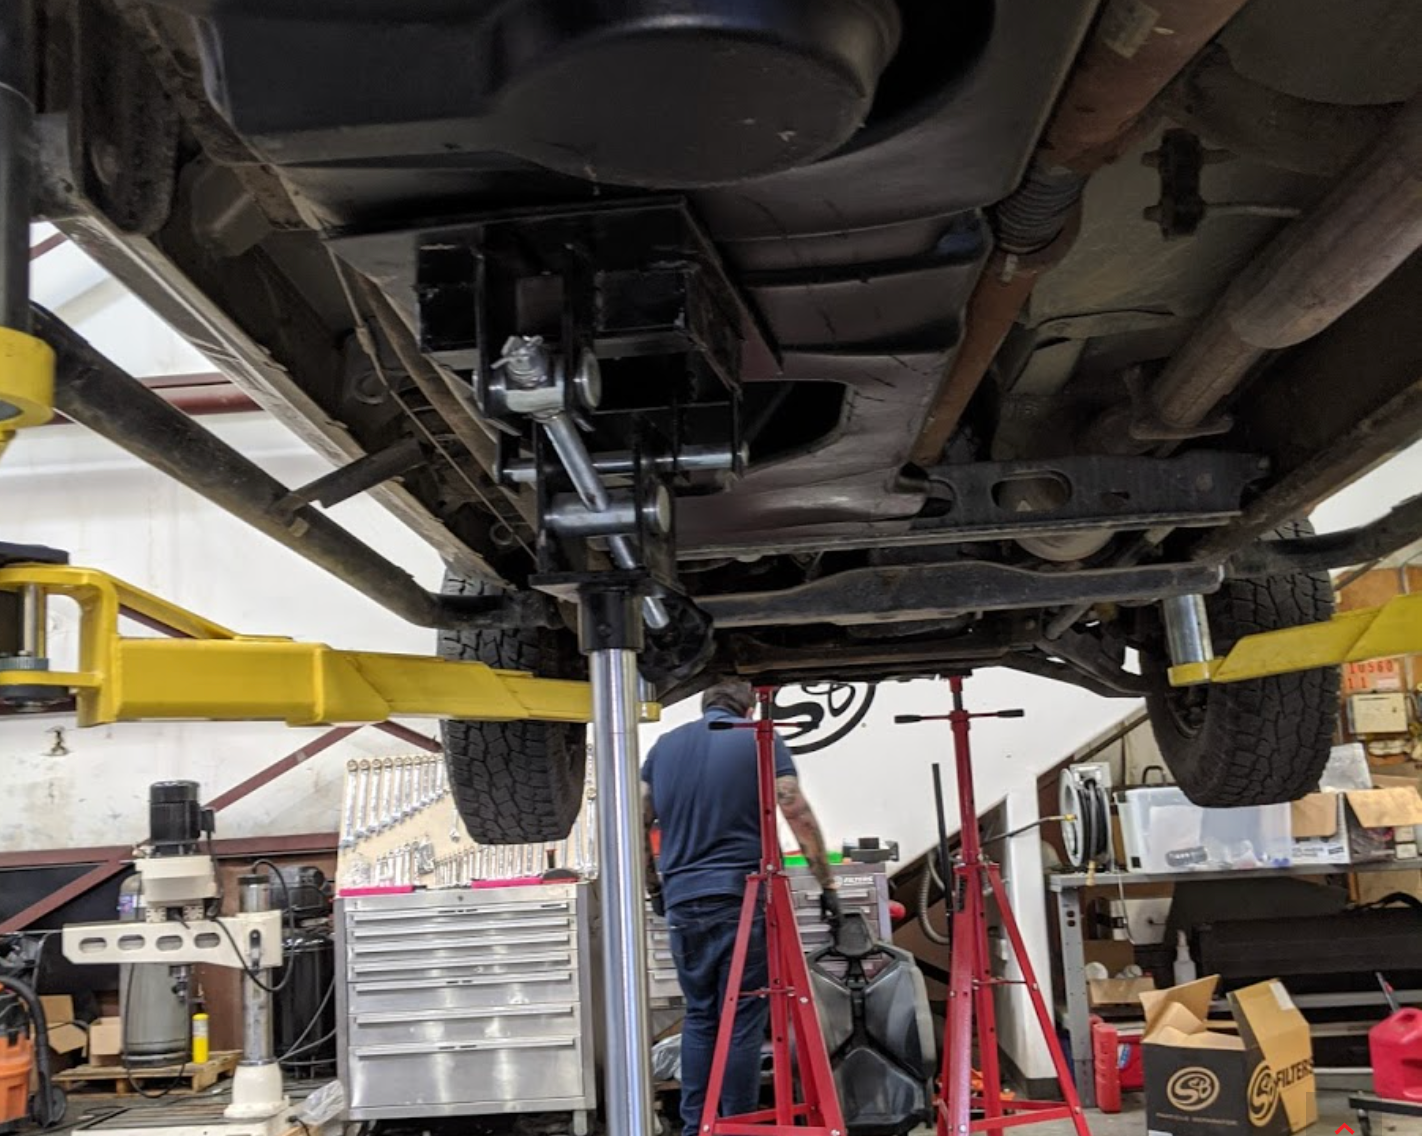
Center the hydraulic jack underneath the fuel tank and raise it into position. Lift Install: Hydraulic Jack Floor Install: Floor jack with added support to properly hold tank
Attach the front support strap to the U-Bolt. Then tighten the washers and lock nuts onto the u-bolt.
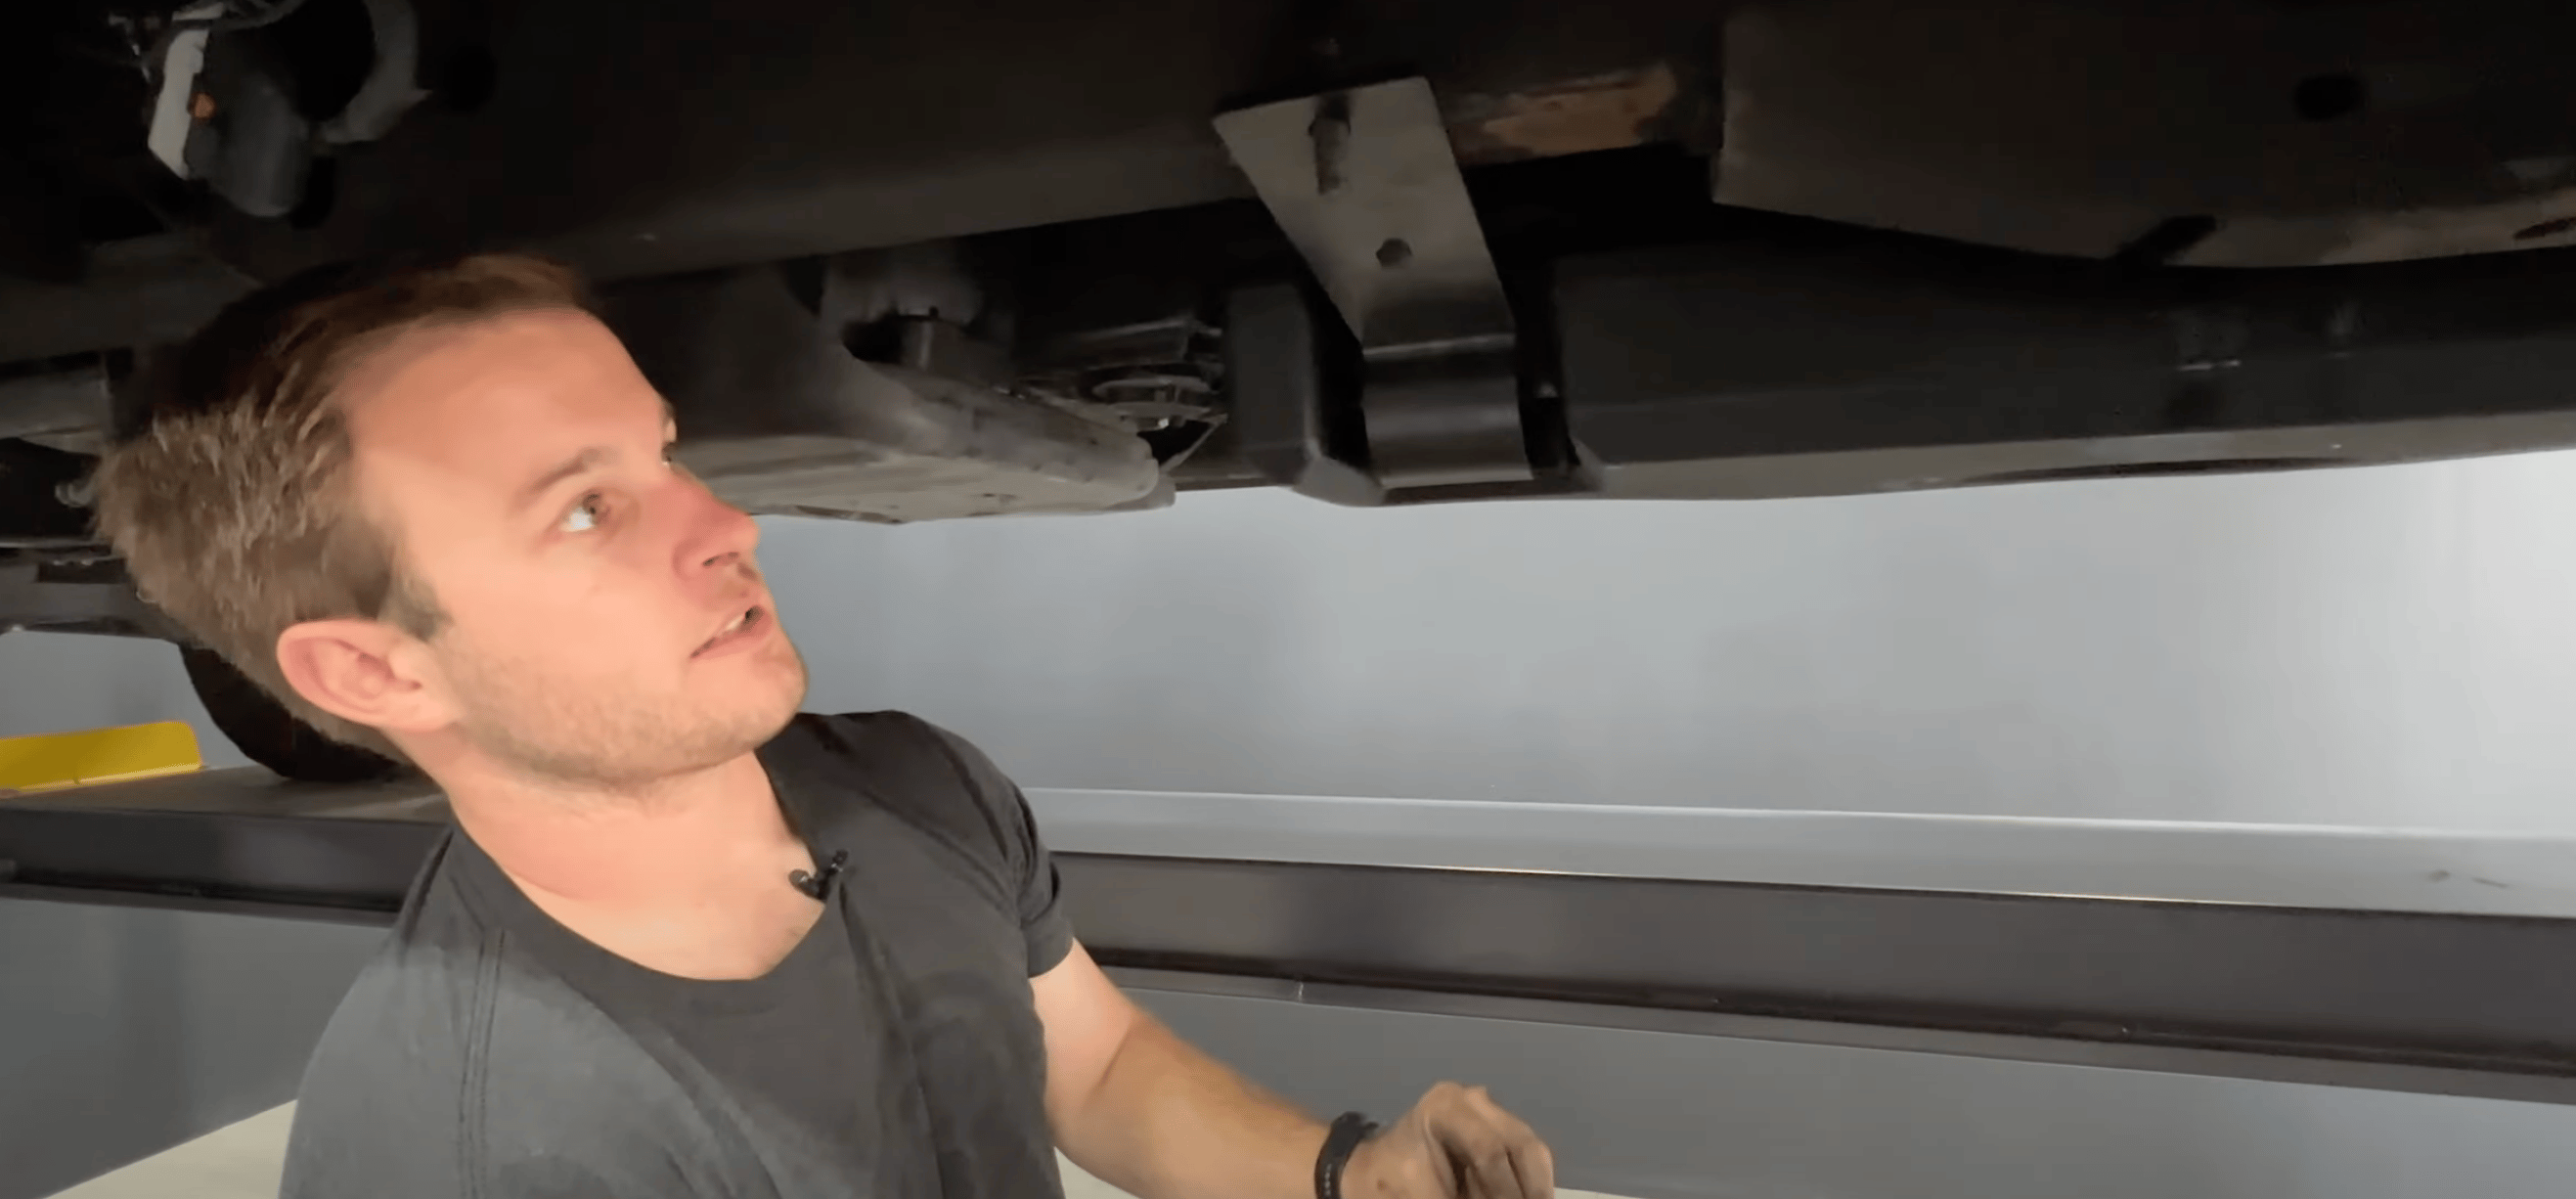
Install the middle and rear S&B fuel tank straps. Make sure you take the supplied S&B bolt and apply blue lock-tight to the body of the bolt. - 15mm socket and extension
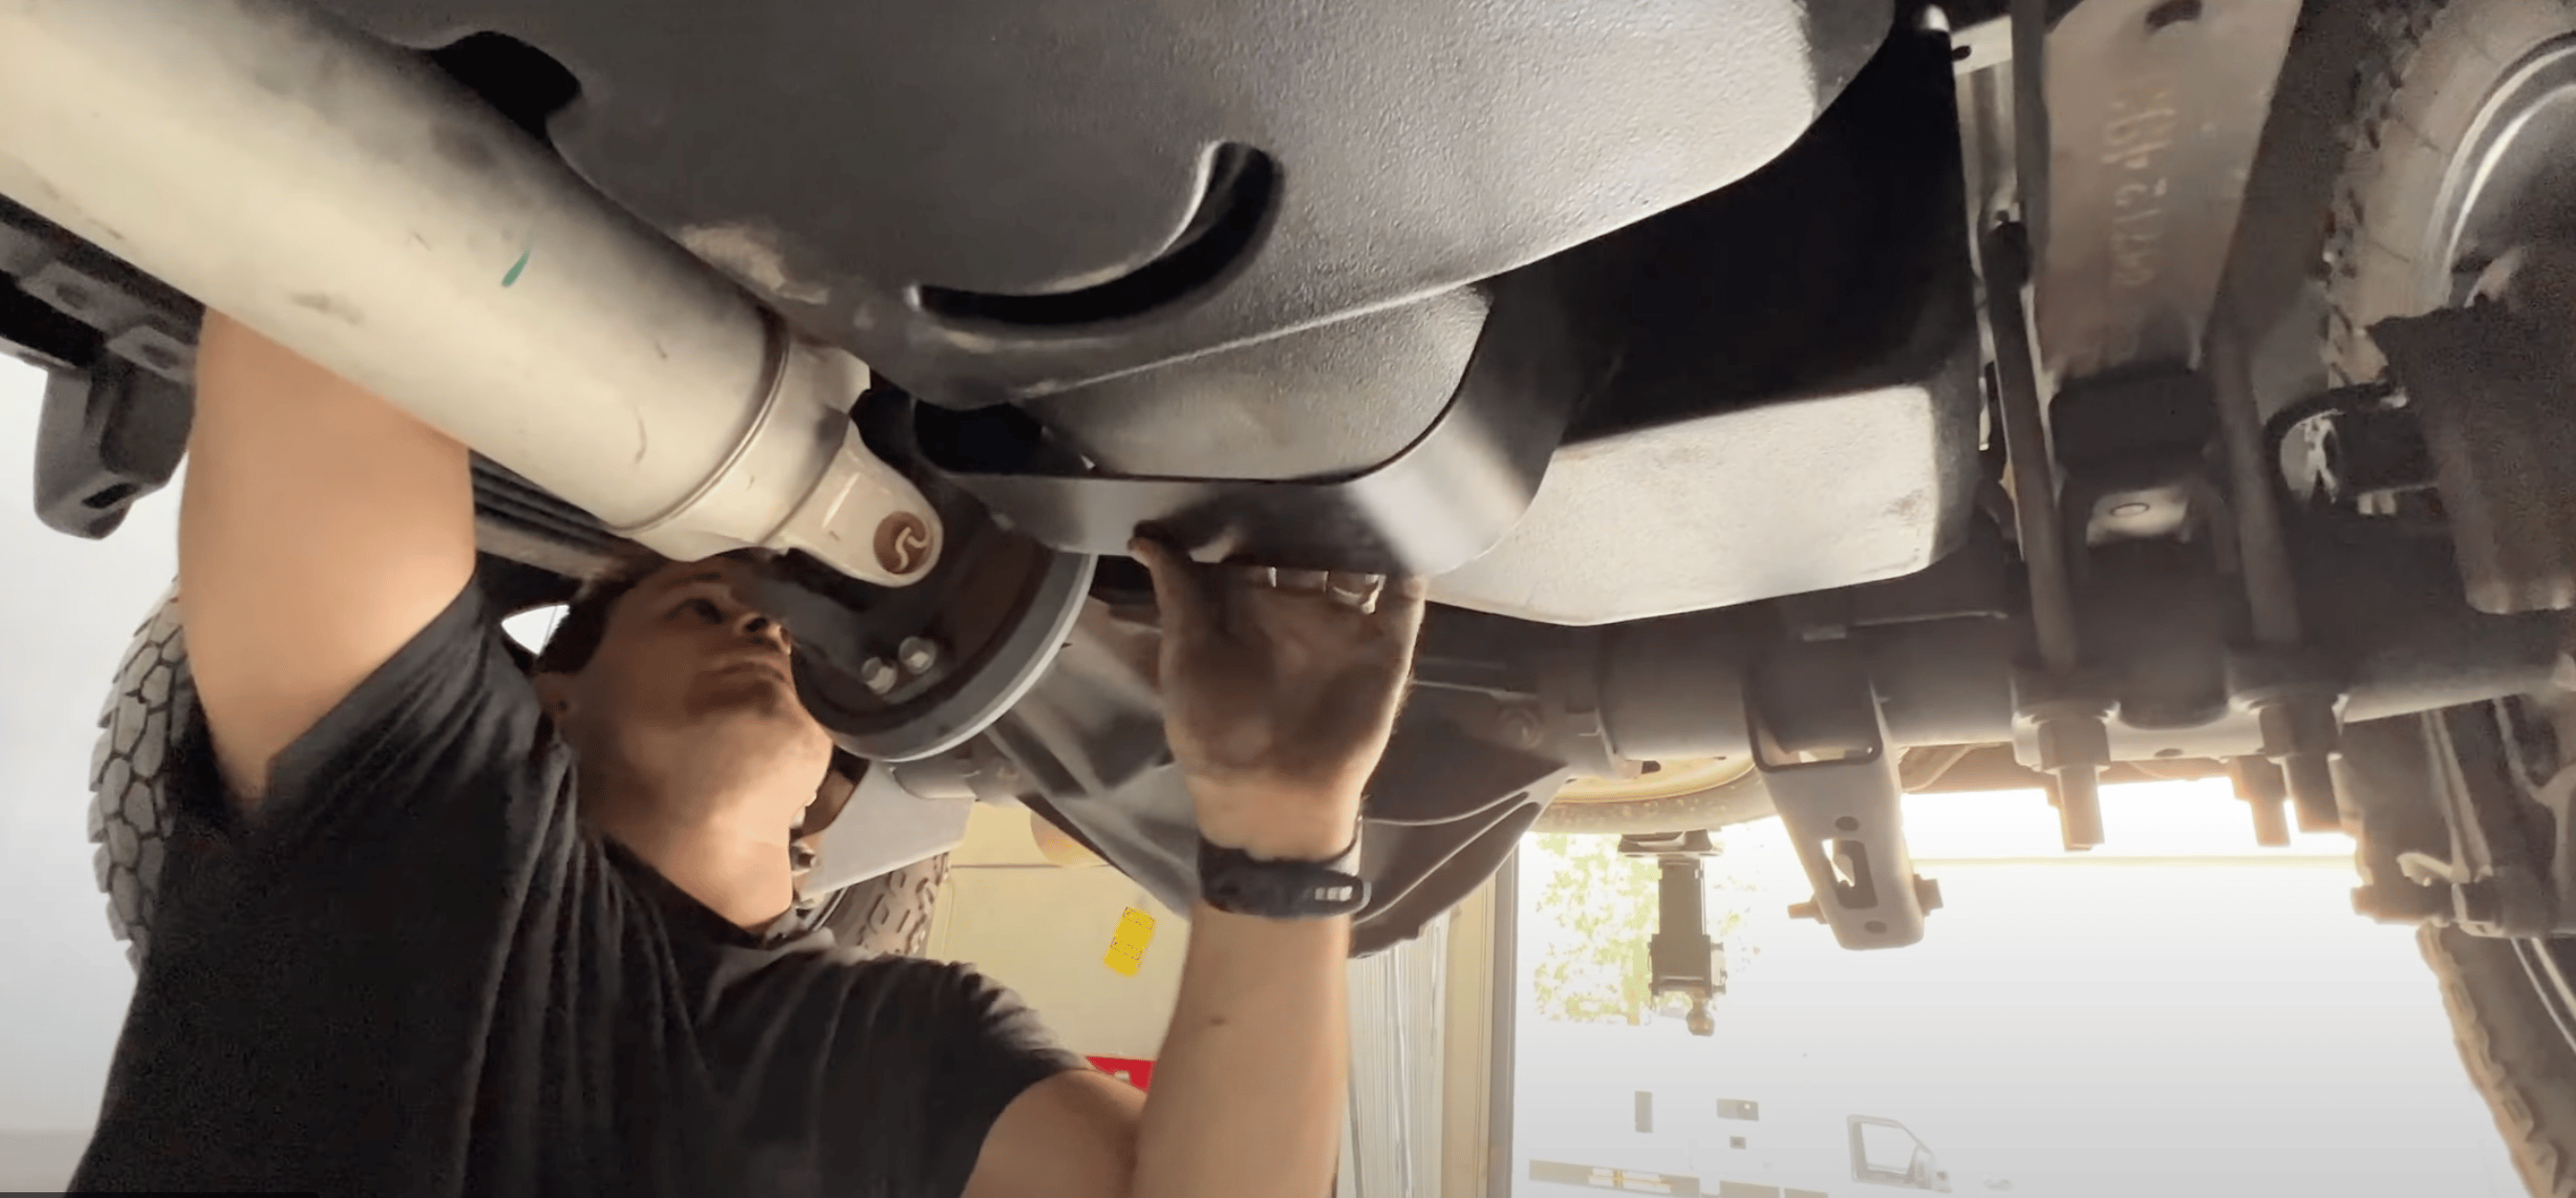
Reinstall fuel filler hose to filler on vehicle side and tighten clamp
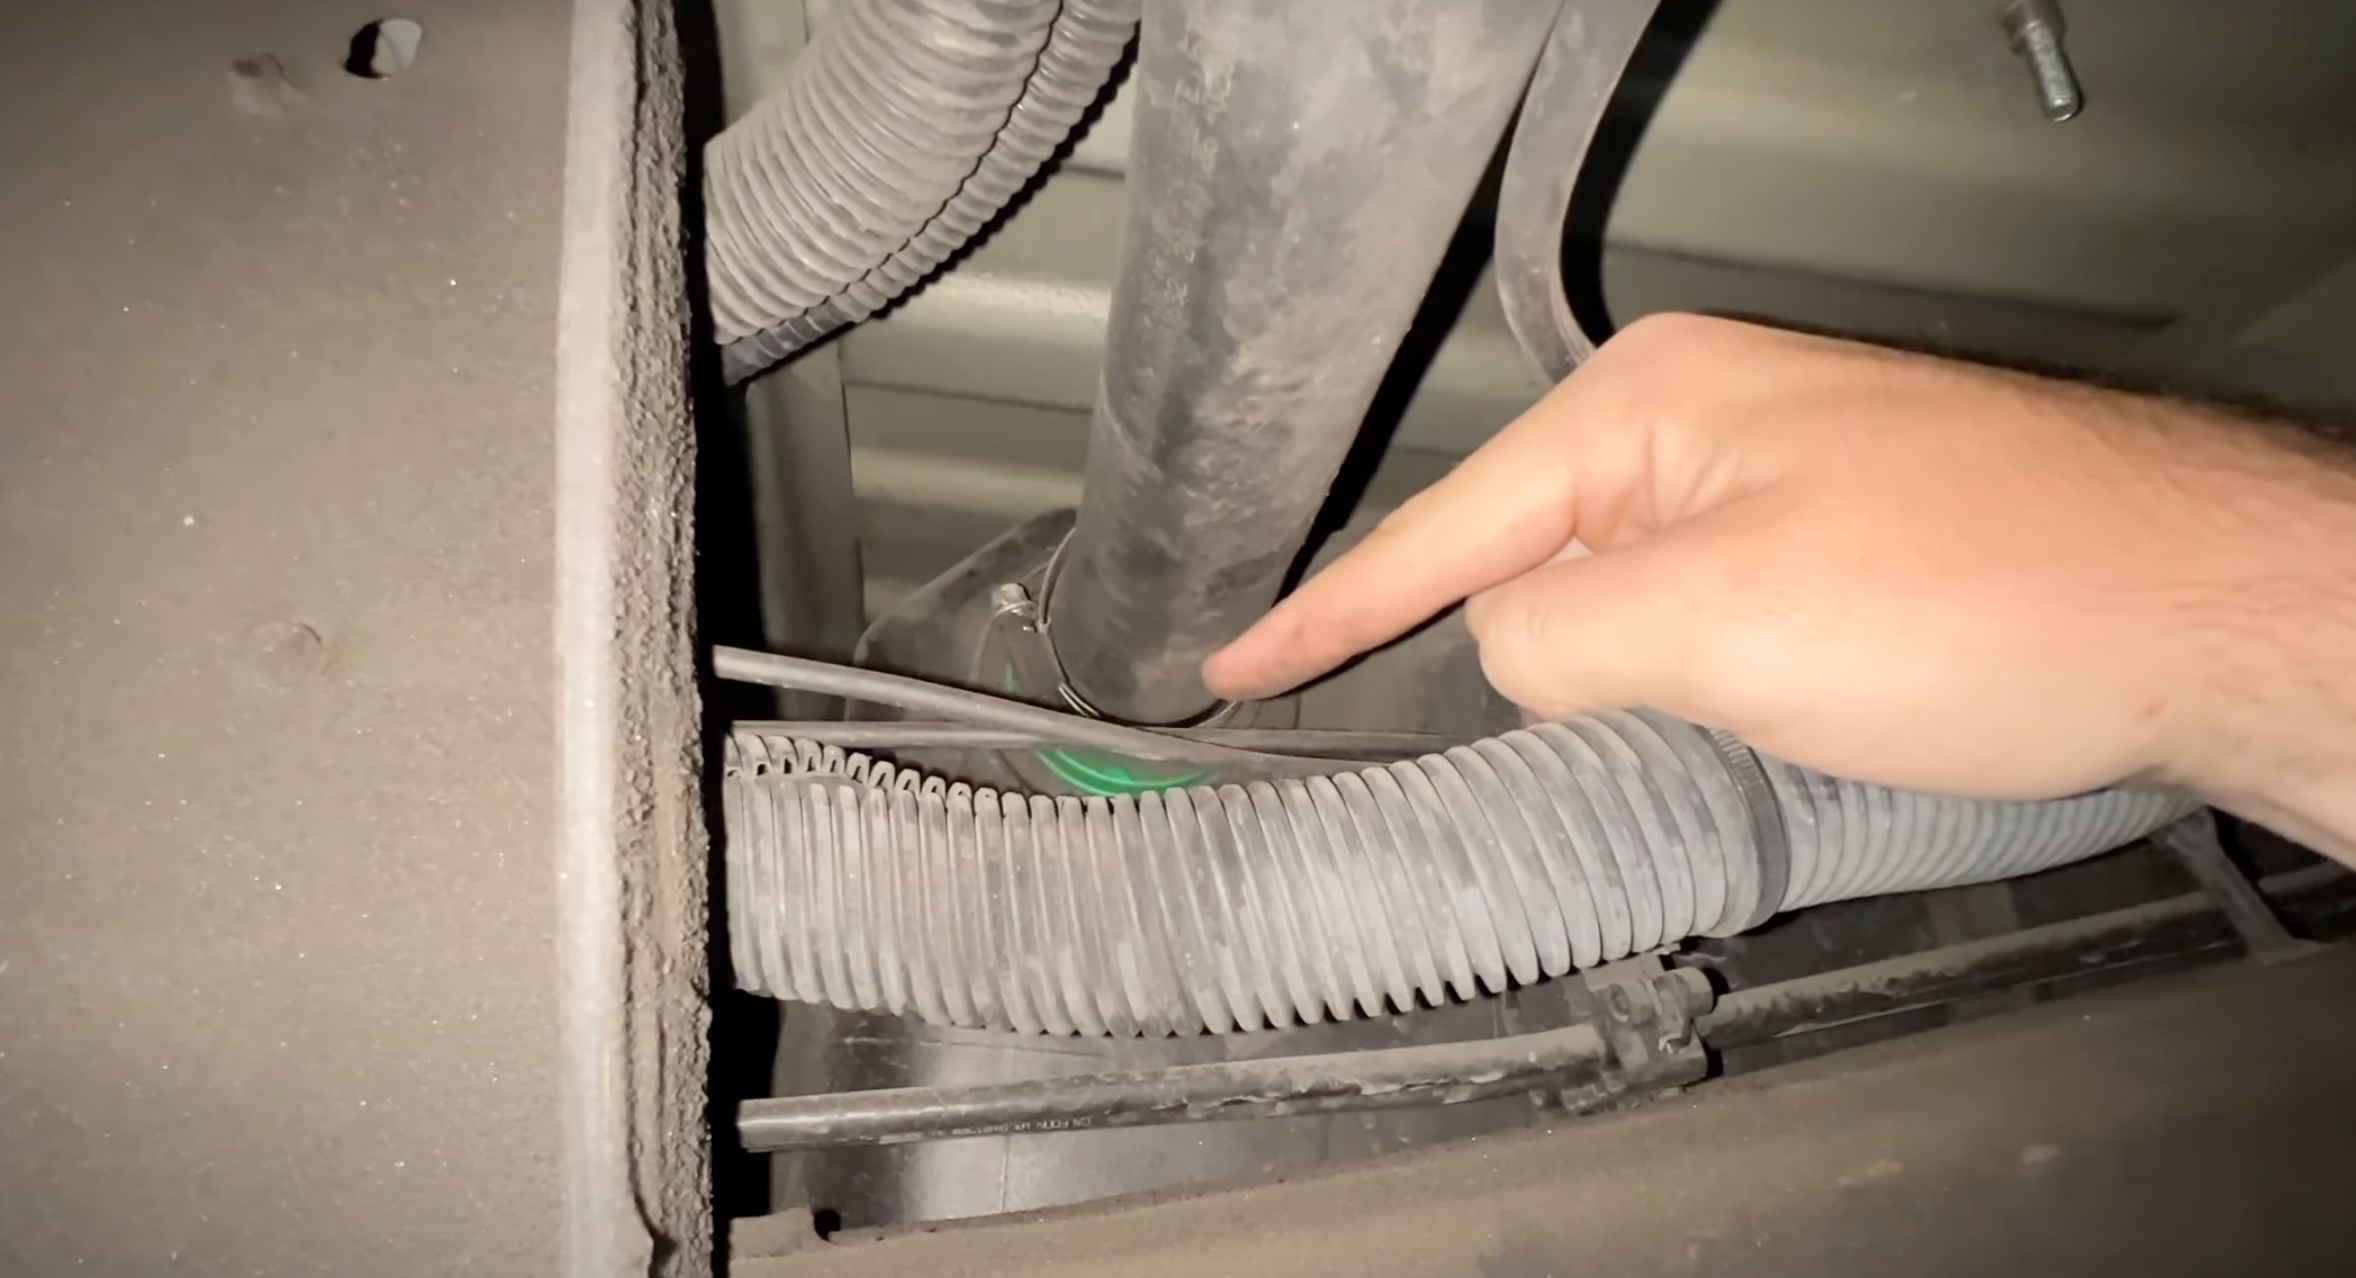
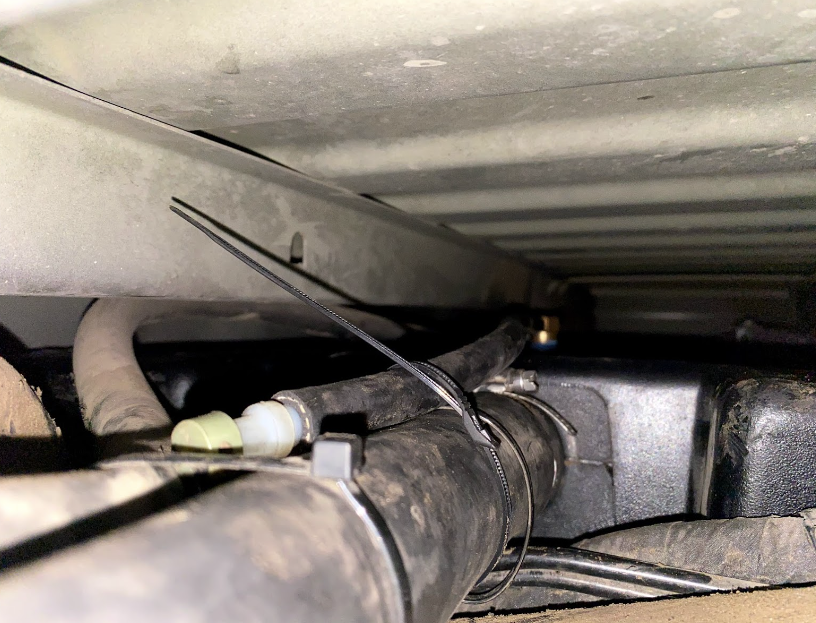
Route the 2 5/16" rollover valve hoses and zip tie them up to the filler.
This final checklist is very important.
#1 Make sure all nuts are safely fastened and torqued.
#2 Ensure there is proper driveshaft clearance and the straps are tight
#3 Double check fuel line connections, the electrical connection as well as the vent and fill lines.
#4 Lastly, fill the tank full and check for any leaks. If you have any questions, call or text us at 909.675.1313
